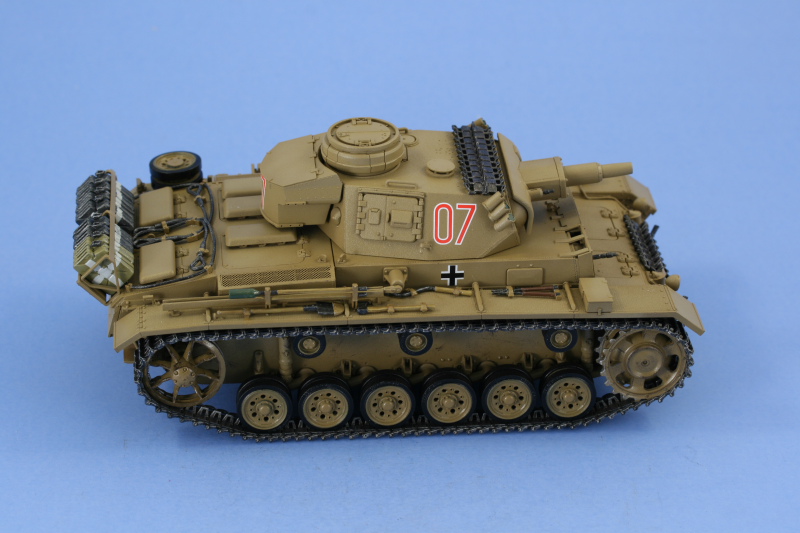
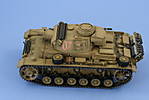
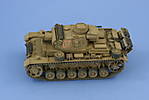
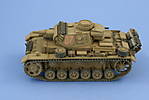
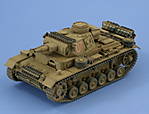
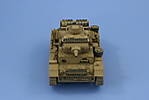
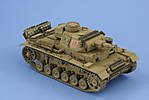
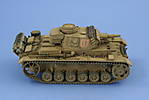
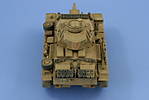
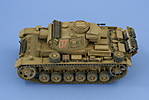
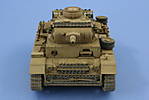
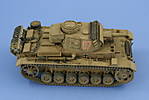
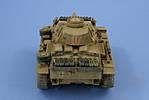
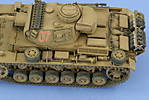
1⁄35Building DML's Pz.Kpfw. III Ausf N sPz.Abt. 501 Afrika
12
Comments
Markings and Weathering
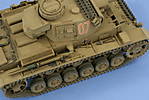
A coat of Future was applied by airbrush and allowed to dry overnight before the kit-supplied decals for Red 07 were applied and treated with Walther’s Solvaset to get them to snug down and conform to the surfaces. Once dry, a second coat of Future was applied to seal them in prior to the weathering process. The first weathering step was designed to add some more subtle variation to the previously applied paint work. Small dots of Afrika Braun, Afrika Khakibraun, and Italian Dark Brown were applied and, using a round 0 sable brush dampened with thinner, blended together with downward strokes. Once that had been done to the entire vehicle, a pin wash of Raw Umber was applied to bring out the details. To preserve this, another light coat of Future was applied to create a barrier between that effort and the next. The next step consisted of again applying small dots of paint, this time standard Testor’s enamel in the little glass jars, using Flat Red, Flat White, Flat Yellow, and Flat Beret Green. These dots were blended in the same fashion to introduce subtle tonal shifts and build on the previous layers’ work. With that done, the entire vehicle received a dull coat using Testor’s Lusterless Flat in the spray-can, holding the can about 12” away from the model and making multiple quick passes to insure even coverage and avoid heavy build-up. Once that had thoroughly dried, the lower hull and suspension was treated with Mig Gulf War Sand pigments mixed with water and applied by brush. The mixture was allowed to air-dry and a series of stiff-bristled brushes used to remove the excess and adjust them. Once the lower hull was done, a much more diluted mix of the same pigment and water was applied to the rest of the vehicle and allowed to air dry. It too was carefully adjusted to achieve the final look. I thoroughly enjoyed this build as an out-of-the-box effort with the only addition taking the form of the Notek wiring for the front hull.Comments
Your tank came out incredible!! I enjoyed watching your build from beginning to end and look forward to seeing more of your builds in the future. I learned a few things also,thanks Bob
MAR 17, 2008 - 05:26 PM
Great build - now where is that Tiger I that goes along with it
Thanks for sharing
MAR 17, 2008 - 10:21 PM
Thanks Bob for the comments, glad it will be of some help to you.
Jesper,
The box-art has an interesting possibility for pairing it up with some Tiger 1s, almost certain someone will do the dio of it in the near future.
MAR 18, 2008 - 06:29 AM
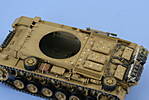
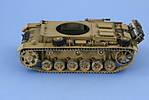
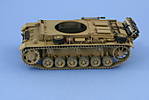
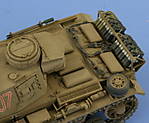
Nice finish Bill. Once again can I see that undreside now that it's finished? I am rounding the corner in assembly on mine. Sure wish my camera and my computer were working.
MAR 18, 2008 - 07:32 AM
James,
Not sure if these will help you more than the other shots, but here you go. I can't turn it all the way upside down like I did in the WIP photos due to limited handling surfaces.


MAR 18, 2008 - 01:31 PM
Outstanding Build ! I always seem to learn somthing about the hobby from viewing everyones projects. Very Cool Panzer III. Thanks for sharing.
APR 12, 2008 - 06:35 AM
Thanks milvehfan. I agree about reading about other people's projects, always pick up little things here and there by seeing how others tackle verious issues or approach things. Virtually all of my exposure to model-related subjects is via the Internet and can't tell you how invaluable a resource it is for past, present, and future learning and evolution. Someone's always coming up with a newer/better way to do things and when they share that in a community such as Armorama, everyone benefits. I try to do the same thing with my work even if sometimes it's a better example of how NOT to do something.
APR 12, 2008 - 09:37 AM
Copyright ©2021 by Bill Plunk. Images and/or videos also by copyright holder unless otherwise noted. The views and opinions expressed herein are solely the views and opinions of the authors and/or contributors to this Web site and do not necessarily represent the views and/or opinions of Armorama, KitMaker Network, or Silver Star Enterrpises. All rights reserved. Originally published on: 2008-03-16 00:00:00. Unique Reads: 35529


