

1⁄35Figure painting with Acrylics
17
Comments

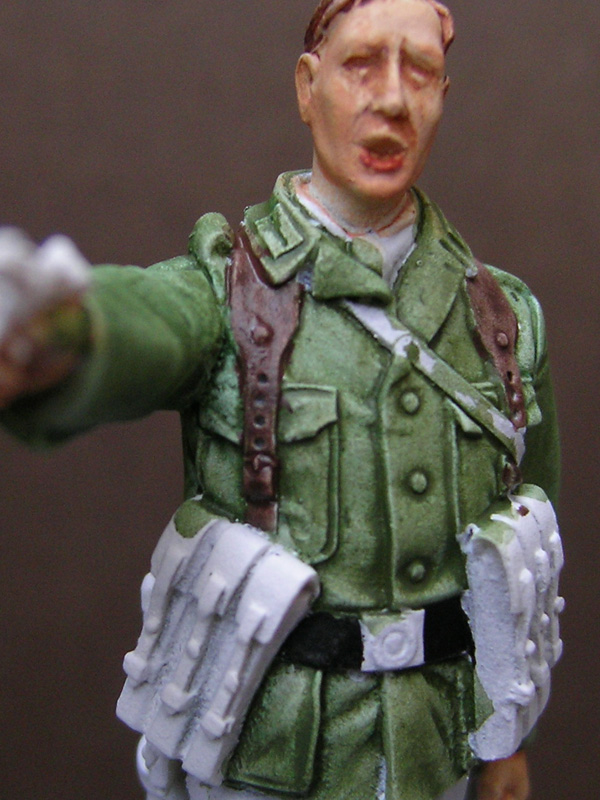
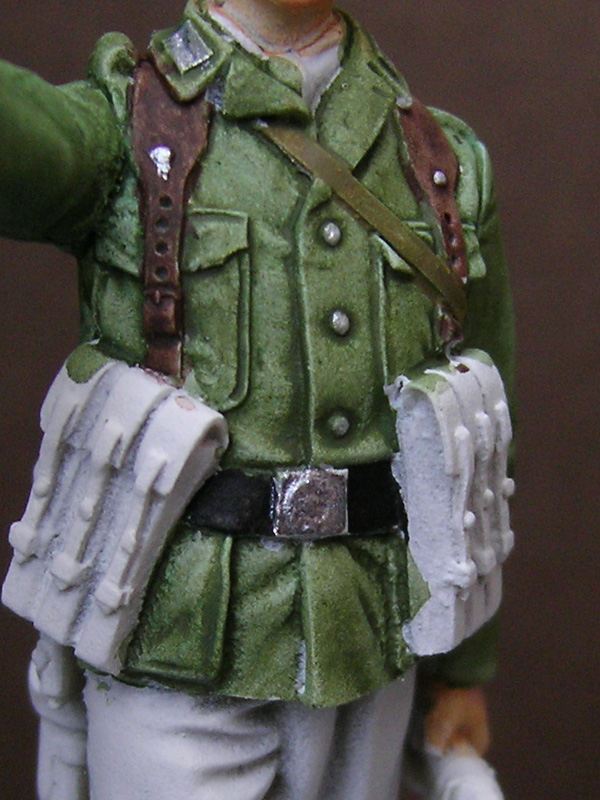
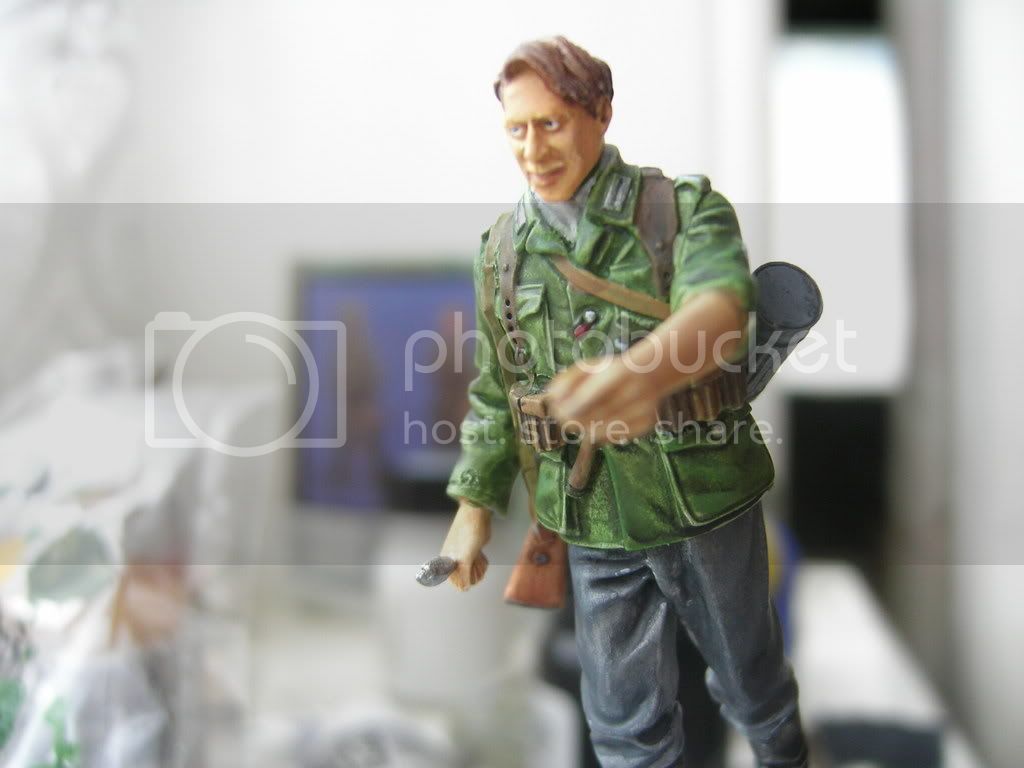
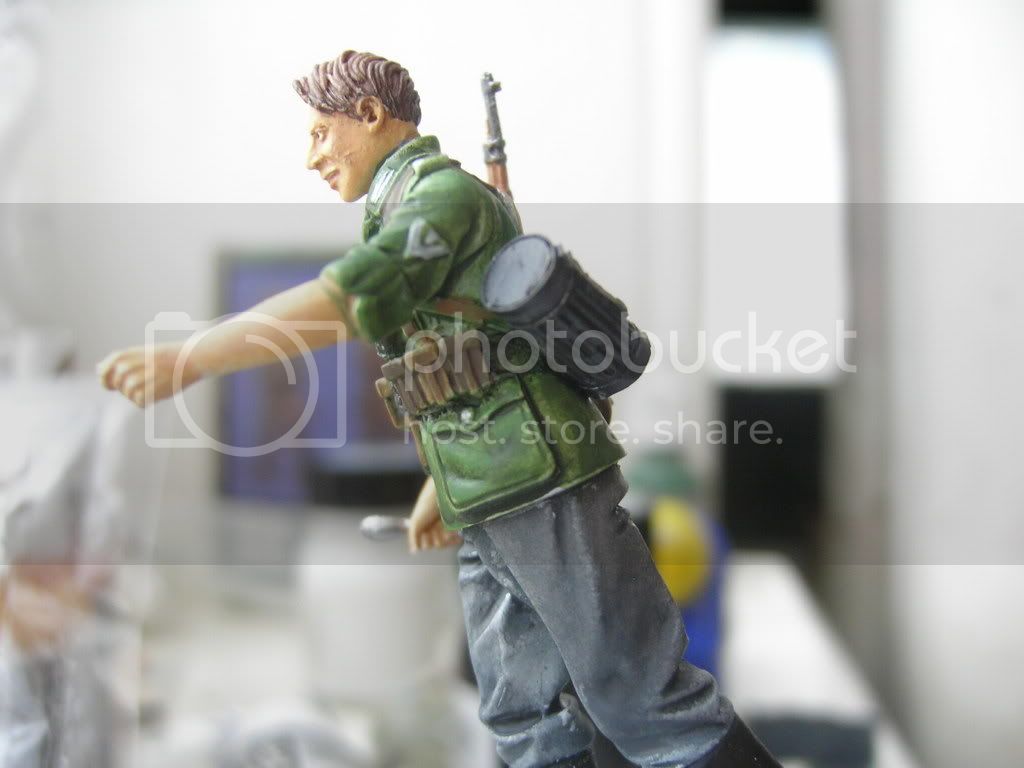
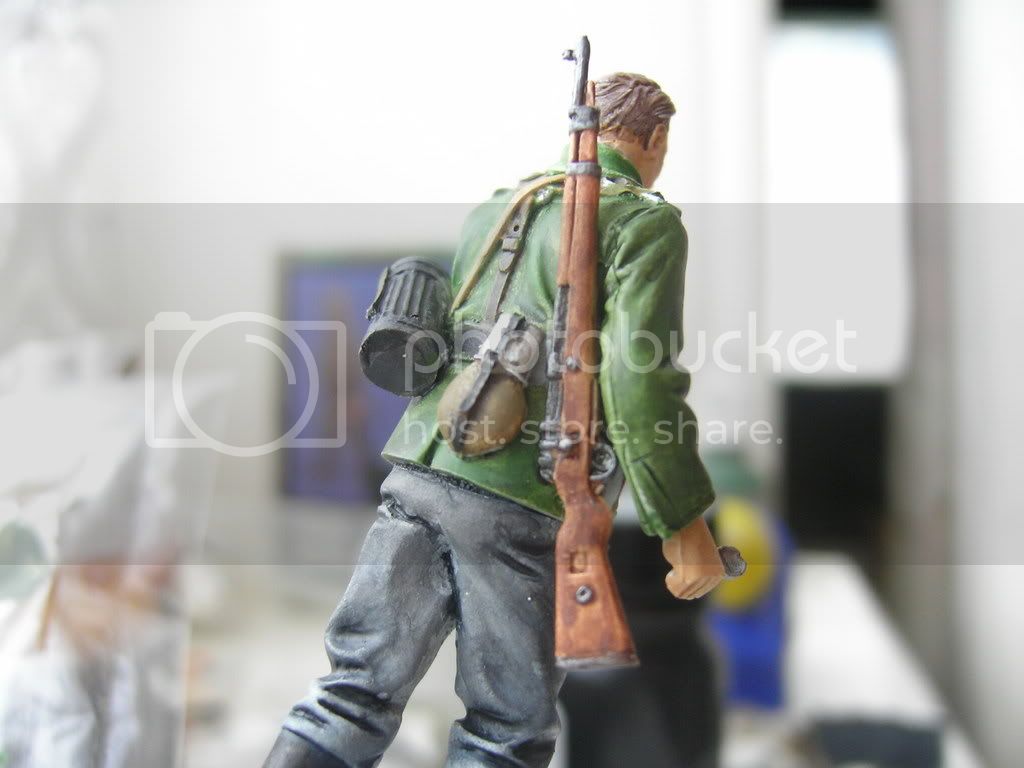
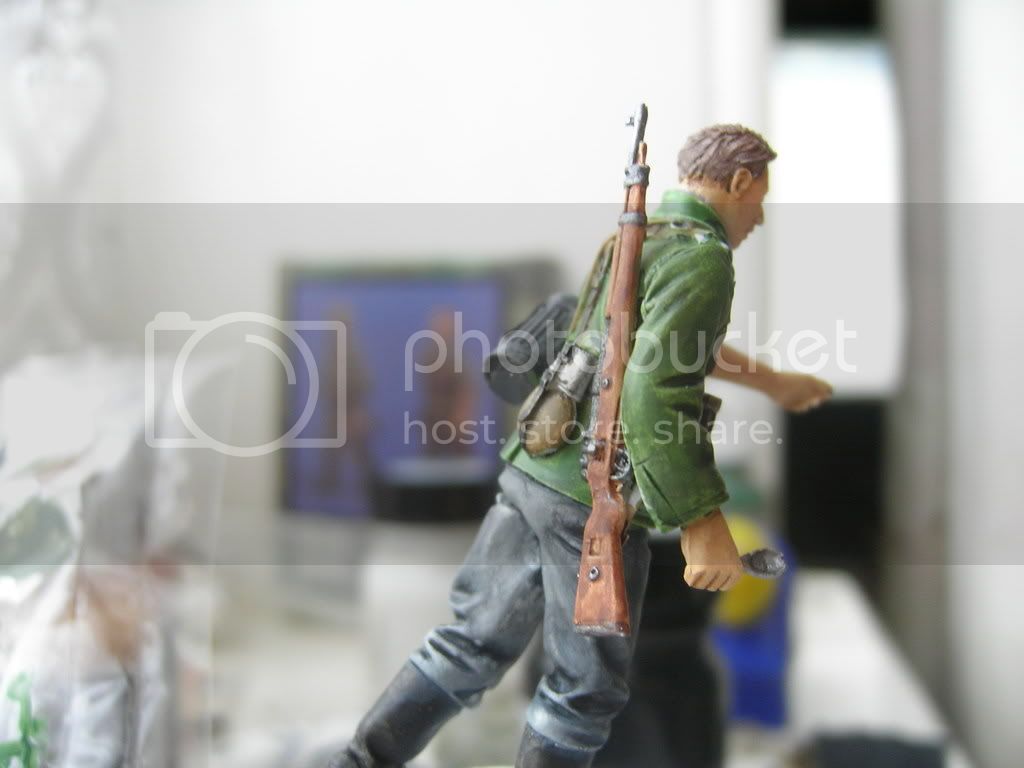
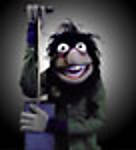
Painting: Uniform and equipment
As this figure is a German Soldier from the ww2 period, his jacket would be a Field Grey /Green colour, I tend to lighten the tone of Green as opposed to a solid Field Grey colour to simulate fade. I start with Medium Olive, mixed with Beige Brown at around the ratio 2:1, watered down. Block this colour in around the areas where the uniform would show, see how the colour collects in the recesses, this is our basis on shading. Whilst this is drying, I block in the belt with Black. After the belt is dry, re-paint the jacket, using still heavily thinned paint, but this time, use tiny variations of the base colour to make the jacket less monotone and more interesting to the eye. Painting in this way, decreases the need for excessive shading and highlights, which is perfect for beginners. Now that the jacket is nearly complete we move onto the equipment and straps. I will start by painting the Y harness, mixing a Dark Brown using Black, flat Brown and Beige Brown, thin the colour and carefully apply this to the Y harness, making sure not to spill onto the painted jacket. The next ting to paint will the gas mask strap and the gas mask case, for the strap, mix a Khaki Brown colour and paint the strap, then mix a colour similar to Panzer Grey , maybe a bit darker, and paint the gas mask case. Whilst we are waiting for this to dry we will paint the buttons and belt buckle, rank insignia , top of canteen and rings in silver. Remember, after painting silver, you must wash your water out, as you probably don't want the rest of your figure to have sparkly bits. If you made mistakes during the previous process, its best to touch up after yuo have changed your water. Next I pick out my figures shirt, for this I will use a Blue Grey mixed from Black, White and Dark Prussian blue , when this is dry add a wash of the base coat with a tiny amount of added Black. Up next are the canteen, entrenching tool and ammo pouches. These will be painted with a mix of Browns, as painting them in one brown is too uniform, and in the military, the kit which you are given varies, you could have webbing made up of new straps with old pouches and vice-versa. Now it's time to paint the pistol and the MP40 , first of all coat the weapons in Black, then, when the Black is dry, mix Black and Silver to make a dark metal colour, and dry-brush this lightly over the highest points of the weapon. If you use too much paint, the weapon will look unrealistic. When this is dry, run a very transparent Blue wash over the weapon. For the trousers, I like to mix a Blue Grey, starting with mixing the Grey, make sure the Grey is between medium and dark, then add a small amount of Blue. Apply the colour you are happy with on the legs using the same method that we used for the jacket, and repeat if you feel necessary!


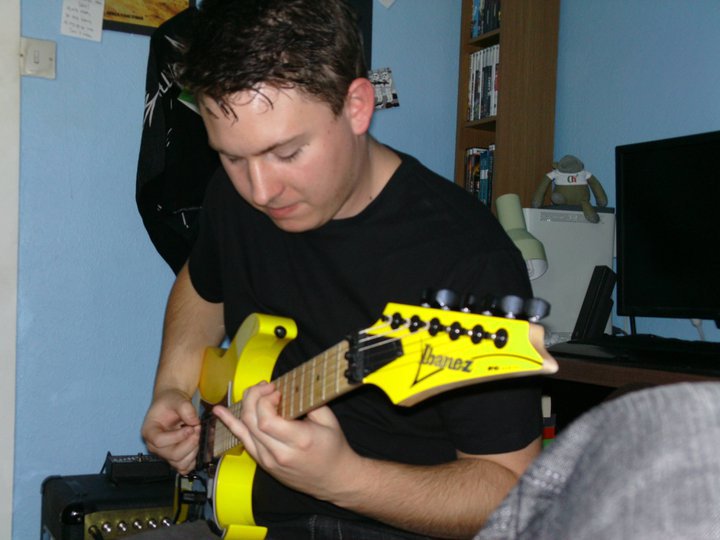
About the Author

FROM: ENGLAND - SOUTH WEST, UNITED KINGDOM
I was born in 1989, and have been reading about things military since the age of 10. I picked up my first kit on a caravan holiday ( Airfix harrier ) and have been on and off since, I disappear from time to time when other parts of life catch up with me, and I'm looking forward to sharing my work, a...
Comments

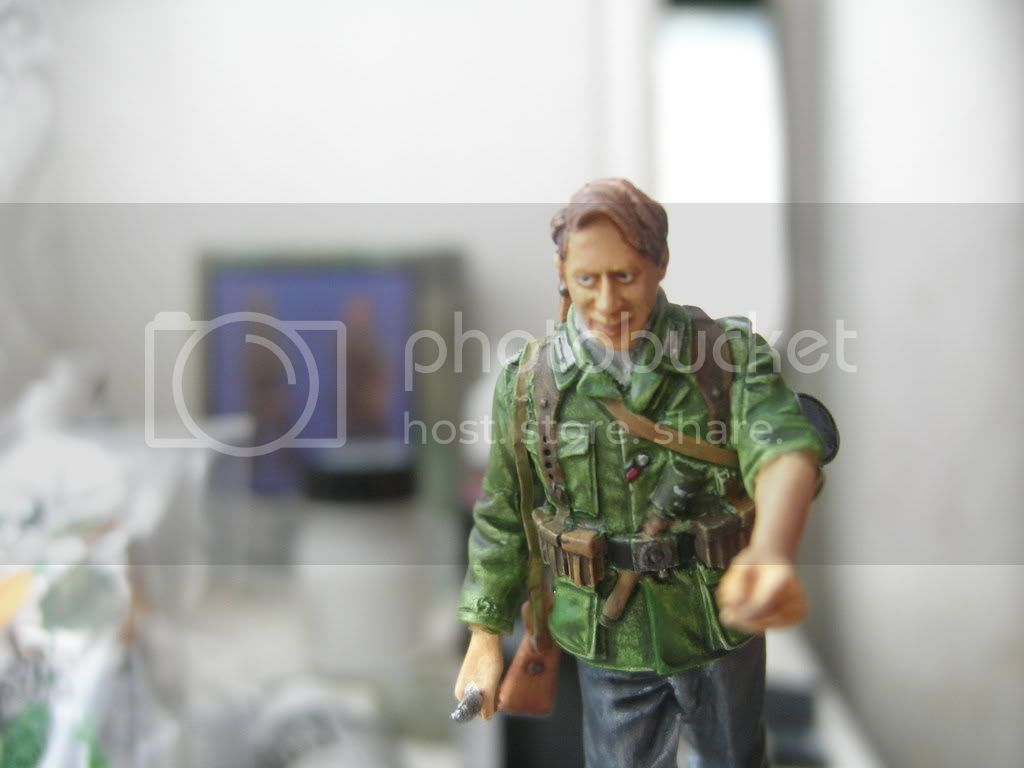
this is the first figure i paintied using this technique, and i think its pretty cool, (my pervious fig aRT was shocking)
SEP 29, 2008 - 10:07 PM

I think your figure looks pretty cool, maybe you need to do improve a bit the rendering of lights/shadows, your figure is highly detailed, but in plastic kits with less detail, you notice a lack of realism that can be improved with a superb painting. I suffer specially with the faces, where i have to do an huge effort if don't want it to look like dummies(i'll read again your explanation on faces, i have much to learn!)
I also use to paint with vallejo(nº1, no doubt), but my tecnique is a bit different from yours. I start with a coat of the base tone (without any primer) and then move on the highlights: with acrylics you cant paint in layers with the paint heavy thinned. Painting sucessive coats you'll get a smooth gradation. If some of the lights look too much hard-edged or too white, i add a very smoth wash with the base color over the area. Finally, i add the shadows in the same way, with thin layers of the darkened color in the clothes. Some details as the buttons or pocket flaps coul be made in the same way than in a rivet in a tank: with a small drop of thinned paint to outline the detail. Other details may be outlined with a sharper edge.
Have you got some photos of non-resin work?(i mean, tamiya, dragon...)
SEP 30, 2008 - 12:23 AM
I like the effect the wash technique has on certain items. It's not what I would normally do, but in certain colours it really stands out (I really like the ammo pouches, for example, looks great in that leather tone). Mixing this technique with preshading and drybrushing for darker colours would yield some great results - and your technique is quick and simple, which is a great bonus.
SEP 30, 2008 - 09:21 AM

I think this is a very good tutorial, and I look forward to trying it out soon as I have a small (no pun intended ... oh, what the heck, let it stand) army of figures that would greatly benefit from better technique. Thanks for sharing
OCT 02, 2008 - 06:42 AM
terrible joke !!!
hehe just kidding,
thanks to all who like the feature, and thanks to Henk and the team! for getting it up and running:D
it may not be the most detailed, and tricky technique, but for people like me(people who struggle to paint figs,:P:D) this hopefully will help!
OCT 02, 2008 - 07:50 AM
Excellent feature and interesting techique. I've been looking for something similar, so thanks alot for posting this. Will see if I dare post anything when I got something finished.
NOV 11, 2008 - 05:57 AM
m0rfar , thankyou for your comment im glad you enjoyed the feature, i haave tried to put across a simple effective technique that practically everyone can use
NOV 11, 2008 - 06:16 AM

Hey, Kid - has anyone ever told you that you are a genius? Well I am, and my son is 9 years older than you.
I'm just getting back into 1:35th Military Modeling after having been away from it for thirty (that's right - 30) YEARS, and I have been looking for a simple way to paint figures that didn't require 50 gazillion coats of flesh, 25 gazillion hours of dry time and a Partridge in a Pear tree to get decent results.
Congrats - you have enlightened me. Pray teach me more - I am your devoted disciple. And I like rock music, too, though my tastes are probably a little old school for you, leaning towards 70s and 80s (I'm listening to Sting as I write this).
Anyway, thanks alot, pal. Your simple techniques of painting will help me to get back in the saddle again. There is hope for my Diorama of elements of 'Das Reich' and the 101st Airborne after all...Take care,
E Strongblade
Rats - did not realize that this article is 2 years old 'til after I answered it. That's OK - the compliment still stands and I hope that you still have the time to model. Too many of us allow RL to prevent it in those critical 20s, 30s and 40s growth periods.
NOV 24, 2010 - 08:05 AM
Copyright ©2021 by James Cann. Images and/or videos also by copyright holder unless otherwise noted. The views and opinions expressed herein are solely the views and opinions of the authors and/or contributors to this Web site and do not necessarily represent the views and/or opinions of Armorama, KitMaker Network, or Silver Star Enterrpises. All rights reserved. Originally published on: 2008-09-28 00:00:00. Unique Reads: 71045

WEB HOSTING BY


Copyright ©2021 Armorama and Kitmaker Network, a subsidiary of Silver Star Enterprises
All Rights Reserved. Please read our Conditions of Use and Privacy Policy.
All Rights Reserved. Please read our Conditions of Use and Privacy Policy.