1⁄35Figure painting with Acrylics
17
Comments
This is a short article on 1/35 scale figure painting using acrylic paints. There are many articles in the archives that deal with painting figures with oils, here is a simple process of figure painting that gives good results, without the hassle of oil paints.
equipment
First we deal with equipment. In my experience, for figure painting Vallejo Acrylics are unsurpassed. I personally have a limited library of colours but I mix colours a lot to achieve the shade I desire. I also don't use a lot of different brushes, for this example figure I am using one single brush, a Javis 5/0 picked up at my local hobby shop for around £1.50. The Primer i am using is Games Workshop Citadel Colour Skull White, I can't stress enough how important priming is, until recently I did not prime my figures, and this produced results that I deemed acceptable at best. A primer acts as a key for the paint to adhere to, allowing thinner coats and better adhesion earlier in painting the figure.The Figure
This can be a daunting prospect at first, there are hundreds of figure manufacturers out there for you to choose from, to name them all would be pointless but I will name my favourites out of the (very few) manufacturers I have used. For detail Alpine Miniatures surpass all, being crisp, precise and are cast in a hard resin, the only downside I have found with Alpine is that the resin is slightly brittle. And my workhorse, Verlinden. Verlinden figures are generally a little over-scale, only by a few milimeters, but to be honest i don't think this matters, if you have a diorama for example, you wouldn't want everyone the same size and build. Verlinden figures aren' the most detailed either, but when you are starting out in figure painting, I believe to much detail over complicates things.Construction
When constructing a figure, care must be taken to clear all flash (thin paper-like pieces of plastic or resin attached to the figure as a side effect from the moulding process),raised seam lines ( more common in standard plastic figures, this is similar to flash, but less prominent), and in resin figures, all air bubbles must be filled. It would be a bit silly if your tank commander had a hole in his forehead. When constructing plastic figures there is usually a instruction sheet either inside or on the back of the box, as with most resin figures there are no instructions, so be careful you don't put some pieces in the wrong place, its good to look at references before you start the construction to see where the equipment would sit. When constructing plastic figures normal modelling glue is used, but when constructing a resin figure Cyanoacrylate, more commonly known as CA or superglue is used.Comments
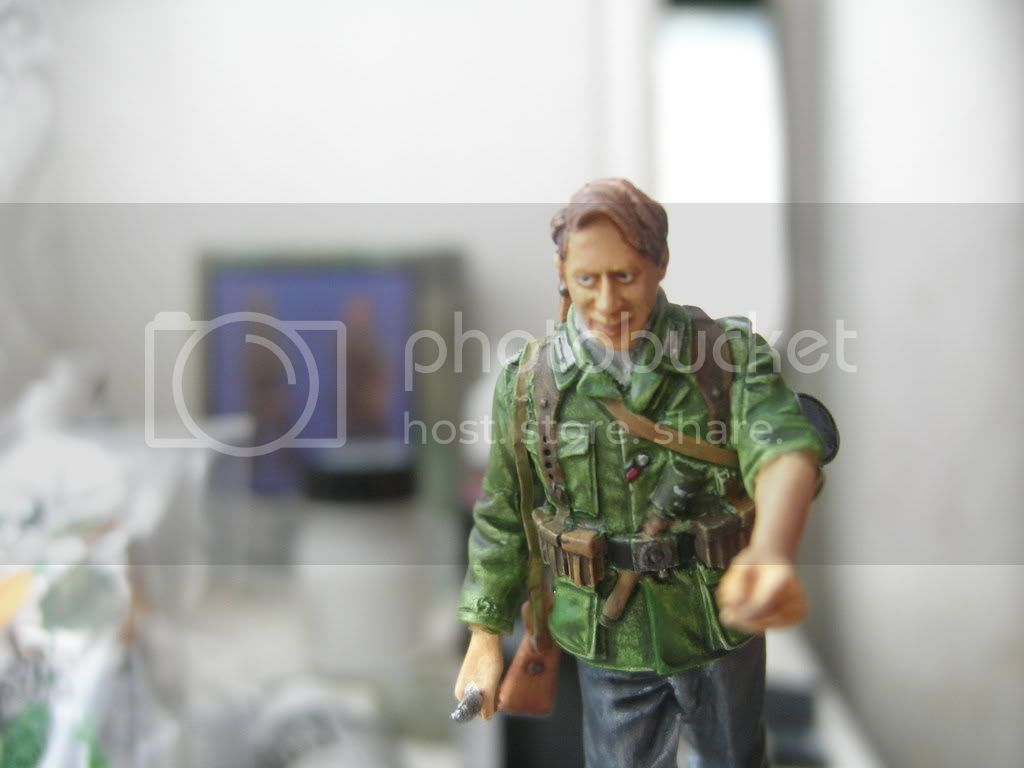
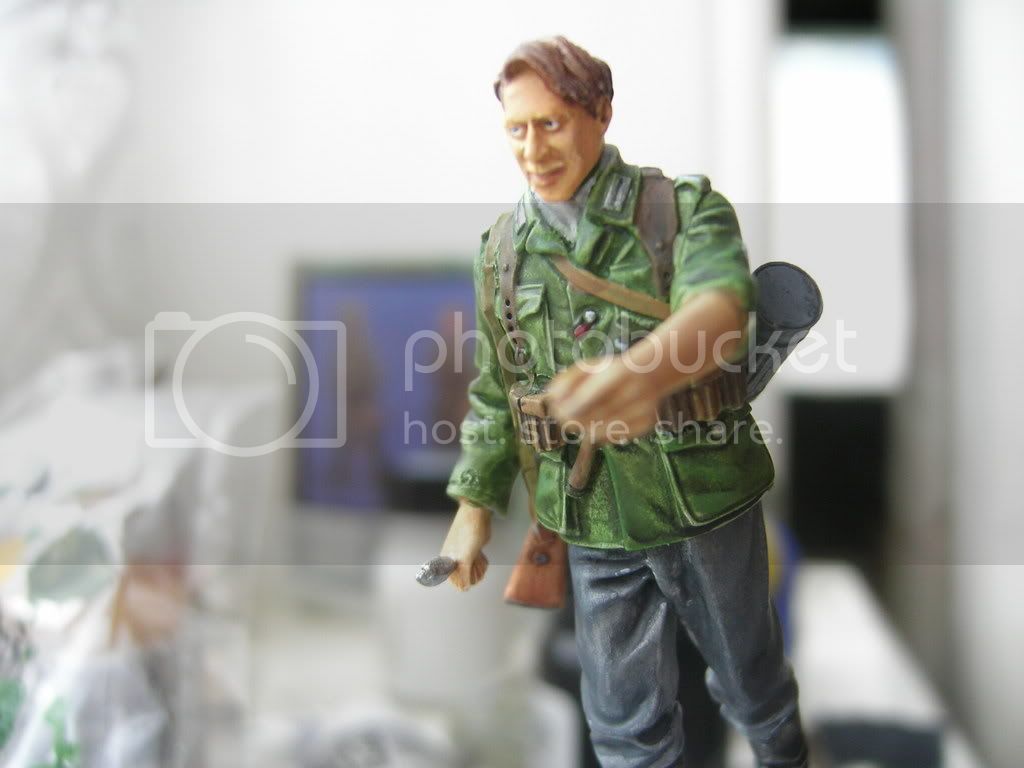
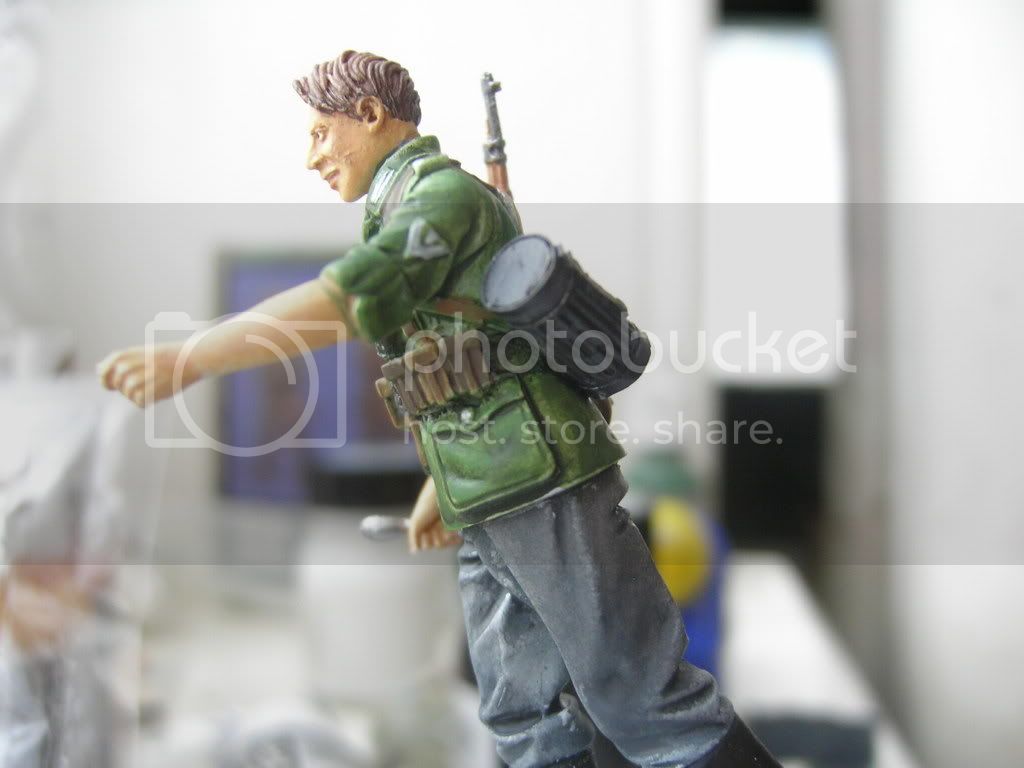
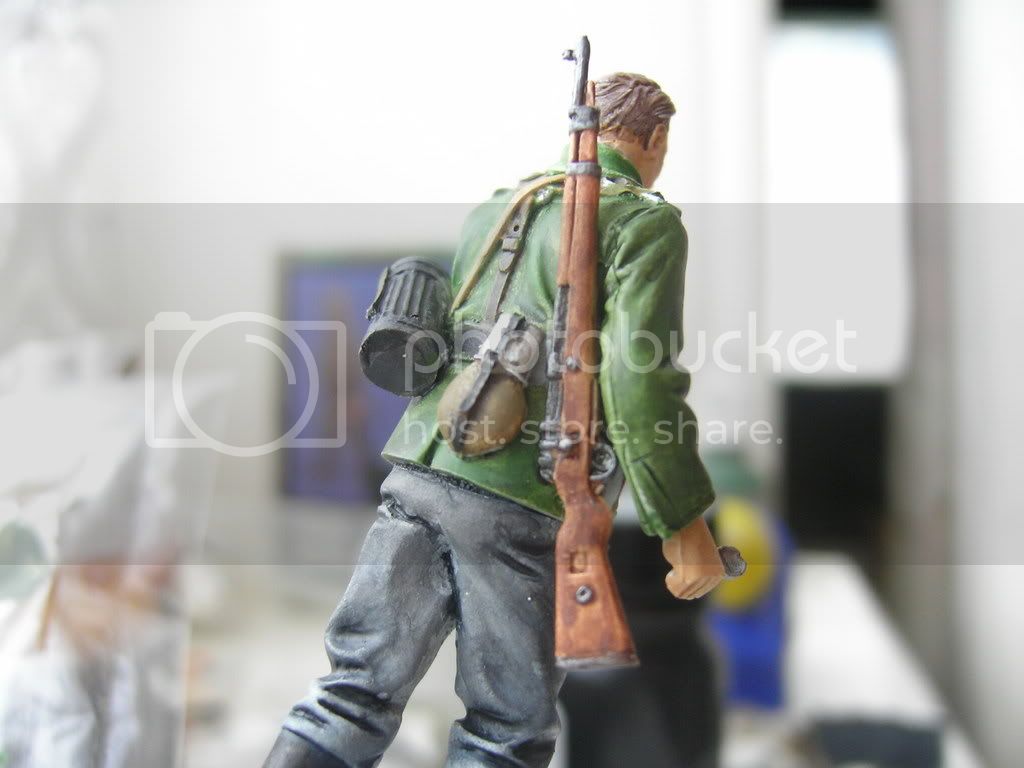
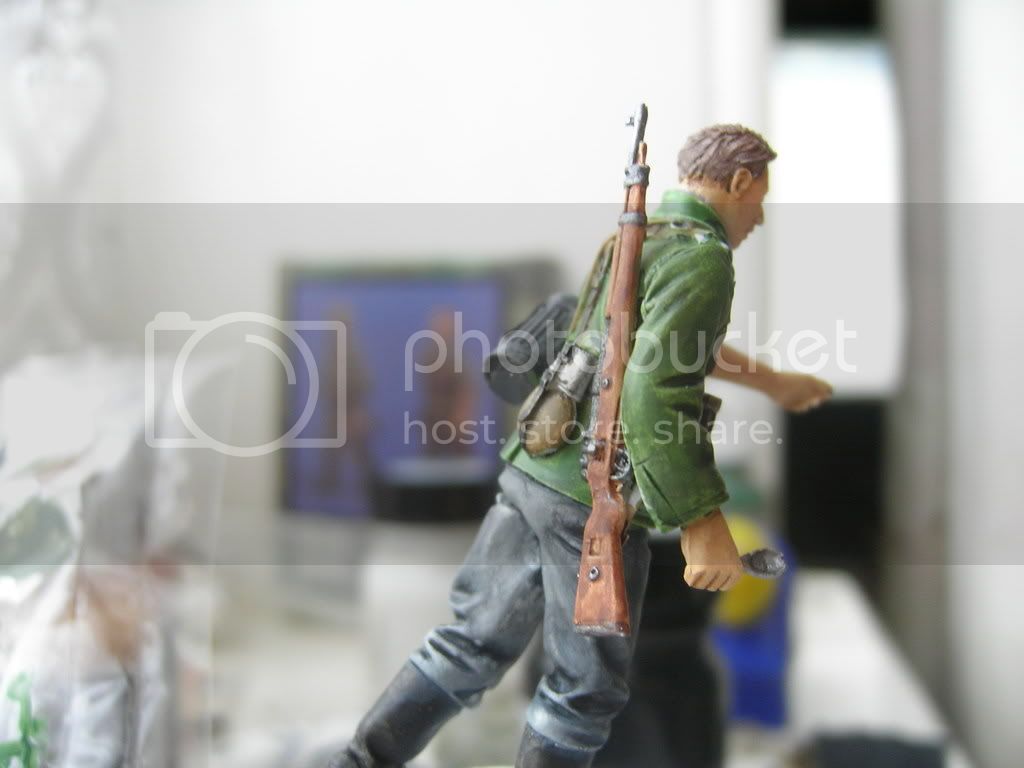
this is the first figure i paintied using this technique, and i think its pretty cool, (my pervious fig aRT was shocking)


SEP 29, 2008 - 10:07 PM
I think your figure looks pretty cool, maybe you need to do improve a bit the rendering of lights/shadows, your figure is highly detailed, but in plastic kits with less detail, you notice a lack of realism that can be improved with a superb painting. I suffer specially with the faces, where i have to do an huge effort if don't want it to look like dummies(i'll read again your explanation on faces, i have much to learn!)
I also use to paint with vallejo(nº1, no doubt), but my tecnique is a bit different from yours. I start with a coat of the base tone (without any primer) and then move on the highlights: with acrylics you cant paint in layers with the paint heavy thinned. Painting sucessive coats you'll get a smooth gradation. If some of the lights look too much hard-edged or too white, i add a very smoth wash with the base color over the area. Finally, i add the shadows in the same way, with thin layers of the darkened color in the clothes. Some details as the buttons or pocket flaps coul be made in the same way than in a rivet in a tank: with a small drop of thinned paint to outline the detail. Other details may be outlined with a sharper edge.
Have you got some photos of non-resin work?(i mean, tamiya, dragon...)
SEP 30, 2008 - 12:23 AM
I like the effect the wash technique has on certain items. It's not what I would normally do, but in certain colours it really stands out (I really like the ammo pouches, for example, looks great in that leather tone). Mixing this technique with preshading and drybrushing for darker colours would yield some great results - and your technique is quick and simple, which is a great bonus.
SEP 30, 2008 - 09:21 AM
I think this is a very good tutorial, and I look forward to trying it out soon as I have a small (no pun intended ... oh, what the heck, let it stand) army of figures that would greatly benefit from better technique. Thanks for sharing
OCT 02, 2008 - 06:42 AM
terrible joke !!!
hehe just kidding,
thanks to all who like the feature, and thanks to Henk and the team! for getting it up and running:D
it may not be the most detailed, and tricky technique, but for people like me(people who struggle to paint figs,:P:D) this hopefully will help!
OCT 02, 2008 - 07:50 AM
Excellent feature and interesting techique. I've been looking for something similar, so thanks alot for posting this. Will see if I dare post anything when I got something finished.
NOV 11, 2008 - 05:57 AM
m0rfar , thankyou for your comment im glad you enjoyed the feature, i haave tried to put across a simple effective technique that practically everyone can use
NOV 11, 2008 - 06:16 AM
Hey, Kid - has anyone ever told you that you are a genius? Well I am, and my son is 9 years older than you.
I'm just getting back into 1:35th Military Modeling after having been away from it for thirty (that's right - 30) YEARS, and I have been looking for a simple way to paint figures that didn't require 50 gazillion coats of flesh, 25 gazillion hours of dry time and a Partridge in a Pear tree to get decent results.
Congrats - you have enlightened me. Pray teach me more - I am your devoted disciple. And I like rock music, too, though my tastes are probably a little old school for you, leaning towards 70s and 80s (I'm listening to Sting as I write this).
Anyway, thanks alot, pal. Your simple techniques of painting will help me to get back in the saddle again. There is hope for my Diorama of elements of 'Das Reich' and the 101st Airborne after all...Take care,
E Strongblade
Rats - did not realize that this article is 2 years old 'til after I answered it. That's OK - the compliment still stands and I hope that you still have the time to model. Too many of us allow RL to prevent it in those critical 20s, 30s and 40s growth periods.
NOV 24, 2010 - 08:05 AM
Copyright ©2021 by James Cann. Images and/or videos also by copyright holder unless otherwise noted. The views and opinions expressed herein are solely the views and opinions of the authors and/or contributors to this Web site and do not necessarily represent the views and/or opinions of Armorama, KitMaker Network, or Silver Star Enterrpises. All rights reserved. Originally published on: 2008-09-28 00:00:00. Unique Reads: 71054


