

1⁄72SAS Jeep
6
Comments
Painting the jeep
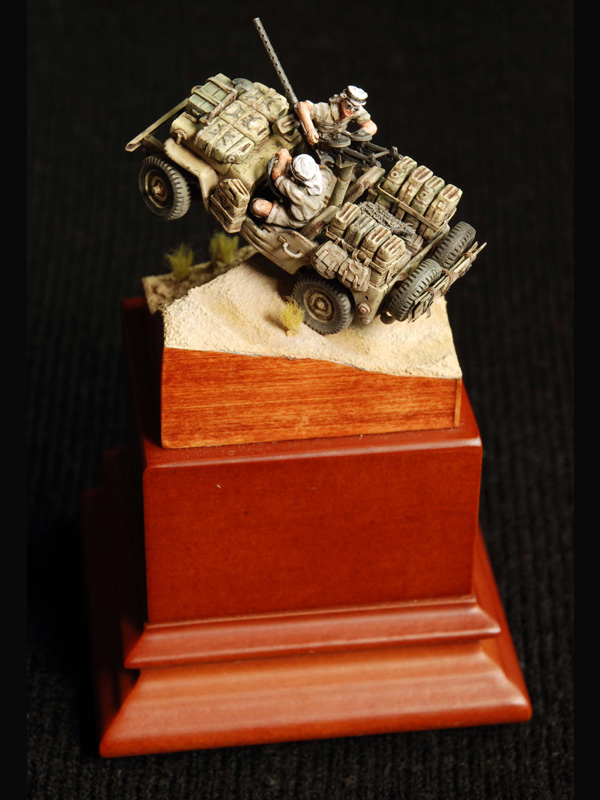
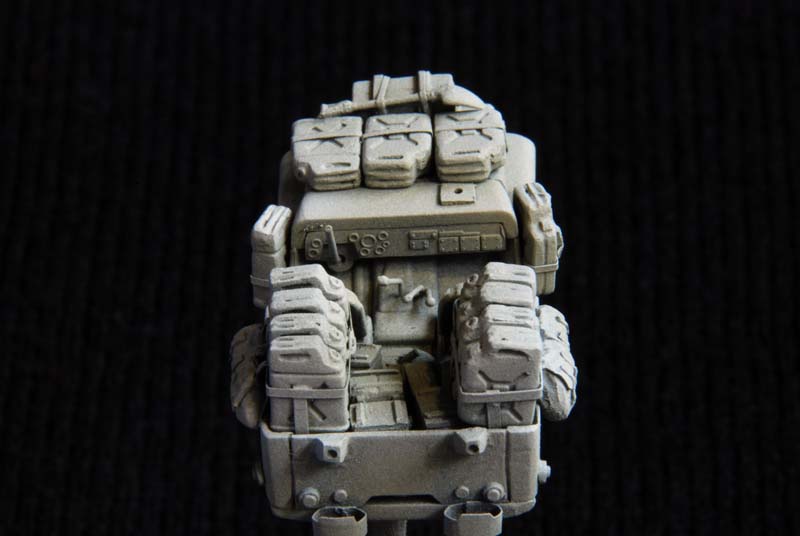
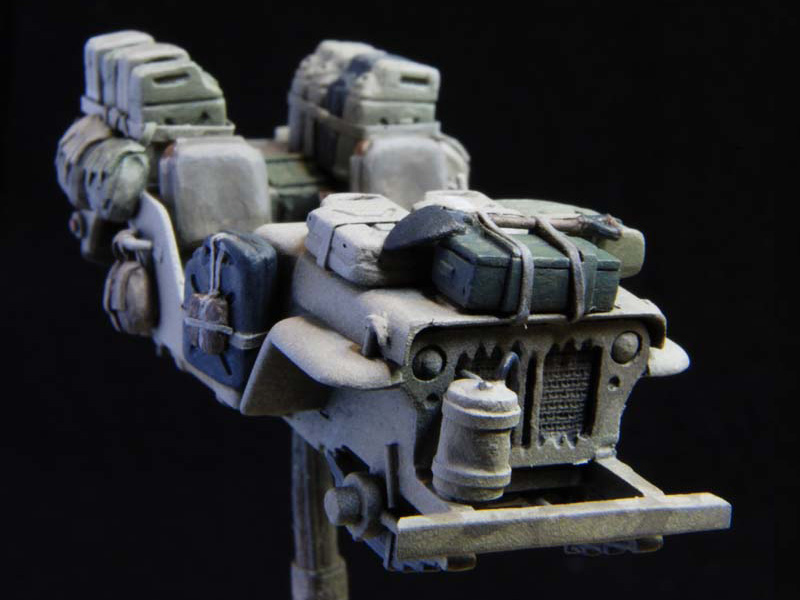
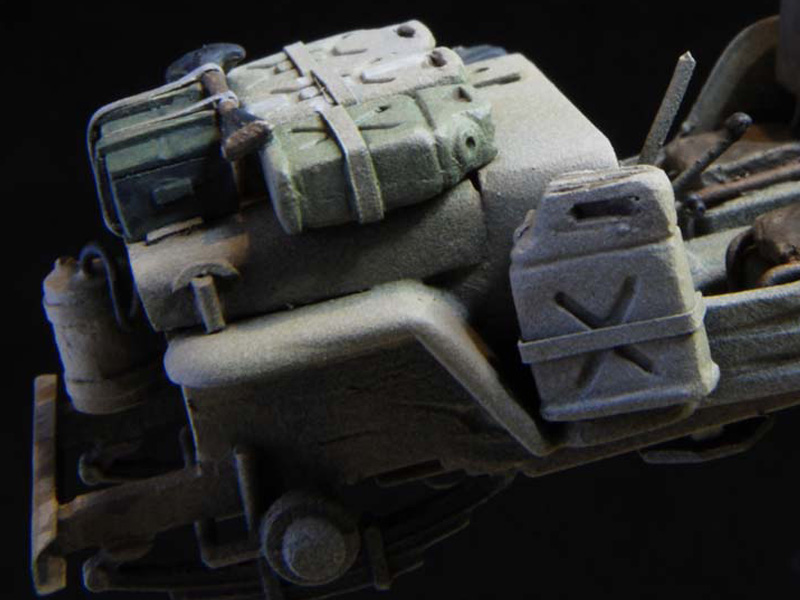
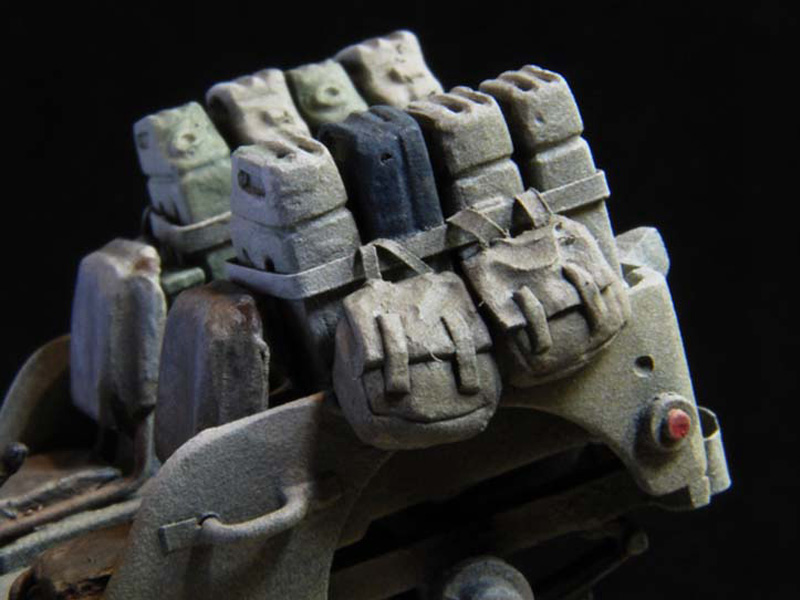
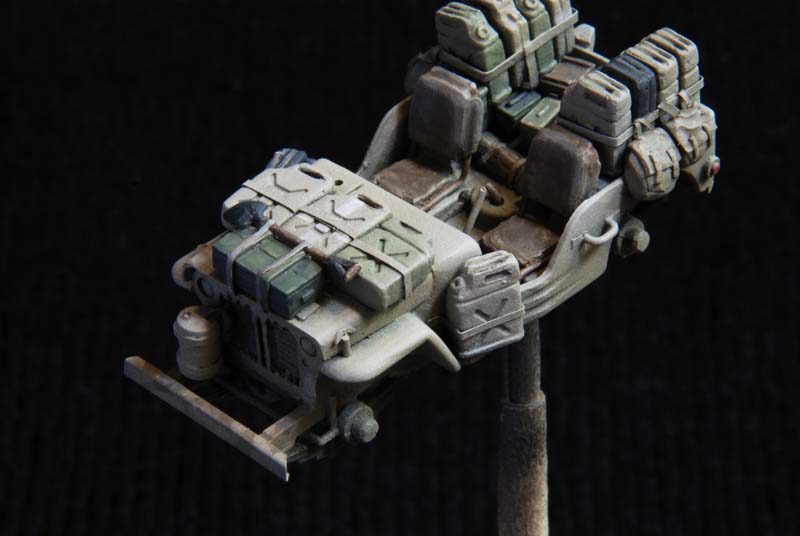
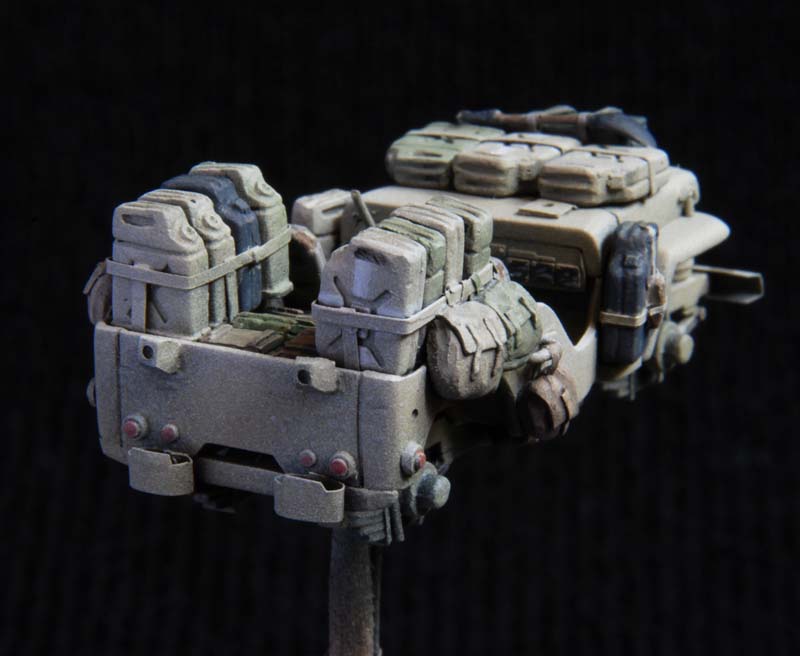
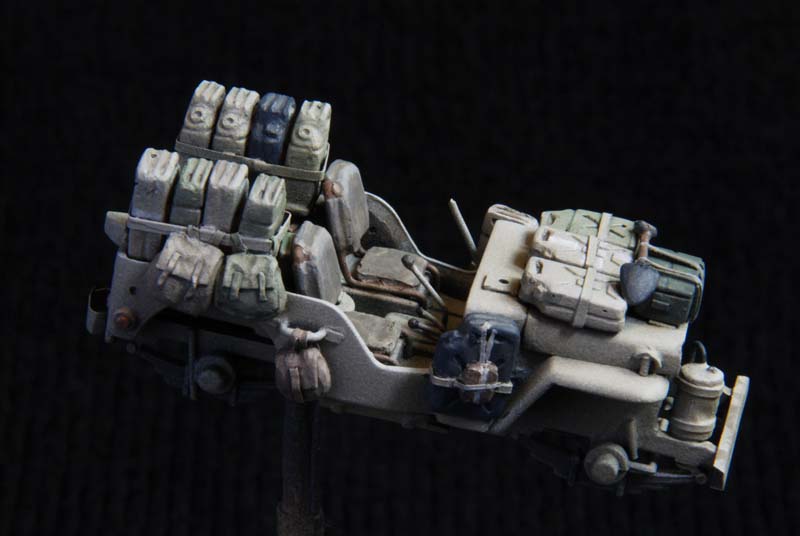
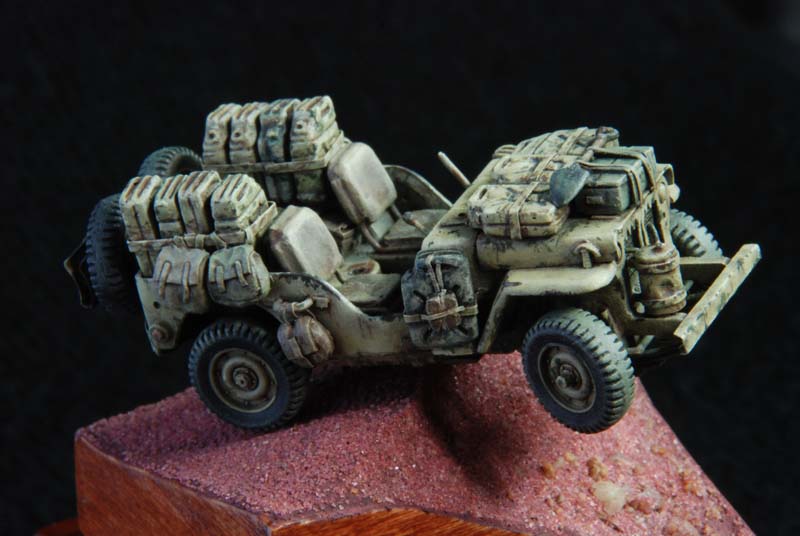
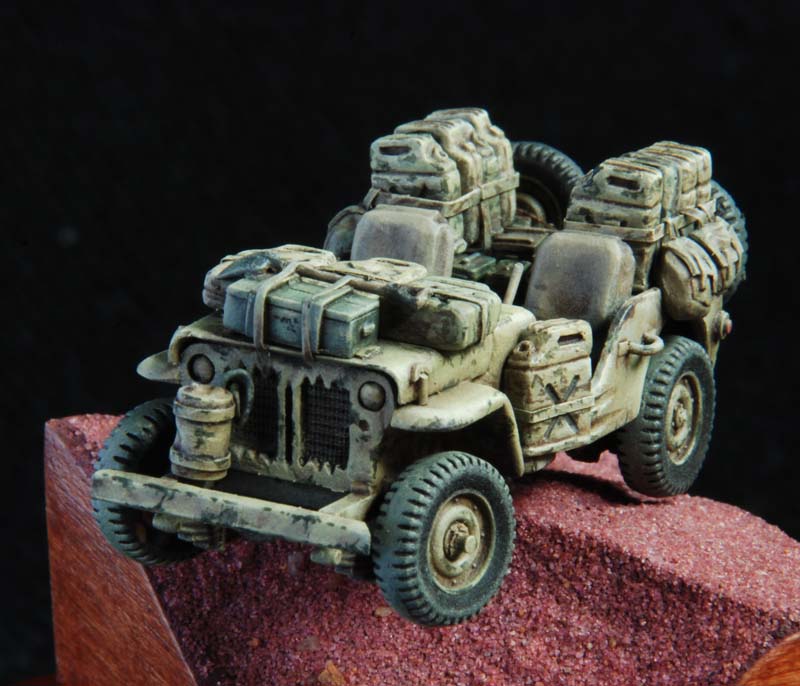
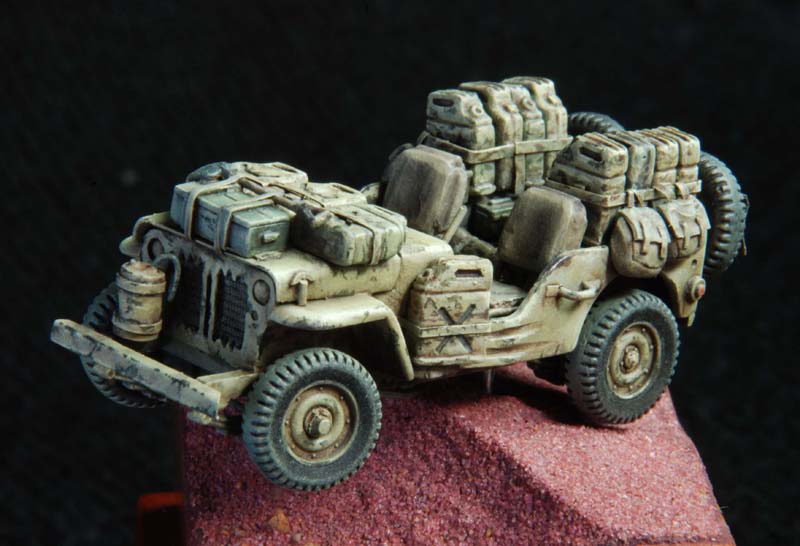
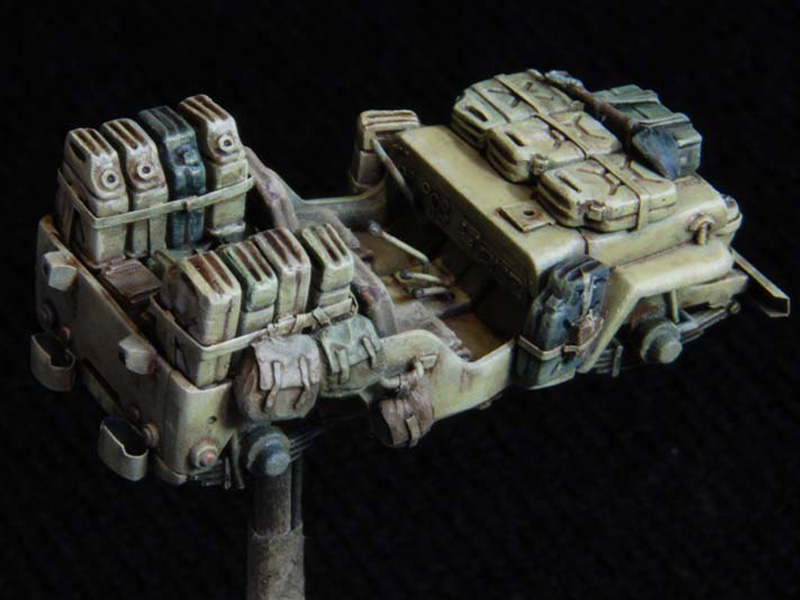
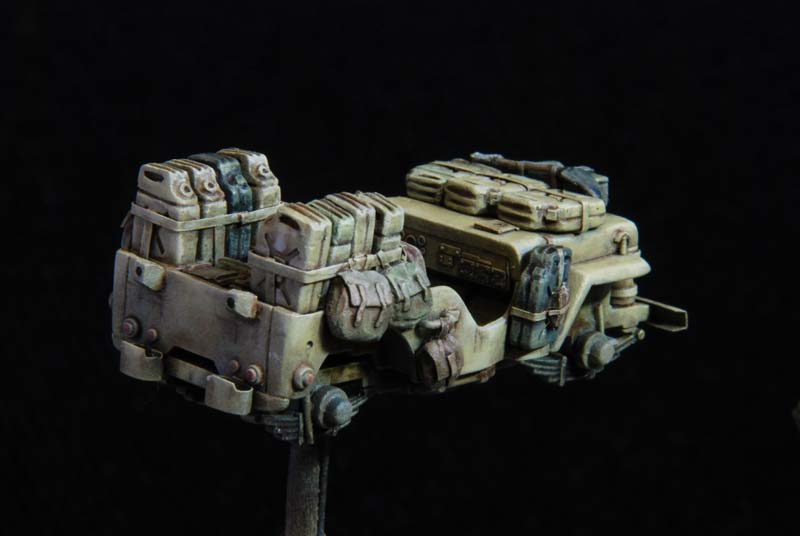
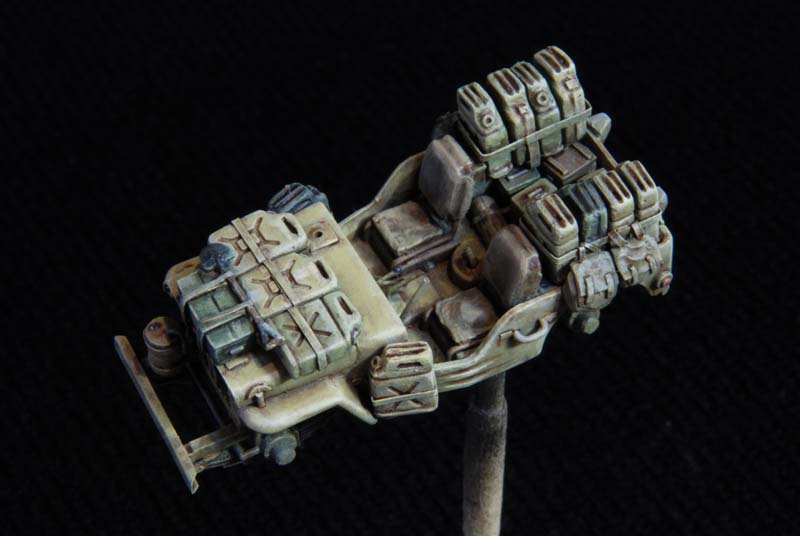
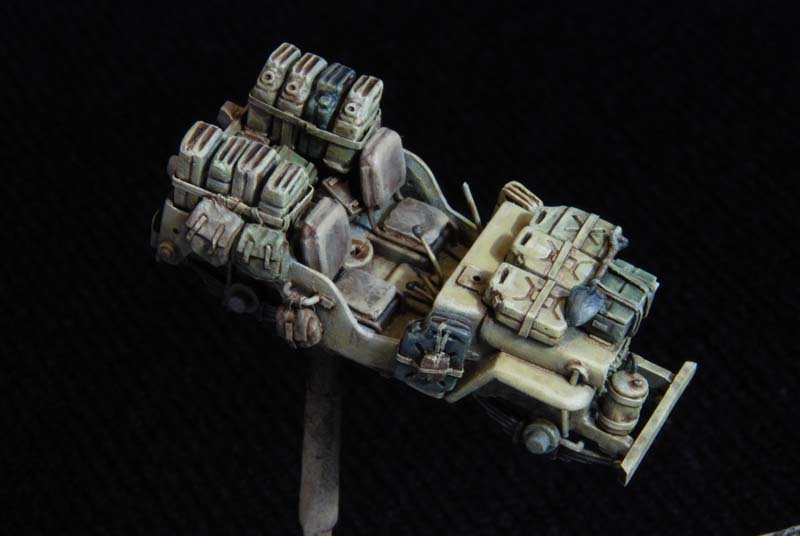
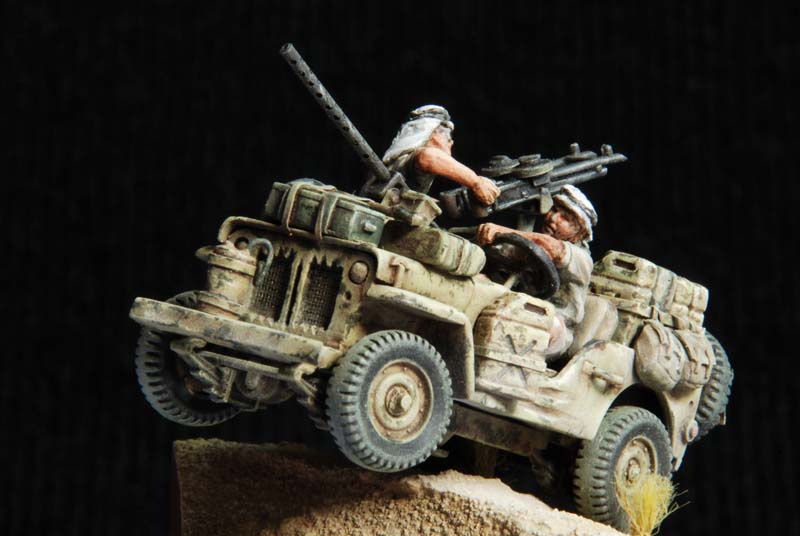
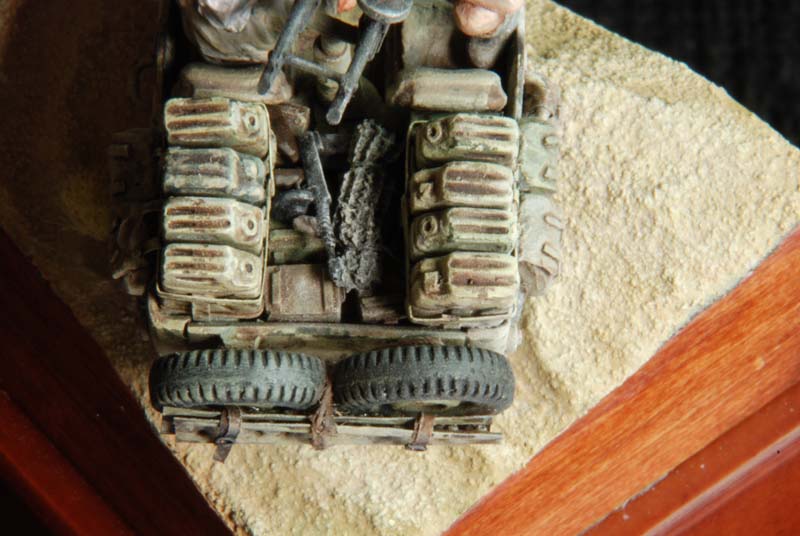
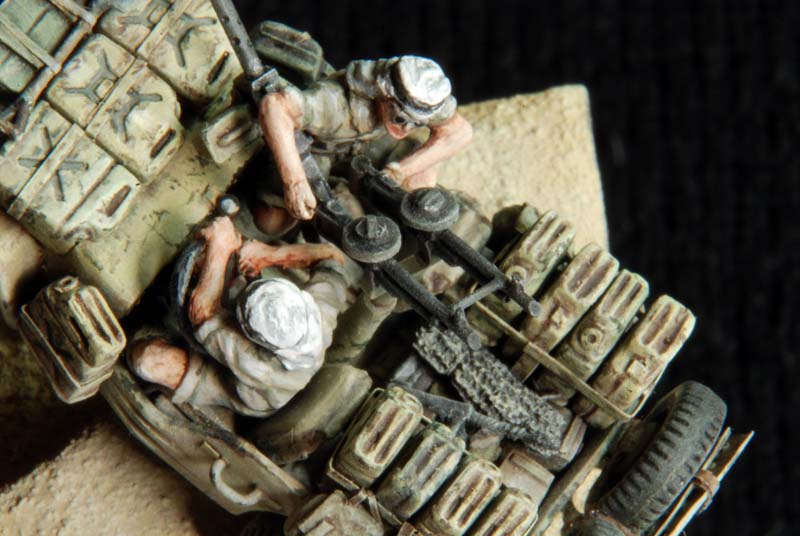
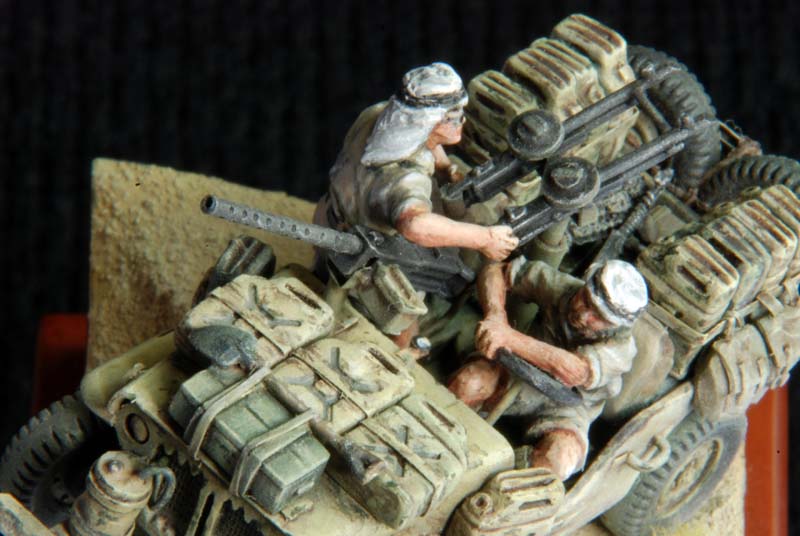
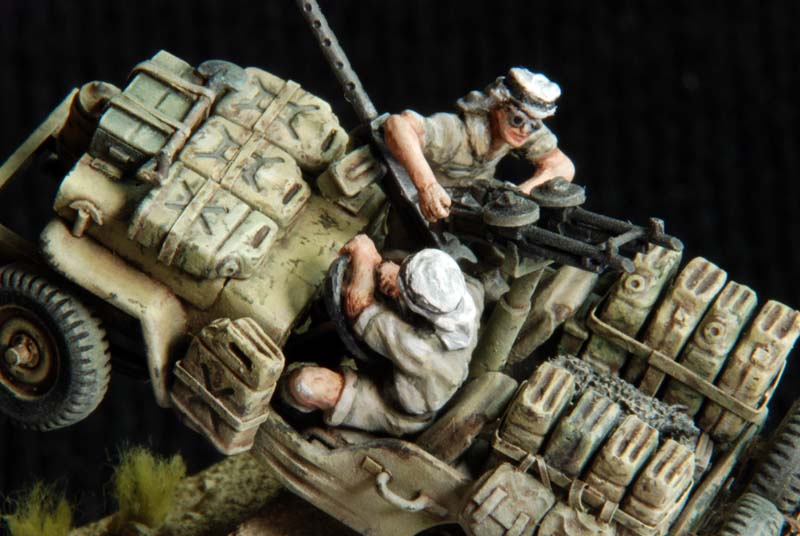
I primed the jeep lightly using Gunze Surfacer 1000 shot thinned with Mr. Color Thinner and shot through an airbrush. I tried to spray as thinly as possible so as not to lose any detail but still have a good surface for the paint to stick on. After drying overnight, I airbrushed a basecoat of Tamiya red brown acrylic mixed with a bit of Flat Black. Again, I tried to keep this layer quite thin but solid. I had to brush on the same mixture into the smallest nooks and crannies that the airbrush couldnt get to. Next layer was a coat of Dark Yellow mixed with a little bit of Deck Tan. This was sprayed mainly on exposed surfaces and just lightly going over the deep recesses. More Deck Tan and Flat White were added to the mixture and this time sprayed only on the surfaces that would be exposed to the sun. Mr. Super Clear flat was then used to seal the resulting pre-shaded model. The next step was to brush paint all the details with Vallejo model color paint. This includes that tires, ammo boxes, seats, jerricans, shovel, machine guns and duffel bags. Weathering began with a wash layer of dark reddish brown oil paint mix diluted with white spirit. For dry brushing, I mixed up a light yellowish tan color (also from oil paints). I followed this up with an even lighter almost white color paint dry brushed to bring out the highlights. I also used dry brushing to represent the dust accumulation on the tires. For the machine guns, I dry brushed some Mr. Metal Color Aluminum paint. Chipping was applied with a brush. I used a mixture of Luftwaffe cam green plus Iraqi sand Vallejo paint. I tried to keep it to a minimum, concentrating on the fenders, bumpers, jerricans, the bodywork near the seats and where the paint would be subject to abrasion. After chipping, the wheels and sand channels were glued on to the rest of model. I used 4 minute clear epoxy. The front wheels were glued at an angle.Base
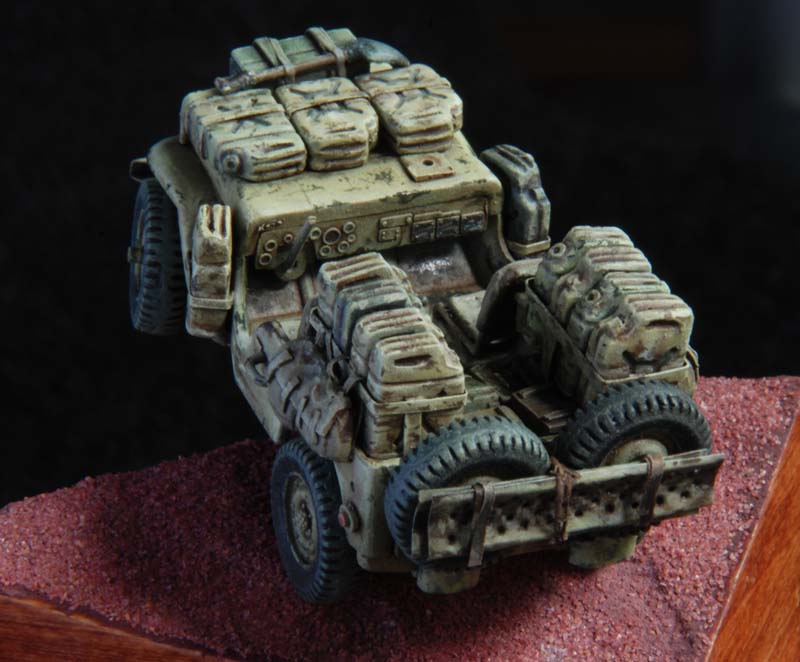
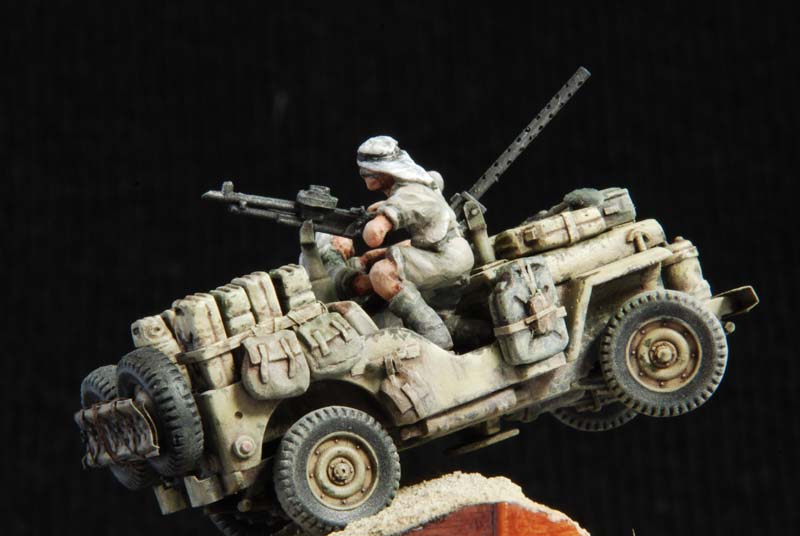
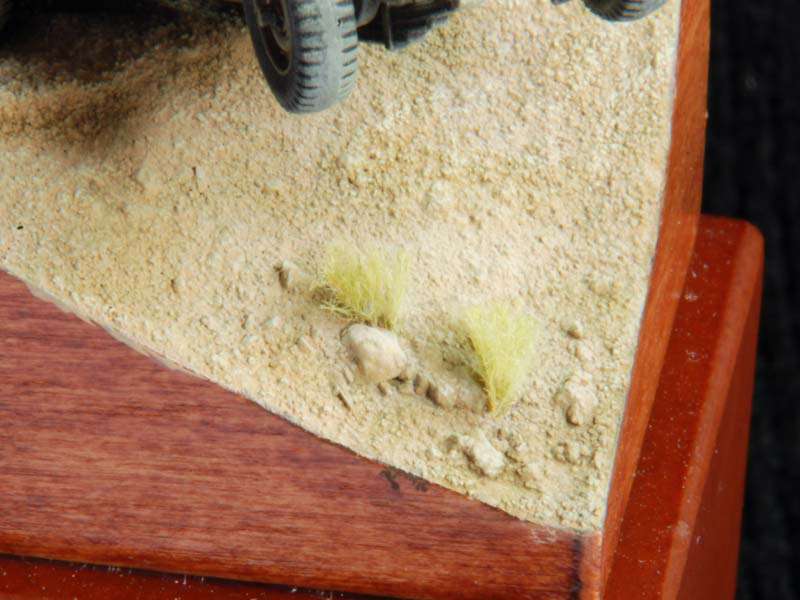
I took a wooden plinth meant for figures and stuck a piece carved Styrofoam on top. Thin balsa wood was cut to shape and glued around the Styrofoam and then stained and varnished. For the groundwork, I used Faller Hydrozell mixed with white glue and a bit of sand. This was built up on the Styrofoam in 2 layers. The tire marks were formed while the Hydrozell was still wet. White glue was brushed on and sand sprinkled on top to add more texture. Everything was brush painted with the Tamiya red brown/flat black mixture. Next I brush painted on a sand color mixture of Vallejo paints. I gave it a dark wash, and dry brushed with oil paints to bring out the highlights. I also dusted it with ground up chalk pastels. I had to repeat this a few times as I couldnt get the dusty sandy effect I was going for. That was partly because I didnt know exactly how this effect should look. At some point, I also resorted to airbrushing some shades into the ground work. When I finally settled on the look, I glued some fibers from a scale railroad grass matt product. The finished jeep was mounted via wire stuck into a hole underneath the chassis. As a final touch, chalk pastels were dusted on the lower surfaces of the jeep. A couple of light sprays of Mr. Super Clear flat sealed the deal and I was ready to call it a day on this project.Photography
Shooting Braille models is a bit of challenge. I started taking work in progress pictures of the model with a Fuji film finepix f60 in macro mode. I was getting decent pictures but parts of the jeep were out of focus, probably due to the large aperture setting the camera had. I eventually got a Nikon D80 digital SLR camera. This was used for all the finished piece photos. For the really close up photos, I attached a Kenko lens extender to the kit lens. This allowed me to shoot macro without getting special lenses. The downside was with my kit lens, I could no longer adjust the aperture. Luckily, the aperture was stuck at a small setting (f22) giving me a deep focus region. I had to shoot with slow shutter speeds from 2 to 3 seconds for indoor day shots and up to 8 to 10 seconds for night shots. Of course this can only be done with a tripod. I also had to use the timer to prevent vibration when taking the photo. I also had to make sure I wasnt moving too much while the photo was being taken; even the floor vibrations affected the image. The shots were taken at different times of day, and I had to adjust the white balance setting for color integrity. All the shots were done indoors. At night, I had a fluorescent desk lamp as the main light. During the day, I shot next to large open window. I used big white envelopes as bounce cards.Conclusion
Well, Im very pleased with the final result of this project. It took me 3 years of on and off building, but Im really glad I stuck with it and finished it. Although decent, the academy kit needed quite a bit of work to get a half accurate basic jeep. Using the Airfix jeep will definitely save you time and produce better results. Still, I am sure that all Braille modelers out there would be grateful if some manufacturer could come up with a jeep that is up to todays mind bogglingly high standards for 1/72 scale.


About the Author


Comments


YEEEE HA Great action that jeep is really moving. The driver looks like he is holding on, waiting for the crash, bang wollap! Great sense of speed. love it!
NOV 27, 2008 - 02:47 PM

Sonny, holy cow!!!! The patience that you have in building something in 1/72 is incredible. How do you do that!? That is a great build, make some black and white photos and it would fool everyone!!
DEC 01, 2008 - 07:39 AM
Thanks guys, the reception to the model has been very encouraging. I hope the build feature is informative for you guys.
Also comments and crits are welcome.
Cheers,
Sonny
DEC 09, 2008 - 03:26 AM
Looks great, Sonny. A very action packed little scene.
Thanks for sharing
DEC 10, 2008 - 03:57 AM

Looks real cool, hope mine turns out as good, I am working on 1 now. jeepkid019
MAR 01, 2009 - 03:43 PM
Copyright ©2021 by Sonny Sy. Images and/or videos also by copyright holder unless otherwise noted. The views and opinions expressed herein are solely the views and opinions of the authors and/or contributors to this Web site and do not necessarily represent the views and/or opinions of Armorama, KitMaker Network, or Silver Star Enterrpises. All rights reserved. Originally published on: 2008-11-27 00:00:00. Unique Reads: 40461

WEB HOSTING BY


Copyright ©2021 Armorama and Kitmaker Network, a subsidiary of Silver Star Enterprises
All Rights Reserved. Please read our Conditions of Use and Privacy Policy.
All Rights Reserved. Please read our Conditions of Use and Privacy Policy.