

1⁄35TAMIYA LECLERC UNIFIL 1/35
2
Comments
DECALS
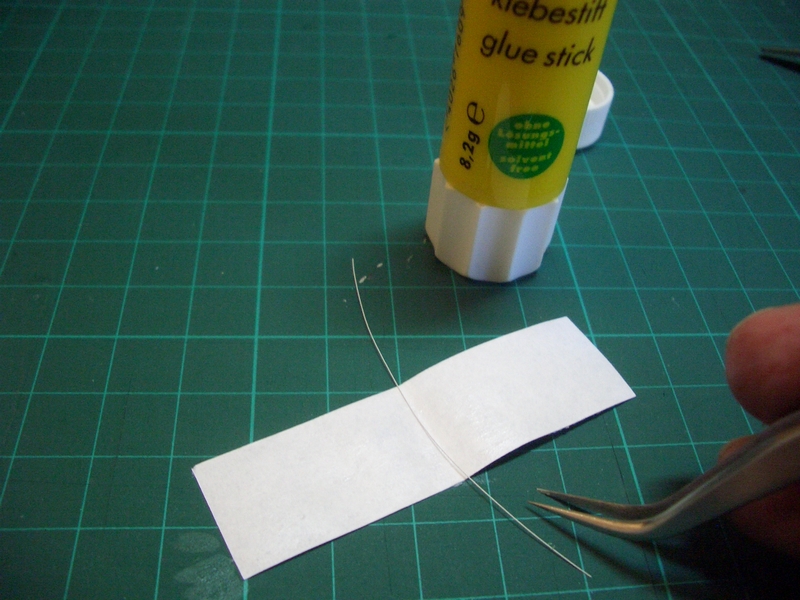
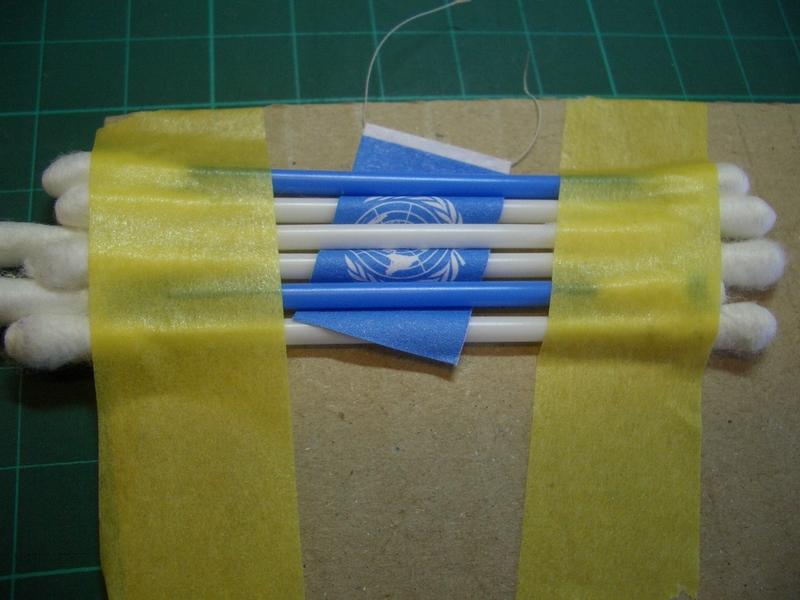
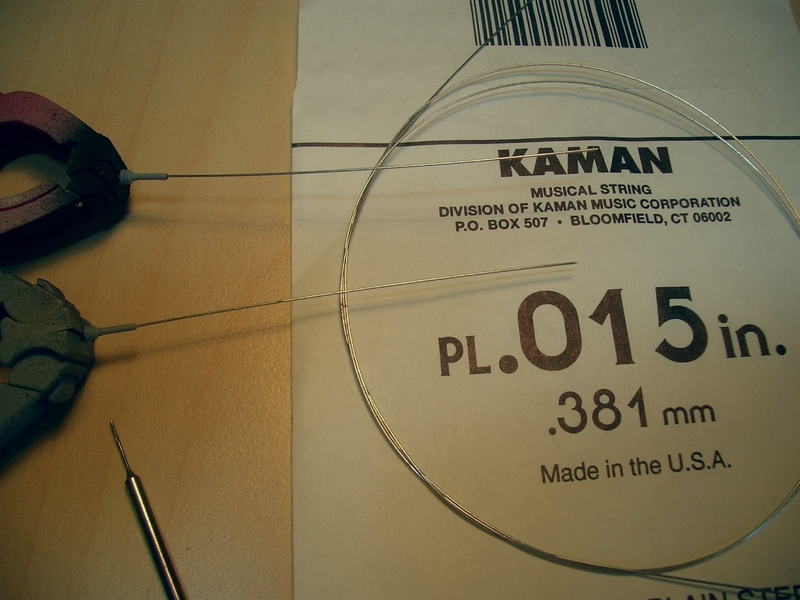
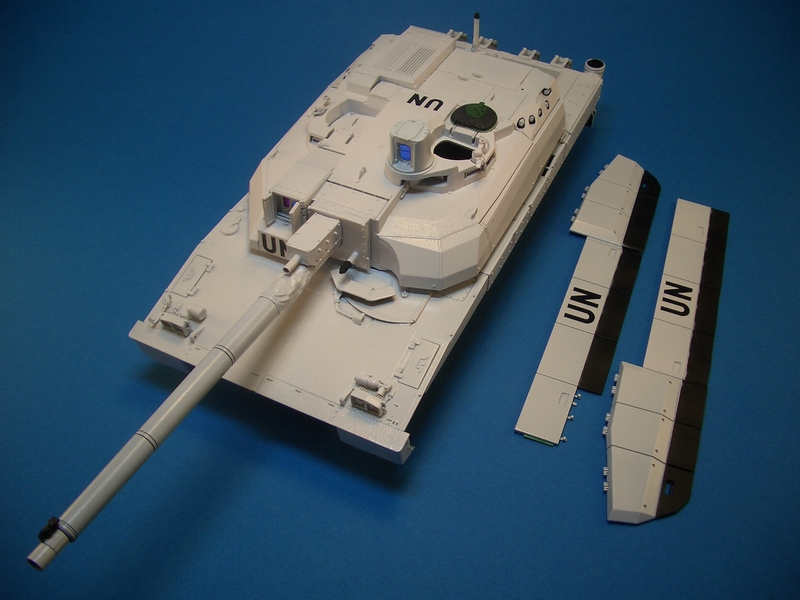
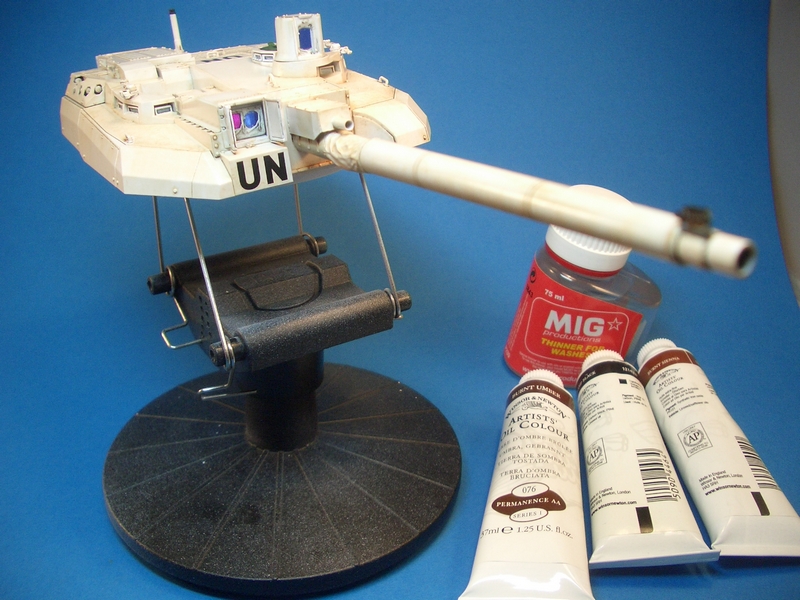
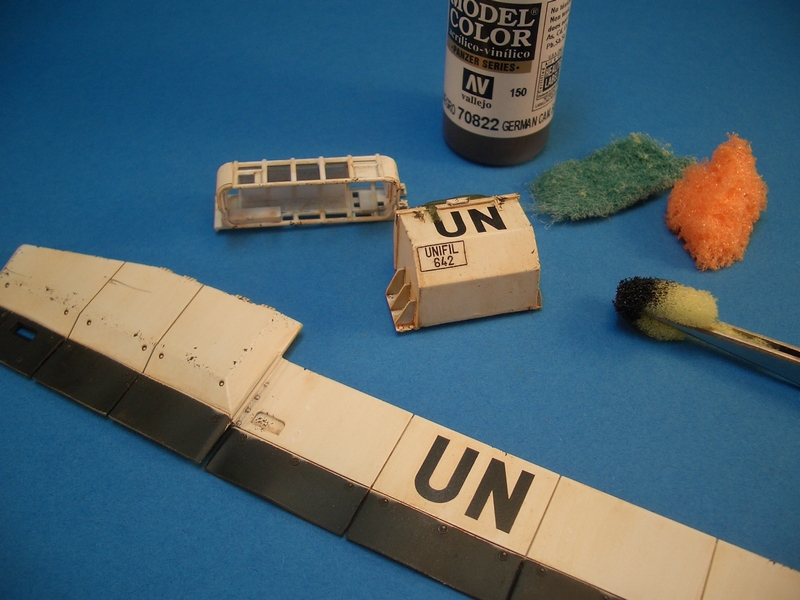
I wanted to have fun with the decals. The decals from Echelon are clean and sharply printed. Unfortunately, however, they lack the UNIFIL license plates, which were not mounted on the original tanks when Echelon created their Decal Set. So I powered up my PC and created the license plates myself. First I printed out the decals on normal office paper and fixed it with scotch tape into place to test whether a vote in scale and scope. When I was satisfied I printed the images onto decal paper. Before applying the decals on the model I brushed the surface with "Future". I did the same with the decals when they were fixed in place. This helps to minimize the "silvering" effect of decals. The flag This time I tried another way to create a nice UN flag - I printed a picture on 80g office paper. Then the flag was cut out, folded and glued together with a UHU stick. To give the flag some sort of motion I trapped it immediately after gluing between q-tips until the glue cured. Antenna Usually I make antennas from guitar strings. They are flexible but robust anyway. I drilled up the antenna base and glued it in place. My reference Leclercs antennas are camouflaged with some sort of white scotch tape. So I first painted it white, masked stripes with small Micron Masking Tape and finally painted it with Tamiya NATO Green. Mounting straps As the mounting straps on the storage basket are very prominent, I wanted to have this! So I have taken the buckles from the Eduard-Set and simplified them to my needs. For the straps I used thin Micron masking tape instead of metal foil. The straps were fixed in a cardboard frame for easier handling. For the belt colour I used Tamiya XF-67. The closures I painted with a brush - first XF-16 and then X-26 Clear Orange both from Tamiya. The fixing of snorkel and belts in the stowage-basket was not without problems. I always had to fix various parts with Blue-Tac. So I had some three or four hands available. For this job I used very thin superglue and put it on with a needle, I also added chipping to the basket.PAINTING and weathering
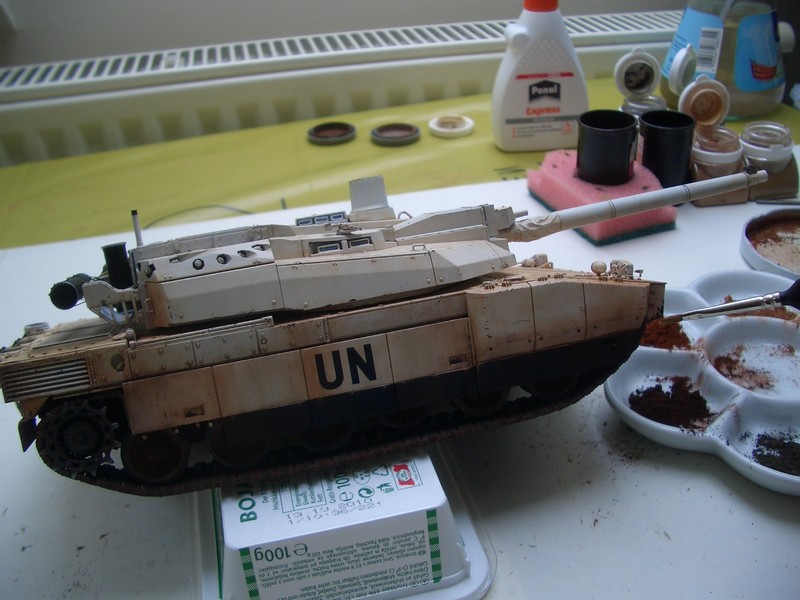
Painting The Leclerc was first given a coat of Tamiya grey primer. Then the basecoat was applied using Tamiya clear white with some drops brown or buff to tone it down a bit. After that I applied brown-reddish filters with oil colours thinned with white spirit. The disadvantage of this method is the longer drying time of oil colours. The advantage is the longer working time if something went wrong. Chipping After the oil paints had dried (4-5 days) chipping was replicated using the so called sponge-method. I dipped the sponge into color from Vallejo, then dabbed the excess away on a cloth. When not too much colour was left on the sponge I dipped it carefully onto the model. Be sure not to overdo this effect! Weathering I wanted to achieve a heavy weathered model, and so I used different pigments and had problems fixing right amounts and colours of pigments in place. Once the pigments disappeared too much, the other time they concentrated too much on some points especially on the anti slip surface.TRACKS
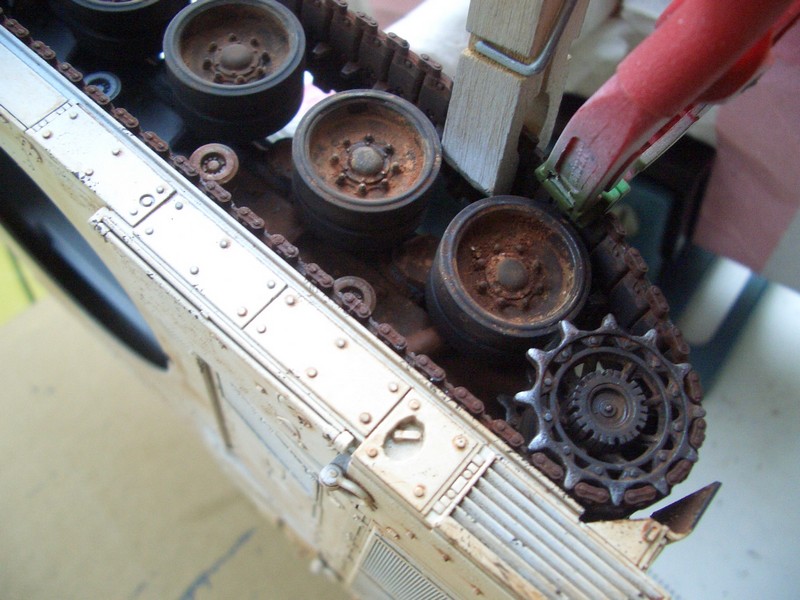
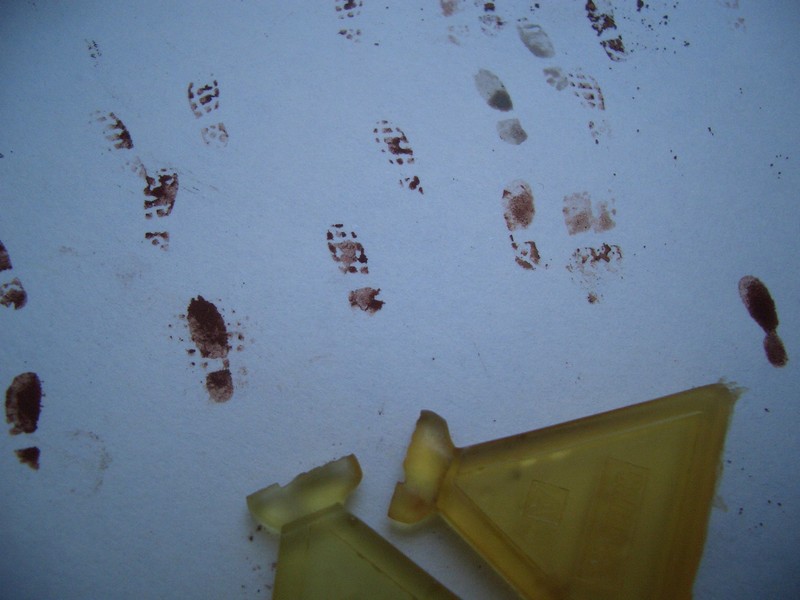
I used the kits vinyl tracks, which are really not that bad, there is a workable Set from Bronco available though. The Bronco tracks look perfect and have great detail, but they are a also a lot of work to assembly. The vinyl-tracks were primed with Tamiya surfacer spray, and then painted with Tamiya black matt. The end connector parts were painted silver and then made rusty with Tamiya hull red. Finally the tracks were weathered with reddish and brownish pigments from different manufacturers, with the pigments being fixed in place with white spirit. Finally the tracks were mounted on the model and glued with Tamiya cement which works surprisingly fine. Footprints Footprints? Yep, these funny footprint-stamps are made by Calibre. Just dip it into some paint, dab and start tramping. There's even left and right footprint available ... it was fun to walk around.FIGURE
Although I am not a great figure painter I do like the way figures animate the model, it just looks so more authentic and credible and I like the nice size comparison. Here is the commander - a French tank crew man in resin from BLAST MODEL. The figure was painted with various colors of acrylic Vallejo and Andrea range. On the photos you can also see tiny little decals - French flags made by myself and UN badges made by Echelon Decals. The UN badges from Echelon were created from one of my badges from my UN mission in Lebanon, which I had provided to them. They contacted me in my build-blog for my UN Leopard 1A5DK a while ago. UN Leopard 1A5DK Live links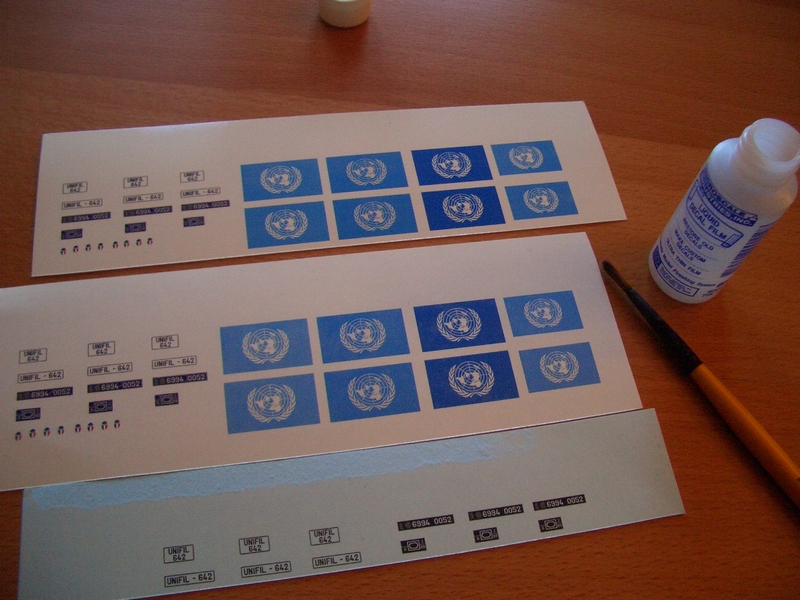


About the Author


FROM: LOWER AUSTRIA, AUSTRIA
I've been building models since I was a child. I took several off-times (military-duty, un-services, occupational career, my family, set up my company e.g. ) but never lost interest. I am stuck with modern armor - especially white un-vehicles - but also with early aviation from austro-hungarian empi...
Comments

Great feature Walter. Your BLog was already fun to follow. If I could nitpick, the MBT name is Leclerc and not LeClerc.
It has been named from Marshal Philippe Leclerc de Hautecloque former CO 2nd French AD in WWII.
Olivier
NOV 08, 2010 - 05:31 AM

What a great peice! Your photos are great, the text is informative, and the model itself is superb. Bravo!!
Chris
NOV 10, 2010 - 06:04 AM
Copyright ©2021 by Walter Lampel. Images and/or videos also by copyright holder unless otherwise noted. The views and opinions expressed herein are solely the views and opinions of the authors and/or contributors to this Web site and do not necessarily represent the views and/or opinions of Armorama, KitMaker Network, or Silver Star Enterrpises. All rights reserved. Originally published on: 2010-11-08 00:00:00. Unique Reads: 21243

WEB HOSTING BY


Copyright ©2021 Armorama and Kitmaker Network, a subsidiary of Silver Star Enterprises
All Rights Reserved. Please read our Conditions of Use and Privacy Policy.
All Rights Reserved. Please read our Conditions of Use and Privacy Policy.