

1⁄35M16 Multiple Gun Motor Carriage Part Two
5
Comments
getting serious with the detailing
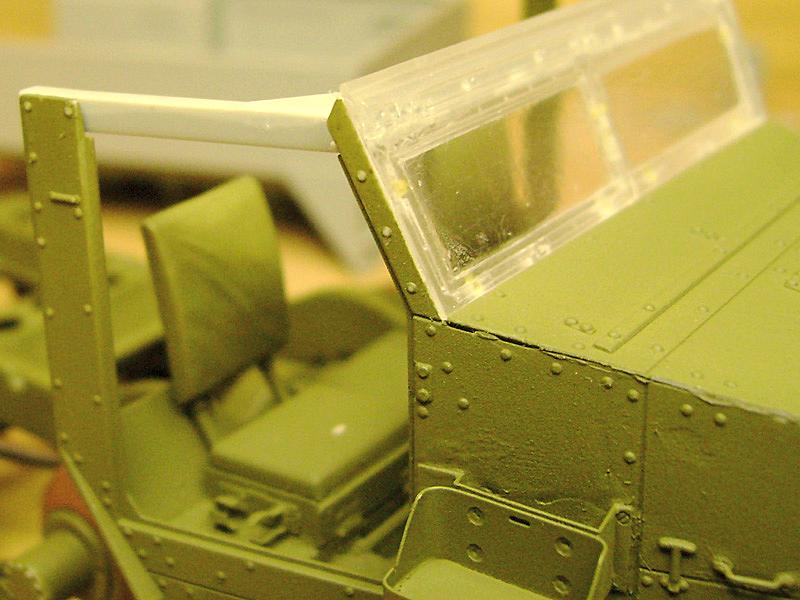
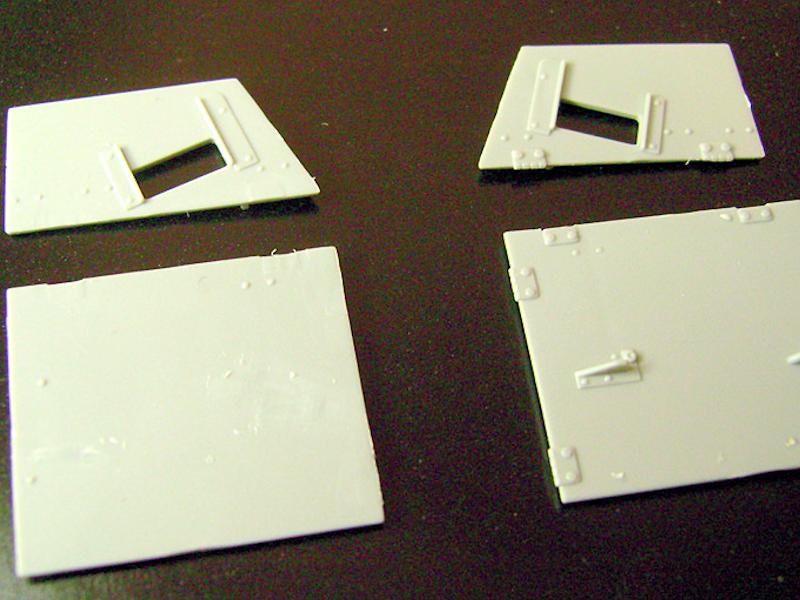
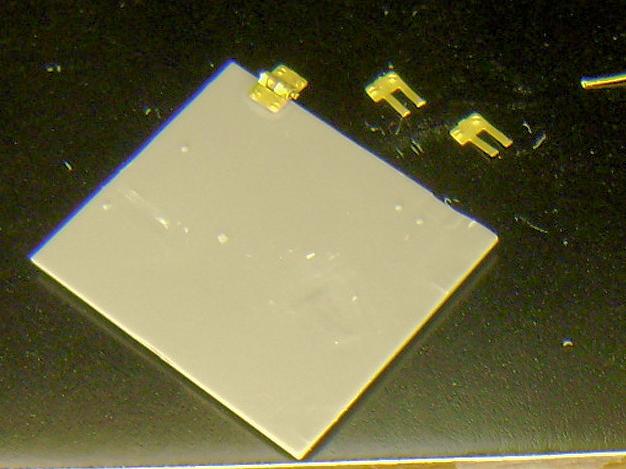
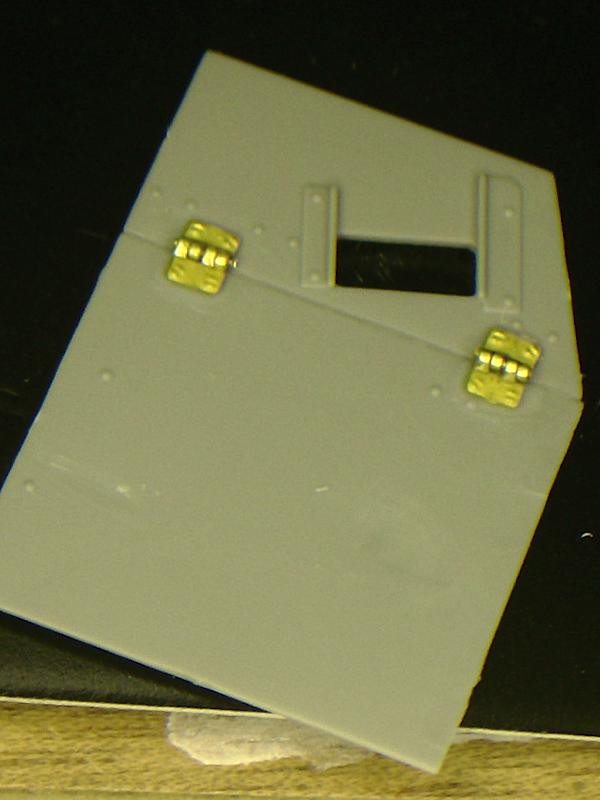
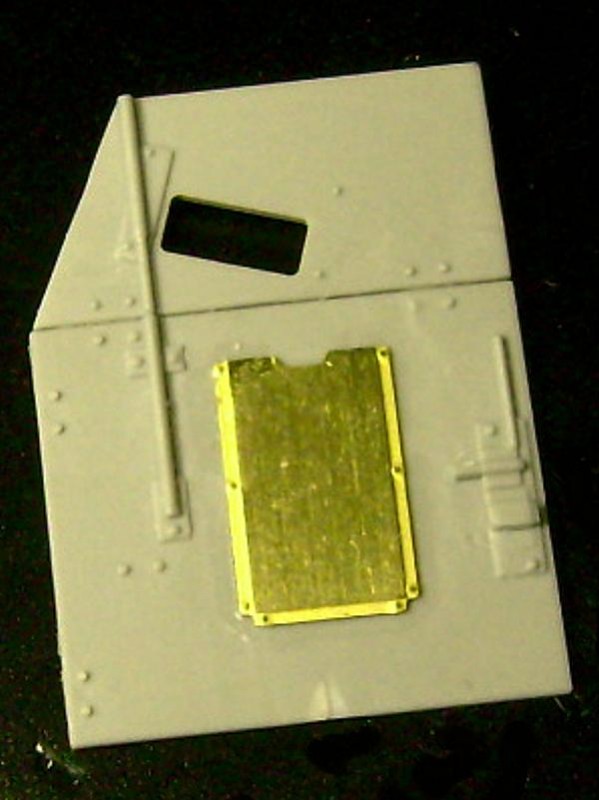
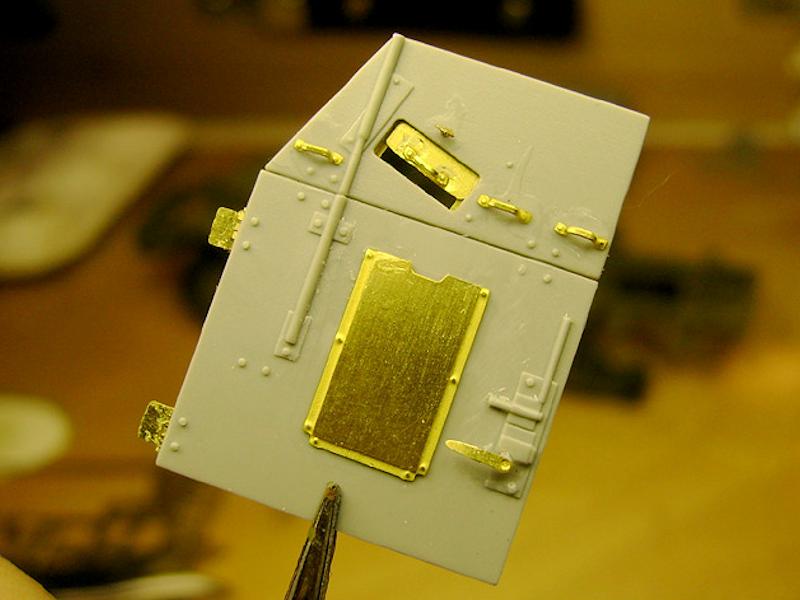
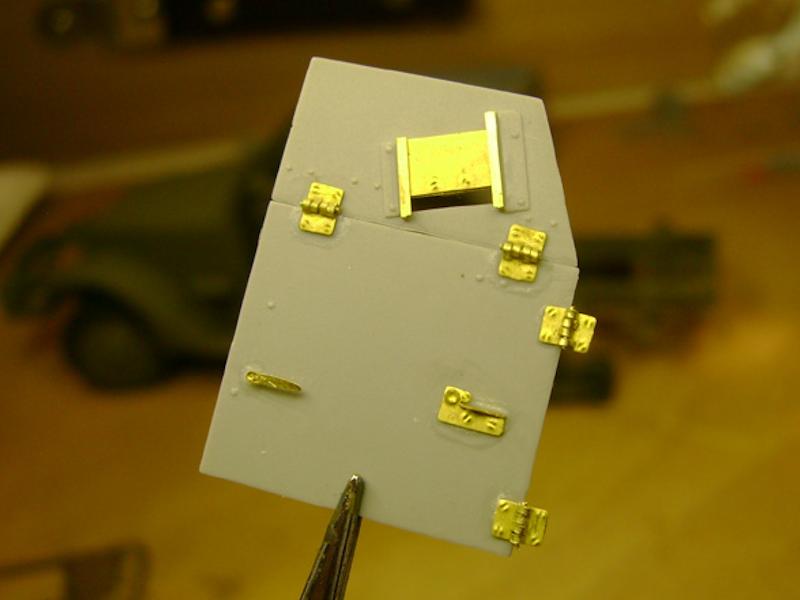
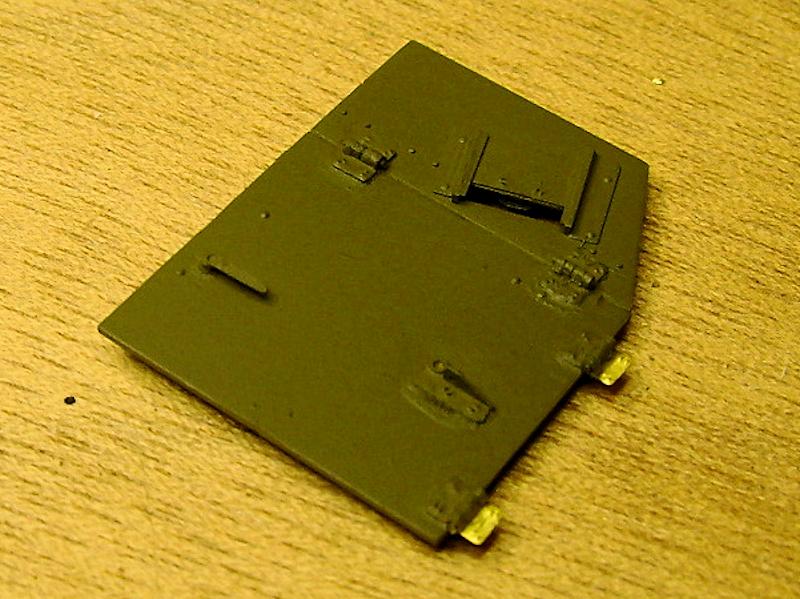
Since all the pieces inside were now dry, well move inside and get serious. Griffon has the better dash panel solution, so I went with that; the Dragon styrene dash panel has to have the gauges and stuff stripped off and the panel smoothed off, because the instrument decal needs to be applied in the perfect position and then the PE dash face glued over that. Theres a great bit of detail on the steering column mount, with a PE bracket, a U-bolt made of copper wire and two nuts from the PE (which are so real its frightening) with the bracket needing to be attached before the dash is mounted into the cab. The cab details must also be added now, including the lever which actuates the front grille louvers, and the fire extinguisher holders. You might want to paint the clutch, brake, and gas pedals too, as they get tricky to paint once the panel is in place. Once thats all addressed and the dash is in, you can get the steering column installed fully, but Id leave off the steering wheel for a bit. At this point I sprayed base OD green (Testors Model Master Enamel) from my trusty 35 year old Badger to see how Im doing, and so far, so good, I think. Now, you want details? You like PE? Here we go. Windshield: Griffon provides the wing nuts that hold the windshield together, and the center mounted compass bracket. Proceed with caution: CA glue will etch your windshield and ruin it, so be careful. I apply the stuff with a piece of wire in tiny drops. Mount the windshield in the cab and be very sure of the position. The roof windshield brace is next, and its one part of the Dragon instructions I have to take issue with. I have several reference photos showing the real vehicle cab and how this major component is positioned. The kit instructions do not clearly show this at all, and it took careful study of reference pictures to get it to dry fit correctly. I assembled the rear fighting compartment too, as it is critical to the fit and position of the roof windshield brace. Rear body, front cab, and roof windshield brace must all co-operate on the assembled chassis and line up with each other. This isnt exactly easy at first, some fitting work is required to get the rear compartment to fit into the chassis, and mate to the cab perfectly. Patience is absolutely essential. I masked the windshield panels with the most highly exotic film Scotch tape, cut to fit with an X-acto blade. I tape across the dash, then fire up the trusty Badger and very carefully spray base OD for the windshield. I like the look. But, PE freaks, were not done by far. The windshield armor plate is next, just a warm up for things to come. Three more tiny hinges, and functional tracks for sliding armor view slit covers; Im just impressed. Yes, your armored covers can be slid open and closed. This was allowed to dry, then sprayed and mounted on to the windshield. The doors were next, and boy oh boy yummy detail! All the handles are there in PE, the sliding armor cover, door latch handles, the right side door map case, all the hinges, the outside bracket for the window armor plate securing pin... its all there. Of course the styrene molded on details must first be stripped off everywhere a PE part will replace it. I spent late nights building each door. Hours each. But they do look just marvelous when done, well worth the time and patience it takes to bend all those tiny PE handles correctly. A little OD from the Badger shows the result. The doors took a bit of fitting, but very minor.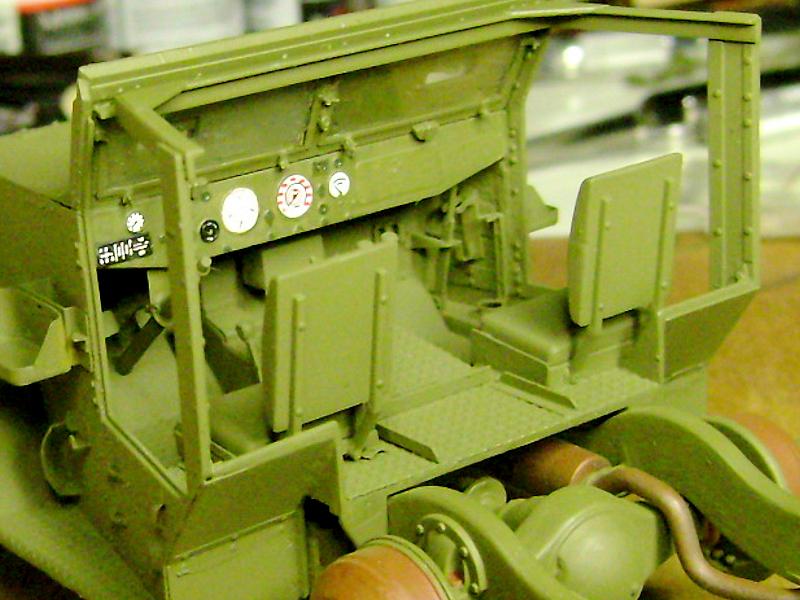


About the Author

FROM: JIHOCESKY KRAJ, CZECH REPUBLIC
I am one of the fortunate ones who has been gifted all my life with the Charm of Making..I am professionally an Artist / Illustrator at this stage of my life, and am or have been a Musician, Commercial Artist, Movie Effects Tech, Set builder, Mechanic, Machinist, Motorcycle Racer and Builder, and ev...
Comments

Nice progress Gary! Love the added MG mount.
I just finished my M-16 (it's blogged on Armorama as well) and it was an enjoyable six months!
Keep up the good work!
Terry
JUL 24, 2012 - 12:57 PM


These intense PE builds are fun to watch! I've used one of the smaller Griffon halftrack sets, and it was enough to stress me out. This is really looking great!
AUG 05, 2012 - 11:08 AM

Yeah, Terry, I was looking at yours..very nice! I actually asked James about putting mine up because yours was so well done, didn't want to be redundant! But as it turns out, I'm going to do several things differently, and add some interesting detail, especially in the weapons. Also, the vehicle is for a big action diorama I am planning, so lots of toys n goodies will be added..crew in action, gear, weapons, belt links and shell casings everywhere! Now that I'm fully moved to Europe, I can get on with it! Thanks to all you guys for your kind words of support!
JAN 15, 2013 - 11:16 PM
UPDATE on M16 HT build: Major issue of accuracy has come up, which I hope to resolve soon..it is holding the build at dead stop until resolved.
The drum mags for the quad .50s don't fit in the rear body correctly. this may be a major error from Dragon, working on answers now..stay tuned!
APR 30, 2013 - 10:30 PM
Copyright ©2021 by Gary Roberts. Images and/or videos also by copyright holder unless otherwise noted. The views and opinions expressed herein are solely the views and opinions of the authors and/or contributors to this Web site and do not necessarily represent the views and/or opinions of Armorama, KitMaker Network, or Silver Star Enterrpises. All rights reserved. Originally published on: 2012-07-22 00:00:00. Unique Reads: 15182

WEB HOSTING BY


Copyright ©2021 Armorama and Kitmaker Network, a subsidiary of Silver Star Enterprises
All Rights Reserved. Please read our Conditions of Use and Privacy Policy.
All Rights Reserved. Please read our Conditions of Use and Privacy Policy.