

1⁄35M16 Multiple Gun Motor Carriage Part Two
5
Comments
Field Mods
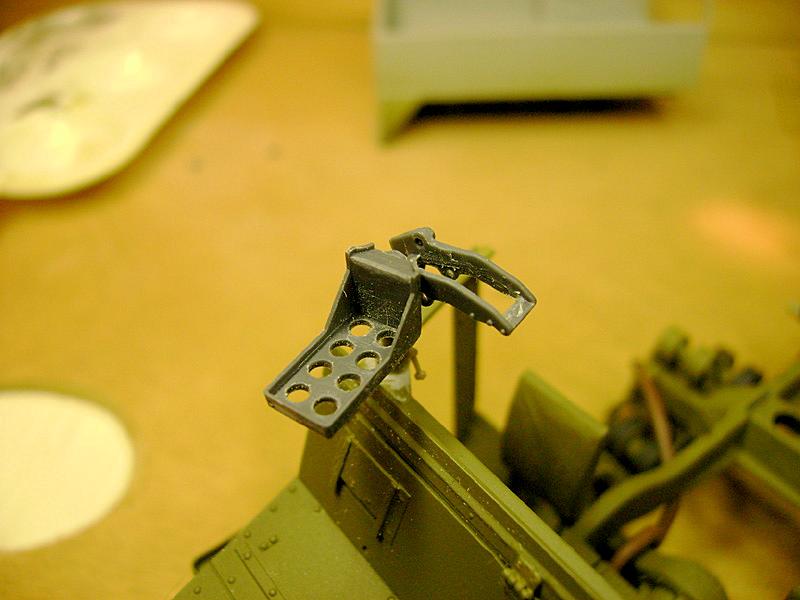
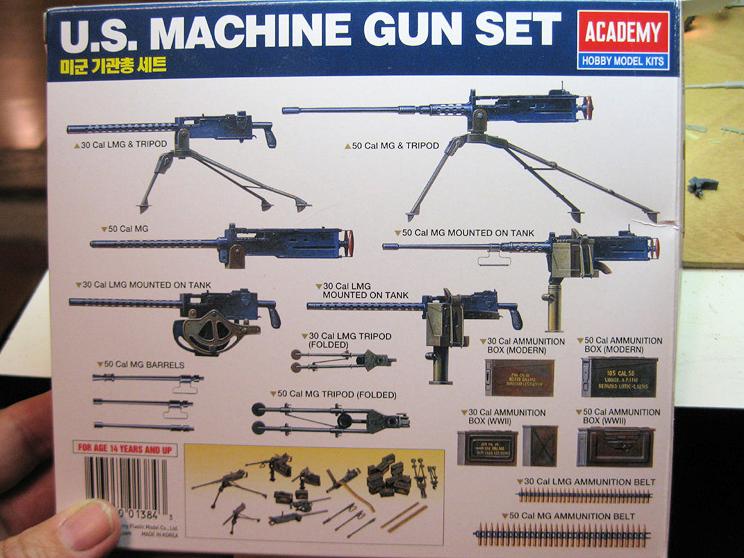
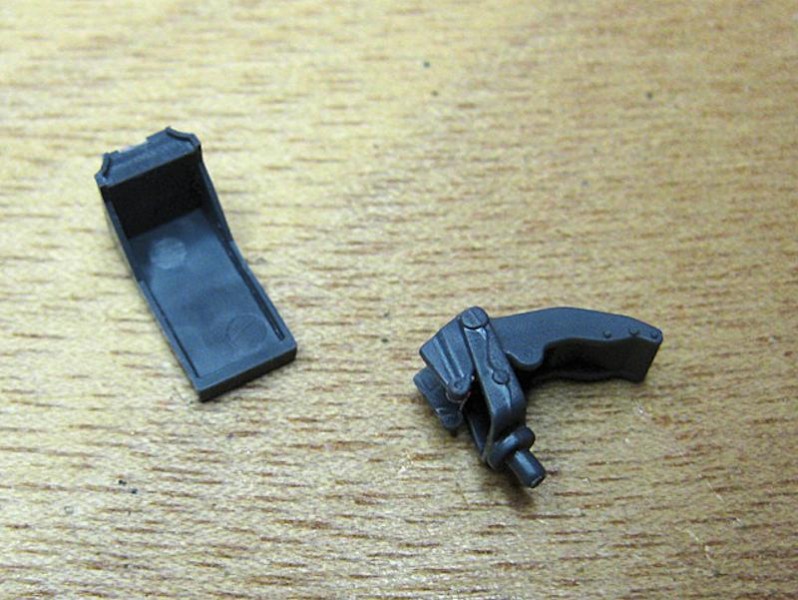
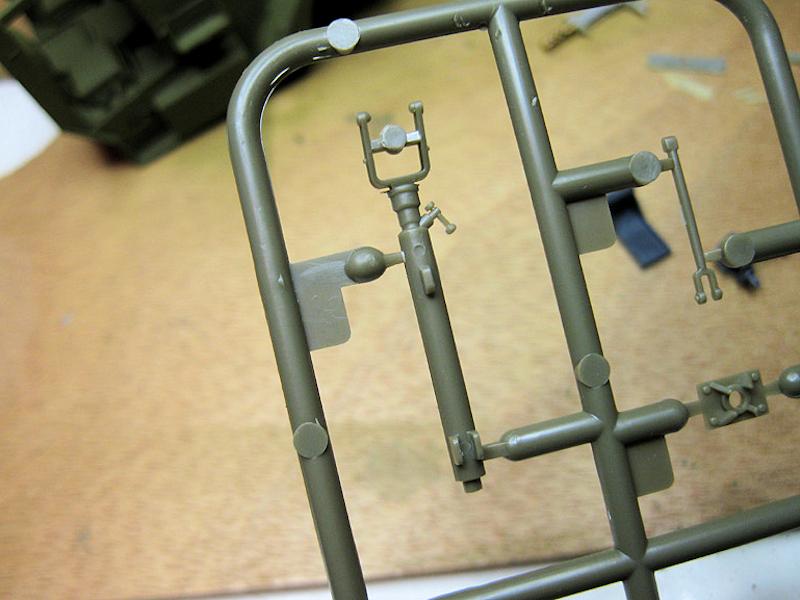
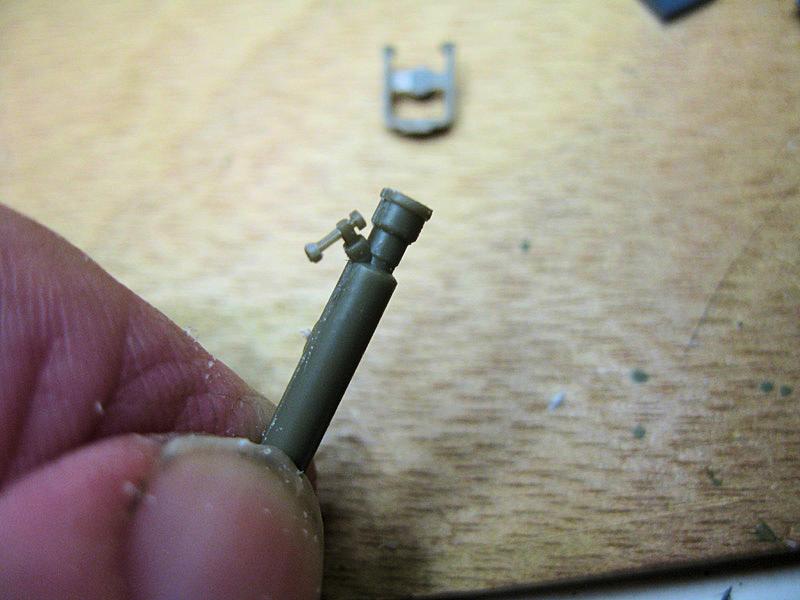
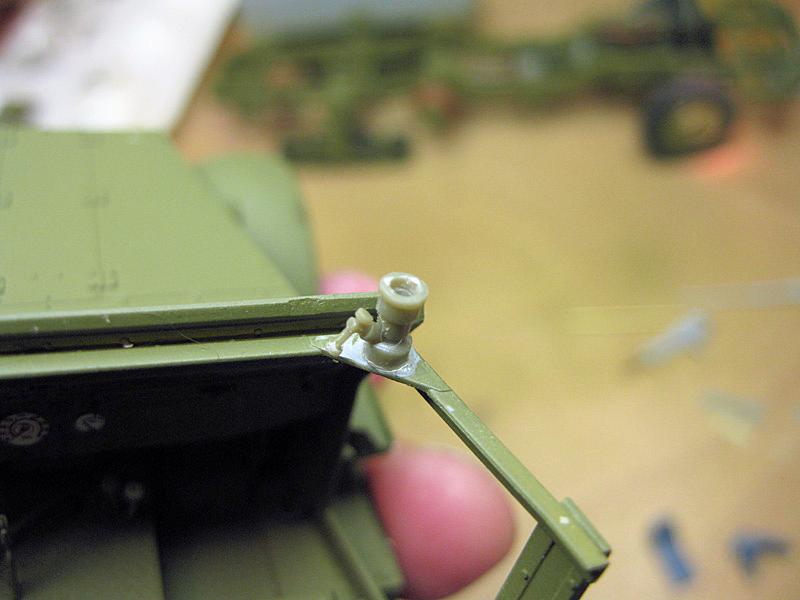
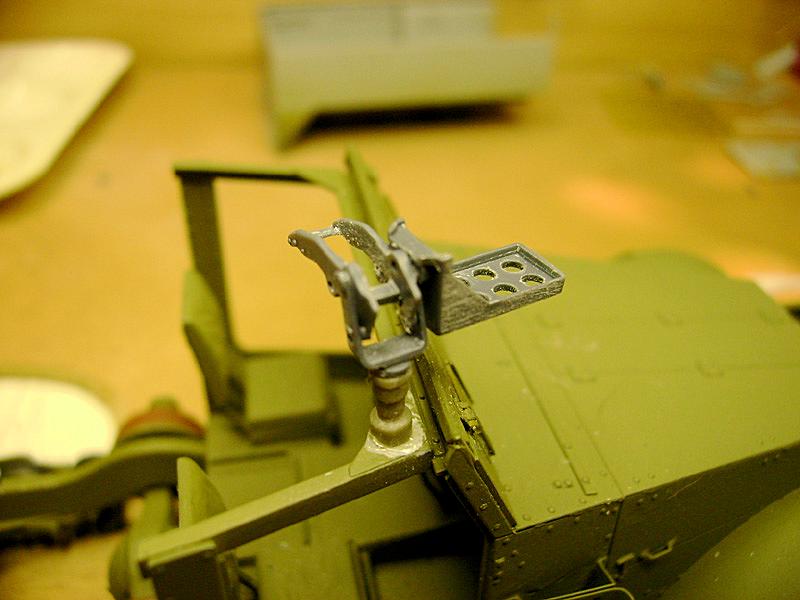
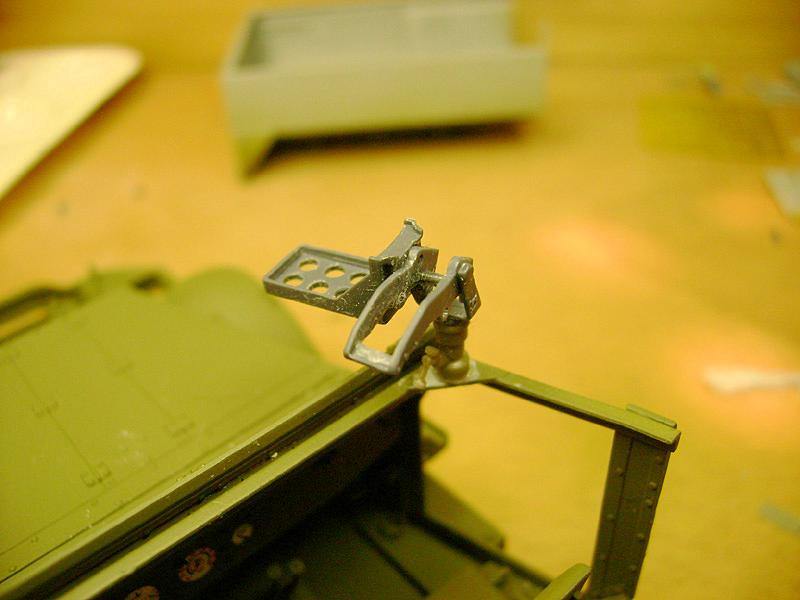
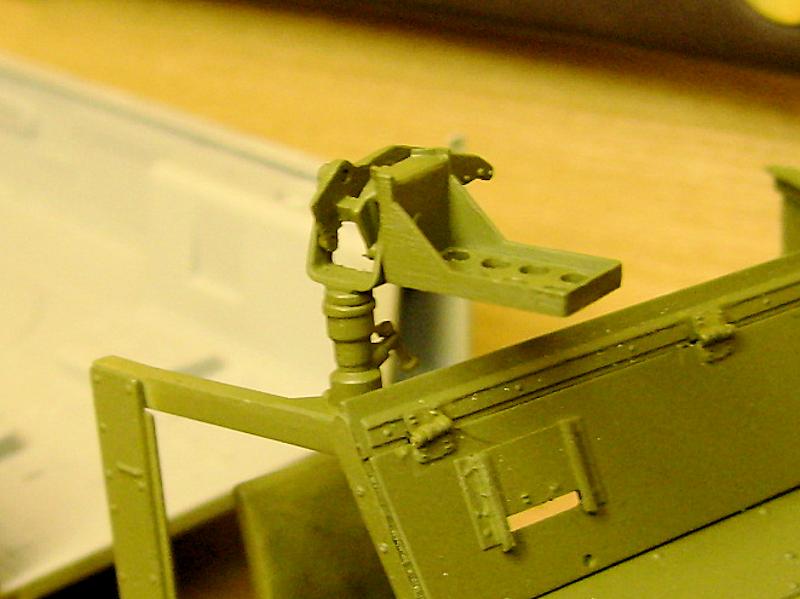
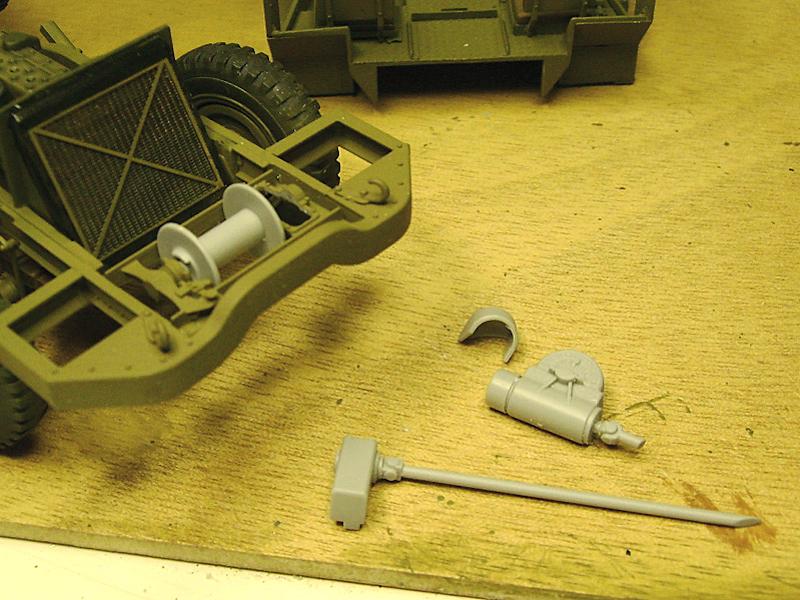
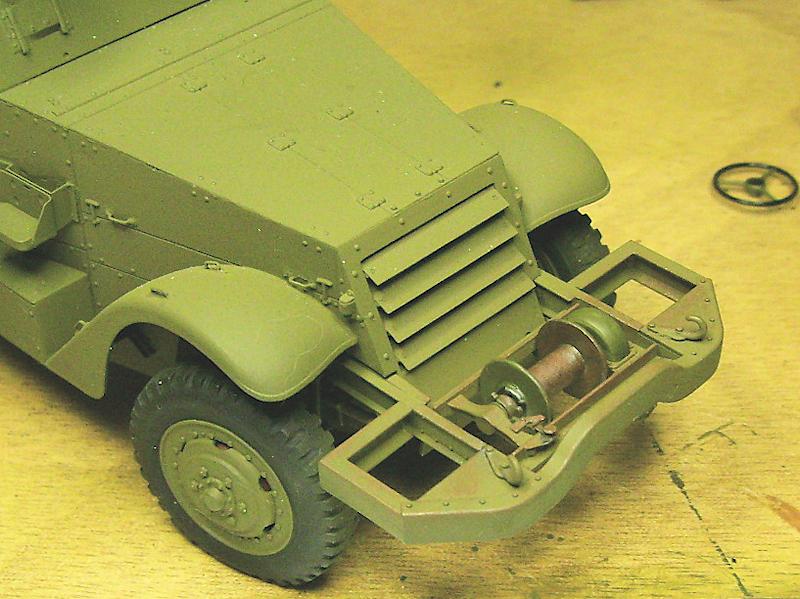
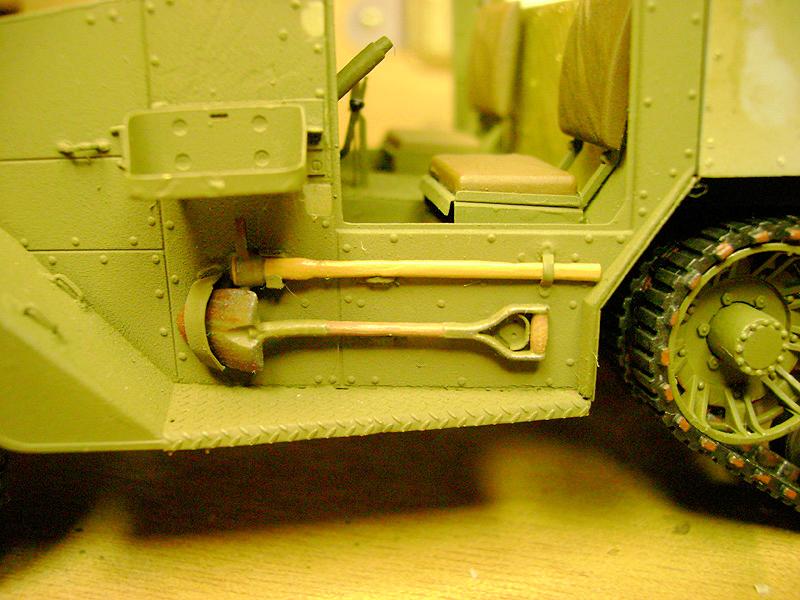
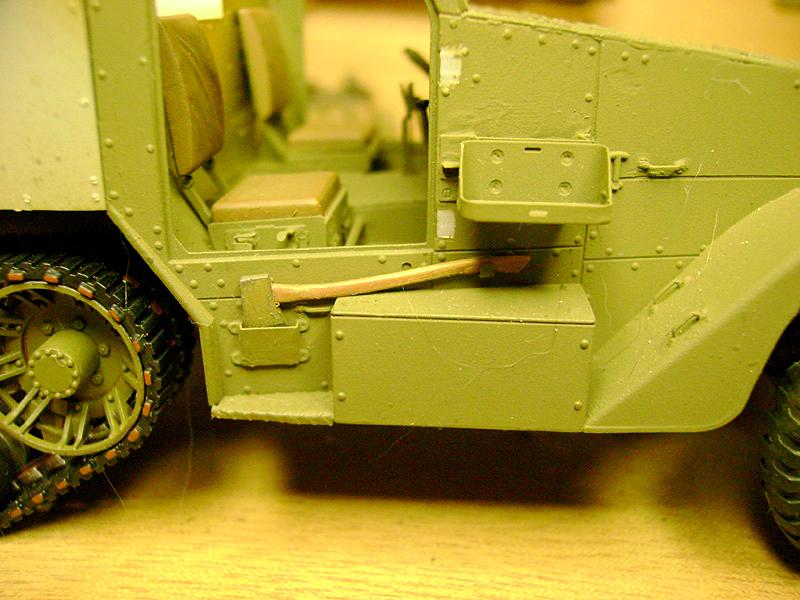
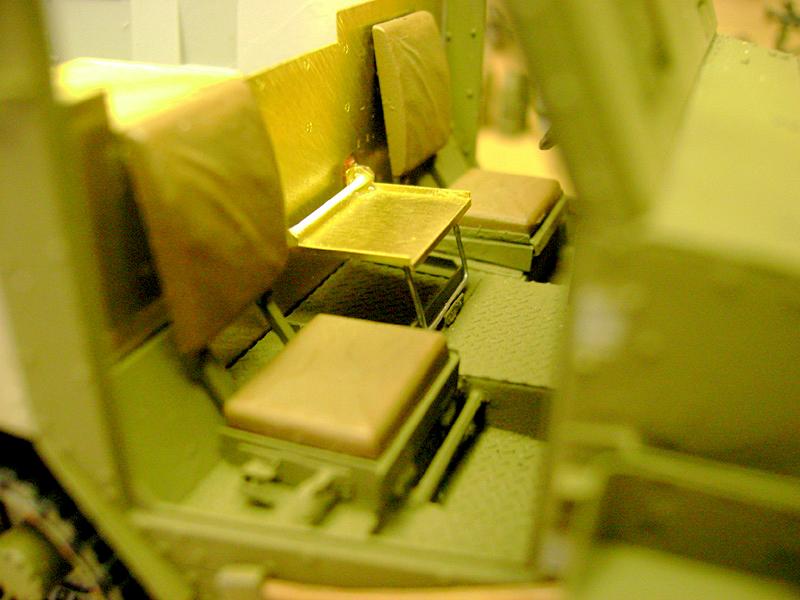
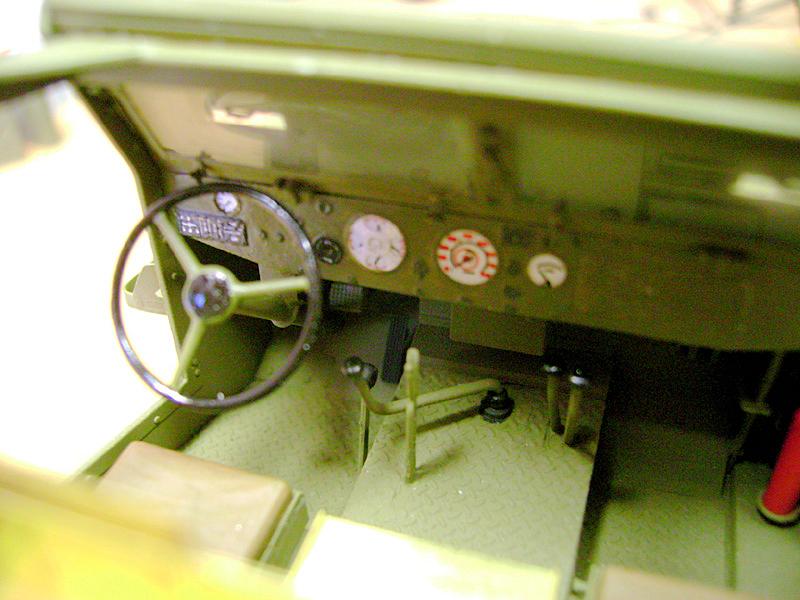
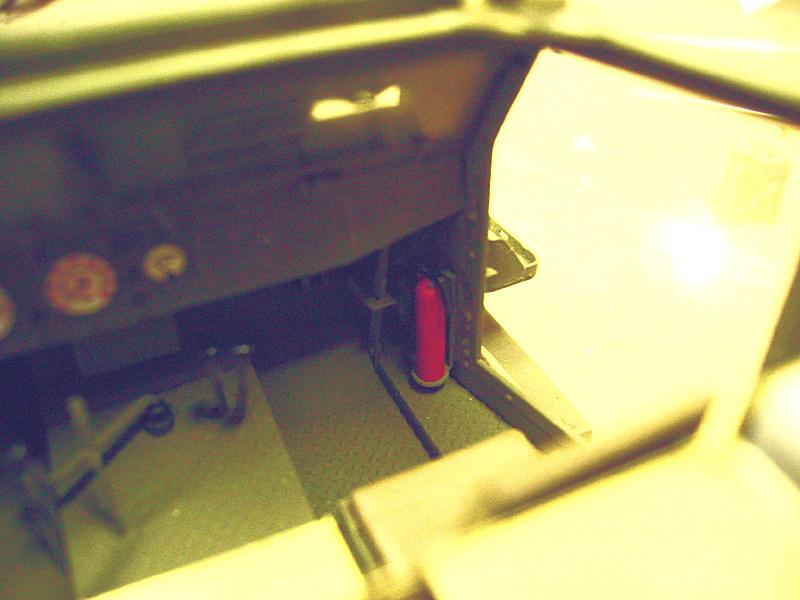
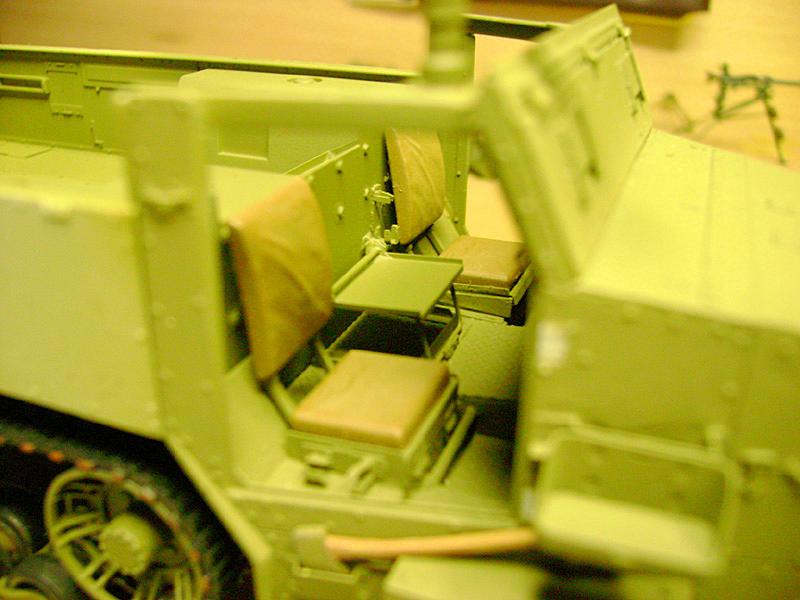
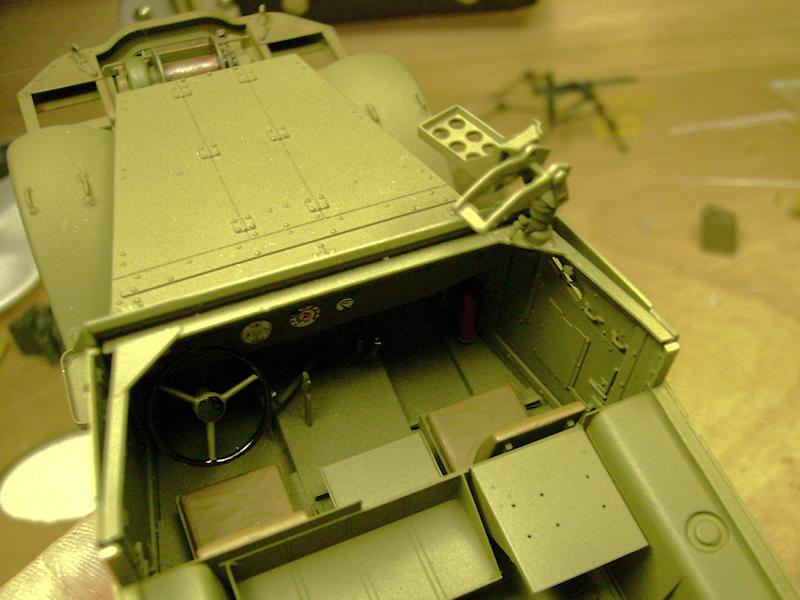
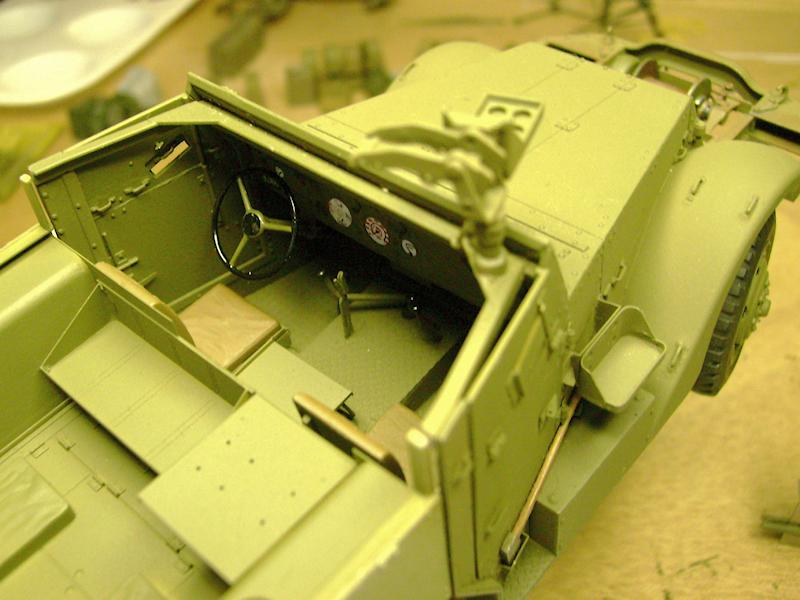
Now heres the first place Ill modify and stray away from the basic USGI official configuration of the vehicle. This is a field modification, as seen on many M16 vehicles in Western Europe. Crews often mounted an additional machine gun over the passenger side on the roof brace. This gun could be either an M1919 .30 cal or another M2HB .50 cal. Since a lot of M16s did more ground combat than anti-aircraft work, due to their wicked firepower which could devastate bunkers and gun positions when applied with full force, the extra MG provided offensive / defensive firepower to areas away from the line of fire of the primary guns. As these vehicles were very often assaulting fortifications deep into enemy lines, the enemy could pop up in unexpected places and this could screw up a crews whole day. The ability to shoot big bullets in two directions at once had obvious advantages. For this gun mount, I sourced the Academy US Machine Gun kit. Im no big fan of this kit, finding most of the .50 cal stuff just wrong, but it does have the gun cradle I need. For the mount pintle socket, I sourced an old Dodge WC kit from AFV which I have scavenged from before. I cut the socket off, carved out all the styrene on the gun cradle which is wrong, and its then pretty close to the real thing. A bit of OD green shows Im on the right track. Im pretty happy with this gun mount, so Im moving on until I have a nice K59 M2HB to mount in it. Since it was now time to mount the cab to the chassis permanently, I lined it up with the rear fighting compartment and then committed it to the chassis, without gluing in the rear compartment just yet. Now the rest of the winch was assembled. Because the winch driveshaft goes through a hole in the front armor, this cant be assembled until the cab is there for good. Once it is assembled, I did a bit of light rusting and bare steel, the idea being that this winch gets some considerable use in the combat environment. At the same time, while Im brush painting steel and rusty colors, I finish the tools off, replicating metal that has first been painted in OD then worn bare by use, with a haze of scratches and light rust. Testors Wood color enamel gives me the handles. In their holders, the tools make me smile a bit. When I add the tie straps to this later, its going to be really cool, I think. Id left the rear body loose as Im using the Griffon PE bulkhead instead of the styrene one at the front, which is super detailed and the correct scale thickness for that piece of sheet steel. Brackets, bolts, nuts, straps, and the folding jump seat, all had to be done at this stage before the rear compartment was attached permanently. Youll see in my photos how well this all fits together and I was so impressed with the interface between Griffon and Dragon; the PE parts are very nice, and they fit. They fit. I added the steering wheel now, and the doors, then mated the rear compartment to the chassis, being careful to match the front edge of the compartment to the rear edge of the cab correctly. I even began to position the rear compartment ammo magazine rack and the radio rack, deciding to cement these in place now and spray them with base color to prevent problems later. As can be seen in my last photos: the cab interior is complete, the seat cushions painted, steering wheel in place, basic painting done, and the field expedient additional machine gun mount is in place. Im very excited about how this is going together. In the next episode Part 3 I move into the fighting compartment, where serious business gets done. Lots of ammo mags, tools, supplies, details, PE galore. A nice radio set and of course a large gun turret mounting 4 x M2HB .50 cal. heavy machine guns. The opportunity for super detail is everywhere Im excited. If you missed the first instalment of this feature, click here: M16 Multiple Gun Motor Carriage Part One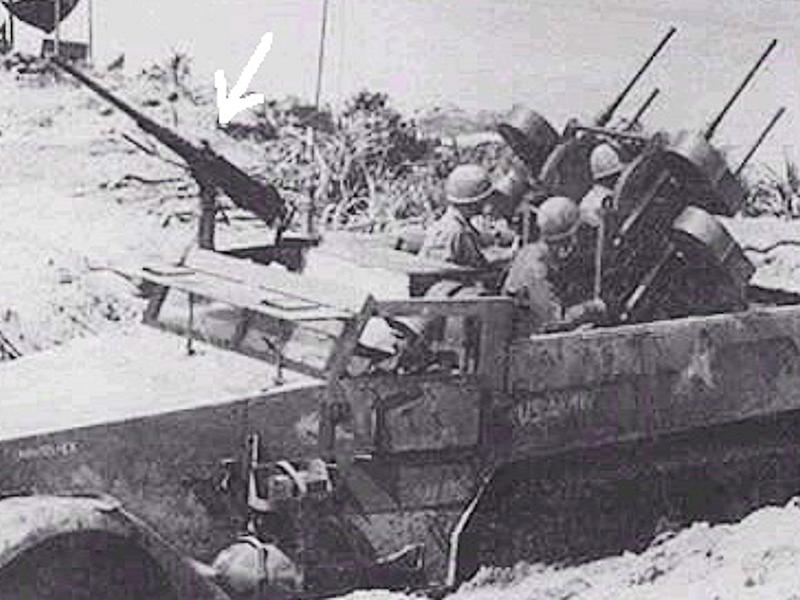

About the Author


FROM: JIHOCESKY KRAJ, CZECH REPUBLIC
I am one of the fortunate ones who has been gifted all my life with the Charm of Making..I am professionally an Artist / Illustrator at this stage of my life, and am or have been a Musician, Commercial Artist, Movie Effects Tech, Set builder, Mechanic, Machinist, Motorcycle Racer and Builder, and ev...
Comments

Nice progress Gary! Love the added MG mount.
I just finished my M-16 (it's blogged on Armorama as well) and it was an enjoyable six months!
Keep up the good work!
Terry
JUL 24, 2012 - 12:57 PM


These intense PE builds are fun to watch! I've used one of the smaller Griffon halftrack sets, and it was enough to stress me out. This is really looking great!
AUG 05, 2012 - 11:08 AM

Yeah, Terry, I was looking at yours..very nice! I actually asked James about putting mine up because yours was so well done, didn't want to be redundant! But as it turns out, I'm going to do several things differently, and add some interesting detail, especially in the weapons. Also, the vehicle is for a big action diorama I am planning, so lots of toys n goodies will be added..crew in action, gear, weapons, belt links and shell casings everywhere! Now that I'm fully moved to Europe, I can get on with it! Thanks to all you guys for your kind words of support!
JAN 15, 2013 - 11:16 PM
UPDATE on M16 HT build: Major issue of accuracy has come up, which I hope to resolve soon..it is holding the build at dead stop until resolved.
The drum mags for the quad .50s don't fit in the rear body correctly. this may be a major error from Dragon, working on answers now..stay tuned!
APR 30, 2013 - 10:30 PM
Copyright ©2021 by Gary Roberts. Images and/or videos also by copyright holder unless otherwise noted. The views and opinions expressed herein are solely the views and opinions of the authors and/or contributors to this Web site and do not necessarily represent the views and/or opinions of Armorama, KitMaker Network, or Silver Star Enterrpises. All rights reserved. Originally published on: 2012-07-22 00:00:00. Unique Reads: 15182

WEB HOSTING BY


Copyright ©2021 Armorama and Kitmaker Network, a subsidiary of Silver Star Enterprises
All Rights Reserved. Please read our Conditions of Use and Privacy Policy.
All Rights Reserved. Please read our Conditions of Use and Privacy Policy.