

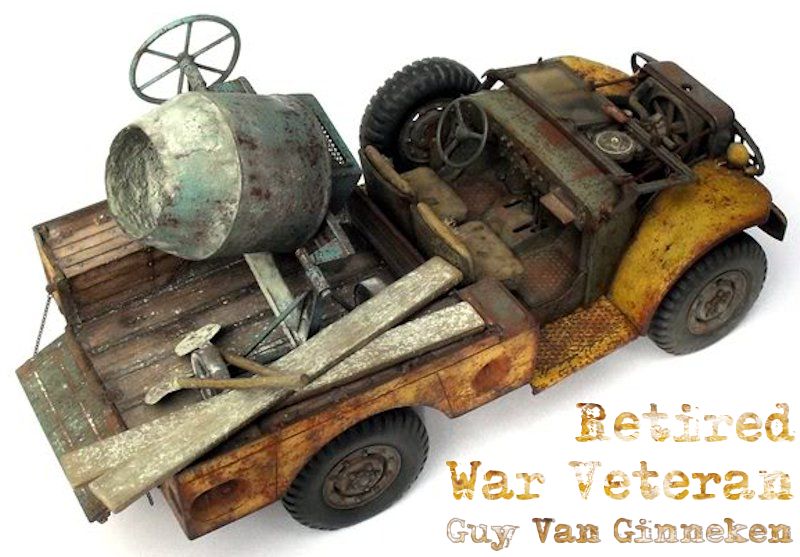
1⁄35Retired War Veteran: WC-51
13
Comments
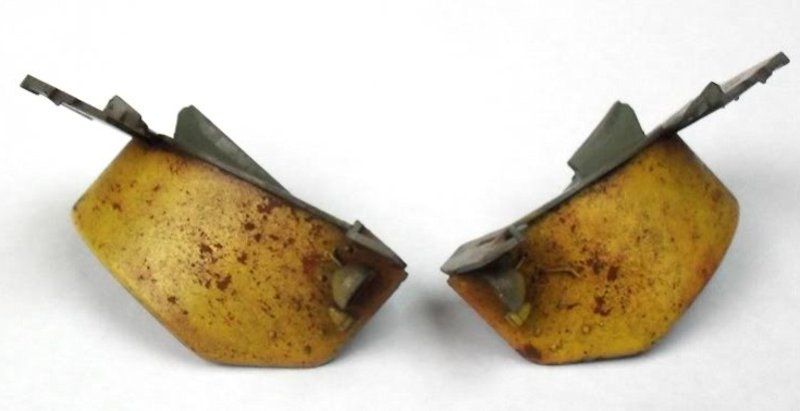
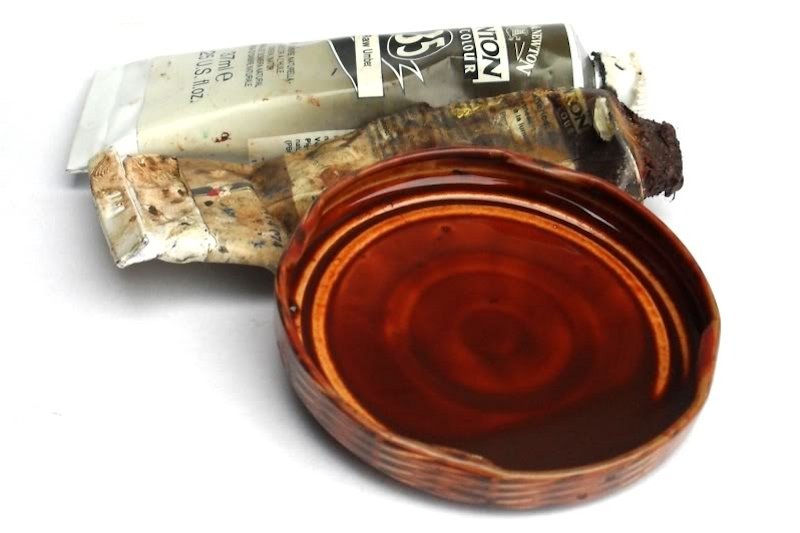
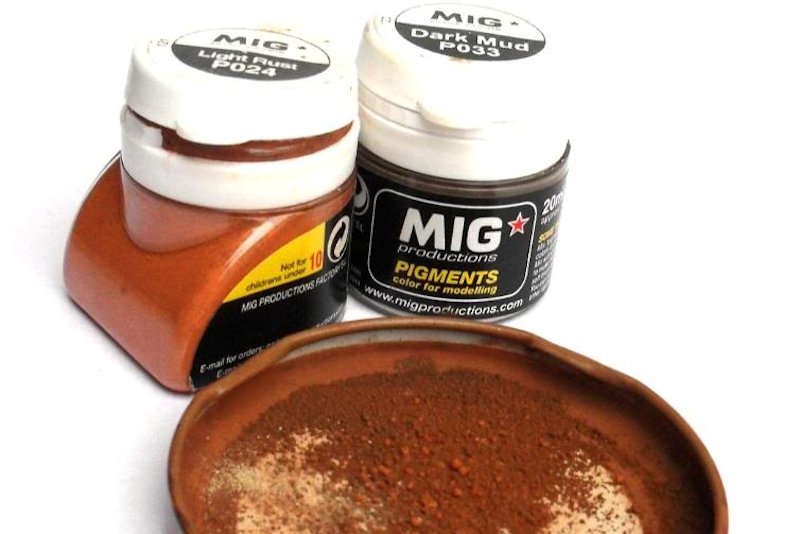
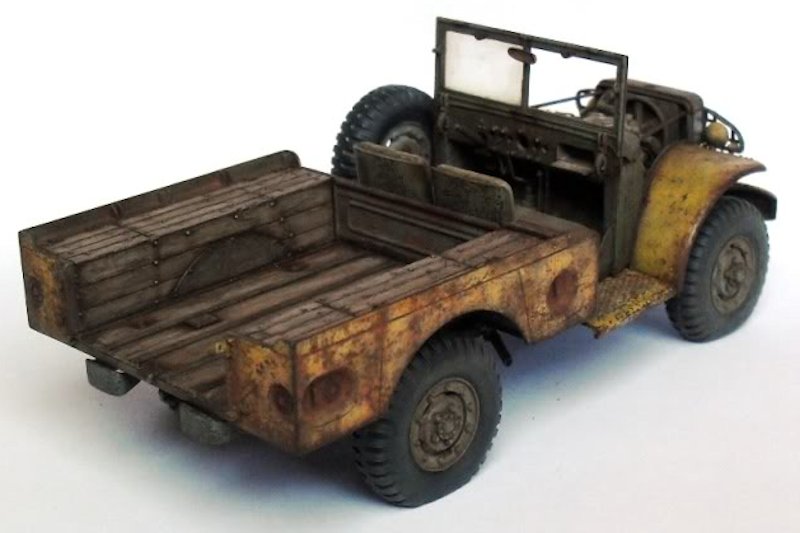
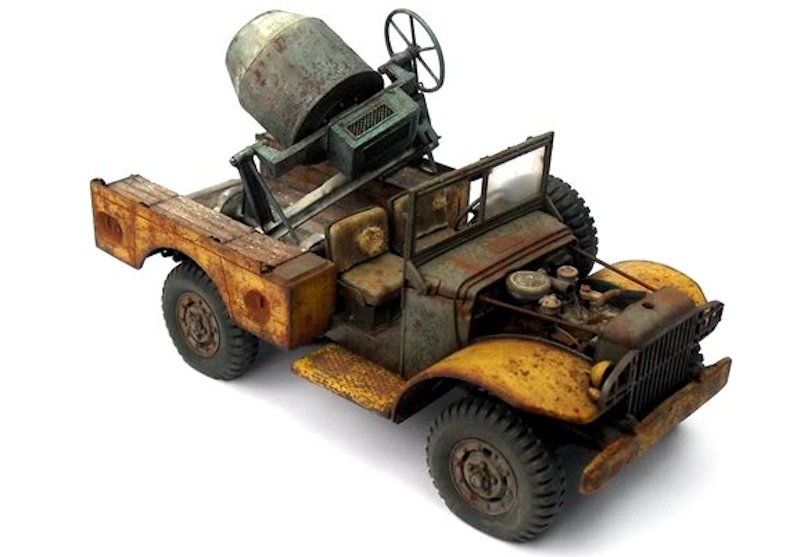
I wanted to try different methods to obtain a whole range of rust effects, so for the mud guards I went for one of Scratchmods (yes, Rob Ferreiras) popular rust techniques. Real chipped paint can be created this way; its simple but very effective! An acrylic rust tone was airbrushed on, followed by a rust color oil wash (burnt sienna is my favorite). Rust pigments were then dabbed in to the wet wash, the pigments soaking up the wash. The final color was carefully sprayed on top of the pigments in different stages. After drying, the yellow paint layer was ready to be realistically chipped away (see photos 1+2 below).
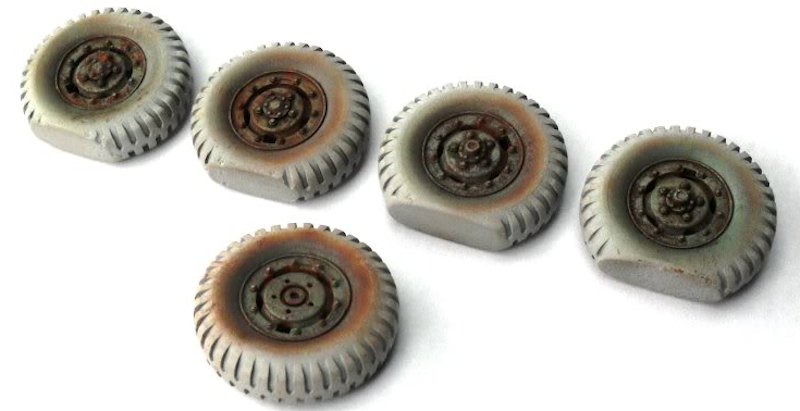
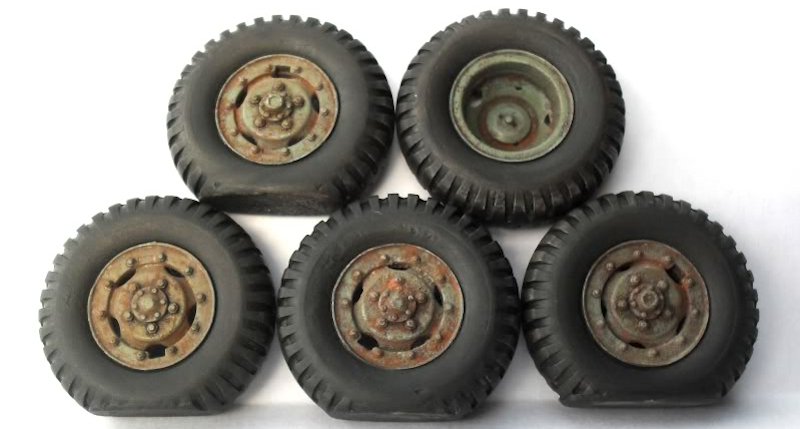
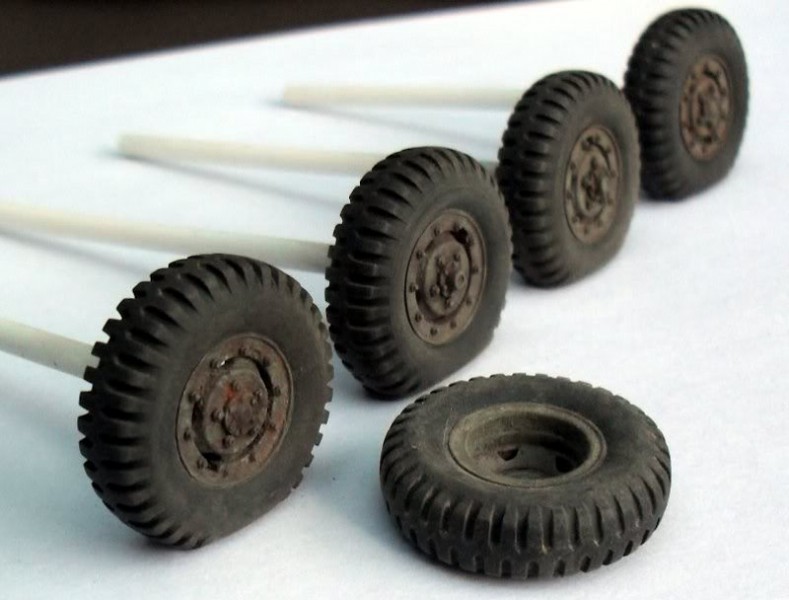
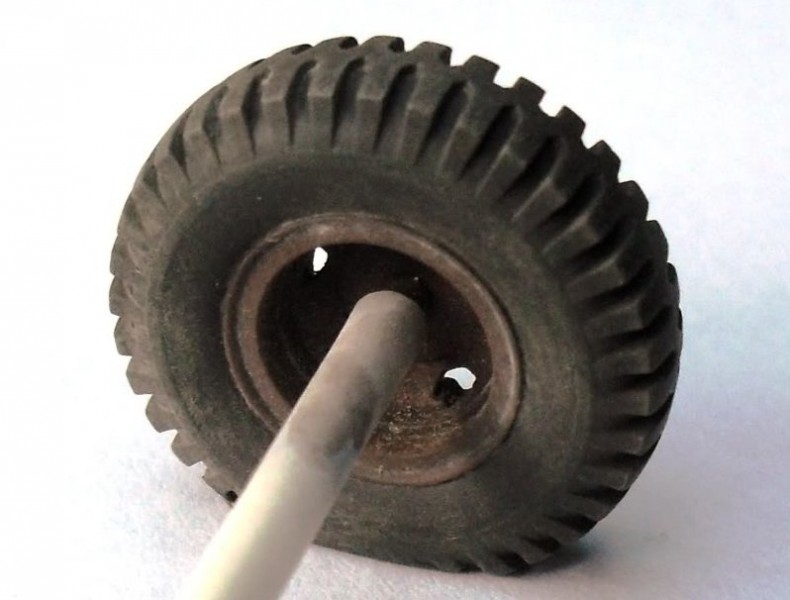
The wheels were treated in the same way, and washes and pigments gave the look I was aiming for. (see photos 3+4+5+6 below).
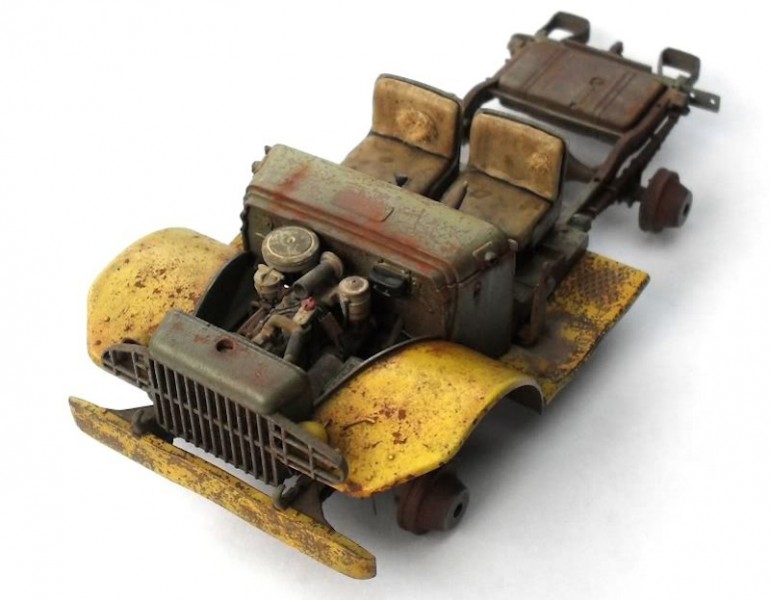
In order to get the truck bed to resemble old wood the plastic surface was carved and textured a little with a file. I painted and finished this part of the Dodge the following way.
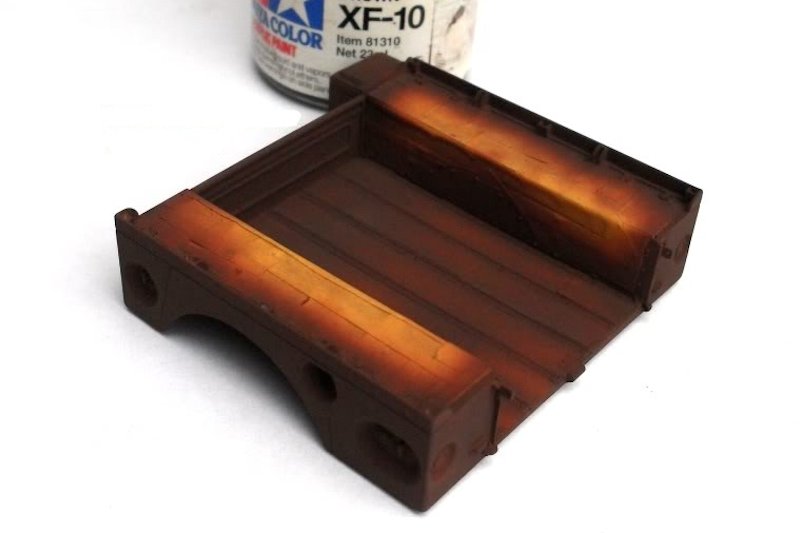
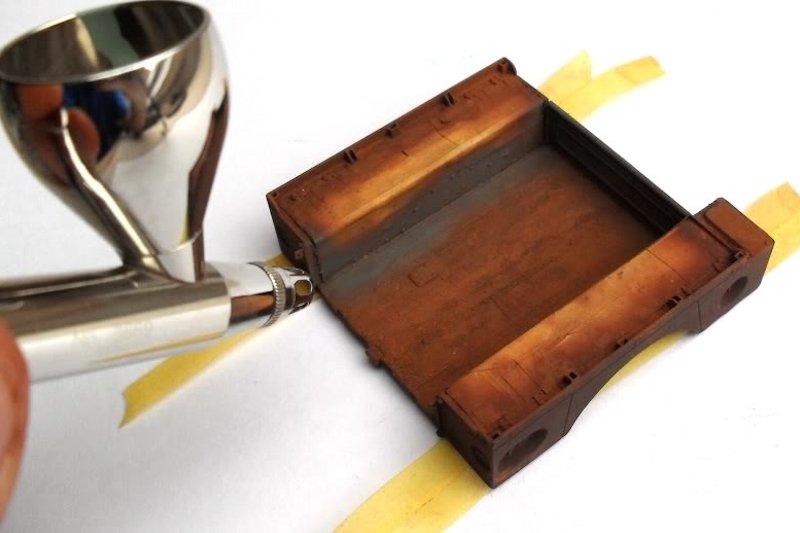
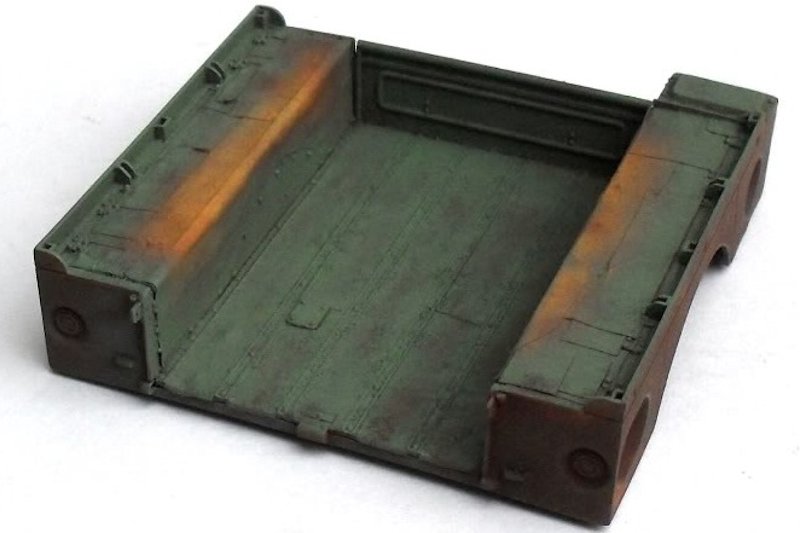
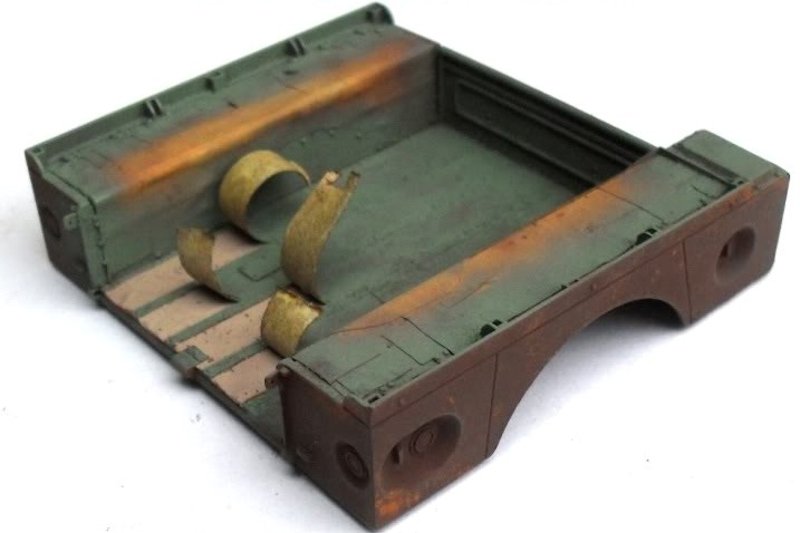
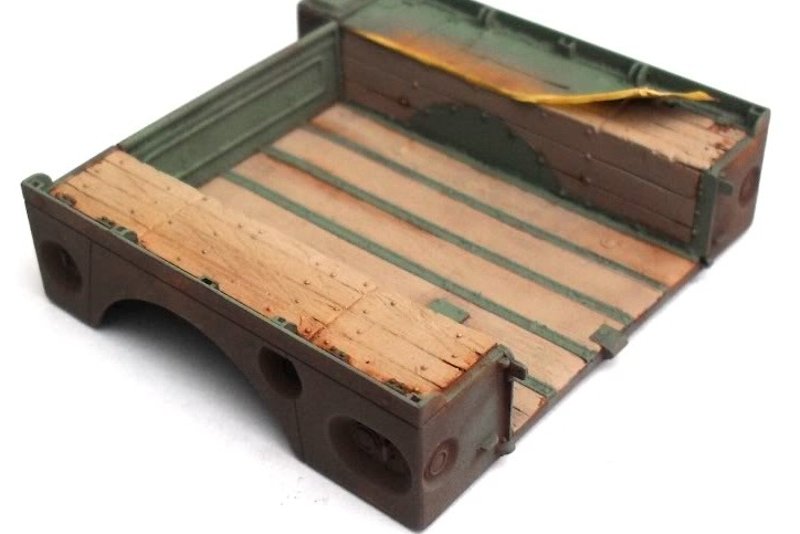
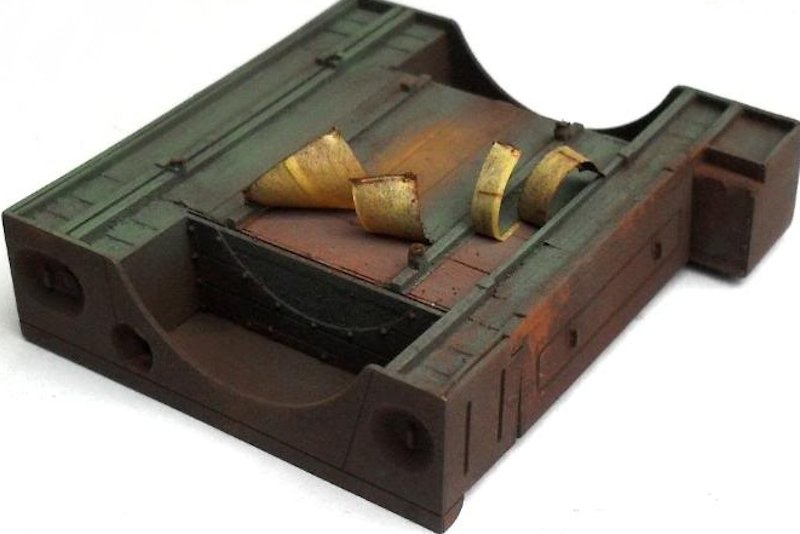
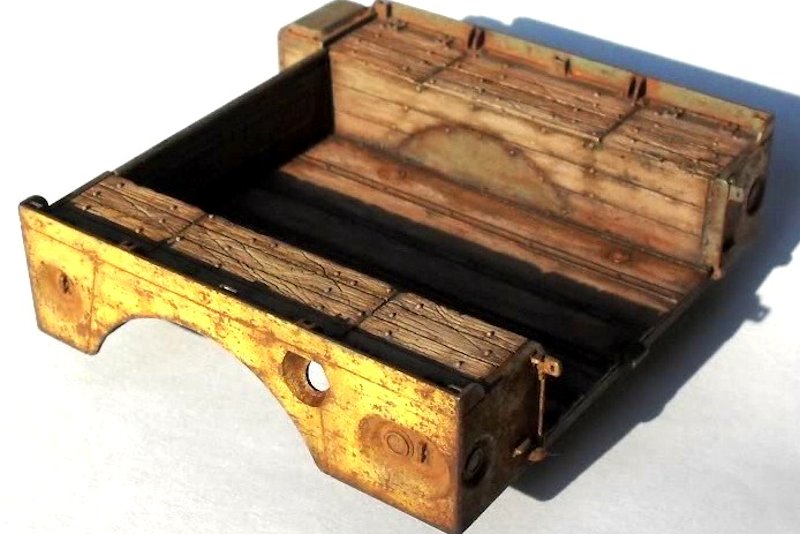
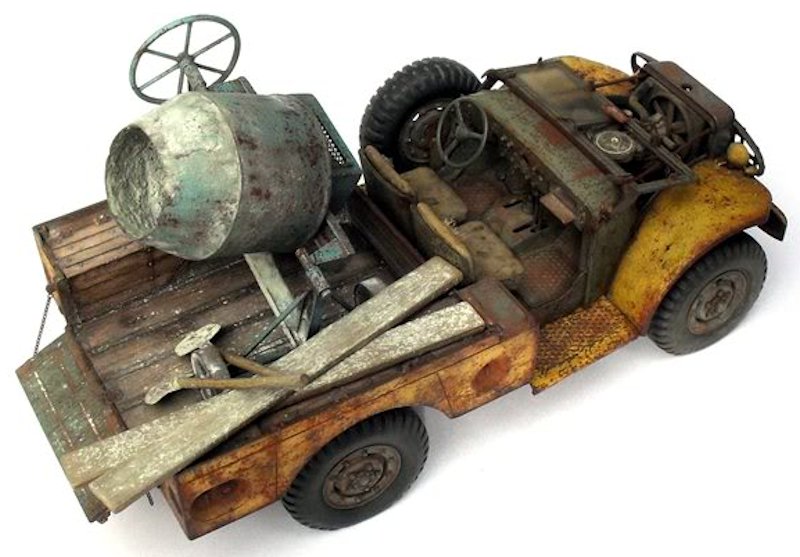
The entire truck bed was given a light wood color then the wood surface was masked with tape; an acrylic rust color was used to cover all of the metal parts (see photo 7 below). I then applied a rusty oil paint wash (see photo 8) and while still wet, rust color pigments were immediately dabbed in (see photo 9). The faded green was carefully sprayed on (see photos 10+11). I went for several fine layers in order to keep the pigments intact. Peeling off the tape was fun as the wood underneath was revealed (see photos 12+13+14 below).
The green paint inside the truck bed was then chipped away with a combination of tooth picks and a short haired brush, and the exposed rust pigments fixed with pigment fixer. Now it was time to move on to the weathering of the wood. Different oil washes were the solution to create old rotting planks. The exterior was also finished in a similar way (photo 15), the result being a very intense weathering look (see photo 16).
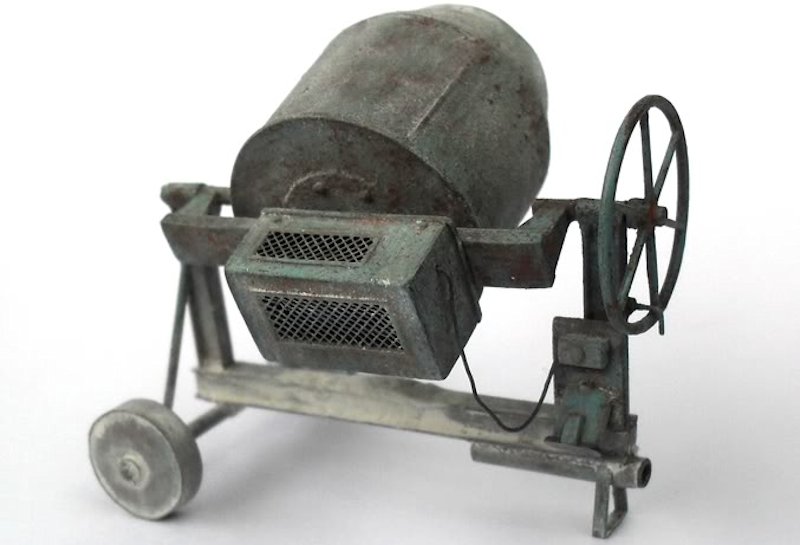
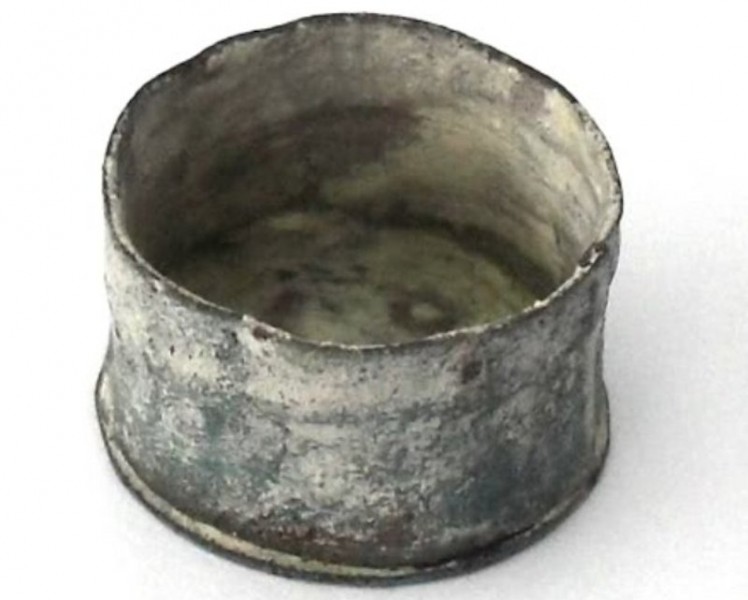
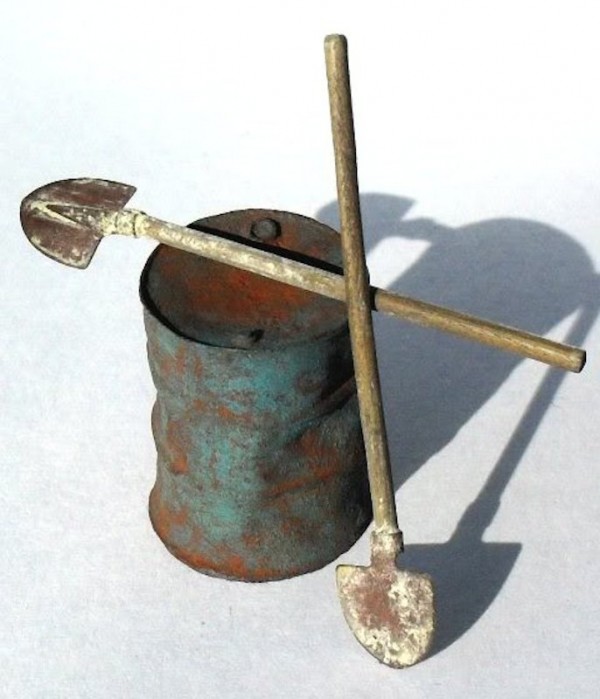
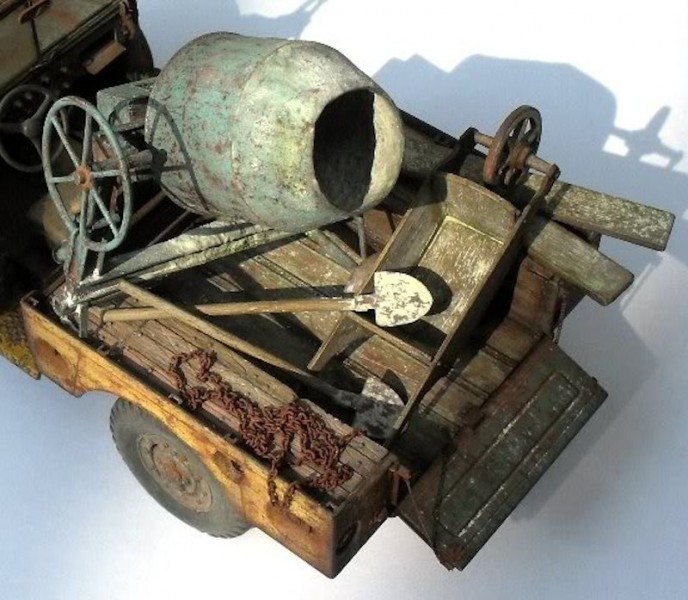
Finally the wooden bed was ready to be filled with old bricklayers stuff. The centerpiece was a dirty, rusty, blue concrete mixer (see photo 17 below), an essential brickys tool of course! A cement encrusted bucket was made from Milliput, shaped to look as if it had been made from the bottom third of a cut-down oil drum (see photo 18). Two shovels (see photo 19), old planks, rusty chain and an ancient looking wooden wheelbarrow complete the composition (see photos 20+21+22).
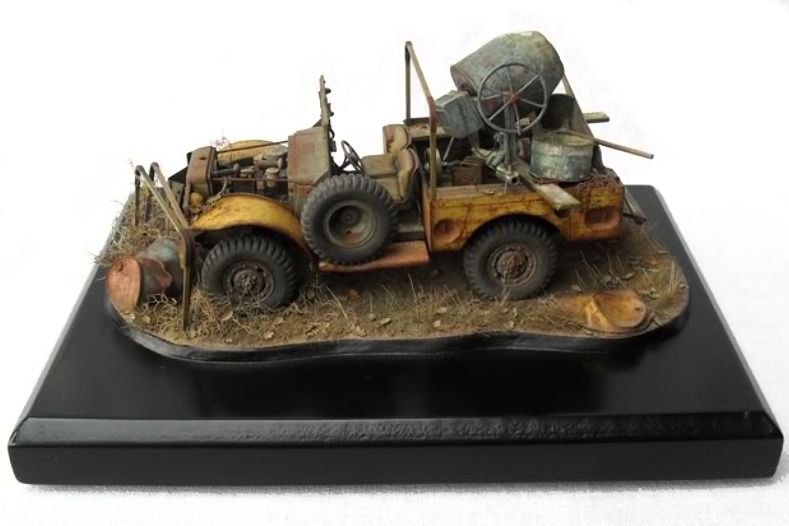
I made a simple diorama base for the Beep - a forgotten place somewhere in the back yard (see photo 23).
About the Author


Comments

Pawel, to create the rusty surface I did this :
- first a rust color as a base coat was added,
- I then applied a rust color oil wash,
- followed by dabbing rust pigments in the wet oil wash,
- I then sprayed on the body color under low air pressure to protect the pigments,
- the top layer was then picked away in places by a tooth pick, and by rubbing with a stiff brush.
John, your words were a fantastic support !
James, this is exactly what I've tried to achieve !
Thanks a lot guys !
NOV 19, 2012 - 05:25 AM

Beautiful work G!!! Love this piece!! Well done feature my friend!!!
NOV 25, 2012 - 12:34 PM


Hey G. This is one of my favorite rust buckets. Well done feature, text and pics. Glad James posted this one up here for all to check out your incredible work.
DEC 10, 2012 - 06:47 AM
Thank you s much guys, this means a lot to me, as you are all very talented modellers here on Armorama.
Rob, special thanks to you my friend !
DEC 17, 2012 - 11:59 PM
Thank you Bill, it's kinda ootb thinking indeed. I didn't buy upgrade sets for this one and I tried to make it look interesting without spending money.
DEC 21, 2012 - 08:33 PM
Copyright ©2021 by Guy Van Ginneken. Images and/or videos also by copyright holder unless otherwise noted. The views and opinions expressed herein are solely the views and opinions of the authors and/or contributors to this Web site and do not necessarily represent the views and/or opinions of Armorama, KitMaker Network, or Silver Star Enterrpises. All rights reserved. Originally published on: 2012-11-18 22:13:46. Unique Reads: 17452

WEB HOSTING BY


Copyright ©2021 Armorama and Kitmaker Network, a subsidiary of Silver Star Enterprises
All Rights Reserved. Please read our Conditions of Use and Privacy Policy.
All Rights Reserved. Please read our Conditions of Use and Privacy Policy.