

1⁄35Tamiya BT-7 Review and Build
15
Comments
Build/Review
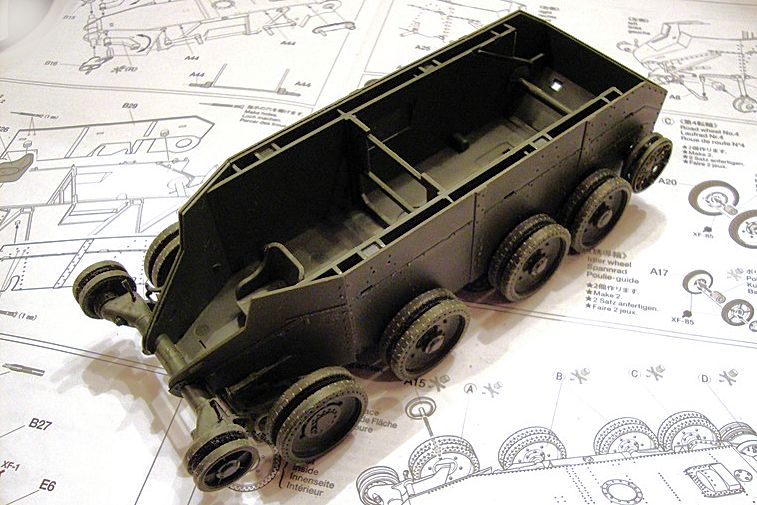
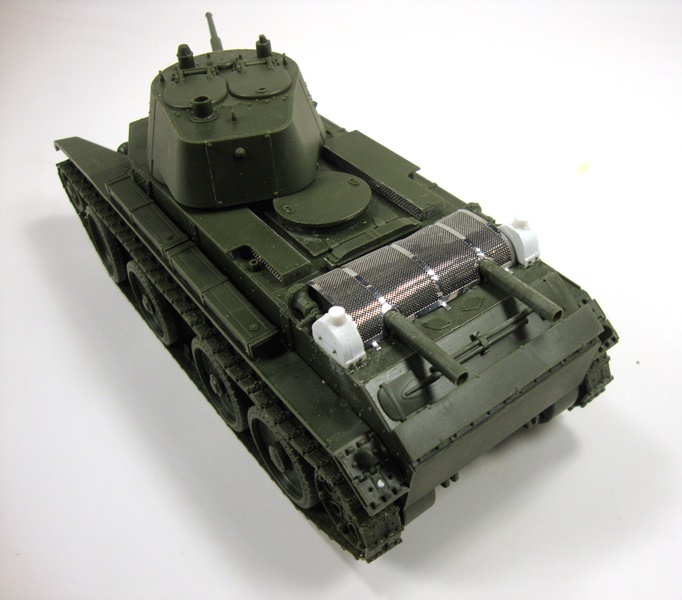
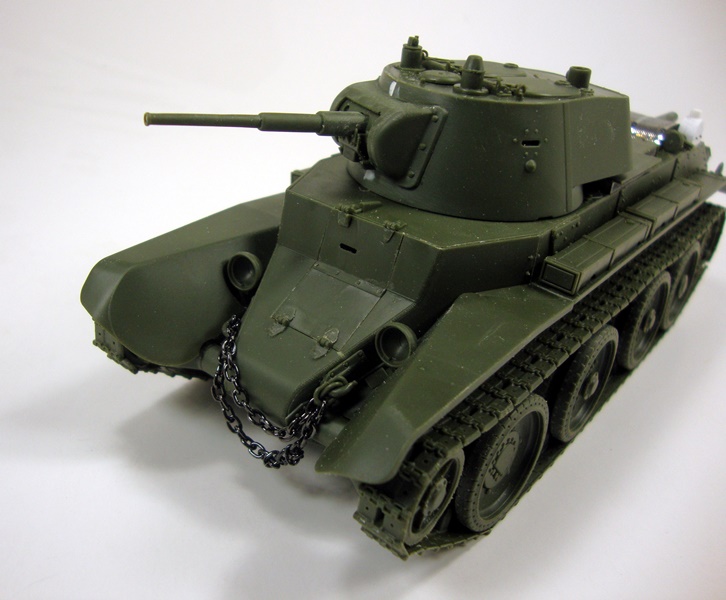
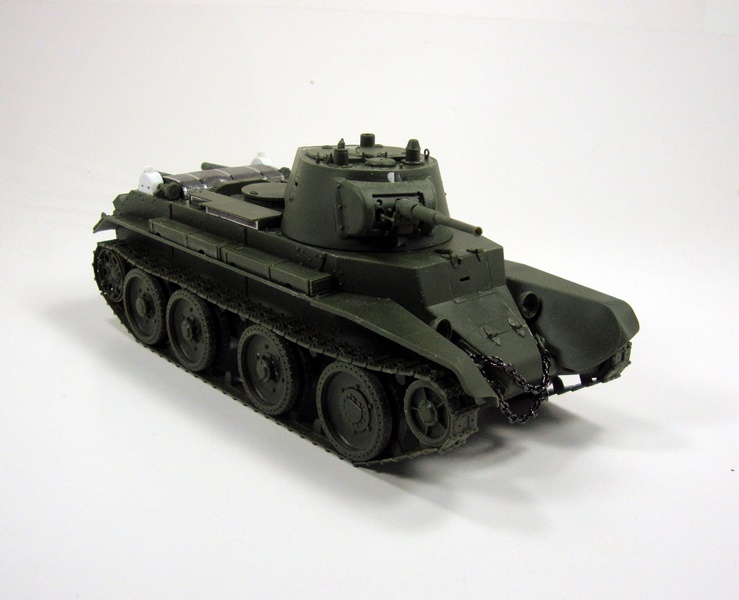
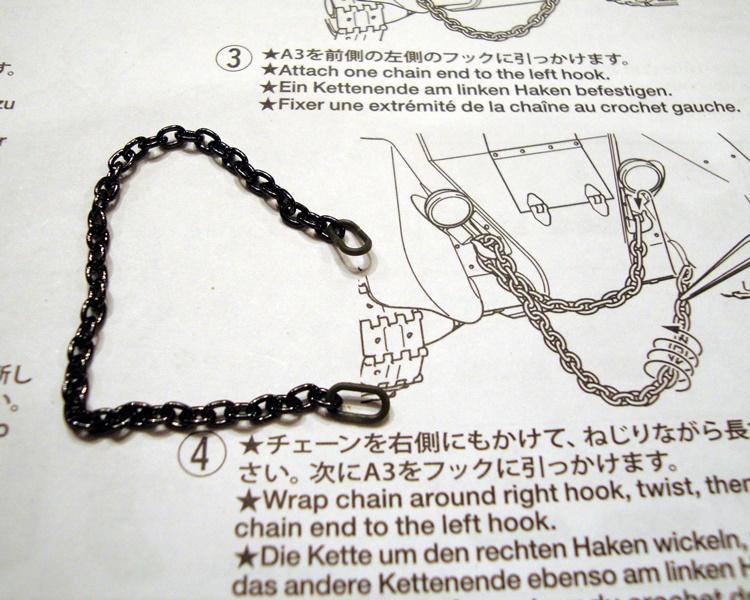
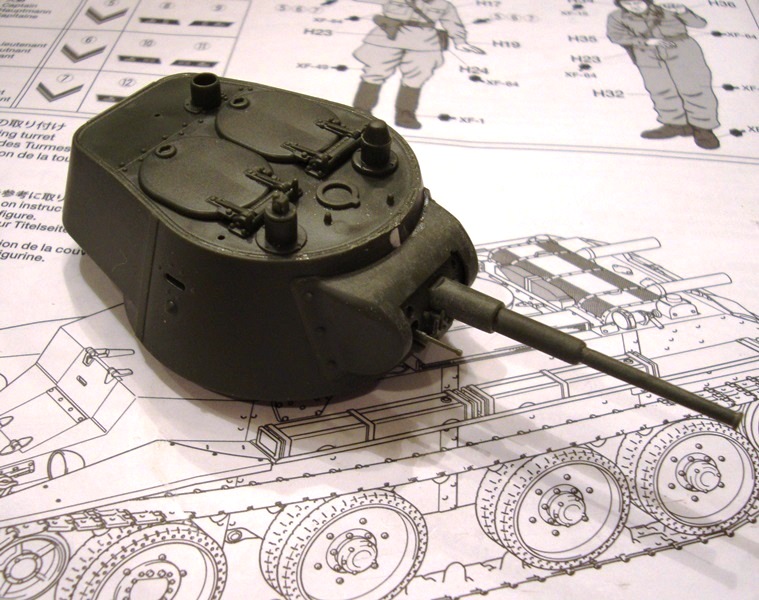
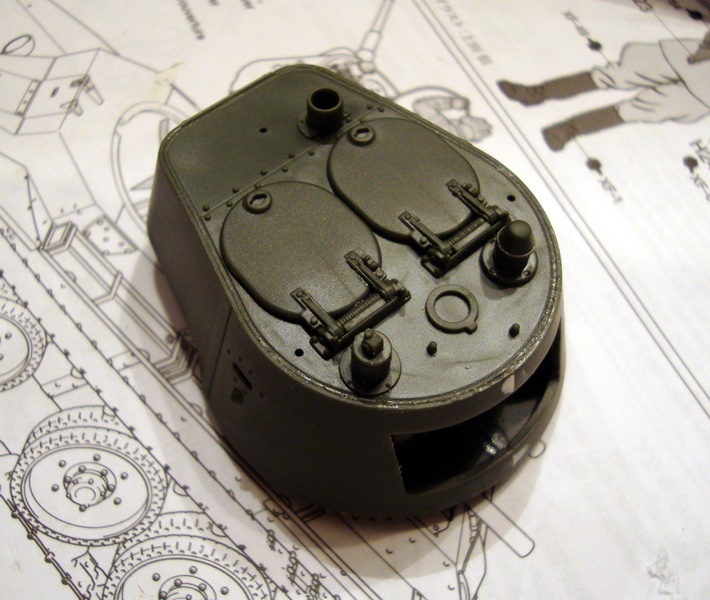
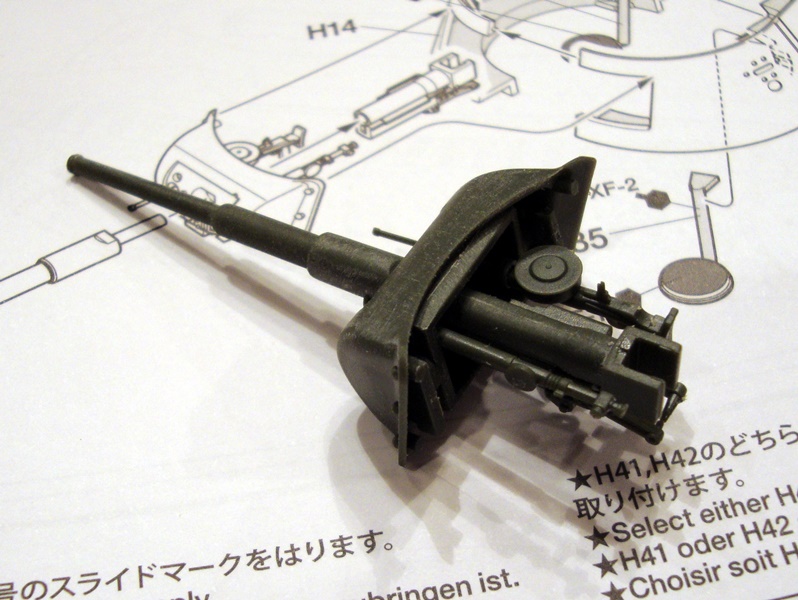
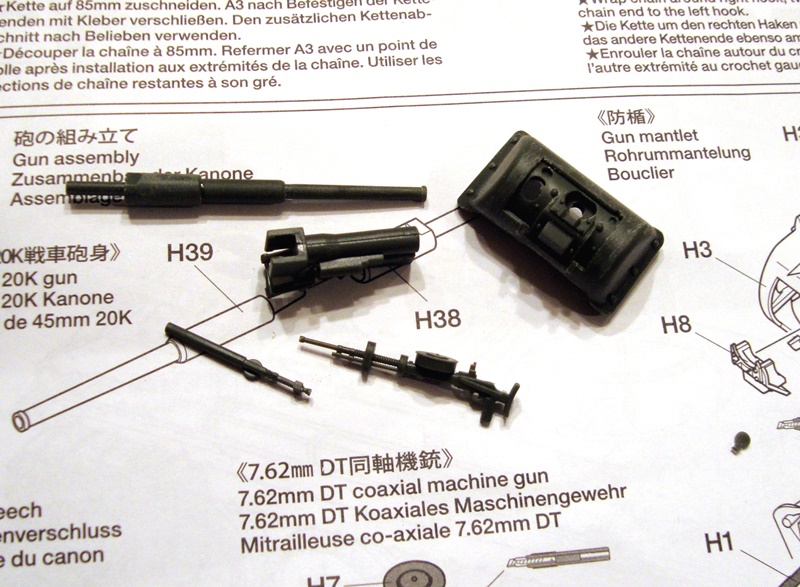
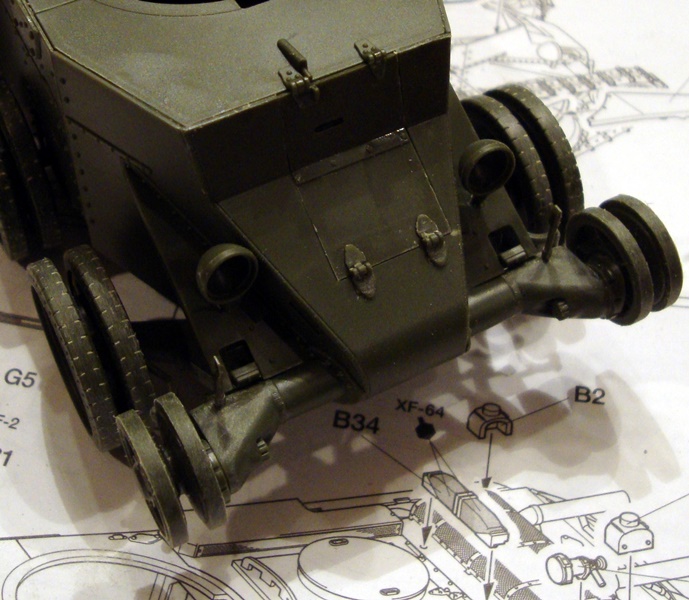
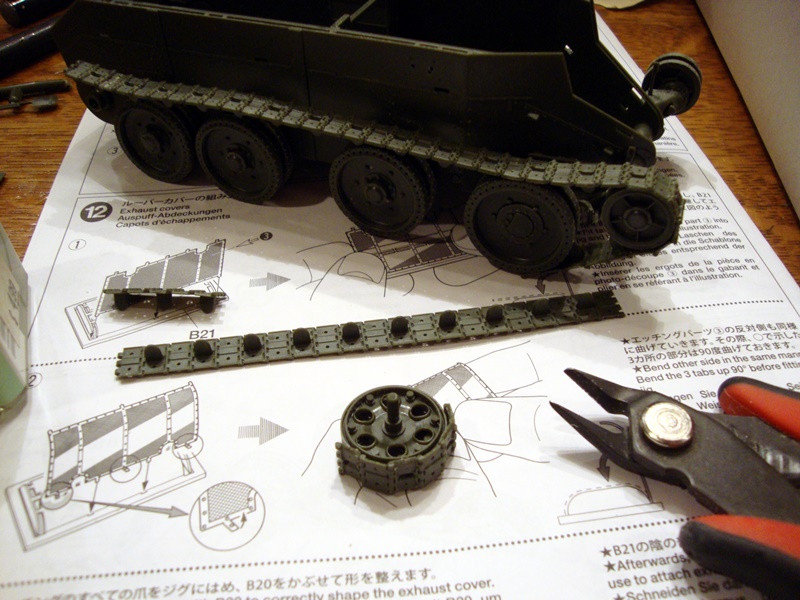
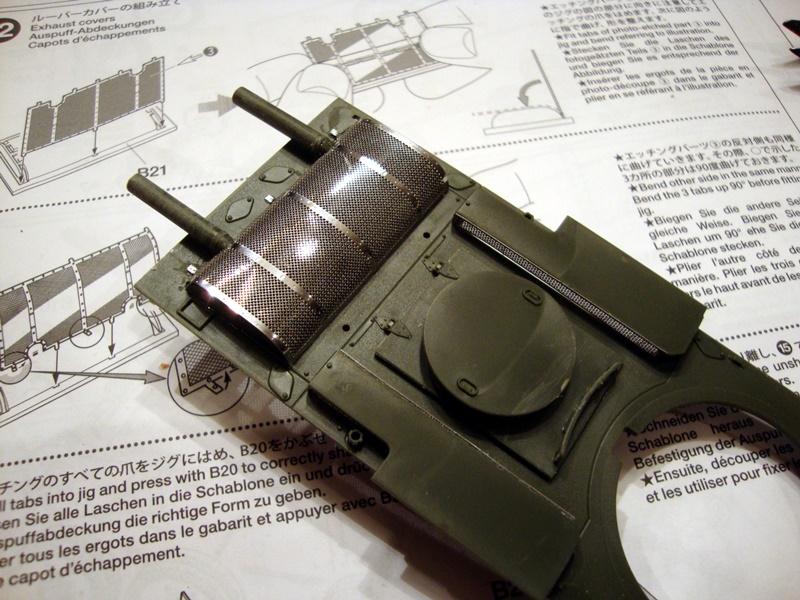
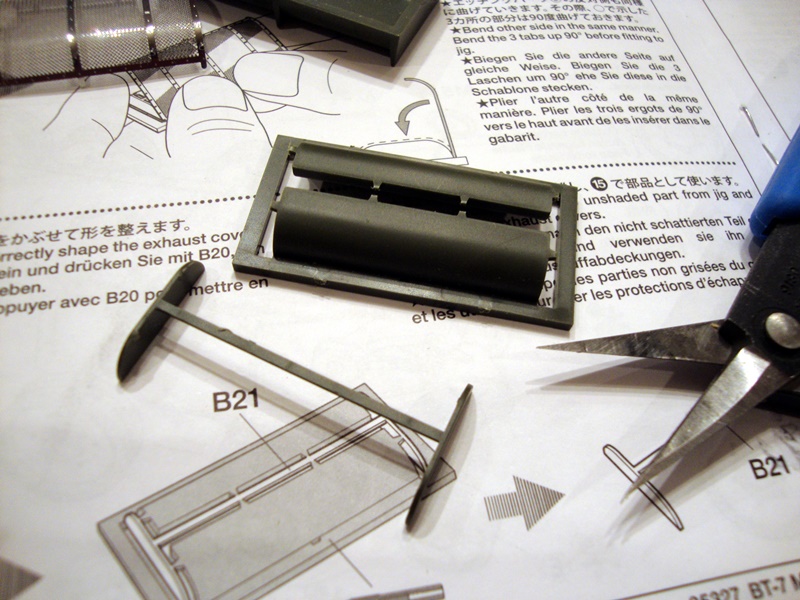
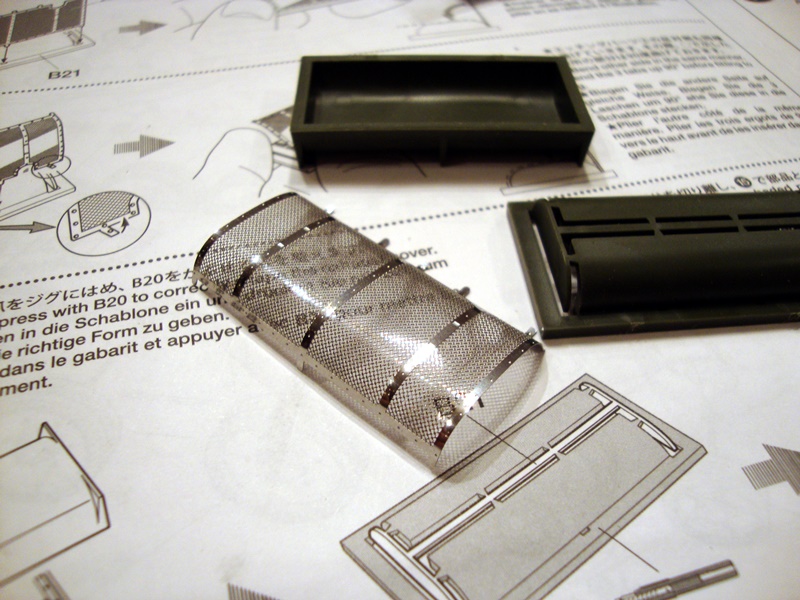
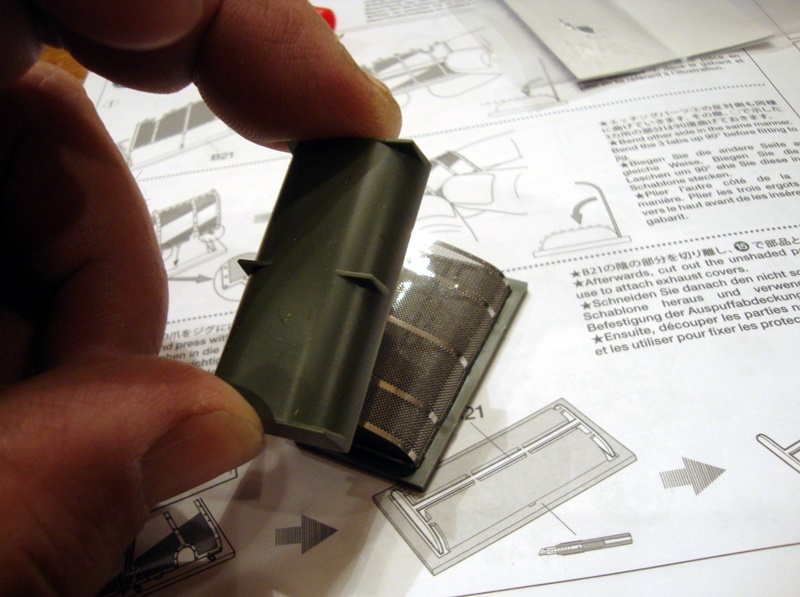
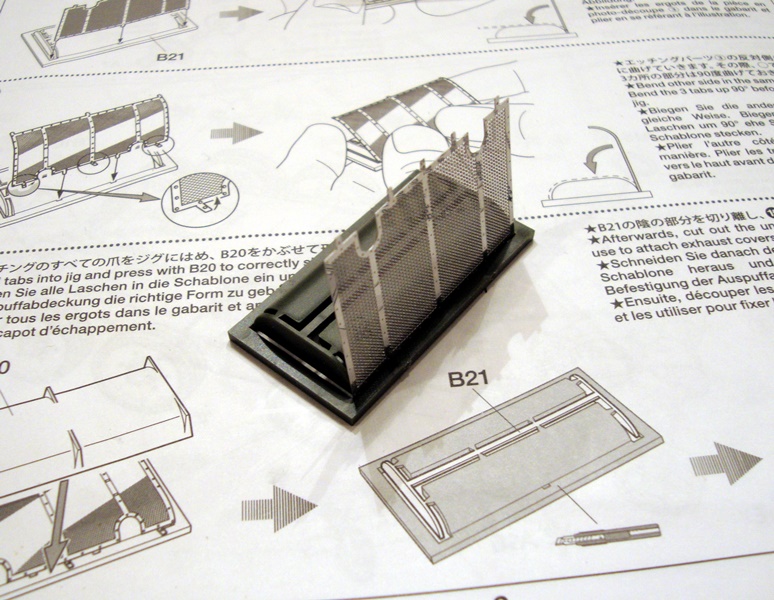
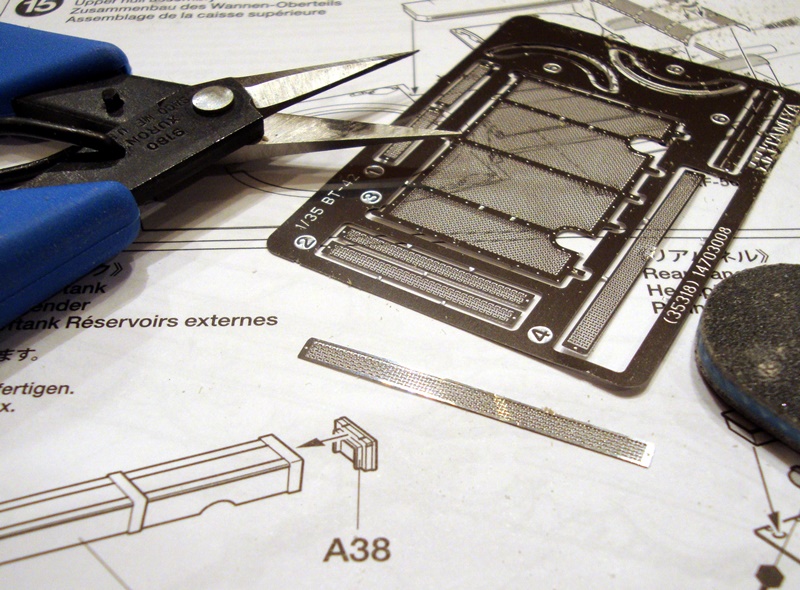
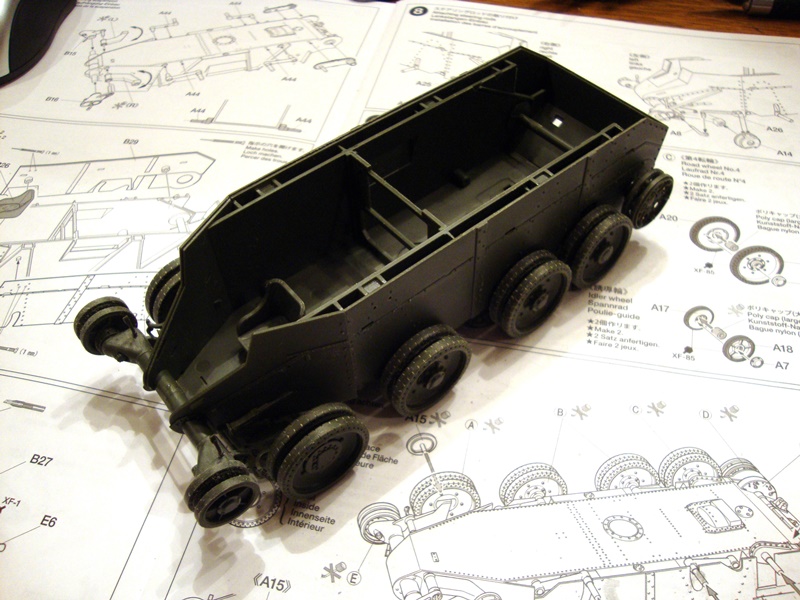
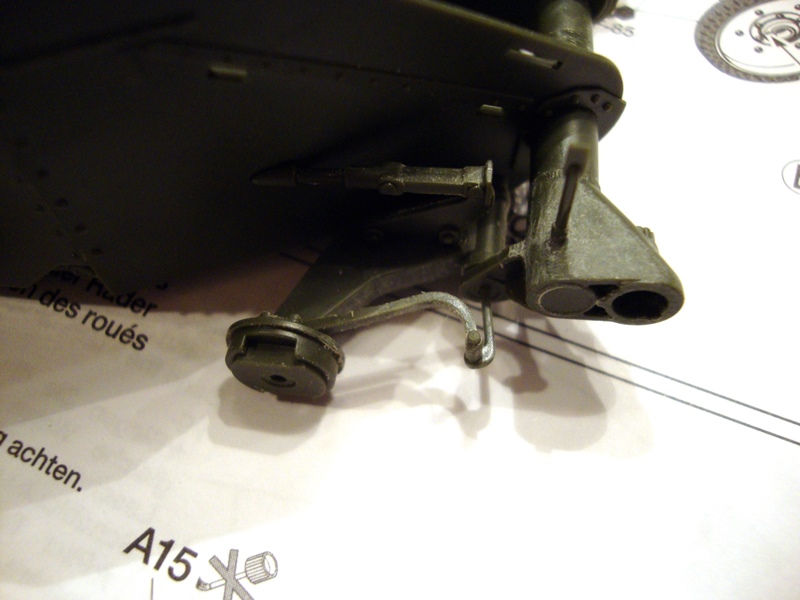
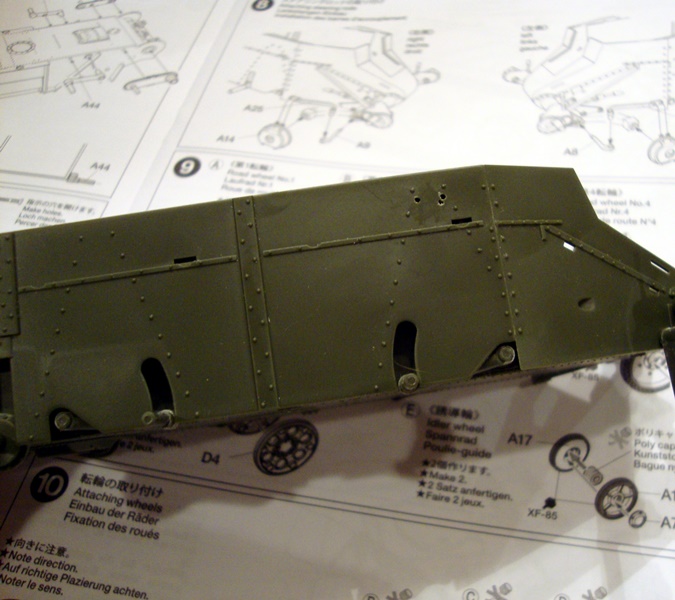
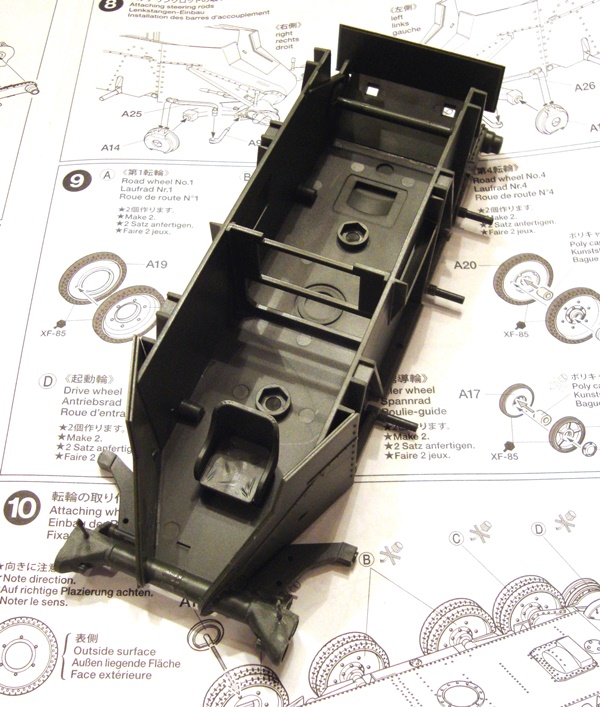
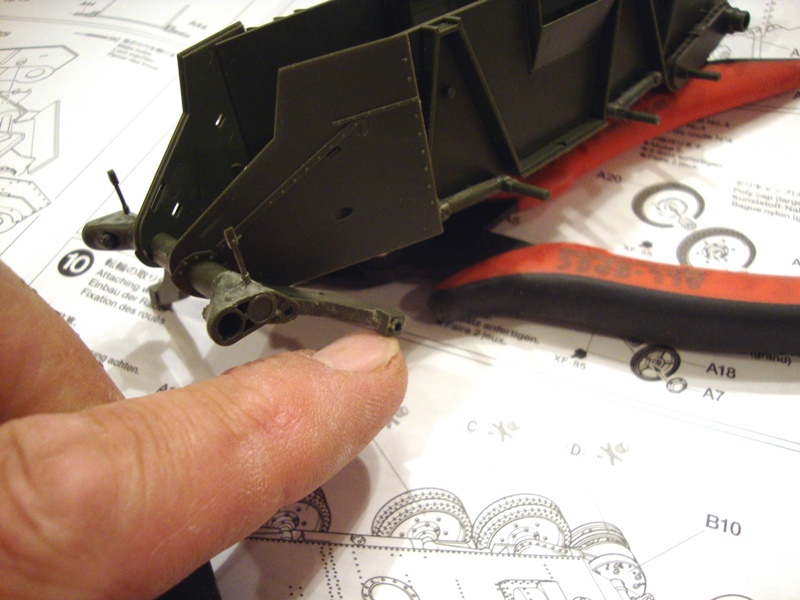
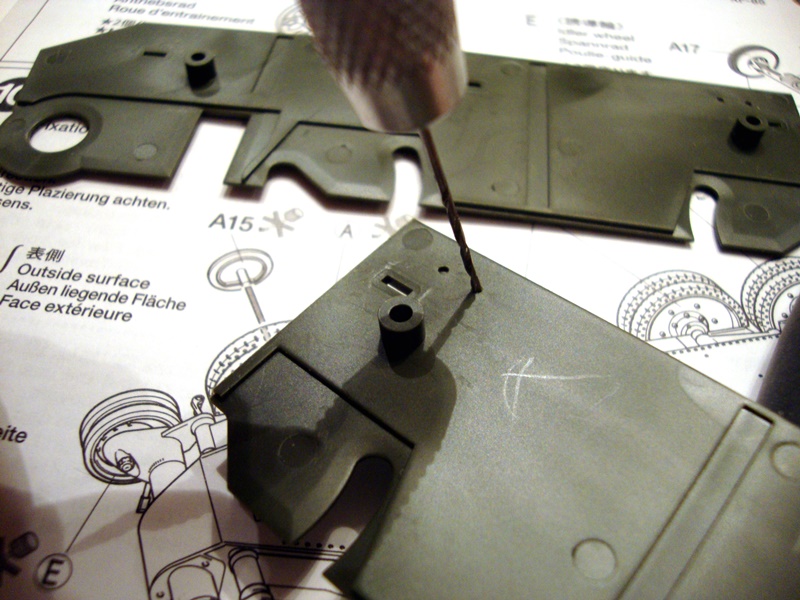
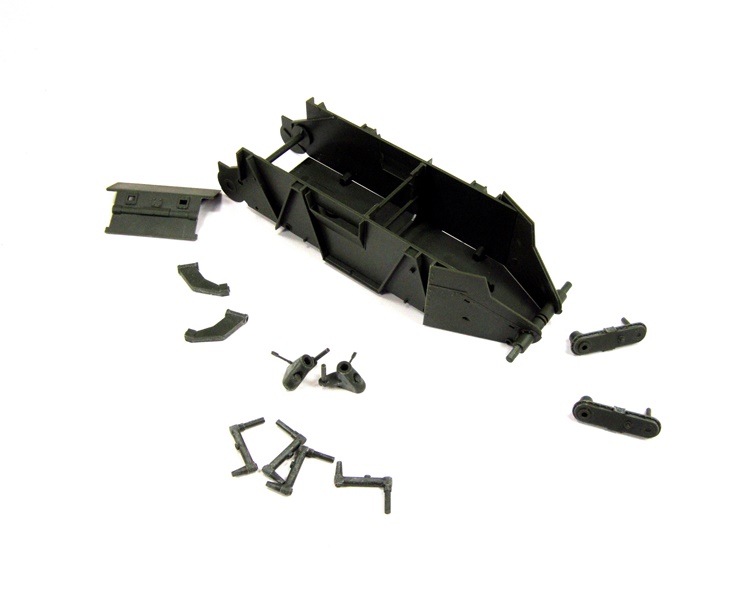
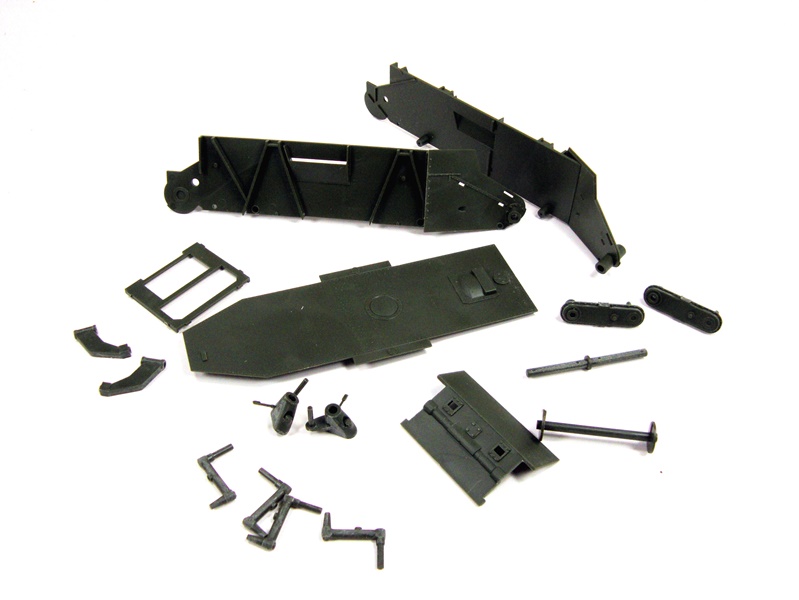
As is typical with Tamiya, the parts are molded very well and there is little to no flash on most of them. This kit does not have a huge part count as seen in other manufacturers recent kits, which is almost refreshing as the build process is a bit easier, but most importantly, quicker. If you are anything like me then getting to the painting and weathering stages of a build is the number one sought-after prize in a project! As in previous releases, the lower hull is molded in separate sections so you need to construct the entire tub as part of the build process. I can tell you the instructions are easy to follow and show the construction process in a detailed exploded view. There is some minor overlap of the location arrows here and there but this is nothing that will pose a problem if you take your time and thoroughly look at each section of the instructions prior to building, as well as carefully throughout the build. The fit on the hull sections are incredible. The green styrene is a bit softer than the tan, or even grey plastic which makes any cleanup of gate points just about effortless. With a light sanding all of the parts of the lower hull section pretty much fall together. The joints fit perfectly, tight enough in most cases for the pieces to hold together for a quick mock up without any glue. One of the more involved parts of the build is the front suspension of the steering road wheels. After the idler wheels, which are located in the front of the vehicle, the first set of road wheels on the full-size BT-7 had steering capabilities. There are several parts to the construction of this area including A-frames and linkage. Tamiya has incorporated the use of the small poly washers to make part of the suspension movable; however, after all of the linkage parts are installed, there is no full movement to the steering. Following the instructions to the letter, the road wheel assembly was next. Again, the soft nature of the styrene makes light work of the cleanup of these parts. In joining the inside and outside wheels together the larger poly washers are used to allow the wheels to move freely after installation. Breaking from the order of events outlined in the instructions, I skipped over the track construction to focus on the upper hull. There are several parts to be added and the most complex is the intake screen where the mufflers protrude out of the engine compartment. Tamiya supply a small jig of two parts to aid in the correct bending of the photo etch screen for the intake. The interior ribbing part of the inside of the intake is actually attached to one side of the bending jig - just a heads up so the part does not get damaged while you are bending. This worked like a charm and I was off and running! After adding the rest of the upper hull parts, next on the ole chopping block was the pea-shooter. Tamiya did not provide a highly detailed breech to the 45mm L/46; unless you have the hatches open with no figure(s) in them then this part will not be seen. The 7.62 machine gun was straightforward. I only needed to hollow out the end of the barrel to give it a more realistic look. While working the upper hull, I found it less tedious to work on the track links at the same time; I would assemble a few links and then go back to the working on the deck and then back to the tracks again. I like to assemble my tracks so they can be painted separately. They will be fully installed after painting but before the weathering process. Forward to the turret. Coming in three major components, the parts all seemed to fall together nicely. There was a little filling and sanding that needed to be done above and below the mantlet. All of the hatches and periscopes fit beautifully. In respect to the lift rings, a quick search revealed the rear ring was placed in line with the barrel; front to back. The two forward rings were placed in line diagonally pointing towards the rear lift ring to form a triangle; this was not defined in the instructions, just something I remembered to check from building a T34 or two in the past. You may notice the two white scratch-built parts on the rear deck. This is merely a guess but they appear to be used to refill the BT-7 with fuel. I so conveniently misplaced then in other words I threw them out thinking I was tossing out a pile of stripped sprue trees!!! Yup, they were not stripped! It happens from time to time. A quick check of some walk around photos online and I was able to build a couple of new parts that fit the bill to my liking. This is a really nice kit if you ask me. Tamiya got the fit down on this one. Everything just about fitted perfectly, and was so easy to work with. In no time the tank was assembled and I could start getting ready to paint; my favorite part of most jobs!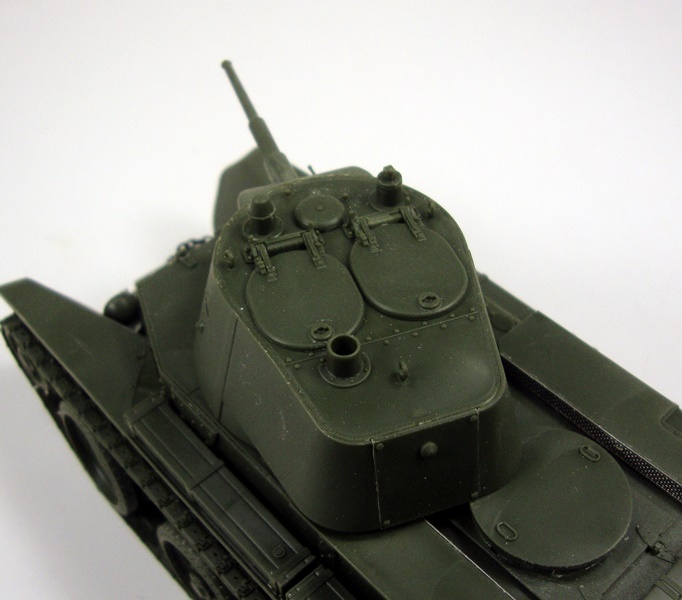

About the Author


FROM: MASSACHUSETTS, UNITED STATES
I am building what I like, when I like and how I like it; having fun doing it. I have been building and finishing models on and off my whole life but the past ten years things really exploded. Just about anything goes when it comes to hitting the bench, but wrecked armor, rusted hulks, ships or ...
Comments


Hi Todd,
Lovely build. I do like this vehicle and it's straightforward construction. The link and length tracks look to be a a great improvement on the normal Tamiya style rubber band tracks.
Excellent work.
Al
AUG 08, 2013 - 02:42 AM

AWESOME Review Todd and BT-7 is stunning to say the least! Well done sir.
AUG 08, 2013 - 03:30 AM

Hi Alan! Thank you kindly Sir!! Big improvent with the tracks! Easy to clean too! Small pin marks but like I said in the review...sand and done or leave and cover with mud!! LOL!!
Brotha Gary!! Thanks bud! Appreciate it...thanks!!!
AUG 08, 2013 - 04:27 AM
Excellent write up, T. A modeler and an author.... truly a man for all seasons!
AUG 08, 2013 - 04:40 AM

The is great, I wish more modelers would write up build-reviews like this! I just copied it onto file for my references.
AUG 09, 2013 - 06:17 PM
Thank you very much Jeremy! Sometimes it takes a bit longer...but it can be fun to go through the process!!
AUG 09, 2013 - 10:14 PM

What I like the most from the article is the part about scratch building of the "lost" details. How often we see posts on forums asking for help, because some detail got lost. With little bit of internet search and some work a new part can be built, which may look even better than the lost original one. The author definitely didn't have a heart attack from losing a couple of parts! Kuddos for that!
I only would like to add that "the two white scratch-built parts on the rear deck" are not to fill with fuel, but to adjust the rear suspension shock absorbers.
 I wouldn't put too much trust in your historical sources, though.
>>>"By the onset of the German invasion of the Soviet Union in June 1941, and with tank losses soaring higher and higher, the BT-7 was still in full production."
No BT-7 was produced past September of 1940 as the T-34 started to go into mass production.
>>>"By the time of the Battle of Kursk, the BT-7 was making up nearly half of the armor in the Soviet Army."
Hardly over 5,000 BT-7 were produced at all time, and most of them lost in 1941-1942. More than 15,000 T-34 were built before 1943; plus, another 15,000 were built in 1943 alone. Plus all kinds of light tanks, KV tanks and SPGs. Not exactly "...BT-7 was making up nearly half of the armor...".
Anyway, great build! Thanks for sharing with us!
And good luck on your future projects!
I wouldn't put too much trust in your historical sources, though.
>>>"By the onset of the German invasion of the Soviet Union in June 1941, and with tank losses soaring higher and higher, the BT-7 was still in full production."
No BT-7 was produced past September of 1940 as the T-34 started to go into mass production.
>>>"By the time of the Battle of Kursk, the BT-7 was making up nearly half of the armor in the Soviet Army."
Hardly over 5,000 BT-7 were produced at all time, and most of them lost in 1941-1942. More than 15,000 T-34 were built before 1943; plus, another 15,000 were built in 1943 alone. Plus all kinds of light tanks, KV tanks and SPGs. Not exactly "...BT-7 was making up nearly half of the armor...".
Anyway, great build! Thanks for sharing with us!
And good luck on your future projects!
AUG 13, 2013 - 03:46 PM
Copyright ©2021 by Todd Michalak. Images and/or videos also by copyright holder unless otherwise noted. The views and opinions expressed herein are solely the views and opinions of the authors and/or contributors to this Web site and do not necessarily represent the views and/or opinions of Armorama, KitMaker Network, or Silver Star Enterrpises. All rights reserved. Originally published on: 2013-08-07 22:50:25. Unique Reads: 28217

WEB HOSTING BY


Copyright ©2021 Armorama and Kitmaker Network, a subsidiary of Silver Star Enterprises
All Rights Reserved. Please read our Conditions of Use and Privacy Policy.
All Rights Reserved. Please read our Conditions of Use and Privacy Policy.