

1⁄35Sd.Kfz 265 Panzer 1 Ausf.A

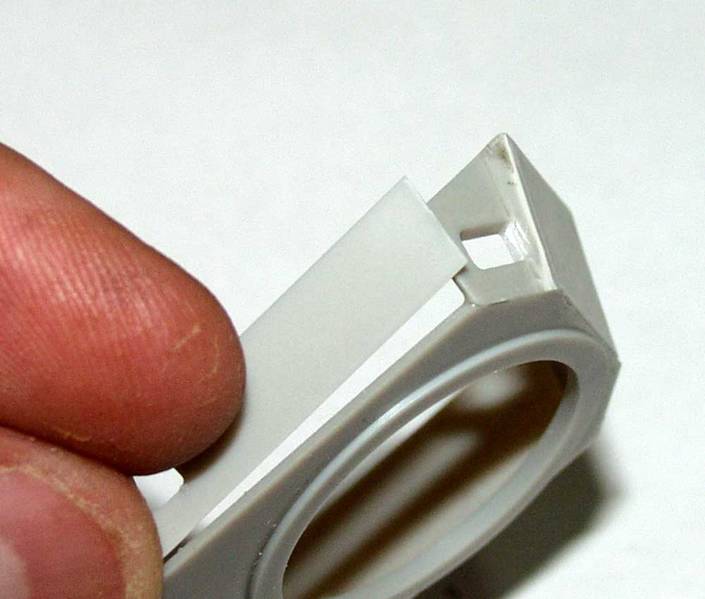
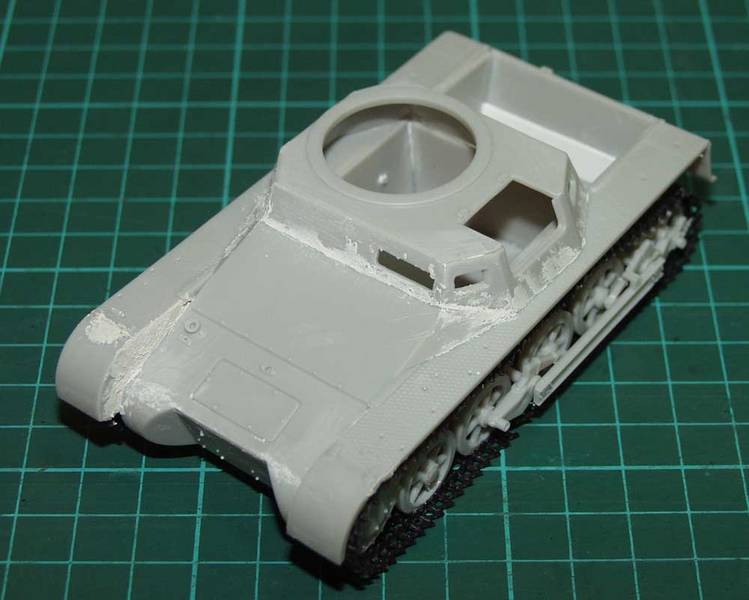
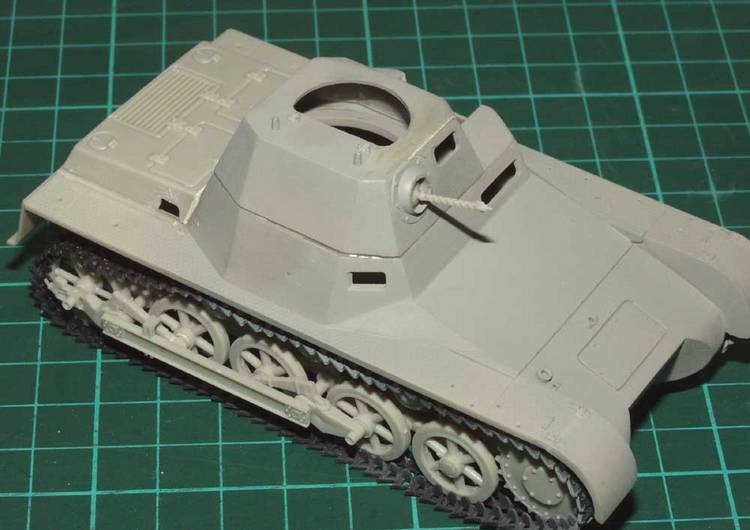
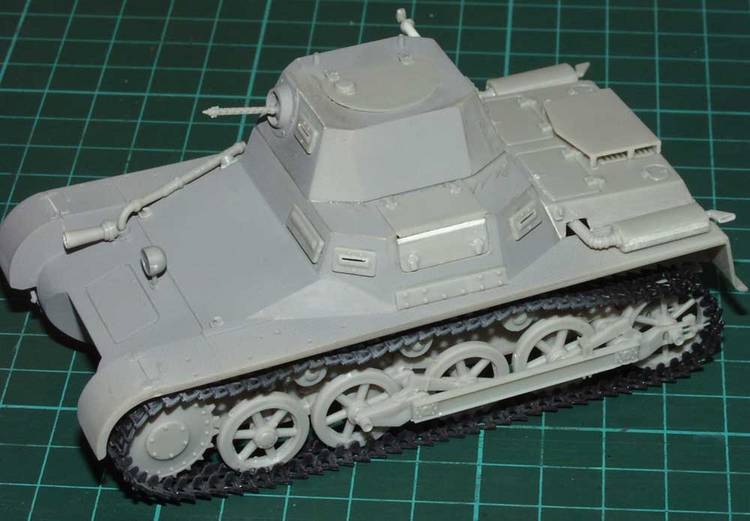
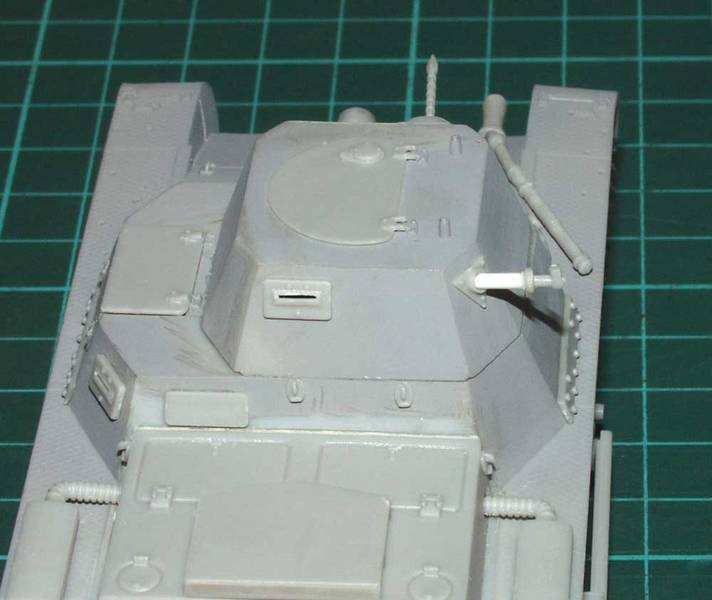
The second page of the instructions dealt with all the upper hull structures. Firstly it was the turn of the structure that replaced the revolving turret on the original Panzer 1. No matter how I tried, I just could not make these parts fit together properly. A lot of filling and sanding was required, and this proved to be the case with the majority of the remaining parts. No internal detail is provided, apart from vague detail on the inside of the hatches, and so I had decided to display the tank closed up. The construction of the upper hull itself followed similar lines to the superstructure, in that again a lot of filling and sanding was required, with one part (A30) being a full 5mm too long! Here again, the instructions showed detail that just is not present on the actual parts, in this case, rivet detail. When the upper hull was constructed, all the various joints were filled with superglue and sanded off. Parts B47 and B48, which are the two parts of the main escape hatch, could not be made to meet and so I filed this gap with styrene strip. The turret ring on the upper hull must also be cut away in place to allow the upper structure to be placed. I then used a punch and die set to add the rivets that various references show (and the instructions!). The engine deck is nicely represented, but again, leaves quite a large gap when fitted which need to be filled with styrene strip. Fitting of the various lights and hoist points around the hull completed assembly and then painting could begin.
About the Author


All Rights Reserved. Please read our Conditions of Use and Privacy Policy.