1⁄35Sd.Kfz 265 Panzer 1 Ausf.A

Introduction
In the early thirties, Germany continued to try and build up her armed forces despite the Treaty of Versailles. The T-1KLA was a modified Panzer 1, the only tank Germany possessed at the time. Only 2 of the variants produced used an Ausf. A chassis. Neither of these was armed but an MG-13 machine-gun was later added. Some saw action in France in 1940, but previous to this some had also been used with the Condor Legion in Spain during the Spanish Civil War.
Opening the box
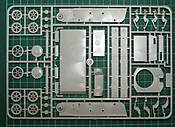
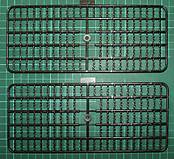
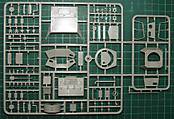
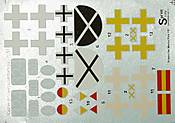
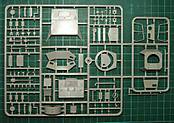
Upon opening the box, there are 2 sprues of grey styrene, 2 of black, a small photo etched fret in a ziplock bag, a decal sheet that includes 3 marking, one of which is for the Condor Legion and one for France 1940, and an instruction booklet consisting of 7 sides. The instructions give a brief introduction to the subject in 6 languages, a parts map, which is essential since the actual parts themselves are not identified by number on the sprues, 2 pages of construction diagrams, and an adequate painting and marking guide. There are some technical notes on this variant of the Panzer 1 at the back of the instruction booklet.
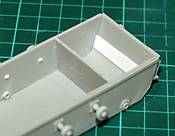
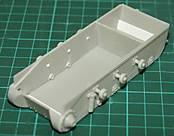
At first glance the parts look well made with a little flash present, but nothing too serious. The plastic used by MB is a pleasure to work with, being not too brittle or soft. Construction begins with the lower hull. As with a lot of eastern European manufacturers, the hull comes flat-packed, and requires some very careful lining up in order to get the thing straight and square. The instructions require at this stage that I fitted the internal fighting compartment bulkhead. This is where the problems began. The instructions show parts with detail that just does not exist on the actual parts. On the instructions the bulkhead had two panels and quite a lot of rivet detail. The actual part is just a flat, plain rectangle of styrene.
Building stage
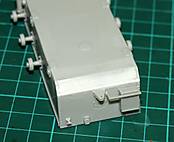
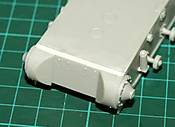
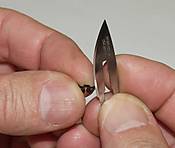
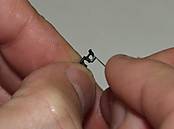
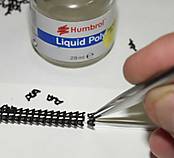
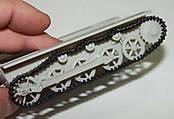
I was not too worried as there might have been an intention to include this detail on the original kit, and if it is an attempt to keep costs down then I’m all for it. The fit of the hull sides is not positive. There is quite a bit of play and therefore each part needs to be trial fitted before cementing in place. The running gear is nicely moulded, again with a little flash but not much clean up was required. Some of the parts are very delicately moulded and need very careful removal from the sprues. The instructions now call for the assembly of the tracks. I broke a few of these individual links before I got the hang of getting them off the sprues in one piece, they are very fragile indeed. I had decided to assemble and fit these as the instructions called for them as their delicate structure meant that there would be little chance of fitting them after painting. I decided to make a jig to produce the tracks, using a piece of Plastruct® H-beam cemented to a piece of styrene sheet. With hindsight, I do not think I would have been able to make the tracks without this. Once fitted the tracks and running gear look absolutely fantastic and I could not wait to paint them when the kit was finished.
The first page of the instructions also calls for the fitting of the exhaust assemblies and all the tools etc. to be fixed to the track guards. The tools are nicely moulded, and although the clamps are moulded to the tools and are greatly simplified, they will look okay when painted. I left the frame ariel off the right track guard until final assembly as it was very fragile looking. The exhausts and their photo-etched guards are beautifully rendered. I took the time to anneal the guards as they had a tendency to spring out of shape when bent into the semi-circular shape required.


