

1⁄35Sd.Kfz 265 Panzer 1 Ausf.A

Painting stage
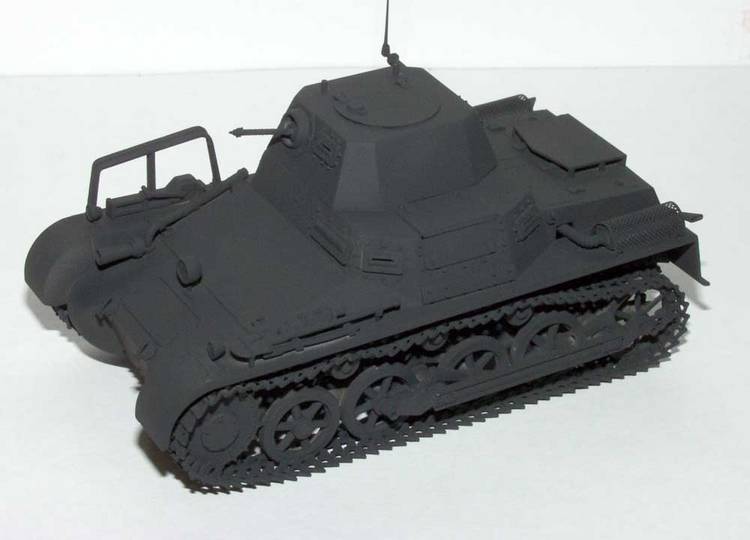
I primed the model with Tamiya XF-66 Light grey to ensure that all the filling around the various joints had been sanded down adequately, and then base-coated the entire vehicle with Tamiya XF-69 Nato black.
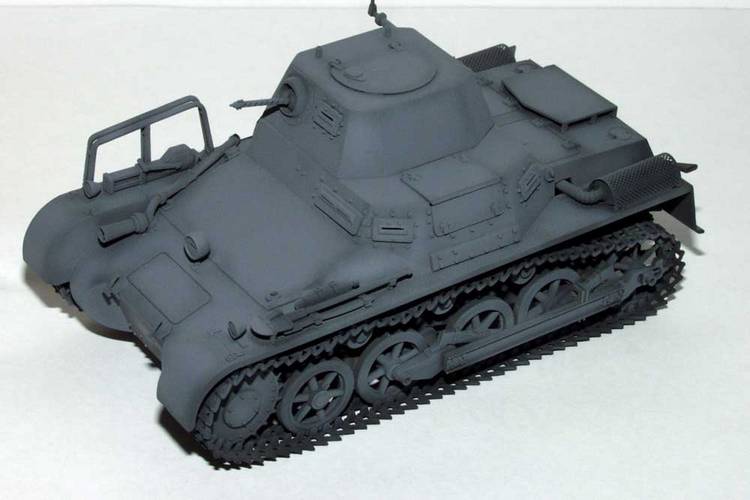
I then misted a light coat of Tamiya XF-53 Neutral grey all over, and then a slightly heavier coat was applied to the middle of panels and around fittings etc. When complete, another light misting was required to blend in the edges of panels etc. with the centre and reduce the demarcation line between the lighter coat and the heavier coat.
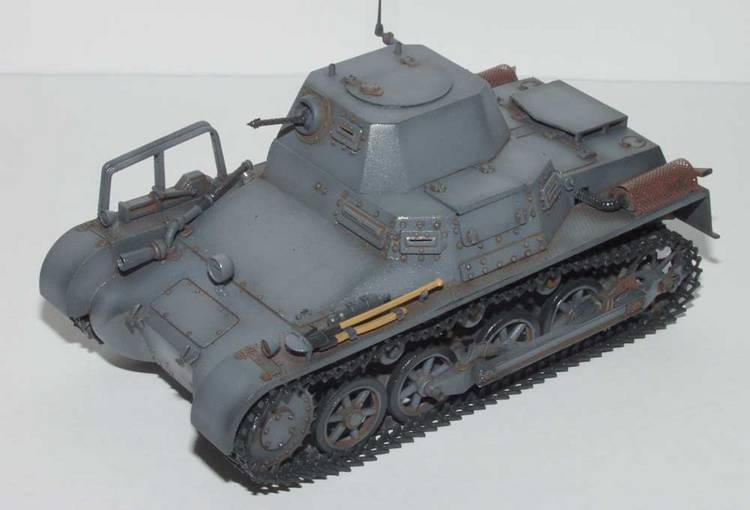
I then painted in the various tool handles, using Vallejo Fleshtone, and the exhausts using an acrylic mixture I made up some time ago in a spare bottle, with some talcum mixed in. Unfortunately I cannot for the life of me remember what I put in it, so Im trying to eke it out, in case I cannot reproduce the effect I want! At this point I also touched up the metal parts of the tools, the MG and the tracks with Nato black in preparation for weathering later.
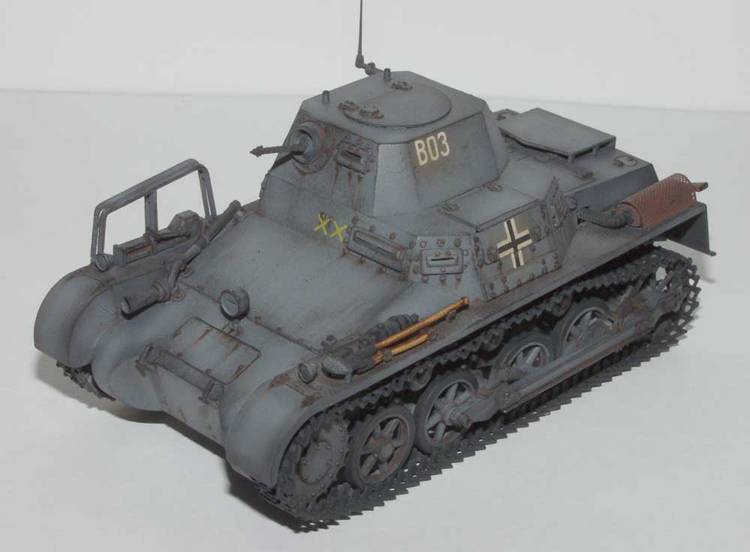
I now used Tamiya X-22 to produce an all over gloss and allowed this to dry for an hour or so before using burnt umber oil in white spirit as a pin wash around all fittings and in all corners, any excess being cleaned up as I went with a clean cotton bud dipped in white spirit. Next I applied the decals for the France 1940 scheme. I used Micro Sol, applying the decals in the usual way and placing a drop of Micro Sol over the decal and allowing them to settle down for an hour before going back and cleaning up any adhesive from them, again with a clean cotton bud, this time dipped in warm water. I then used Hannants Xtracrylix flat varnish as an all over coat.
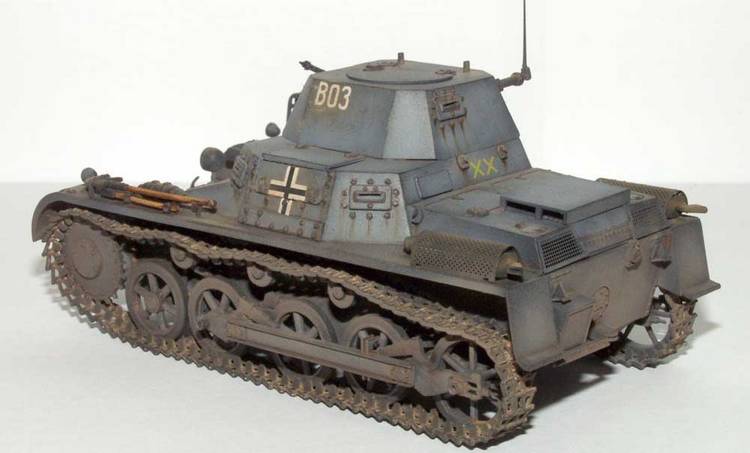
I now dry brushed the tank with Humbrol 33 Matt black, applied dry Mig Europe Dust P028 pigment to the tracks, running gear and around some of the lower corners on the hull, before brushing some powdered graphite on the raised parts of the tracks. The very last thing was to spray very lightly indeed, the running gear and lower hull with some Tamiya XF-52 Flat earth to represent dust.
Conclusion
There you have it. This kit can be built into a beautiful looking model of the subject, but may require a lot of work. It is not a kit for a beginner. Ultimately I found it very rewarding, since its an unusual subject that filled a gap in my collection. If you fancy trying something a little different, and are not put off by a little filling and sanding, then give it a go. The result is cute!
My thanks to Mr. Alex Surzhenko, Director of Master Box Limited, Ukraine for the review sample.
Vinnie Branigan
About the Author


All Rights Reserved. Please read our Conditions of Use and Privacy Policy.