

1⁄35Tiny ASU -57
7
Comments
colours and markings
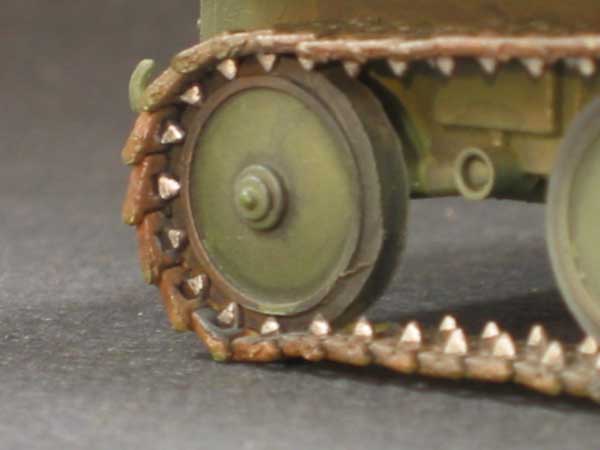
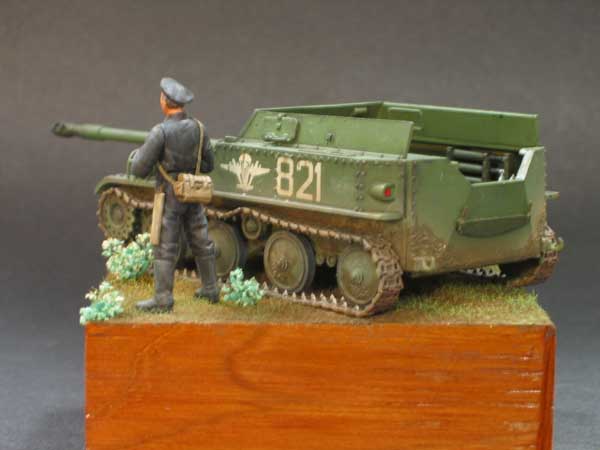
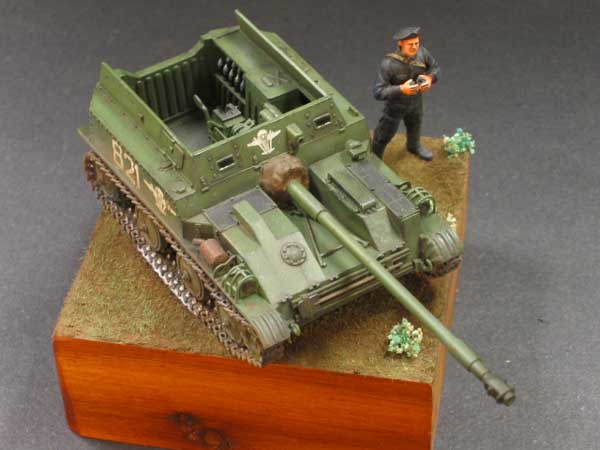
Since I served in the 82nd Airborne for about 4 years, I had to build this little guy and put him in ABN markings. I went with a dark green, but after looking at pictures of the real deal, it didnt look dark enough. I added a black wash over everything and it worked pretty well to darken things up. The decals consist of markings for 2 Russian Airborne Units, (Unknown) and an Egyptian vehicle. I cant read Russian or Egyptian so it is anybodys guess as to what unit the markings represent. I do know that there are markings for a May Day parade vehicle included as well. The weathering and paint chipping was kept to a minimum as I didnt feel the need to go hog-wild with it. A light dusting with some light tan along the road wheels and lower hull finished off the painting.base and figure
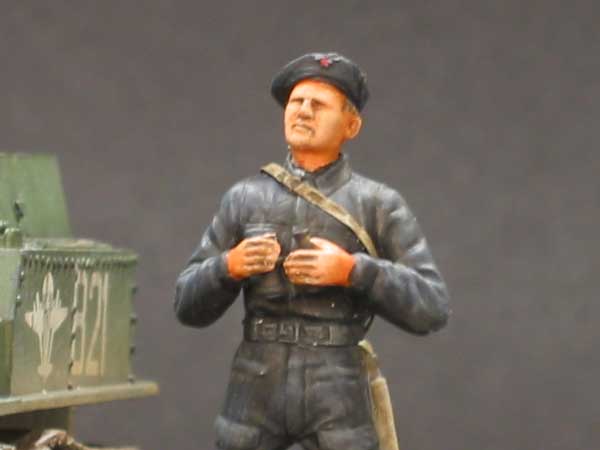
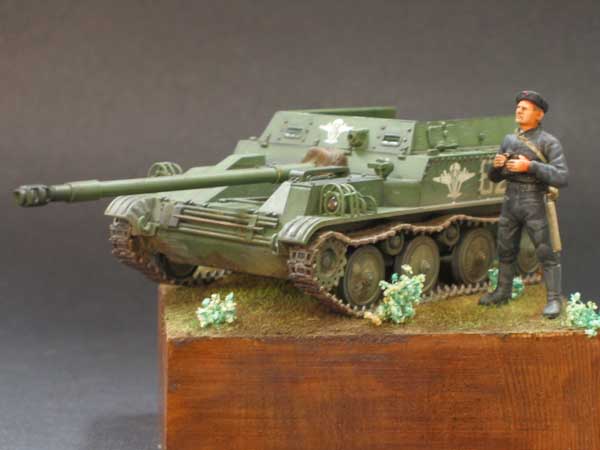
The base is part of a cedar award blank that I had left over from a previous project. I sawed one end off of it, and gave the two bare ends a coat of polyurethane to help keep out the moisture from the cellu-clay ground work. I normally use a sanded tile grout for my ground work, but decided to use the cellu-clay instead as it would be a quick piece of work. I mixed up some orange, yellow, and black tube acrylics from Liquitex until I had a nice dark brown color. I added this and some Elmers white glue to the cellu-clay. Once I had a good paste I spread it across the base. While still tacky, I sprinkled on some static grass and pressed in my track marks.I think the tiny base lends to the overall size of the finished piece. I let this dry over night and all day while I was at work. I then broke out the airbrush and applied a nice dark brown color over the already dark brown ground work. Mixing up some greens, yellows, and white I dry brushed this across the grass to bring it out a little better. The plants are from the dried flower section of Michaels that were bought about 4 years ago and are still like new. Small holes were drilled into the base and the plants were added with a small drop of white flue on their stems and pushed into the holes. The figure is from the early release of Dragons tank soldiers. Whether or not the uniform is right for the time period I dont know, I just wanted to add a figure to show how tiny this vehicle was for these guys to operate. I just used the Dragon box art as my painting guide. I really need to get back into some figures as this guys isnt all that great to me. Oh well, all the more reason to practice. He was painted using acrylics as a base and oils for the highlights and shadows.
in conclusion
While this kit isnt even close to what is hitting the market today, i.e. DML/Tamiya, it will build into a cool little kit of a not so often seen anti-tank vehicle. There are a couple of after market sets out there for this kit as well. One is from Eduard and is part number 35734. The others are an aluminum barrel from Model Point, part number 3529, and some return rollers which are part number 3550. Last but not least is another detail set from Xacto. Im not sure what it includes as this is a new release, and no number is listed for it as yet. I found all of these on Greatmodels.com. Im sure they will really dress up this little guy. I have another one of these kits on my shelf and definitely plan on adding these sets to it when I build it. I hope I have shed some light on this kit and what can be done with it. Thanks for looking.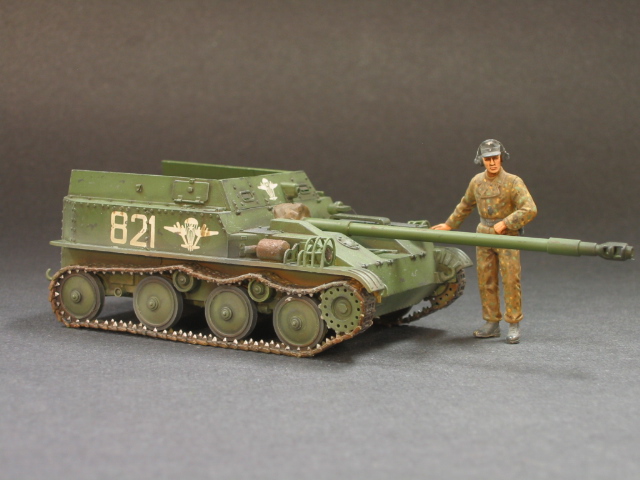


About the Author


FROM: CALIFORNIA, UNITED STATES
After a several year break from the hobby I have happily returned to it. Slowly, but surely getting my mojo back.
Comments
Vinnie, I just read thru my article again. Under the "kit" portion it double lists the same information. Did it come thru like this when I sent it? I also forgot to add one pic that actually had a German figure standing next to the vehicle prior to being mounted on the base. Should I leave it as is or what? Thanks for posting it so soon. Didn't think it would go up that quick. Thanks again. "Q"
JUN 02, 2005 - 03:56 AM


Matt,
Is that your Tank Destroyers Campaign submission? In the words of Chris Farley " Holy Schnikes!" :-)
JUN 03, 2005 - 04:13 AM

Vinnie,
Awesome job for a kit someone else voted as "Worst model ever" on another thread. Just goes to show what can be achieved with perseverance.
Mika
JUN 03, 2005 - 10:02 AM


Matthew You did a great job with a dog of a kit! I was the one that posted the comment about the ASU-57. The kit was TOGAs kit but i'm sure its the same molds. Mine was molded in heavy white plastic with soft surface detail, poor fit, and terrible directions. One day I will crack it back open and finish the job. Your wonderful model may just be the inspiration I need.
JUN 04, 2005 - 02:52 AM
Sorry for the slow response... Yeppers, that will be one of my entries. The other is the M10 by Tamiya. I can't get the pics to come out right...hence the delay in posting them. Thanks. "Q"
JUN 09, 2005 - 01:26 PM
Copyright ©2021 by Matthew Quiroz. Images and/or videos also by copyright holder unless otherwise noted. The views and opinions expressed herein are solely the views and opinions of the authors and/or contributors to this Web site and do not necessarily represent the views and/or opinions of Armorama, KitMaker Network, or Silver Star Enterrpises. All rights reserved. Originally published on: 2005-06-02 00:00:00. Unique Reads: 23037

WEB HOSTING BY


Copyright ©2021 Armorama and Kitmaker Network, a subsidiary of Silver Star Enterprises
All Rights Reserved. Please read our Conditions of Use and Privacy Policy.
All Rights Reserved. Please read our Conditions of Use and Privacy Policy.