

1⁄35British Armored Car Saladin Mk.2
11
Comments
THE BUILD
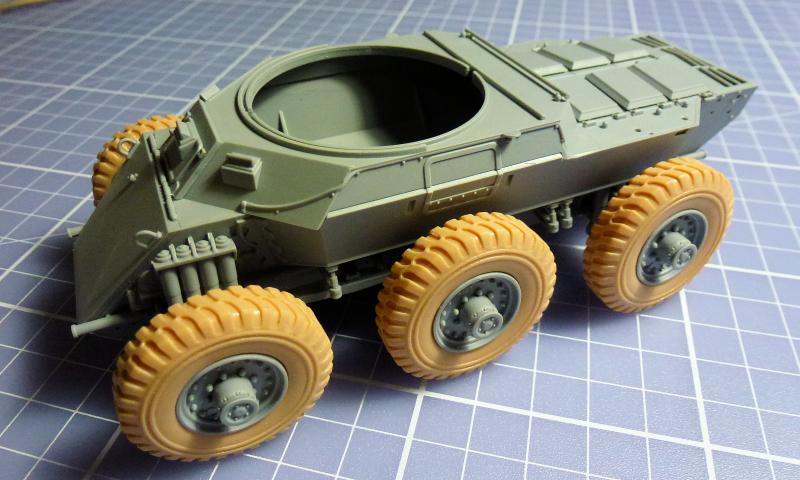
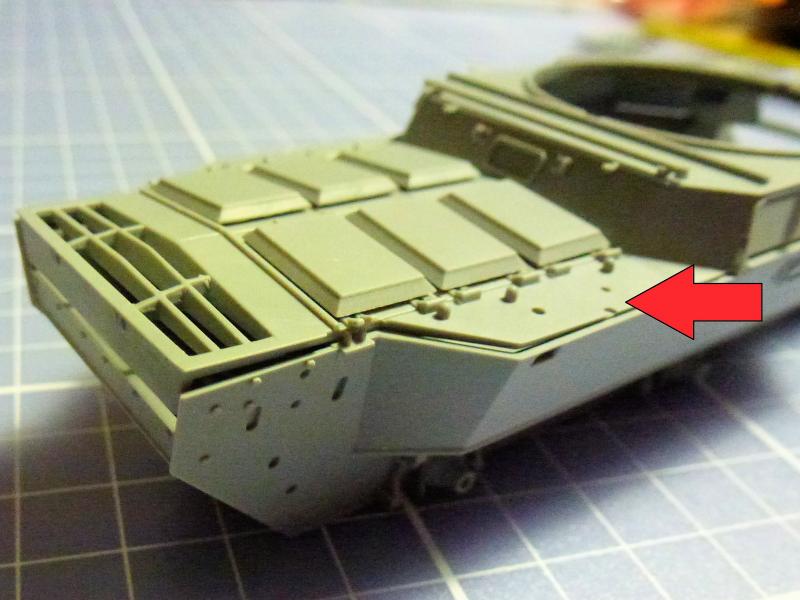
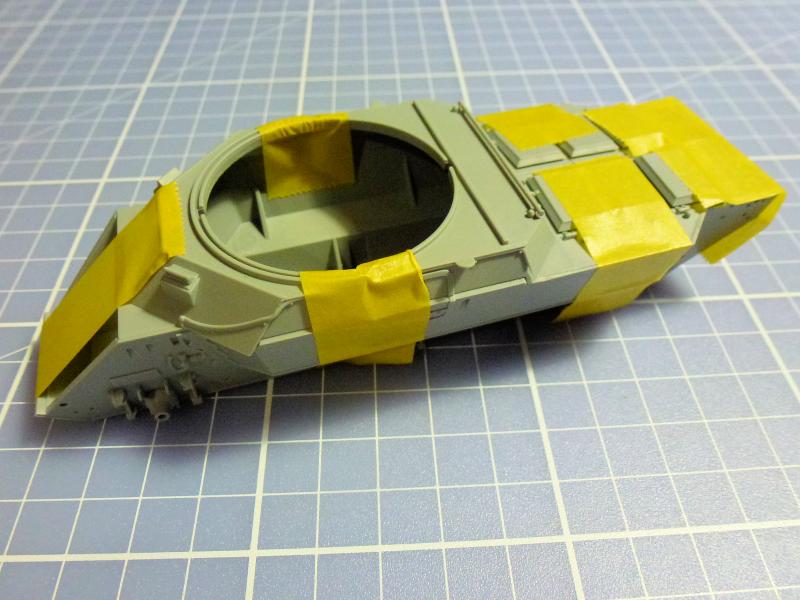
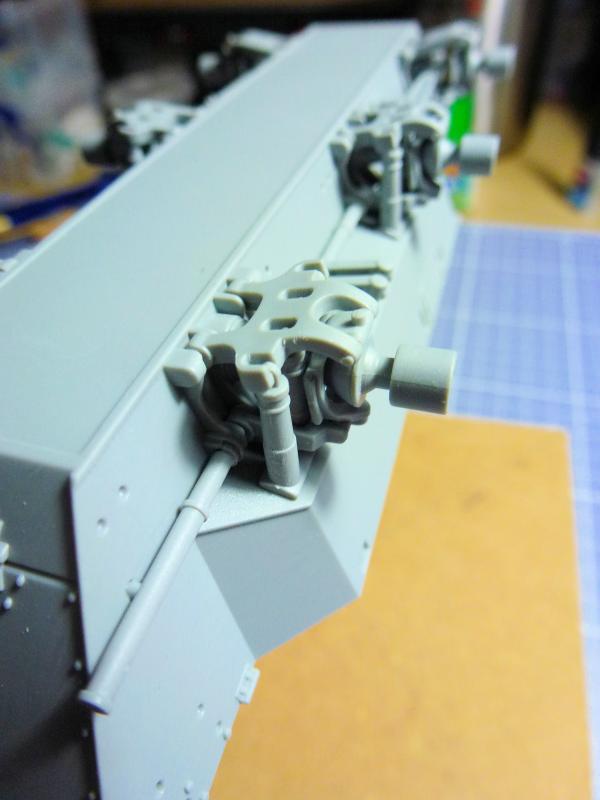
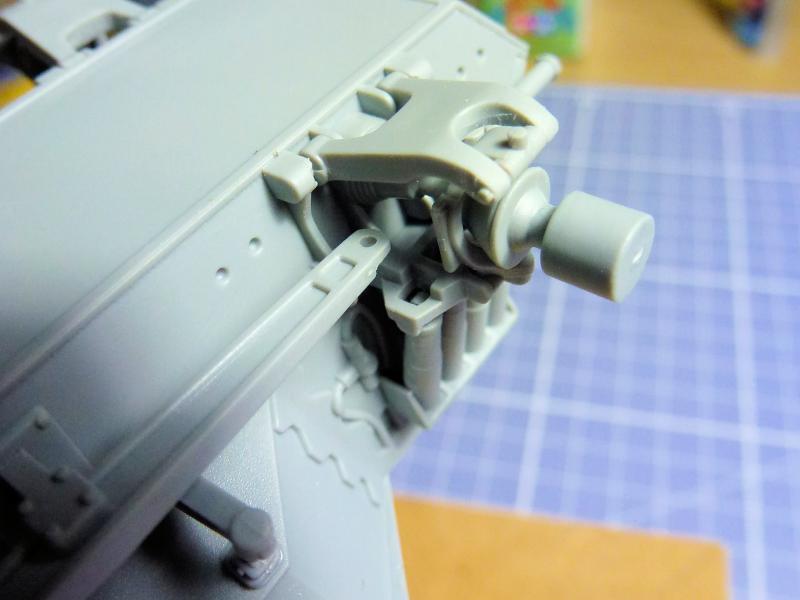
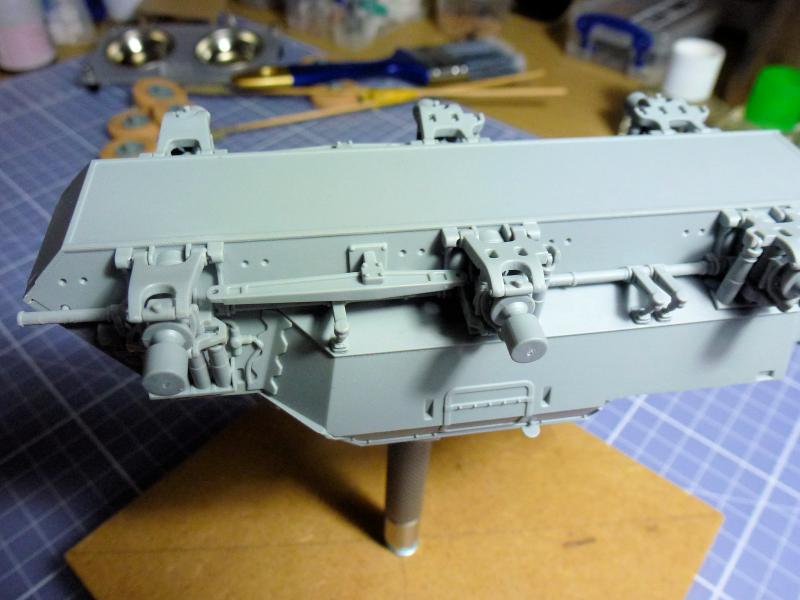
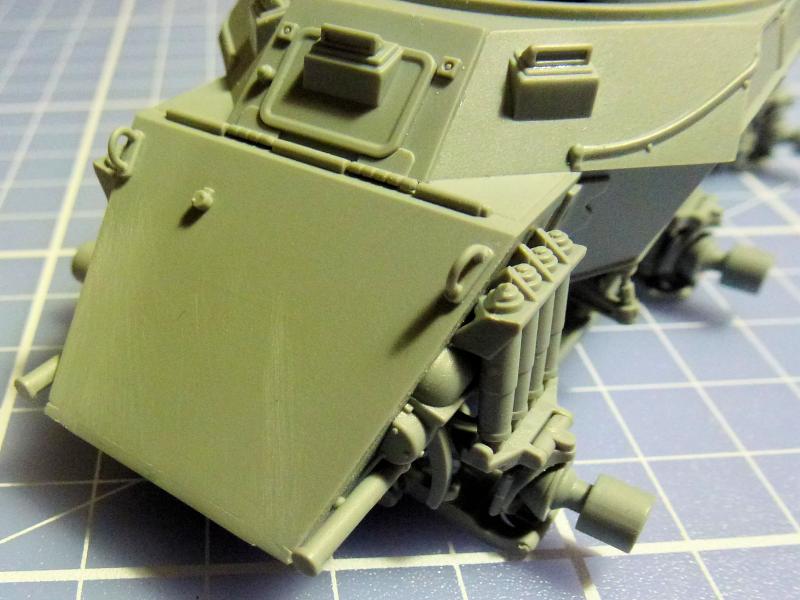
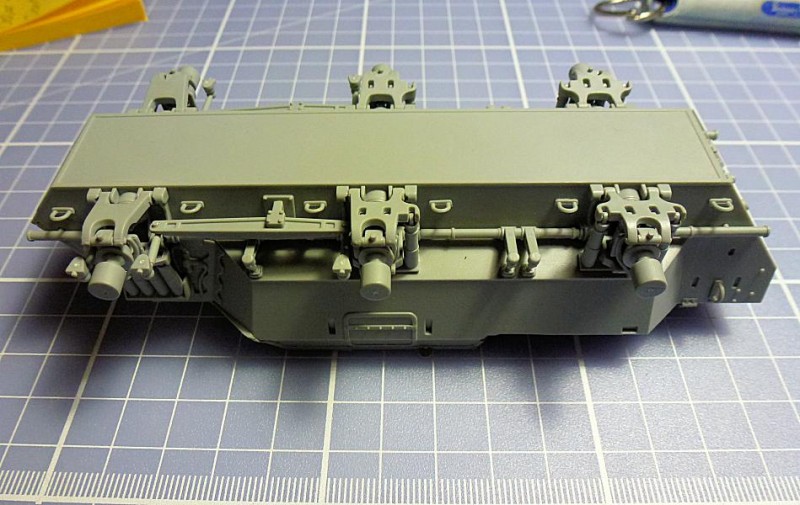
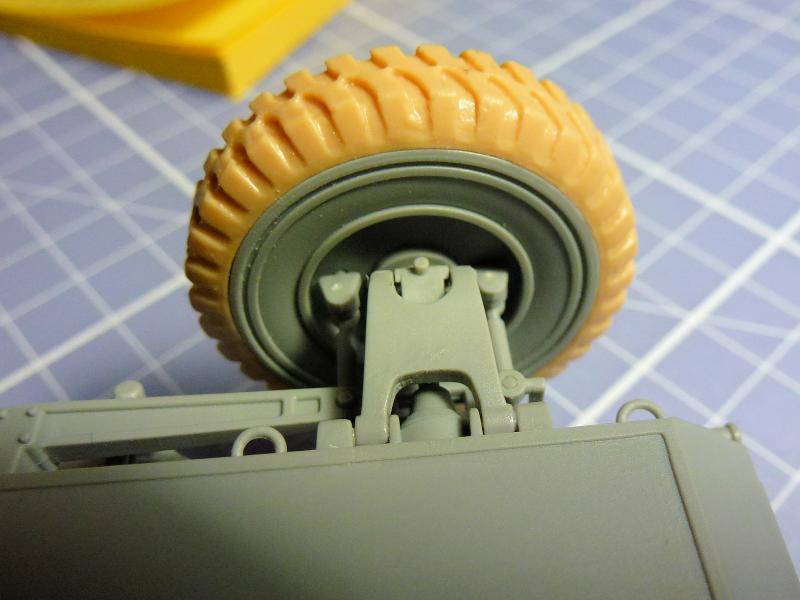
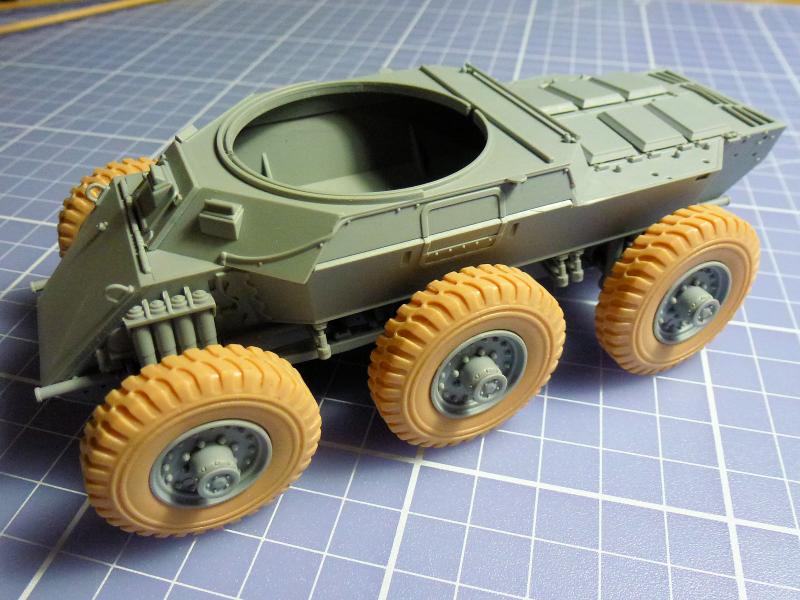
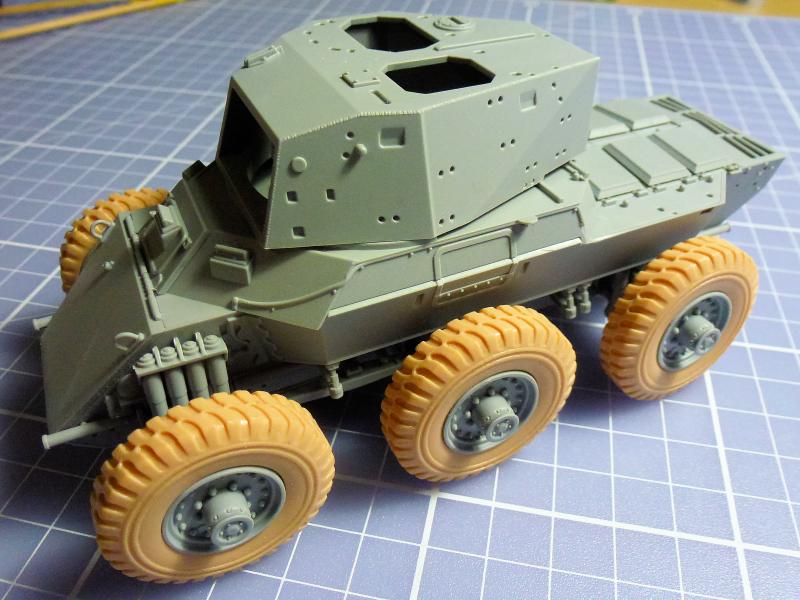
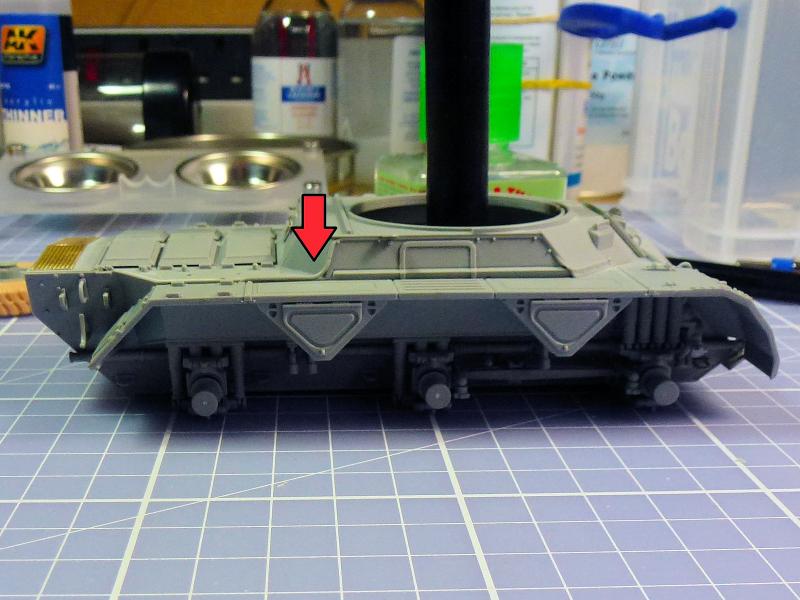
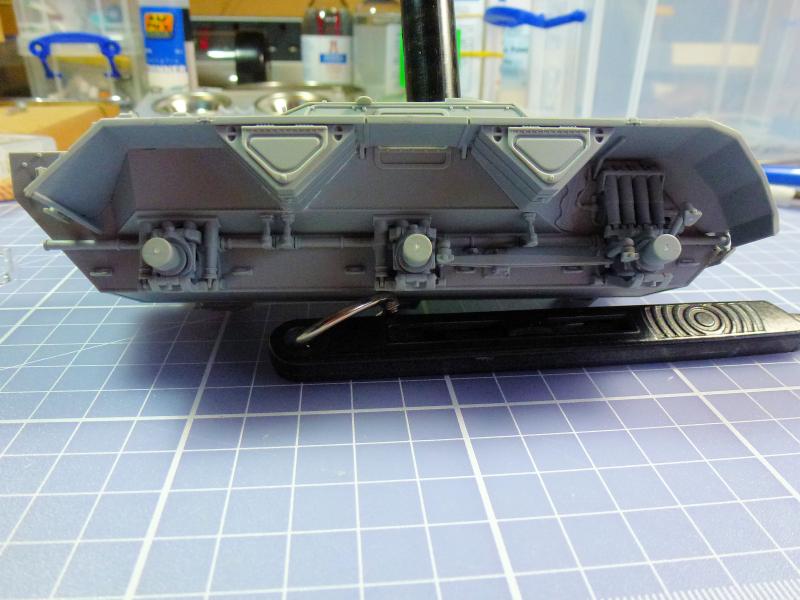
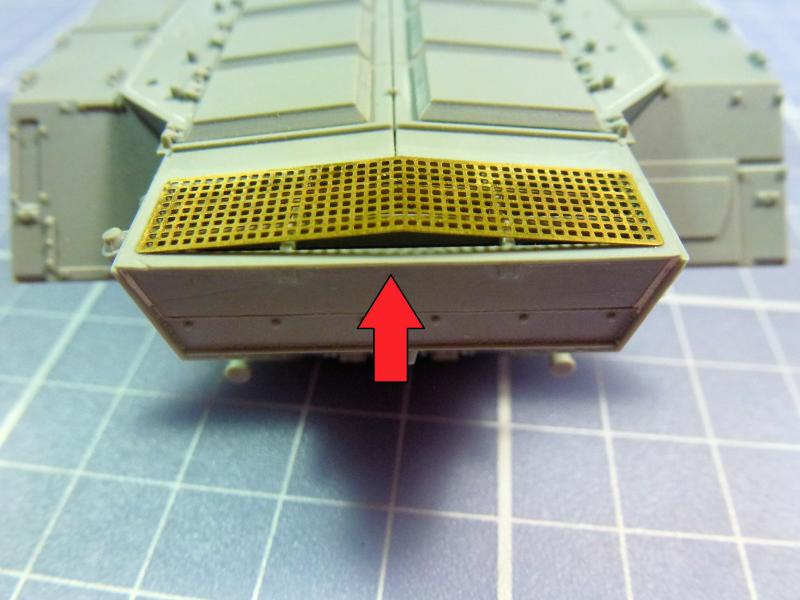
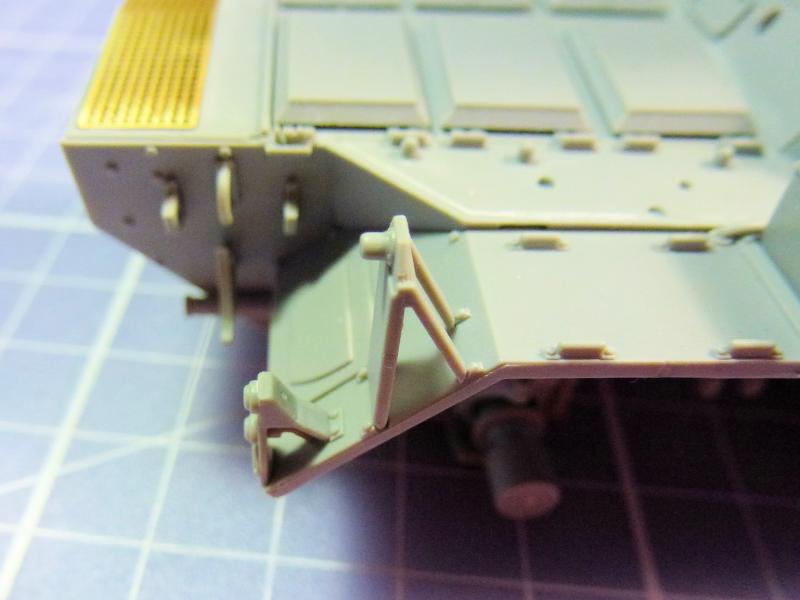
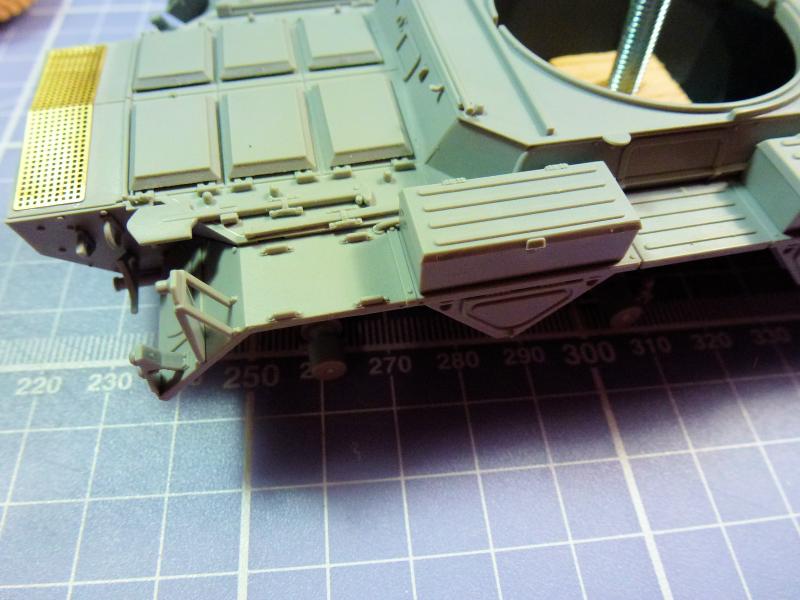
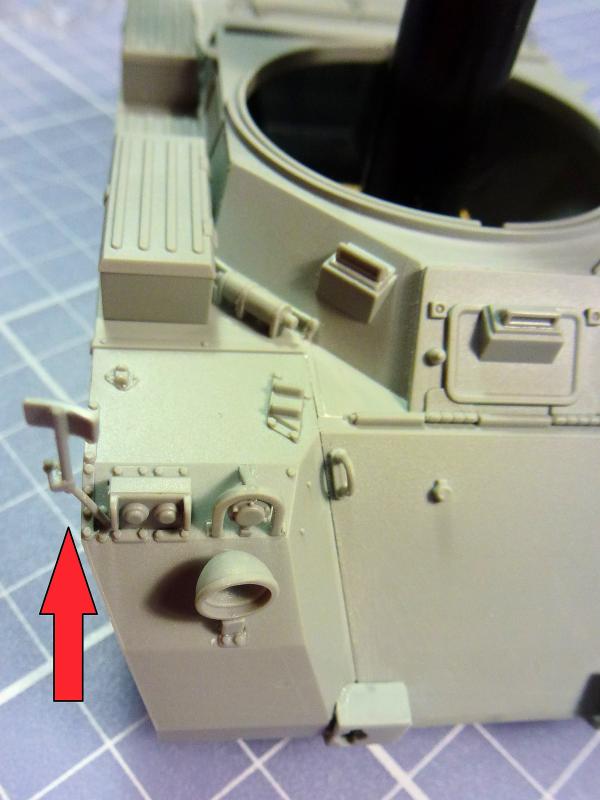
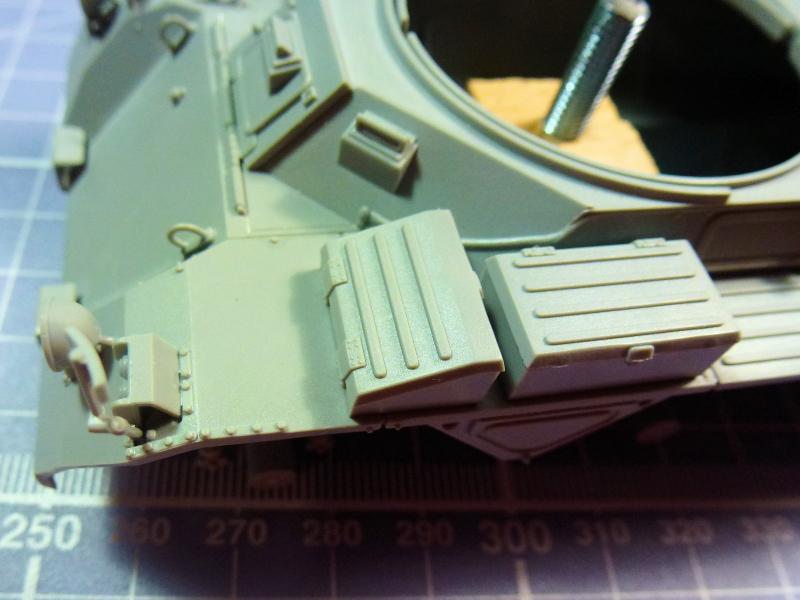
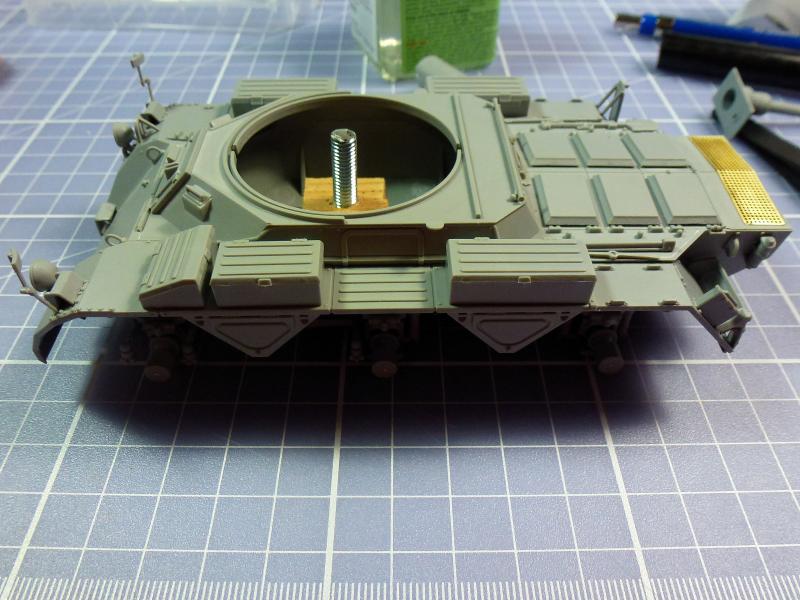
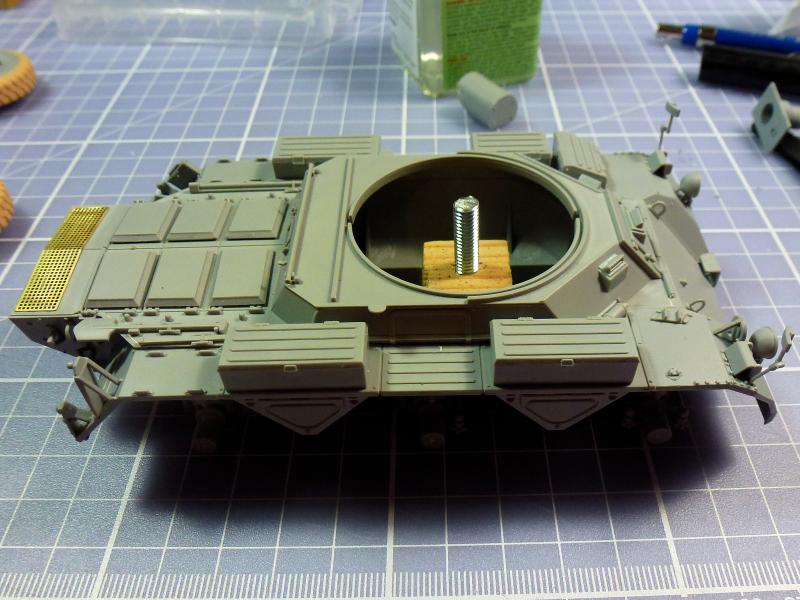
Step One Three parts are being added to the back end of the upper hull, one part that fits on to the back (be gentle here as it needs to go under two hooks that are molded on and can easily break off if youre not careful), and the other two are tools, which in my opinion should be left for later when you have the fenders on, parts A23 and A24. This is where the tools go but will get in the way. Step Two This shows some more tools being added, which again should be left until later, along with some wiring that connects to the fenders once they are on; so the parts I would leave here are A5, A22, A44 and A46. This step also adds the rear engine hatches. Just looking at these parts shows how many small components are going on to this vehicle, and a lot of them have multiple attachment points, most of which you just cant clip off easily, so clean up takes a bit longer than you might expect. The hatches have an attachment point where you need to leave a lip that runs around the top of the hatch, so be careful again here; I ended up using my trusty modeling chisel to remove and reshape here and also on the back end of the upper hull. Step Three In this step we are adding the front hatch and front armor panel; they say you can have the hatch open or closed, but with the lack of detail on the back of the hatch and internally I would just leave it closed if I were you. Now for the front armor panel: they want it glued onto the front of the upper hull but this should be left until step four, as there you attach the lower hull and this gives you more stability when putting it on. The instructions are not in the best order they could have been, they seem to be making it overly complex for the general modeler. Step Four We attach the lower hull to the top hull here, which makes adding the front armor nice and easy now; there is also part of the steering here that you shouldnt glue in, as it just slots in and will swing freely. The upper hull had bent a little, so I taped it down to make it flush while the glue dried: the arrows are pointing to the nice big gap and two awkward attachment points that I had to remove. Step Five, Six and Seven The following 3 steps in the instructions involve the lovely looking suspension on the Saladin and have been one of the longest and most soul destroying clean up sessions I have ever done. Seam lines, tiny parts and instructions that will make you swear at times, and all in all these steps took about 4 hours on and off to clean up and attach. When my PC died I lost most of the build shots of the suspension going together, and I didnt save them on the camera, a mistake I have learnt from, so the following photos are when the suspension had been finished. When you attach parts B27 and B28 make sure you slip part B17 onto them before you glue them in place as you cannot fit them on after. The instructions say not to glue most of the suspension in place; I think this is if you wanted to set the wheels at slightly different heights i.e. for rough terrain, but its fiddly and will fall apart if you knock it, so I just opted to line up the parts and glue them as mine will be on a mostly flat surface. Apart from the long clean up, these sections were quite straightforward and went on easily. Step Eight In this step we are adding the wheels and steering arms. I decided I would take this section with a pinch of salt as I want the wheels separate for painting; also in this section it adds the supports for the exhaust cover B21 and A69, and I would leave these until the fenders are on so you can line up parts easily. Here we add also the single piece of PE in the kit. This part does not fit, and every review I have seen moans about it; it will leave a gap at the back which leaves you two choices: live with it or make a new one. As Im doing this mostly OOB I left it. On to the wheels, the way I decided to do this was glue the front hubs and hubcap parts B15 and B4 to the rear of the wheel B14, but leave the tire loose at the moment to make painting a little easier. The axle pin part B12 I glued into the suspension which meant I can just pop the wheels on and off to test, handy when you add the steering arms. I held the wheel on so I could line it up and glue the arms in place; they fit into two holes on the back of the wheels, but when you line them up, make sure the holes on the lower half of the wheels are closer to where they will be touching the ground. At this point its starting to come together, a few quick test shots to see how it looks.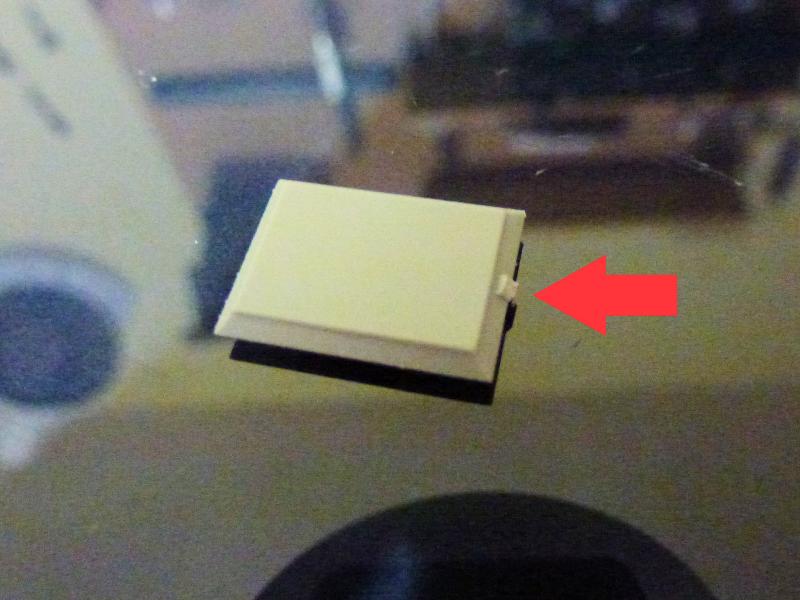


About the Author


FROM: SCOTLAND, UNITED KINGDOM
Ive been modeling on and off ever since I was a small boy. during my early teenage years I painted and gamed with fantasy figures like alot of others here, nowadays I find I will model anything armor, figures, etc. I like to keep an open mind to new methods and ways of doing things as im always tryi...
Comments

I just completed mine, a great build ! I too am NOT a rivet counter, and other than the lack of interior parts , I enjoyed this build !!
JUN 22, 2015 - 04:29 PM


it's just such a disappointment [IMO]! Dragon used to be fantastic, but then they took a re-focus to Disney licensed toys in the knee... Your build looks very good mind.
JUN 23, 2015 - 01:38 AM
[/quote]
Looking at their website and FB about 50% of Dragon's new or announced releases this year and all the new toolings [excluding BL which I've already said is almost certainly cheaply made in comparison to Meng etcs new tools] have been Marvel related who are now owned by Disney so I expected DML had made producing for the latter companies to be their main focus instead of military kits.
Timothy.
JUN 24, 2015 - 08:56 PM

Neil I think you are too kind in your review but very helpful. I think this model does not deserve a Black label name (as if I know what is a Black Label). It was a model I have waited for so long to replace the Tamiya kit but was a disappointment anyway.
JUN 28, 2015 - 01:23 PM


Neil, thanks for building it. Your skills are inspirational to me (that is not a subtle criticism of Dragon). Love the groundwork. You definately sold another Saladin for Dragon - to me!
JUL 02, 2015 - 05:27 AM

Copyright ©2021 by Neil Gardiner. Images and/or videos also by copyright holder unless otherwise noted. The views and opinions expressed herein are solely the views and opinions of the authors and/or contributors to this Web site and do not necessarily represent the views and/or opinions of Armorama, KitMaker Network, or Silver Star Enterrpises. All rights reserved. Originally published on: 2015-06-22 15:14:22. Unique Reads: 14925

WEB HOSTING BY


Copyright ©2021 Armorama and Kitmaker Network, a subsidiary of Silver Star Enterprises
All Rights Reserved. Please read our Conditions of Use and Privacy Policy.
All Rights Reserved. Please read our Conditions of Use and Privacy Policy.