

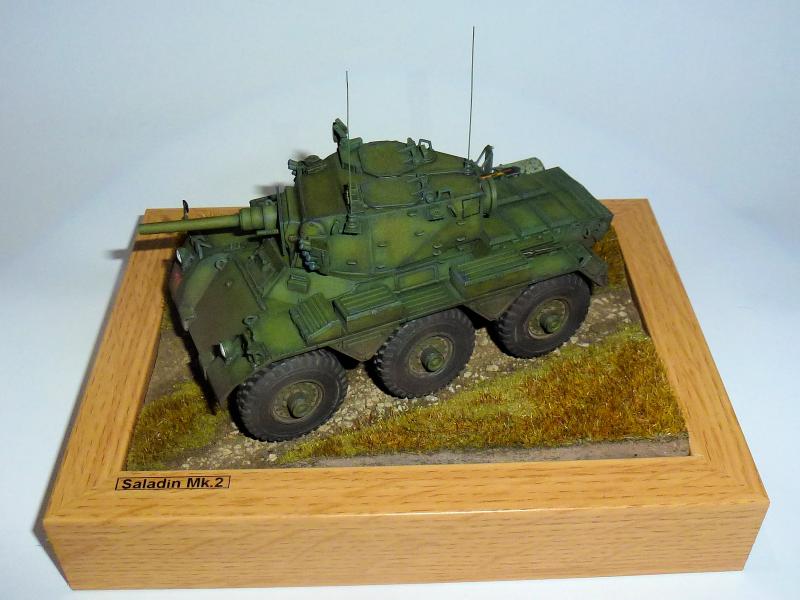
1⁄35British Armored Car Saladin Mk.2
11
Comments
Overall conclusion of the build
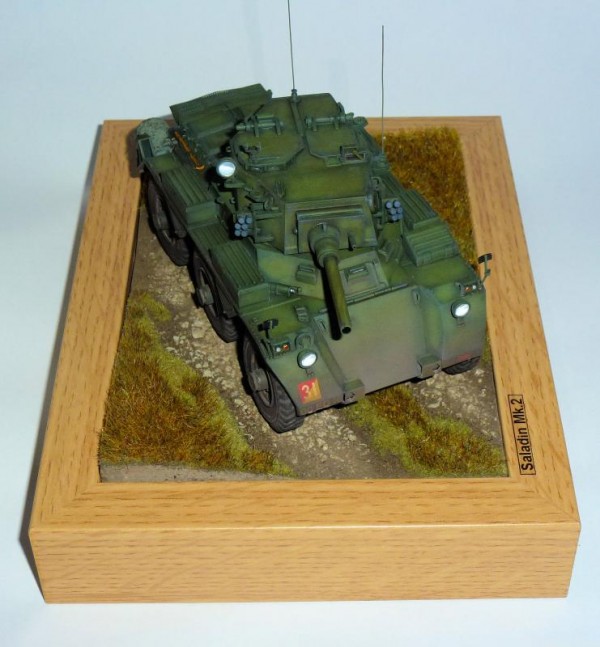
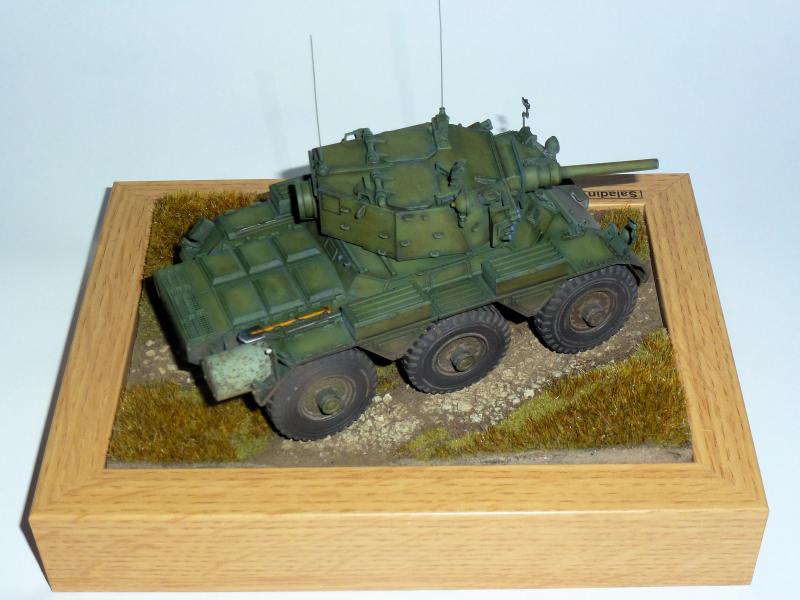
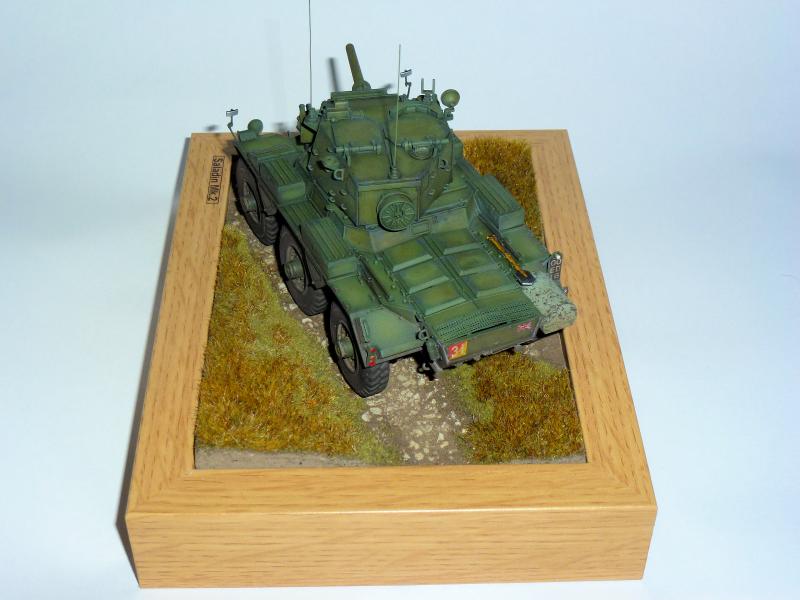
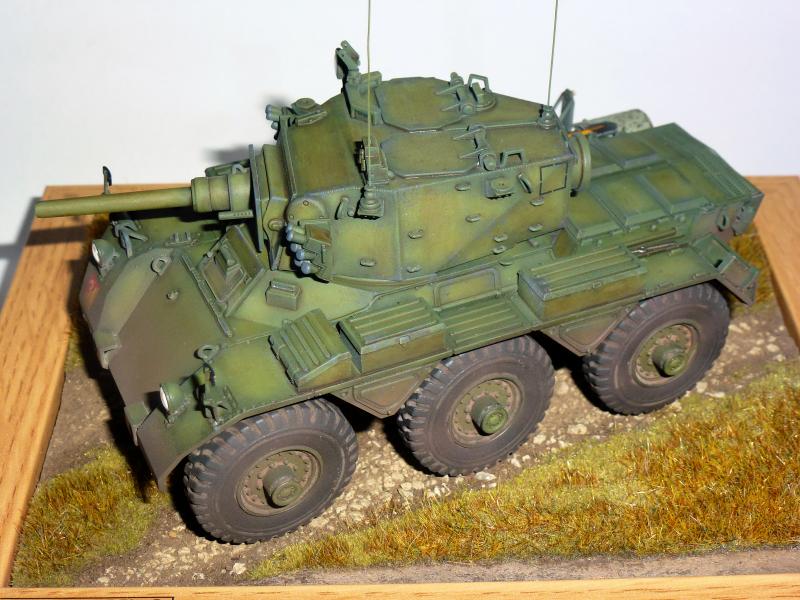
Once you get past the, in my opinion, bemusingly laborious instructions, the massive cleanup of very small parts, and the fiddly suspension, this kit goes together quickly and easily, and builds into something very nice. Yes, there are details missing, and some details are just plain wrong, but most modelers should easily be able to overcome this, and the kit offers a vast amount of super detailing opportunities if you so wanted. With the arrival of the inevitable aftermarket parts that will be in the pipeline for this kit, I would say the skys the limit, and it really ends up a lovely looking model in my eyes.Finishing
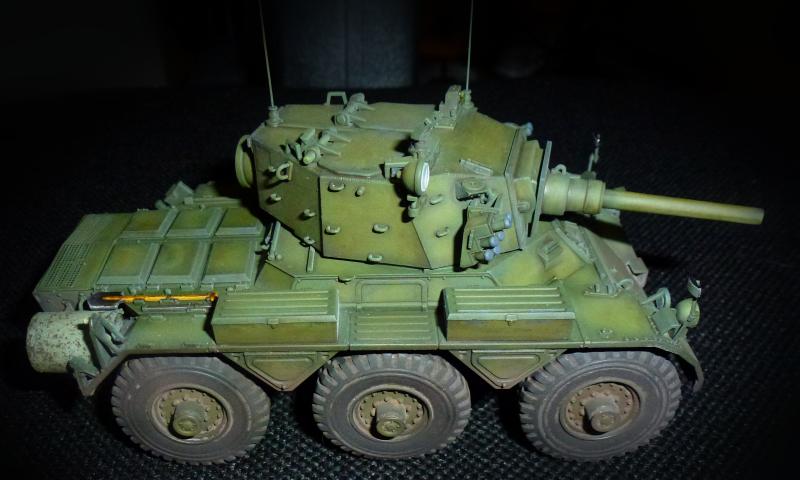
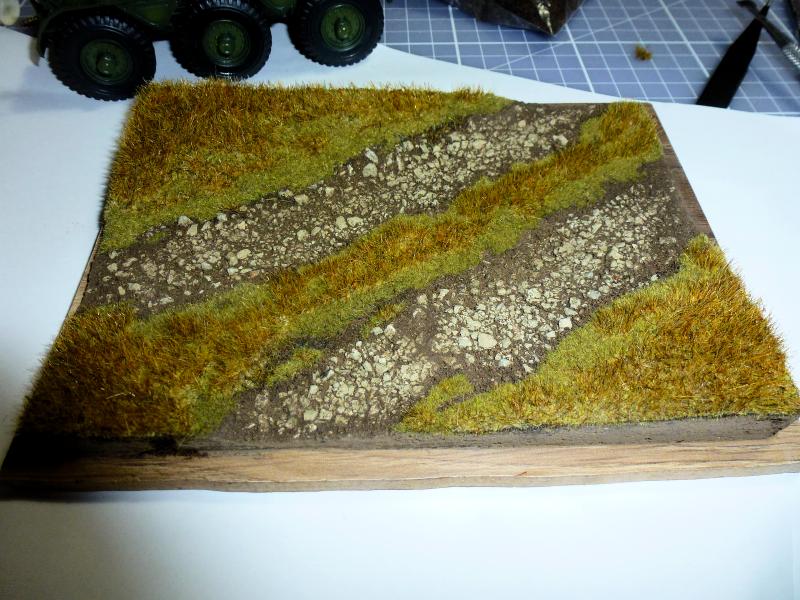
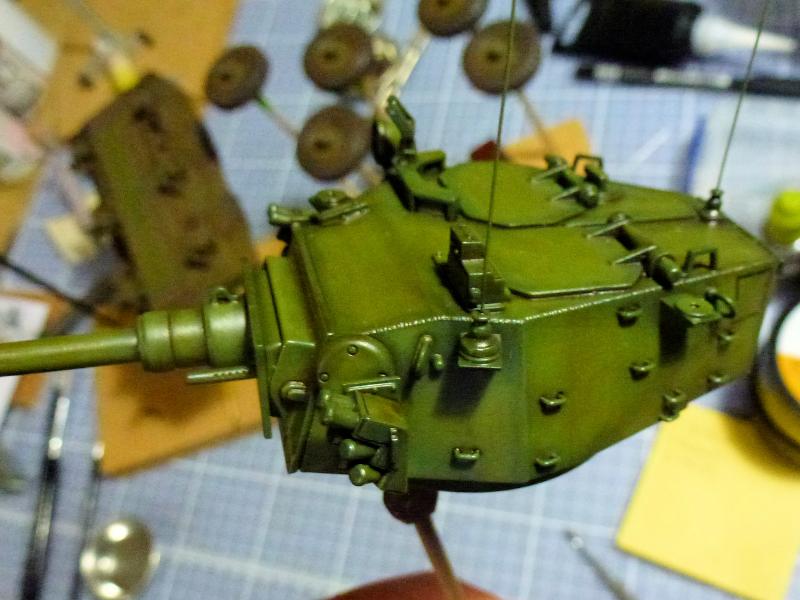
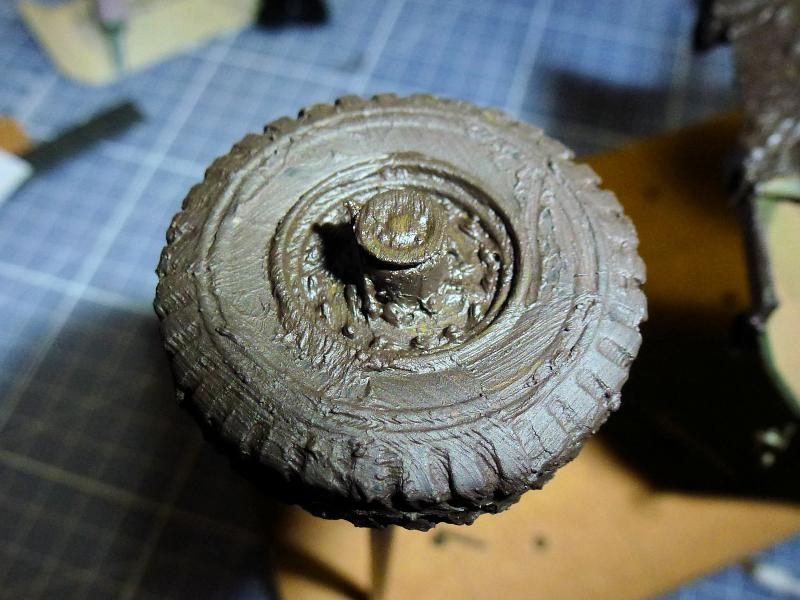
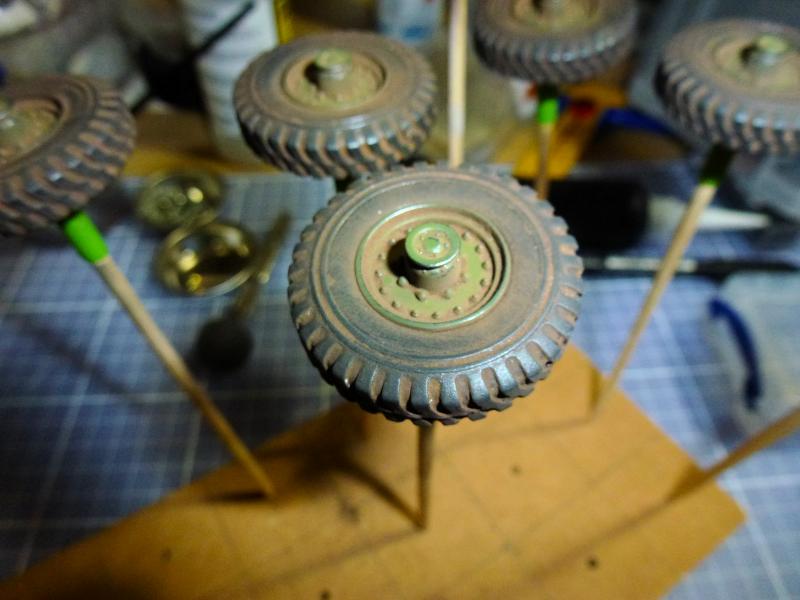
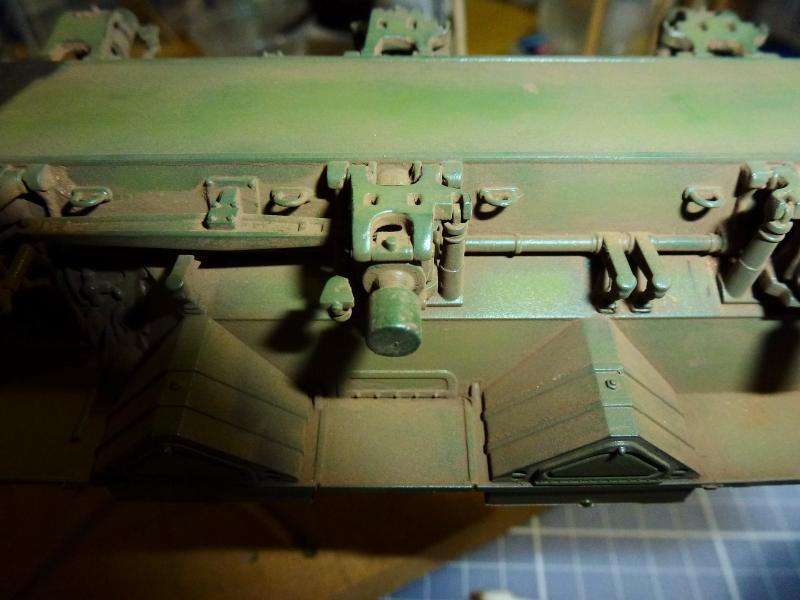
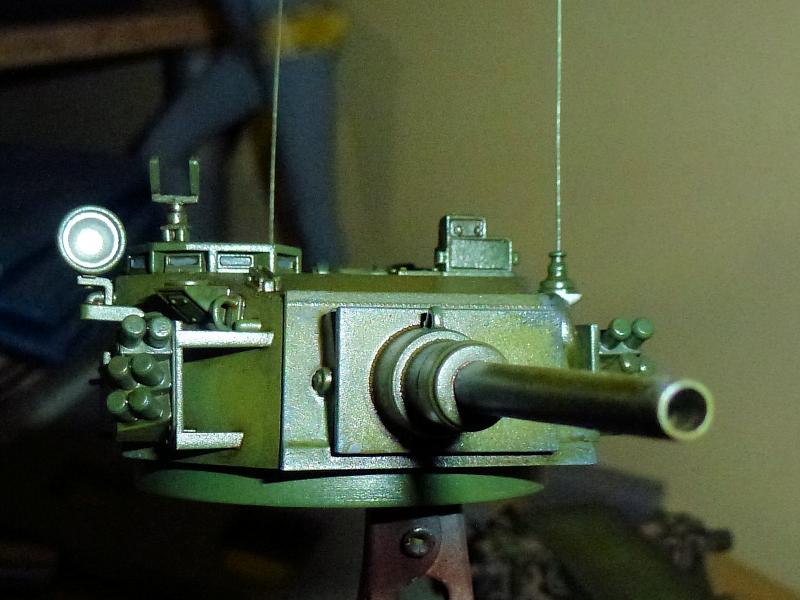
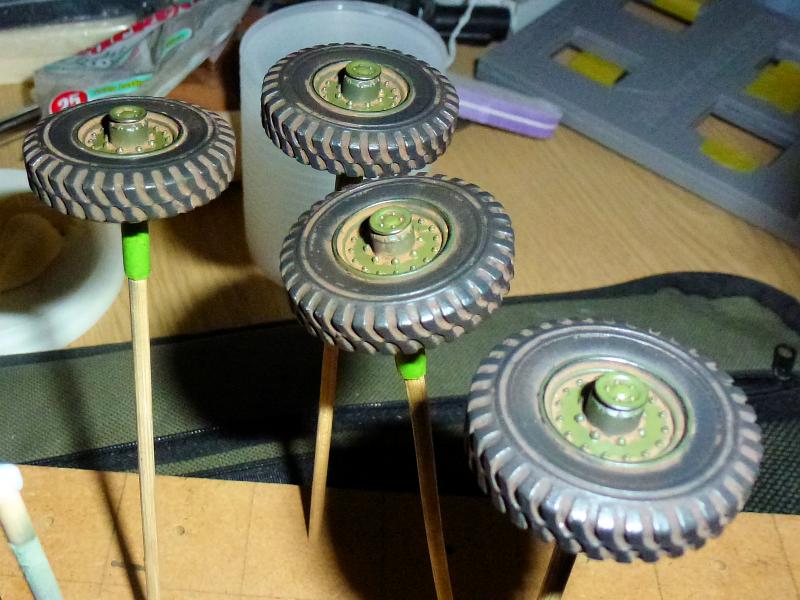
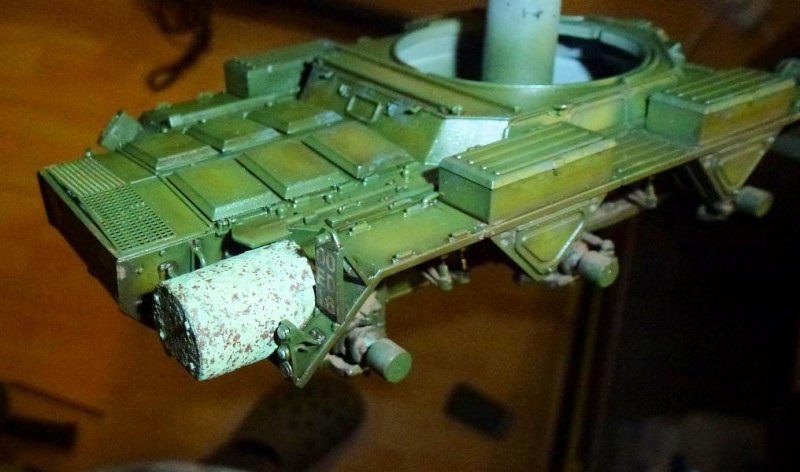
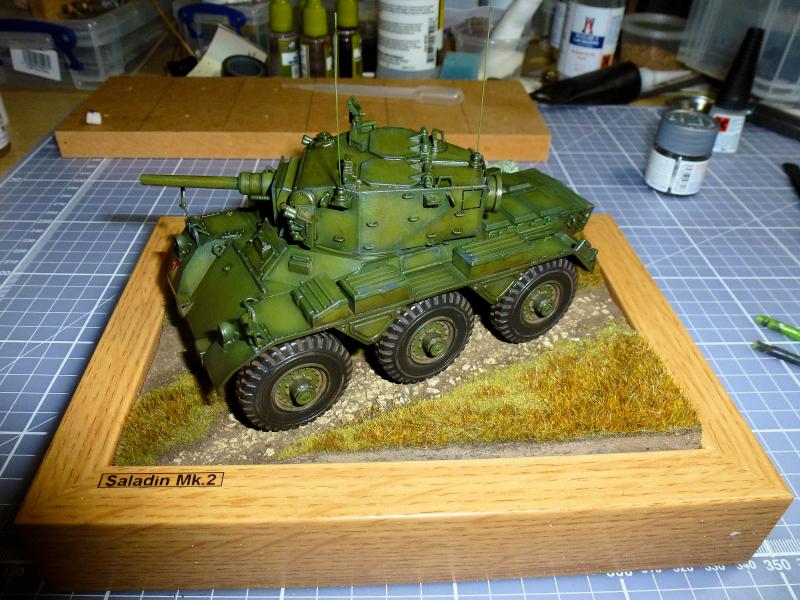
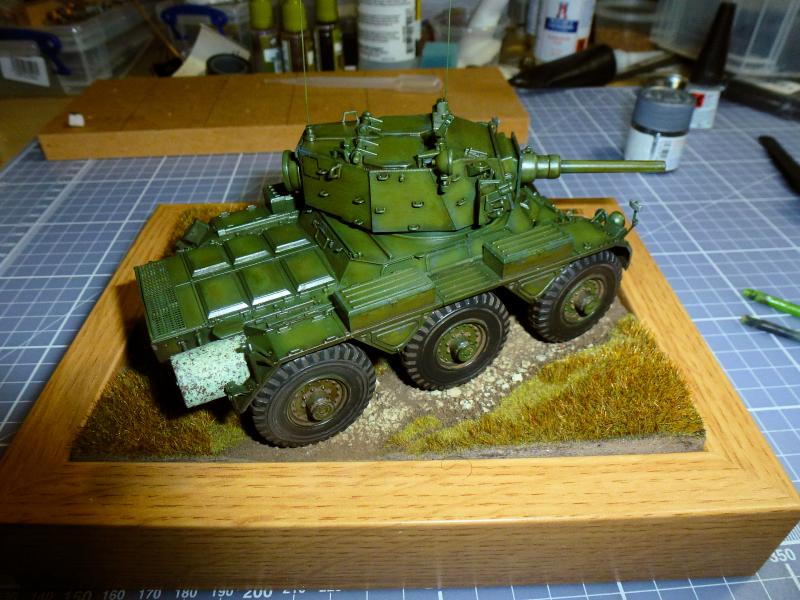
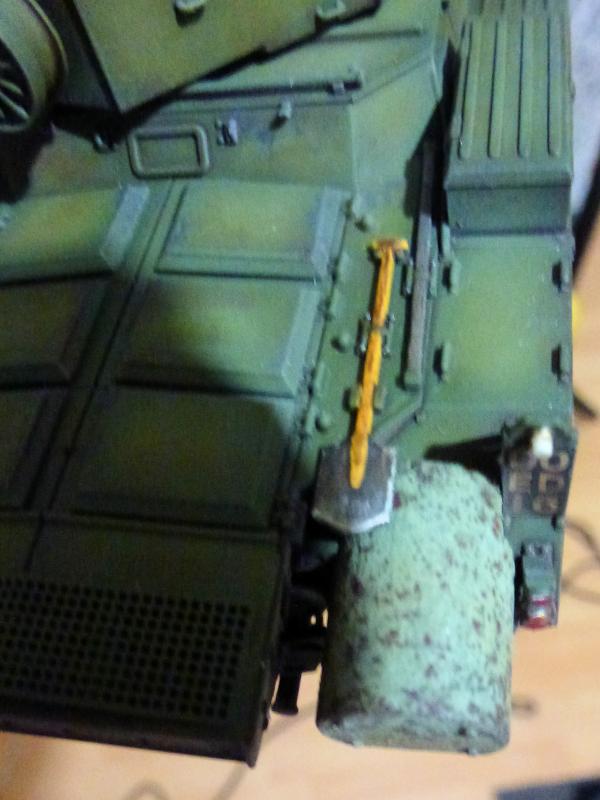
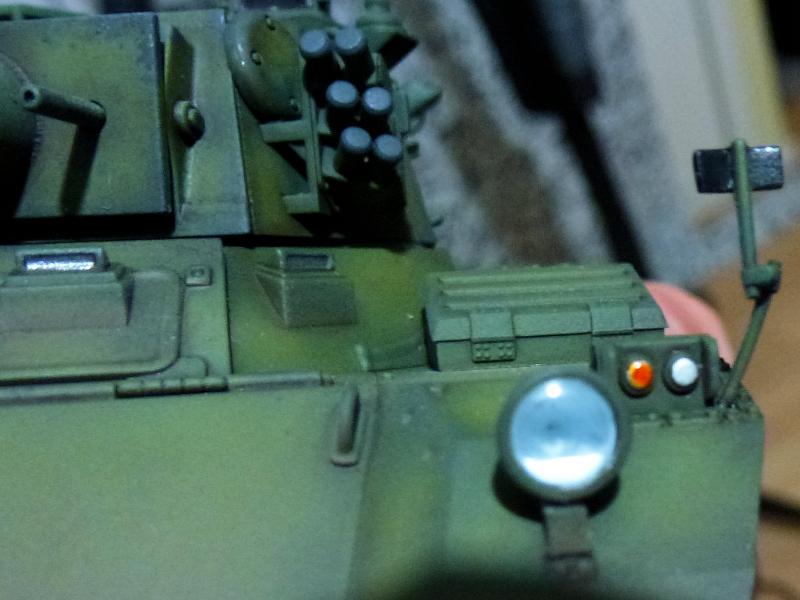
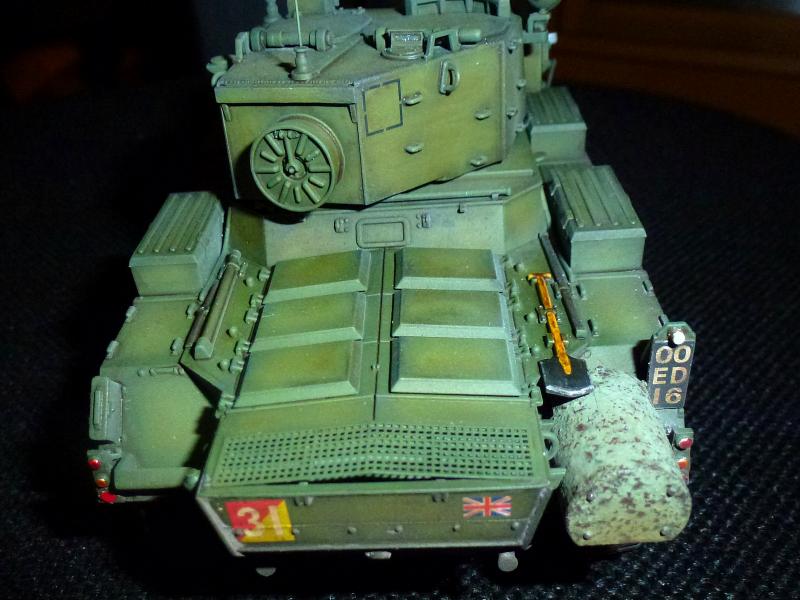
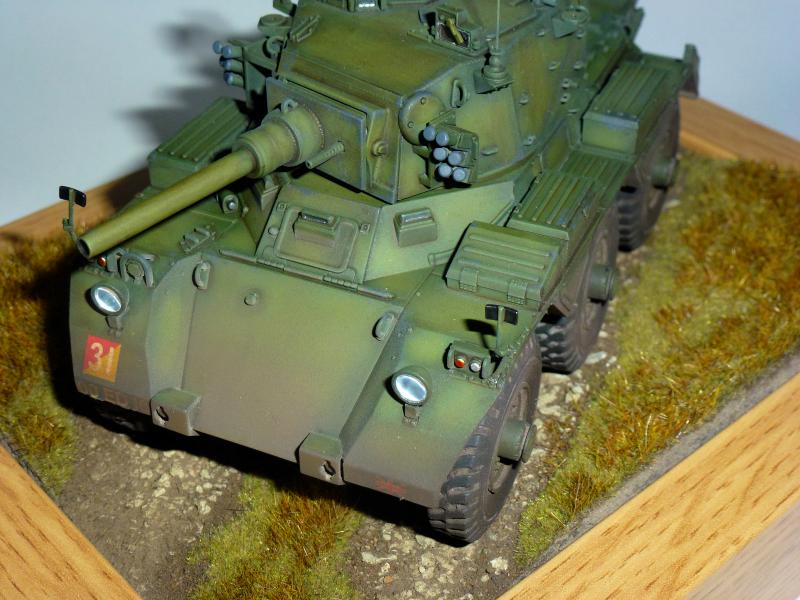
I primed the kit pieces with grey Halfords primer which gives a good base; I have started to use it more on kits now ever since a friend at my local model club suggested it to me. I decided, on looking at some reference shots (god bless google image search), that I will be doing a plain green paint scheme, so to start with I gave the kit a Tamiya black green basecoat. Then I gave it a lighter coat of Tamiya Nato Green which I highlighted with the Nato green mixed with a little yellow. I then separated the tires from the hubs, as I hadnt glued them at this point, and gave the tires a coat of Tamiya rubber black; using a circle cutter I cut circles from a masking sheet and covered the rear hubs, using some tape to protect the front so I could spray the rubber black onto the tire parts that are part of the rear hubs. I chose to do it this way as the front hubs stick out quite a bit and would have been awkward to mask with the tires attached. At this point I did a test build to see how it was looking. You will notice between the end of the build and painting there are a couple of differences: the first is I have replaced the aerials with wire as I thought the kit ones were too thick, and secondly I decided to add a scratch built machine gun mount for the turret, based on one I had seen in a reference photo. I know a lot of people have moaned about the lack of the mount with the kit, but looking around at photos of Saladins I noticed they dont always have the mount. You will also note an arrow pointing to the end of a stick on the right; at the end of that stick is the wiper I have left off for the main periscope. I had decided to leave the muffler off, and after seeing a few rusty examples I chose to burn and rust it, so I textured it with some Mr Surfacer and gave it a coat of Tamiya red brown ready to rust it up. I like the fact that it stands out against the green the way it does. It is now ready for a gloss coat, then I can start the decals and the weathering. See the shot of the decals on the front, which I had to trim down a bit when they dried, as the fit wasnt great on the license plates. I went with the British army markings that the instructions showed in the end and then I tried a test on the base. Ive included some shots of the base I made, shown ready for some grass to be added once it arrived. I have added the grass to the base and I am quite happy with the way it turned out. I added a transparent brown filter from Truearth to the green grass which dulls it down a bit, and it also acts as a pin wash. Once the wash dried I started on the mud, using a nice slurry made from pigments with a little white spirit mixed in, and slopped it all over the tire and lower body. Once the mix dries it can be rubbed off and settles quite nicely, I didnt really want it overly muddy but a good dusty coat in the recesses. I finished the base off ready for when I finish the Saladin, which is coming along nicely just waiting for some of the mud to dry. At this point I realized I had made a completely rookie mistake when I added the mud, as I had forgotten to add the flat coat to the model, so most of it has now come off. I was raging at myself about this mistake, but you live and learn, so I re-varnished it to seal what I could save and then I will flat coat the model. I added some chips which in the photos look quite severe, but they will be toned down by the time its finished. I have also started on the base coat for the lights which will have a transparent paint over the top. I decided in the end that the exhaust cover wasnt quite working for me, and as others had commented, it may have been too much, so I have recoated it using the salt method and a faded light green, and will then weather it more like a pitted exhaust, instead of my original plan of a completely rusty exhaust cover. Once all the details were painted, I was quite pleased with the way they turned out, although now I do wish I had replaced the shovel - even though this was an OOB build, the shovel is pretty poor. All in all this build went rather well, and the kit went together nicely.Conclusion
Overall I would entirely recommend this kit to anyone, and in my opinion it has vast potential. Given a little extra work, and with all the new add on parts becoming available it should be easy to create a great model.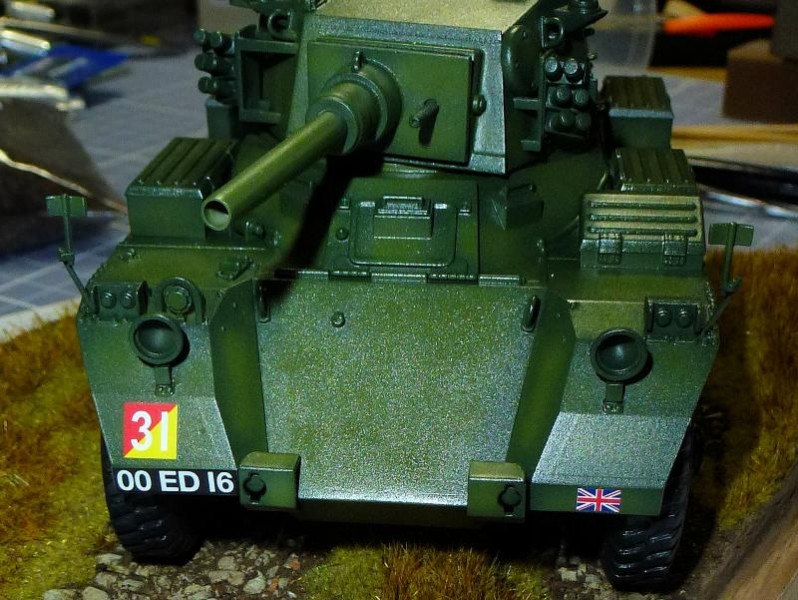


About the Author


FROM: SCOTLAND, UNITED KINGDOM
Ive been modeling on and off ever since I was a small boy. during my early teenage years I painted and gamed with fantasy figures like alot of others here, nowadays I find I will model anything armor, figures, etc. I like to keep an open mind to new methods and ways of doing things as im always tryi...
Comments

I just completed mine, a great build ! I too am NOT a rivet counter, and other than the lack of interior parts , I enjoyed this build !!
JUN 22, 2015 - 04:29 PM


it's just such a disappointment [IMO]! Dragon used to be fantastic, but then they took a re-focus to Disney licensed toys in the knee... Your build looks very good mind.
JUN 23, 2015 - 01:38 AM
[/quote]
Looking at their website and FB about 50% of Dragon's new or announced releases this year and all the new toolings [excluding BL which I've already said is almost certainly cheaply made in comparison to Meng etcs new tools] have been Marvel related who are now owned by Disney so I expected DML had made producing for the latter companies to be their main focus instead of military kits.
Timothy.
JUN 24, 2015 - 08:56 PM

Neil I think you are too kind in your review but very helpful. I think this model does not deserve a Black label name (as if I know what is a Black Label). It was a model I have waited for so long to replace the Tamiya kit but was a disappointment anyway.
JUN 28, 2015 - 01:23 PM


Neil, thanks for building it. Your skills are inspirational to me (that is not a subtle criticism of Dragon). Love the groundwork. You definately sold another Saladin for Dragon - to me!
JUL 02, 2015 - 05:27 AM

Copyright ©2021 by Neil Gardiner. Images and/or videos also by copyright holder unless otherwise noted. The views and opinions expressed herein are solely the views and opinions of the authors and/or contributors to this Web site and do not necessarily represent the views and/or opinions of Armorama, KitMaker Network, or Silver Star Enterrpises. All rights reserved. Originally published on: 2015-06-22 15:14:22. Unique Reads: 14925

WEB HOSTING BY


Copyright ©2021 Armorama and Kitmaker Network, a subsidiary of Silver Star Enterprises
All Rights Reserved. Please read our Conditions of Use and Privacy Policy.
All Rights Reserved. Please read our Conditions of Use and Privacy Policy.