

1⁄35British Armored Car Saladin Mk.2
11
Comments
Step Nine, Ten, Eleven, Twelve and Thirteen
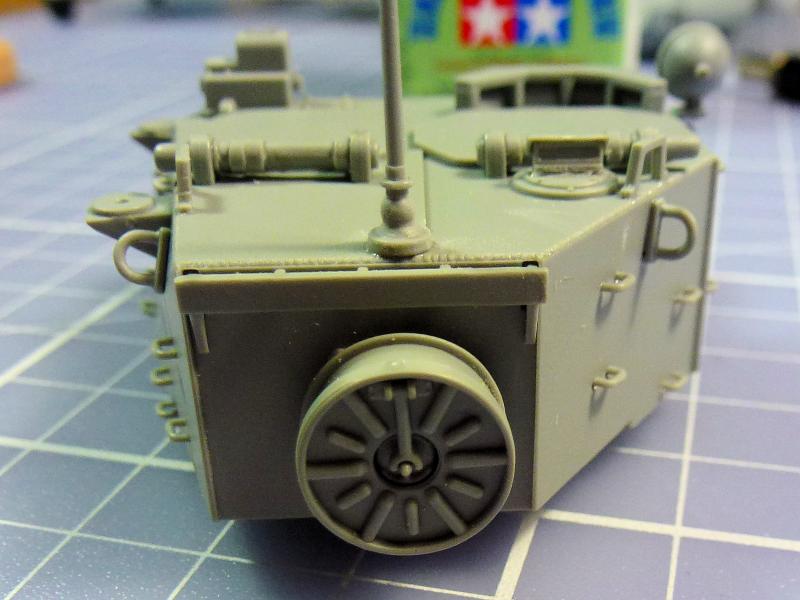
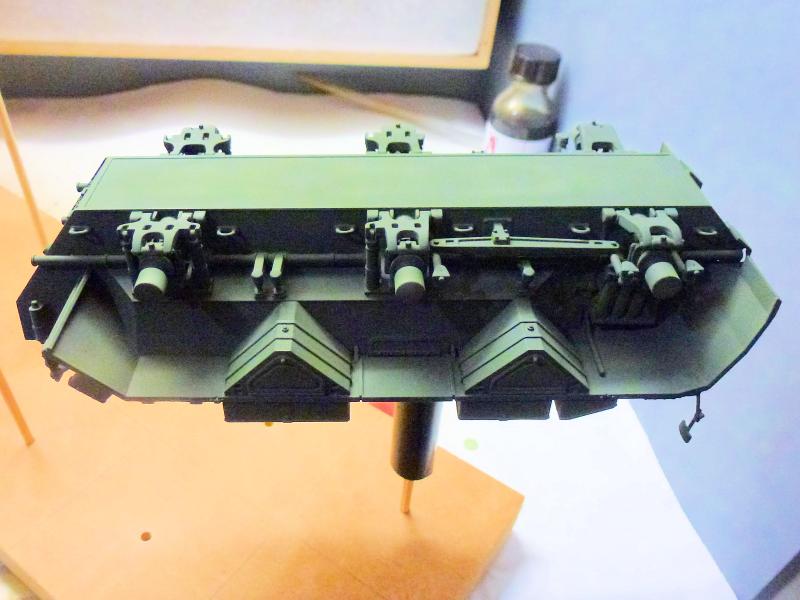
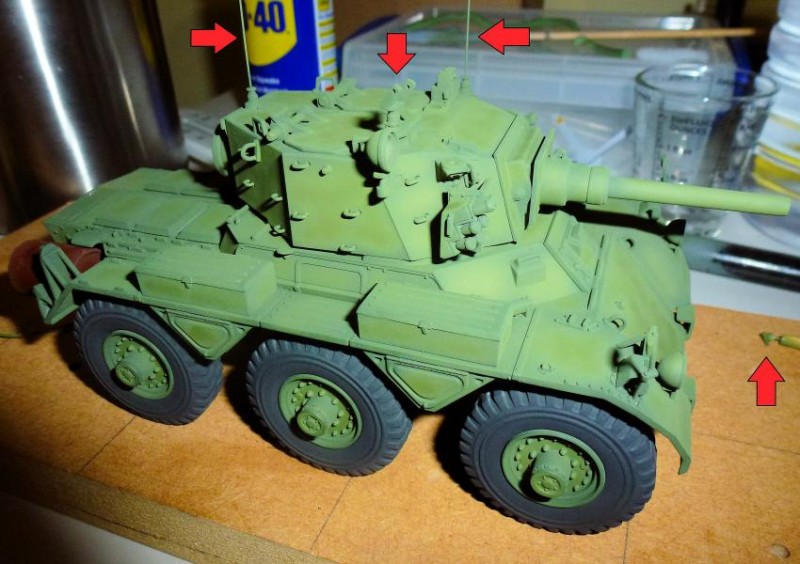
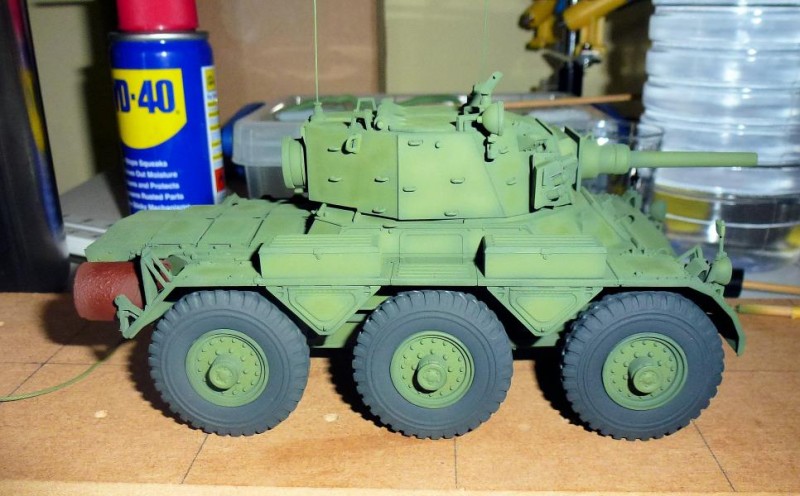
These steps are for the fenders, which according to the instructions should be built and then put on as complete pieces. I would recommend again to just ignore this and attach the fenders first, its easier to do without everything on them, but before you attach them, do add parts A61 and A58 to the ends. Once you have the fenders attached you will notice two massive sink marks on the underside, but dont worry as these will be covered by boxes, so I wouldnt bother filling them. Once the fenders are on add parts A44 and A46 that were left off in step 2 as its so much easier to do so now. You can start adding the rest of the parts in these steps, including the supports for the exhaust cover B21 and A69. I decided to leave the lenses for the lights off until the model is painted to save pre painting and masking them. I have also left attaching the muffler cover as I want to do this part differently, which you will see later. The photo shows the wing mirrors: be careful once these are on as these can break at the drop of a hat - I personally have broken mine three times now so be warned. You can also now add the tools that were left off earlier.
Step Fourteen
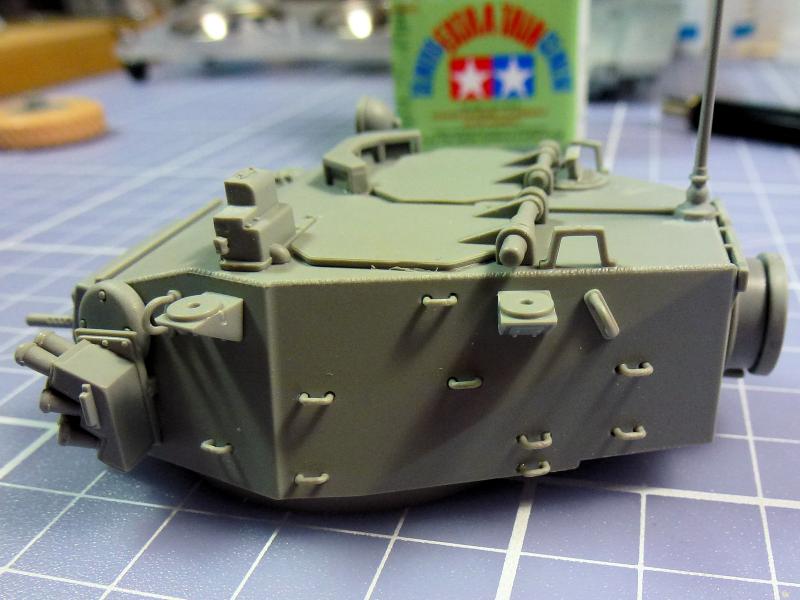
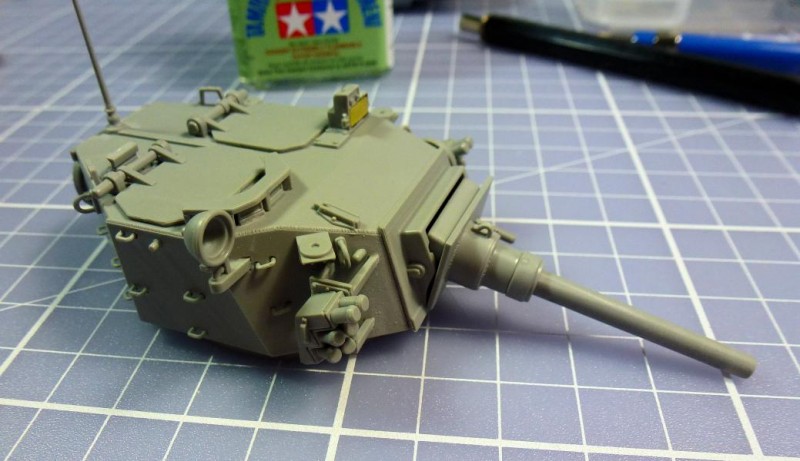
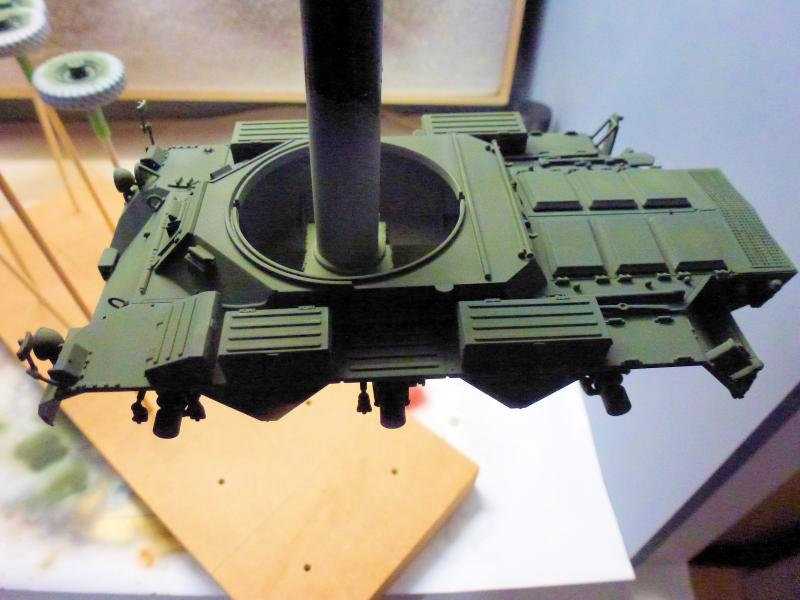
This is the start off the turret build, and involves the first hatch being put on. They say you can have it open or closed, but as we know there is no internal detail so mine are staying shut; the hinges are quite workable if you leave them unglued.
Step Fifteen
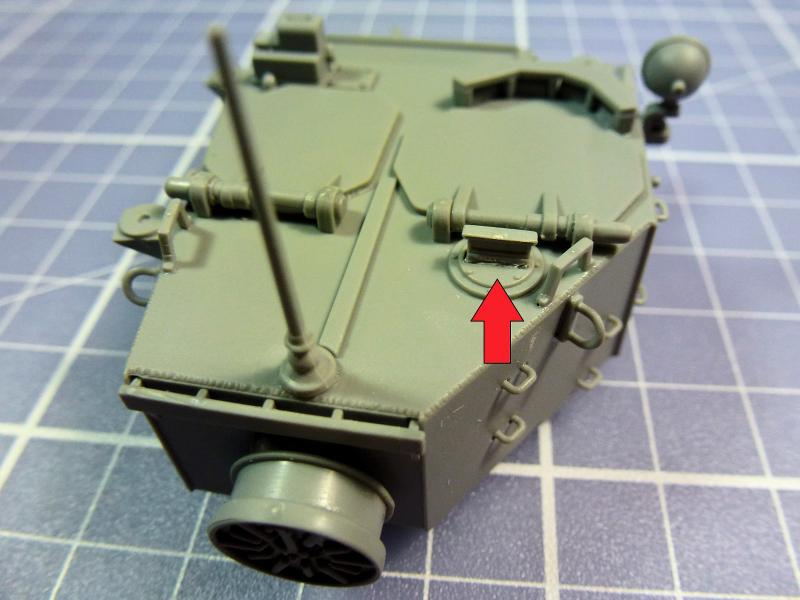
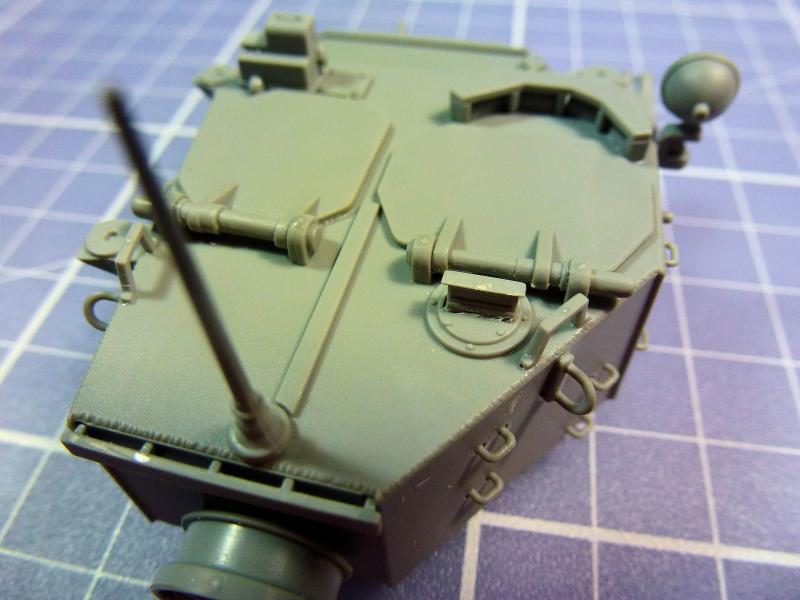
This starts to add the grab handles to the turret. When I removed them from the sprue I left the join nub to give me more area to hold onto when I added them, as these are so tiny, and I found it was easier to sand the nub off once they had fixed in place. If you wanted to, you could quite easily make your own handles using wire and drill out the guide holes. It now adds four periscopes that have a cover on; when you glue the periscopes, quickly put the cover on before they are set, as there is a little give in the angles and the cover will help you to line them up. This step also includes the most massive and surprising cock up within the entire set of instructions: they show part A45 and A34 being put in from the top on the front of the turret - THIS IS VERY WRONG... Part A45 goes at the rear, behind the main hatch, and slots up from the inside, then A34 goes on top. Luckily I had heard about this before. When I glued it I had some slight mess, but the primer will take care of the little gap around it.
Step Sixteen
This adds the second hatch and more grab handles.
Step Seventeen
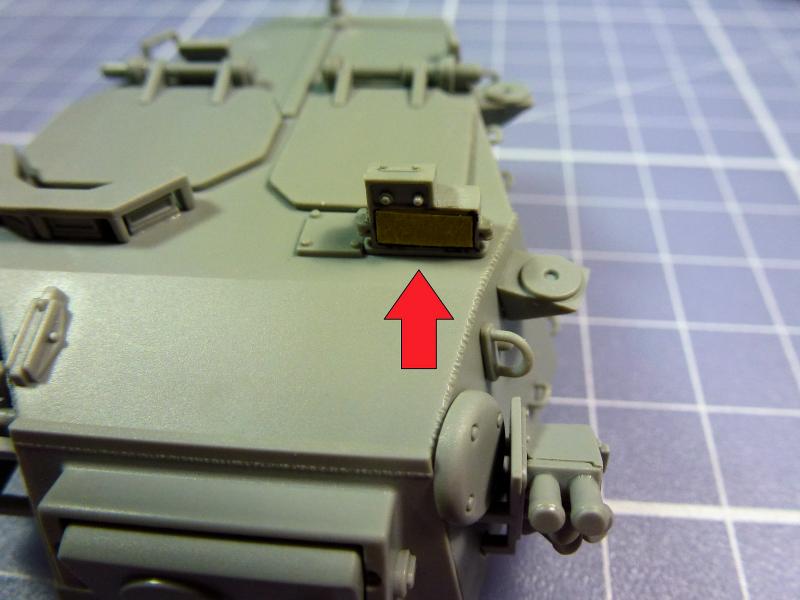
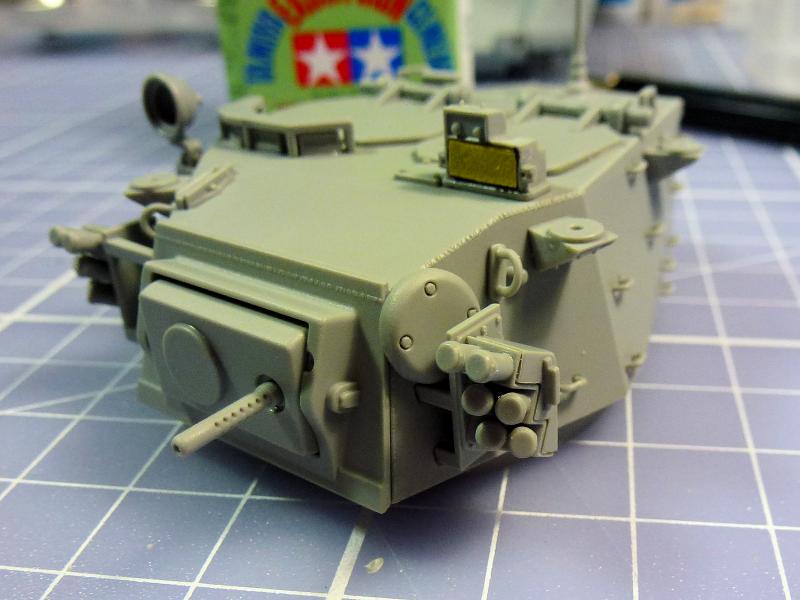
This step adds the smoke dischargers and the main periscope. A couple of things to note: the smoke dischargers are fiddly, and I almost had to make a few replacements as they pinged off to feed the carpet monster, but luckily I was able to wrestle them back from it. The main periscope uses one of the clear plastic lenses you get with the kit, and what I did here was to paint the inside of the periscope and then glue the lens in, covering the outside of it with a small piece of masking tape so that it wouldnt get painted over. The problem here is that there is a very small wiper blade that goes in front and I made the choice to keep it separate and to add it when the model is painted - but I leave that decision up to you if you build this kit.
Step Eighteen
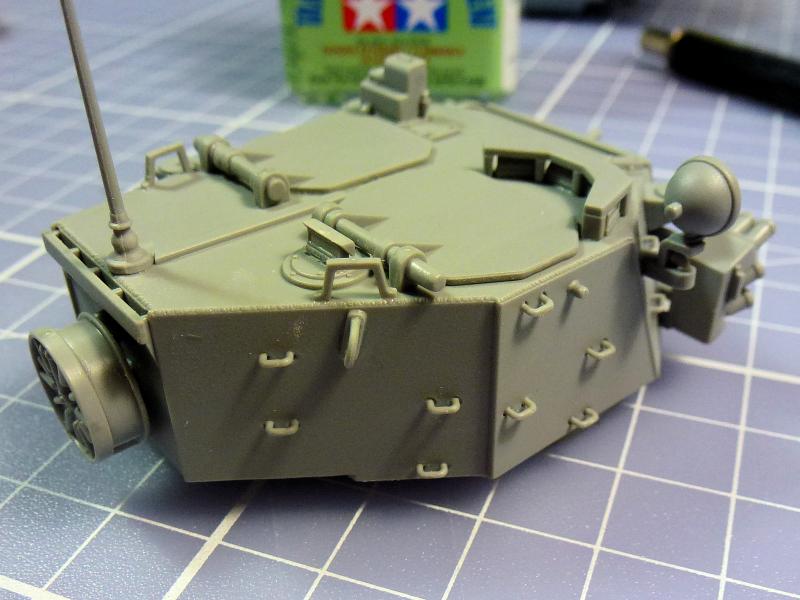
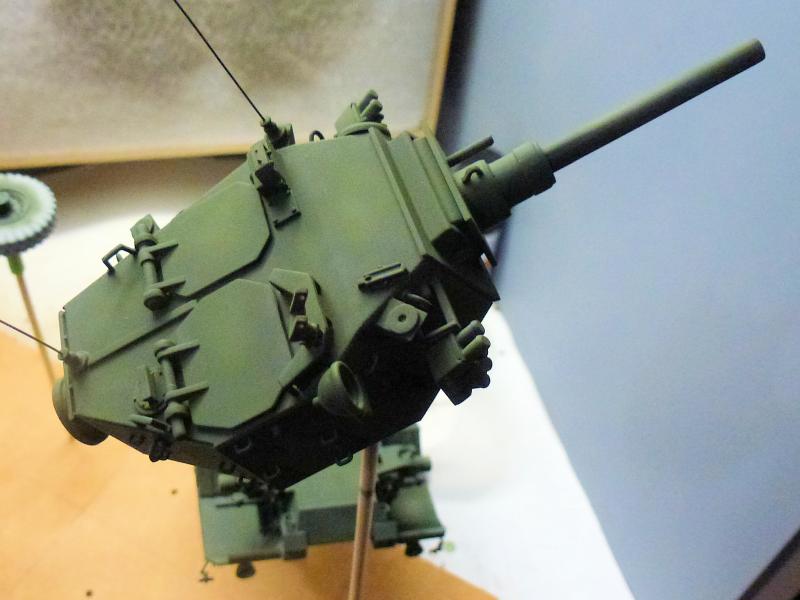
This adds the rest of the turret details, including more grab handles, (yes, there are a lot on this kit) the aerials, a search light (again I left the lens off for the time being) and the wire reel at the back.
Step Nineteen
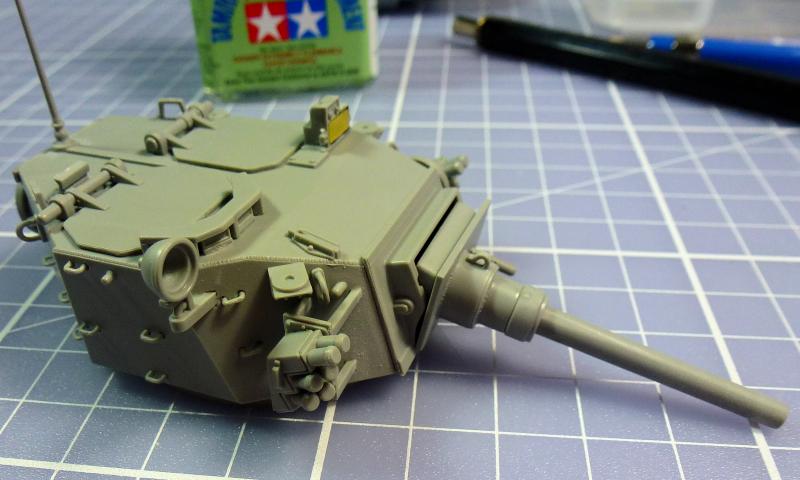
Here we add the front mantlet, the base of the turret and the main gun - and oh yes, even more grab handles LOL.
Step Twenty
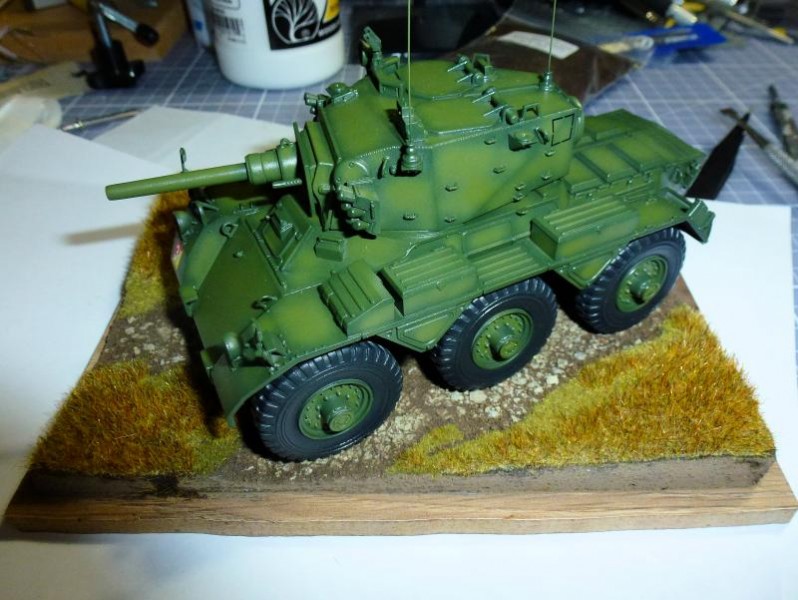
This is the last step, which adds the turret to the chassis and adds the built fenders, but as I have already done this I am done - YAY.....


About the Author


FROM: SCOTLAND, UNITED KINGDOM
Ive been modeling on and off ever since I was a small boy. during my early teenage years I painted and gamed with fantasy figures like alot of others here, nowadays I find I will model anything armor, figures, etc. I like to keep an open mind to new methods and ways of doing things as im always tryi...
Comments

I just completed mine, a great build ! I too am NOT a rivet counter, and other than the lack of interior parts , I enjoyed this build !!
JUN 22, 2015 - 04:29 PM


it's just such a disappointment [IMO]! Dragon used to be fantastic, but then they took a re-focus to Disney licensed toys in the knee... Your build looks very good mind.
JUN 23, 2015 - 01:38 AM
[/quote]
Looking at their website and FB about 50% of Dragon's new or announced releases this year and all the new toolings [excluding BL which I've already said is almost certainly cheaply made in comparison to Meng etcs new tools] have been Marvel related who are now owned by Disney so I expected DML had made producing for the latter companies to be their main focus instead of military kits.
Timothy.
JUN 24, 2015 - 08:56 PM

Neil I think you are too kind in your review but very helpful. I think this model does not deserve a Black label name (as if I know what is a Black Label). It was a model I have waited for so long to replace the Tamiya kit but was a disappointment anyway.
JUN 28, 2015 - 01:23 PM


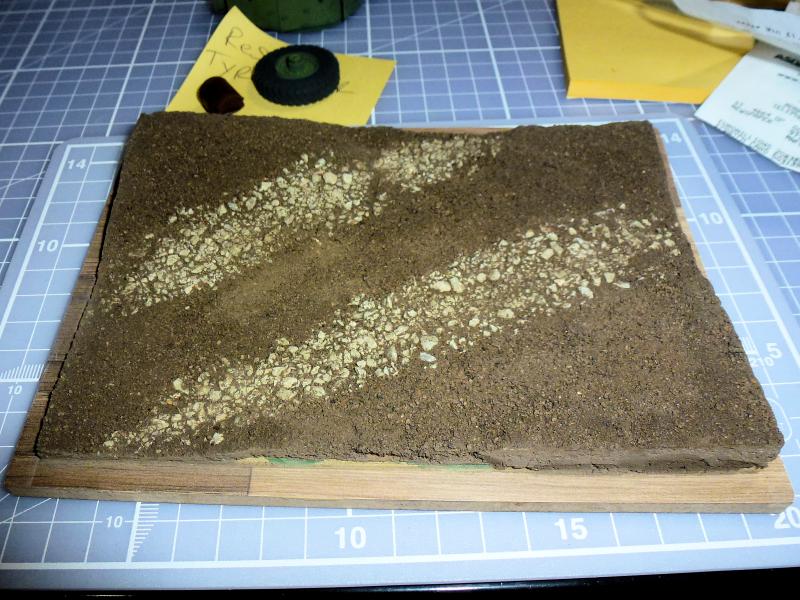
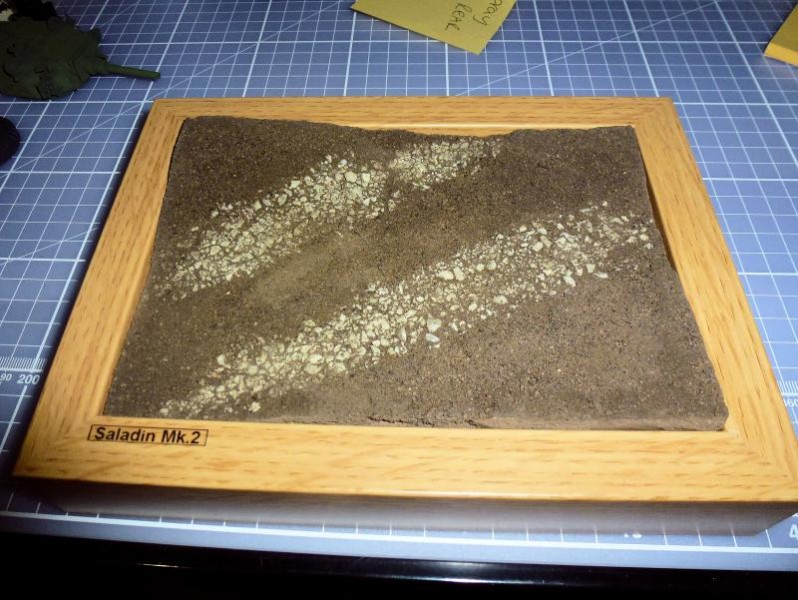
Neil, thanks for building it. Your skills are inspirational to me (that is not a subtle criticism of Dragon). Love the groundwork. You definately sold another Saladin for Dragon - to me!
JUL 02, 2015 - 05:27 AM

Copyright ©2021 by Neil Gardiner. Images and/or videos also by copyright holder unless otherwise noted. The views and opinions expressed herein are solely the views and opinions of the authors and/or contributors to this Web site and do not necessarily represent the views and/or opinions of Armorama, KitMaker Network, or Silver Star Enterrpises. All rights reserved. Originally published on: 2015-06-22 15:14:22. Unique Reads: 14925

WEB HOSTING BY


Copyright ©2021 Armorama and Kitmaker Network, a subsidiary of Silver Star Enterprises
All Rights Reserved. Please read our Conditions of Use and Privacy Policy.
All Rights Reserved. Please read our Conditions of Use and Privacy Policy.