

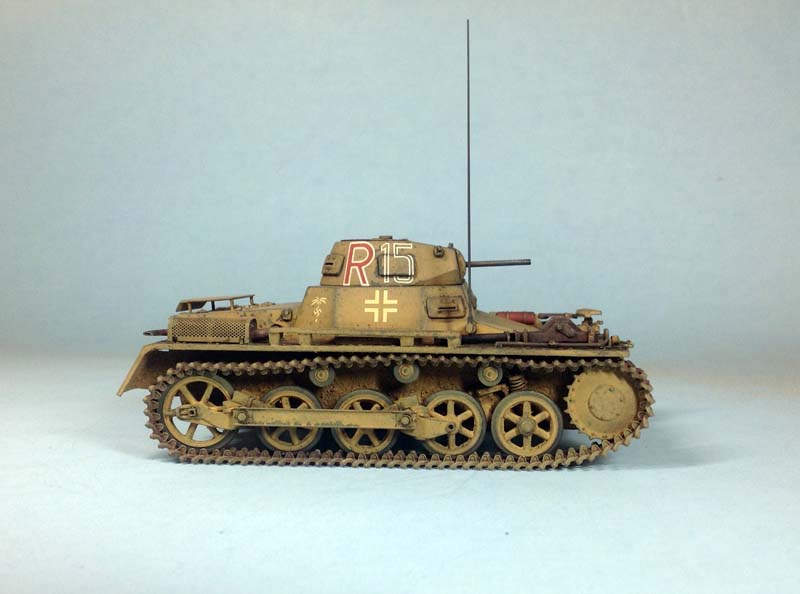
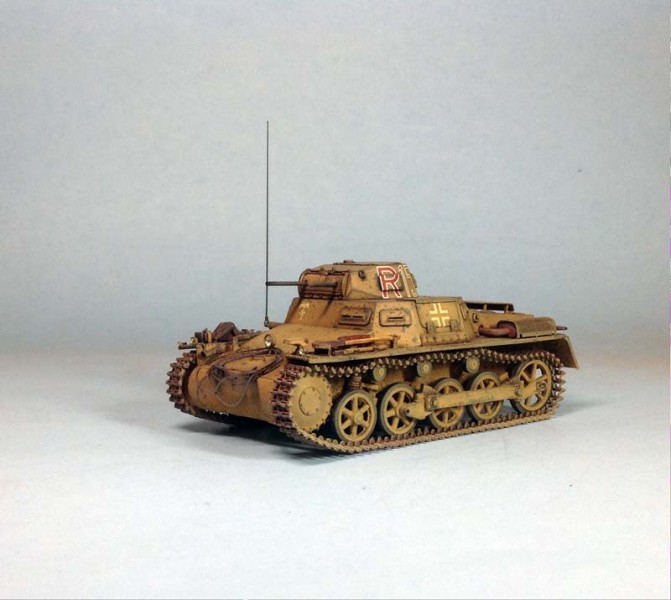
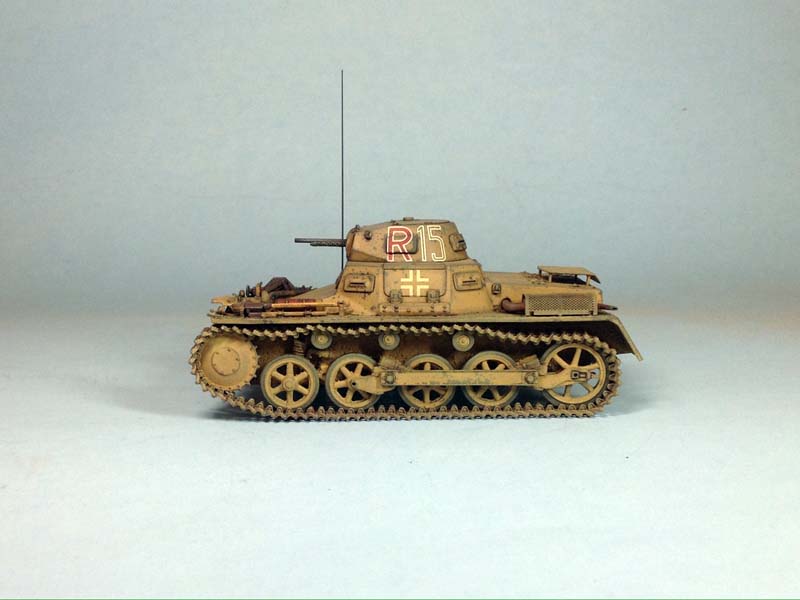
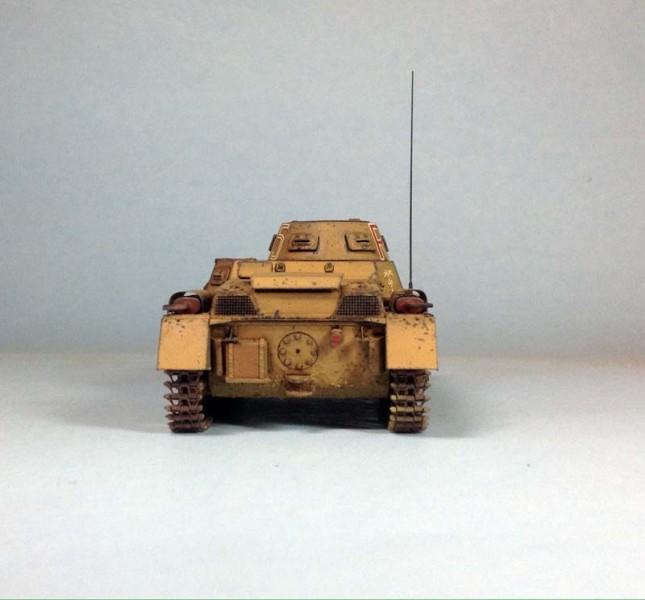
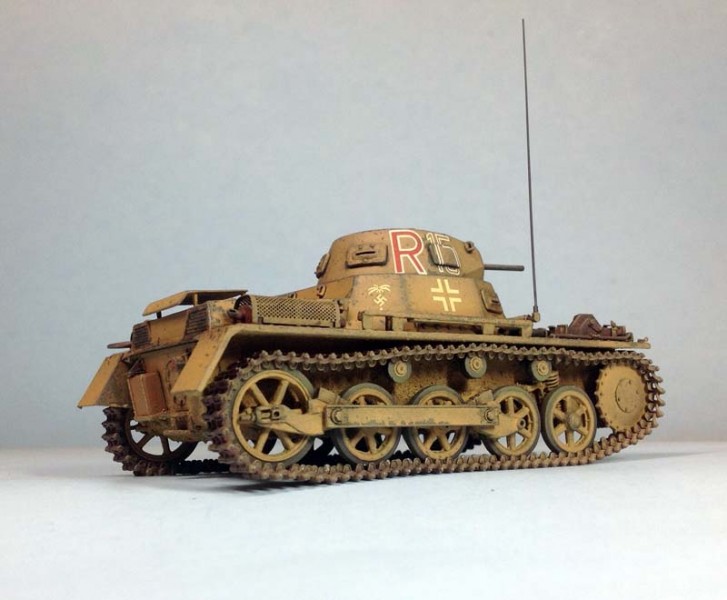
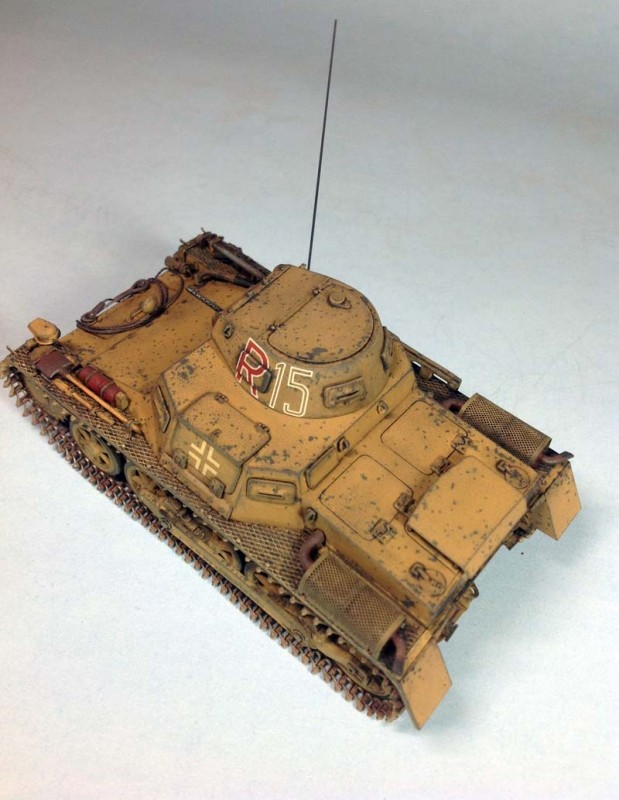
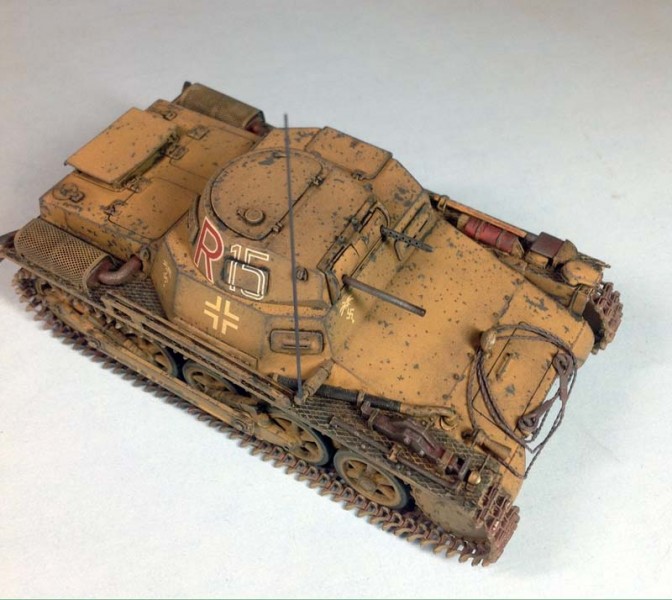
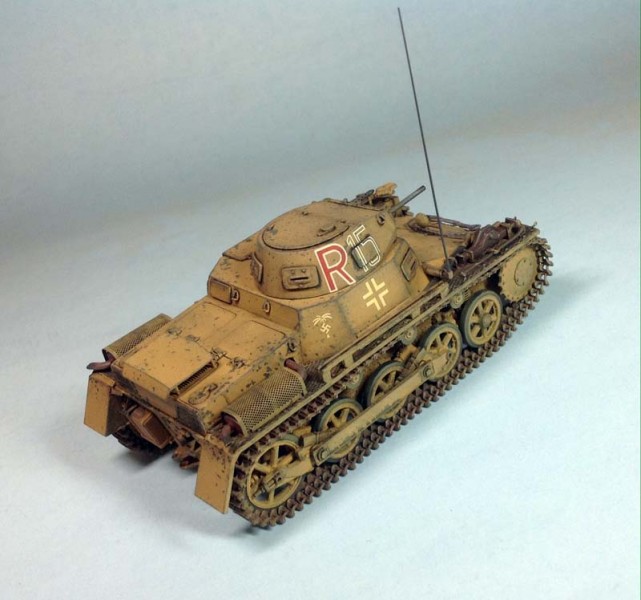
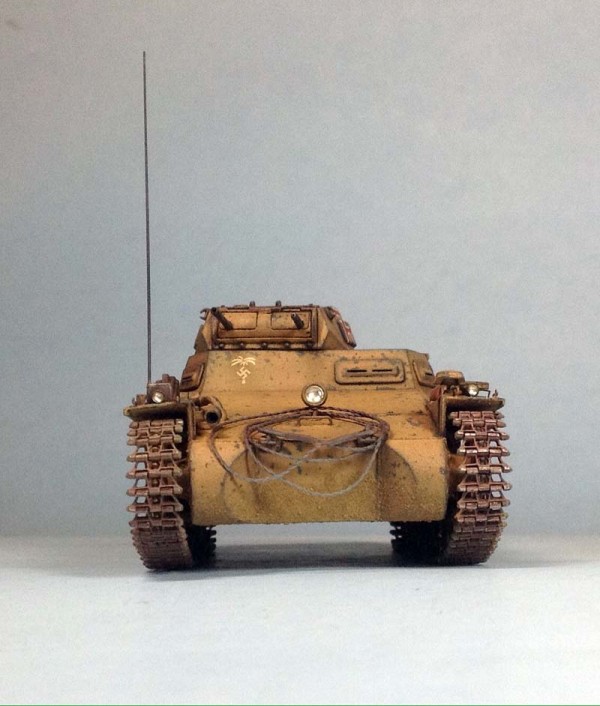
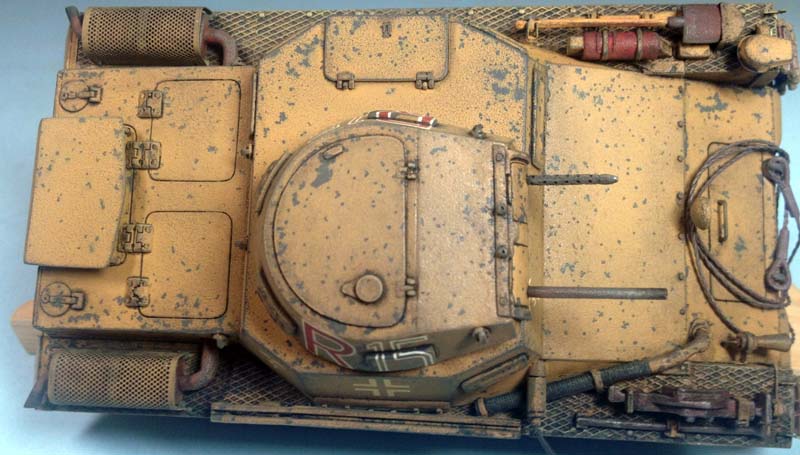
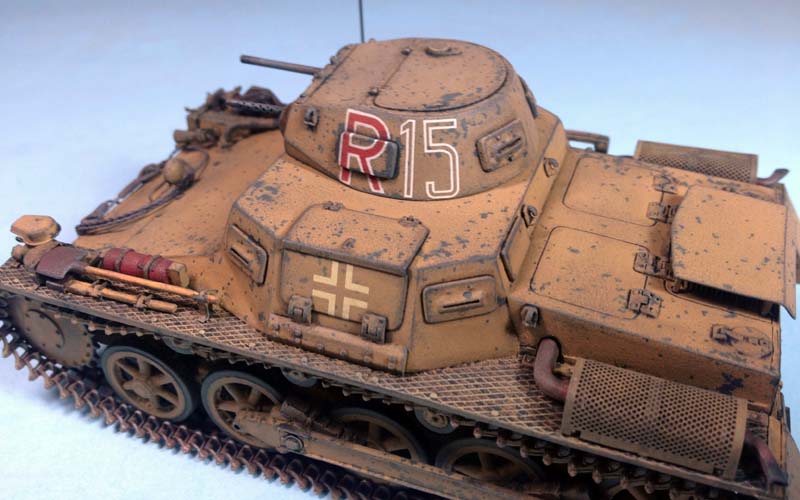
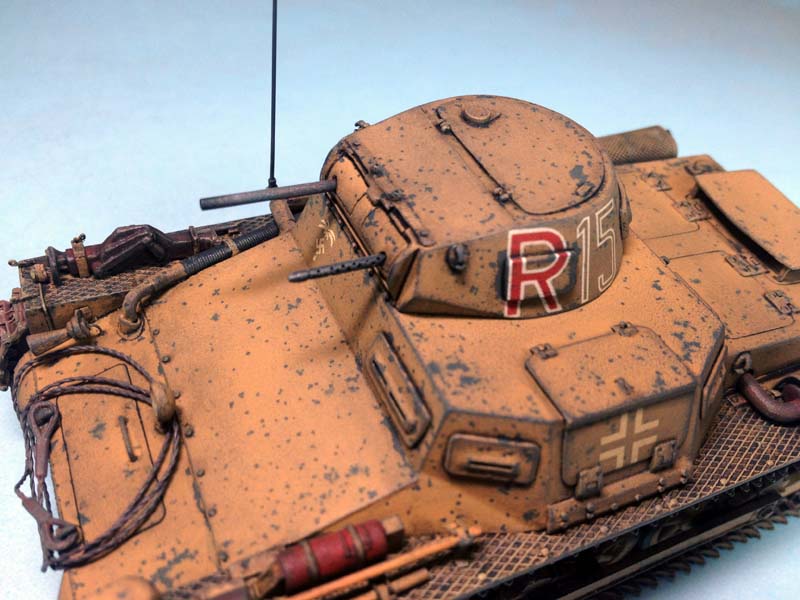
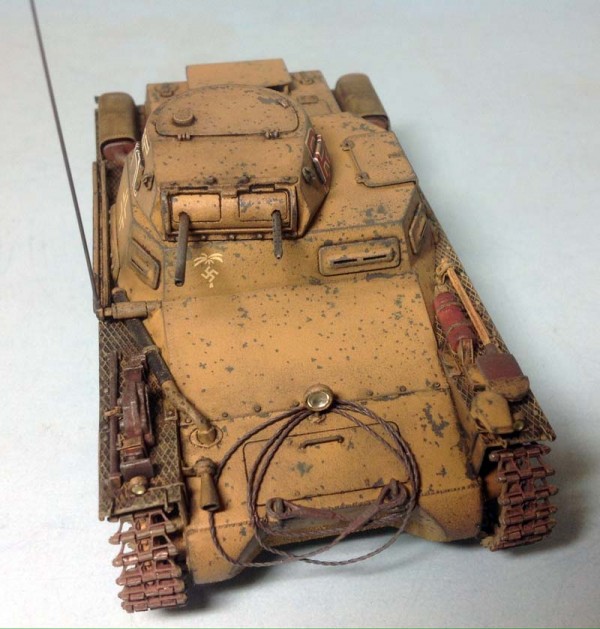
1⁄35Flammpanzer in Tobruk 1941
6
Comments
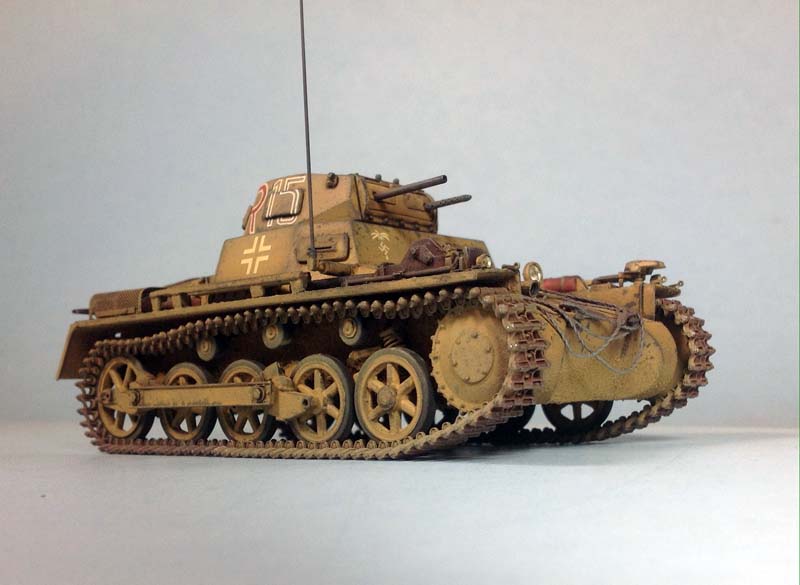
George Bacon shares with us images of his 1/35th scale Flammpanzer I at Tobruk in 1941. This is modelled using the old HPM kit with some of the Eduard photo etch made for that kit, and Friul model metal Panzer I tracks. Other work included adding wire springs to the front road wheels; bolts to idlers and road wheel bars; front weld beads (fabricated from stretched sprue); hatch hinges (spare parts box); tow cable (nylon thread); MV light lenses; wire hand grab and electrical lines; stretched sprue antenna; thinned front fenders; and a scratch-built flame-thrower tube. The paint scheme was "chipped" using salt over a base coat of panzer grey, followed by a coat of sandgelb, both Model Master acrylics. A wash of artist oil paints was applied next, followed by dry-brushing and dust filters using Model Master Enamels. A little mud from my backyard mixed with white glue and pigments completed the finish.


About the Author


FROM: WASHINGTON, UNITED STATES
Making models since 1959. Proud member of IPMS
Comments

Nicely done George, good to see another Mad dog on here............
JUL 12, 2015 - 09:14 PM

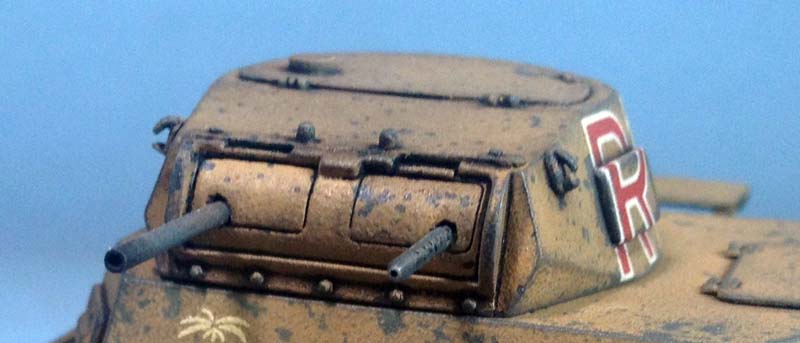
Very nicely done!! How did you manage to get the decals to sit so well over the hatches?? The weathering looks great!
JUL 13, 2015 - 12:13 AM

Obg153, the decals were hit with Microsol, which settled them down pretty well. After that dried, a little slicing along the seams with a sharp blade and another application of Microsol finished the job.
JUL 14, 2015 - 01:30 AM
Copyright ©2021 by George Bacon. Images and/or videos also by copyright holder unless otherwise noted. The views and opinions expressed herein are solely the views and opinions of the authors and/or contributors to this Web site and do not necessarily represent the views and/or opinions of Armorama, KitMaker Network, or Silver Star Enterrpises. All rights reserved. Originally published on: 2015-07-13 01:18:58. Unique Reads: 5704

WEB HOSTING BY


Copyright ©2021 Armorama and Kitmaker Network, a subsidiary of Silver Star Enterprises
All Rights Reserved. Please read our Conditions of Use and Privacy Policy.
All Rights Reserved. Please read our Conditions of Use and Privacy Policy.