Soldering Brass, Copper and Photo Etch
28
Comments
SOLDERING PROCESS
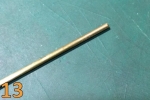
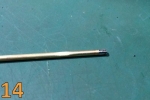
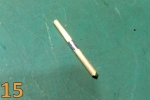
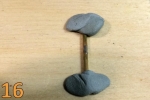
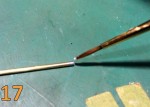
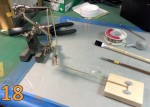
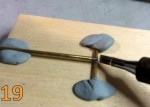
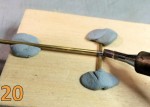
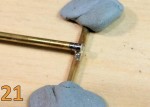
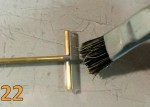
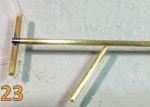
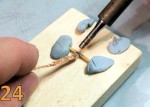
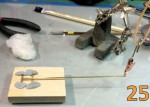
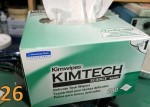
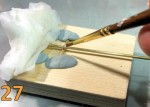
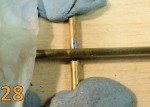
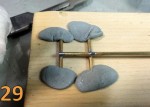
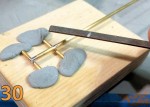
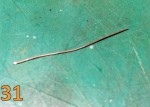
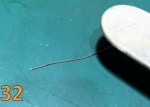
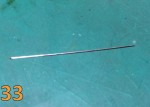
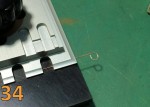
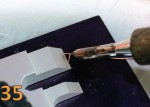
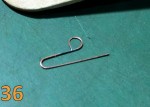
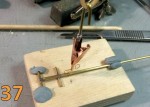
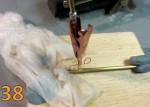
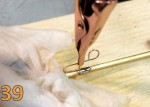
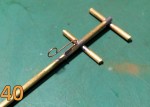
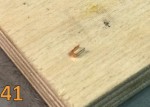
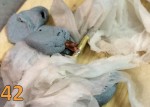
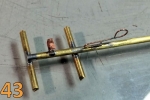
The first step in soldering is cleaning the surface. No oils, no debris, no dead flux, it needs to be bright and shiny. If it isnít, you will only get frustrated and waste a LOT of time. Additionally, keep the iron tips clean. Itís best to use a tissue or paper towel to clean the tip as the water in the sponges on most setups will just contaminate the joints we want to make. The wet sponge also causes tip temperature to vary which impedes repeatability. Pic 13. The next step is to tin the area to be soldered; this step helps provide a good bond to the surface and prevents a lot of hassle with parts oxidizing while being heated for the two part joint. Both parts need to be tinned if at all possible. Pic 14, Pic 15. Soldering is best done on a surface that does not act as a heat sink. The glass surface that I do most of my building on is not optimal. I use a wooden block to do my soldering on, but there are definitely other good options. Here I have attached the one of the pieces to the wooden block using Blu Tack. Pic 16. Next, I apply some flux to the pieces I intend to join. This can be done when they are together in some cases, but you risk moving your carefully placed pieces. Pic 17. I position the pieces to be soldered and support them as necessary. You wondered what the clip with the hook on it was for? Now you know. Pic 18. Next, I carefully apply a small chip of solder that I cut from the roll of solder to the joint. If you look really closely, you can see it as the bright speck in the joint. Pic 19. I apply the tip of the iron as close to flat against the joint as possible. You want as much heat transfer as possible as quickly as possible. Solder melt in 1-2 seconds is preferable. Heating the joint much longer than that will cause the flux to cook off and the tin/lead alloy will separate at the molecular level and become what is known as ďdead solderĒ. The joint should be bright and shiny, dull and coarse joints are either cold solder joints, or the solder itself is dead, and is no longer really sound. Pic 20. Picture 21 shows what a good solder joint should look like. Notice is bright and shiny, has concave fillets, and has no pits or wrinkles. Pic 21. The next thing we do is clean the newly made joint. This joint is being cleaned with water, since the flux used is water based. If you have rosin in your flux you will also need to clean the joint with alcohol. I use 91% technical grade alcohol as the 70% has too much wood resin still in the mixture which will contaminate the parts and make them sticky. Pic 22. Now we move on to the next joint, and as you can see, Iíve burnished both pieces. For the long center piece, Iíve cleaned it again, as heating the piece for the first joint causes oxidation on the entire piece. You will need to clean both surfaces before each joint is made. I cannot stress it enough. Pic 23. In the next photo Iíve tinned the new cross piece already, but I put too much solder on the spot for the main piece to lay flat. Here Iím using desoldering braid to remove the excess solder from the area. To use this braid, place a little flux on the braid and place it on the area and then lay a clean soldering iron on it. The solder will flow into the braid and leave a nicely tinned surface. Pic 24. In the next photo you see the setup for the next joint to be made. Pic 25. Since the joints will be in close proximity, it is essential to heat sink the area to prevent the previous joint from failing. To do this I use a lint free wipe soaked in water. Paper towels or tissues will work also, but I like the fact that these technical wipes do not leave fibers on the items Iím working on and they are really very tough. As a matter of fact, I use them for cleaning my airbrushes tooÖno fibers in pesky places. Pic 26. Here is the joint after heat sinking and tinning. I am applying flux to the joint at this point as the wet wipe would have washed away the flux if applied earlier. Pic 27. Here is the joint before soldering. Look closely and you can see the chip of solder in the joint on the lower side of the picture. Pic 28. Here is the finished joint. Note the solder on the top of the piece. This is caused by placing a small bit of solder on the tip of the soldering iron to allow it to form a heat bridge. This provides better heat transfer than the tip alone. Pic 29. The excess solder can be cleaned with a file or sandpaper and is of no consequence. Note both joints are still shinyÖ If the heat sink wipe had not worked, the first joint would have lost its sheen. Pic 30. We are now going to attach some smaller items to the project. This wire is approximately 28 gauge and is from a roll I had on hand. Pic 31. I roll it against a hard surface using a tongue depressor to straighten it before soldering. Pic 32. Here it is once the rolling process is done. Pic 33. I form a loop and get ready to solder it. Pic 34 Iíve already cleaned and put flux on the joint. I did not tin it as the solder would have made it more difficult to bend the wire accurately. The bending tool holds the joints square and true. Pic 35. The finished joint and subsequent bend. Pic 36. Setup with new wire piece positioned. Note that I left a tail on the section that wraps around main assembly to allow positioning. Pic 37. I have applied flux to the area I want to solder and covered the previous solder joints with a wet Kimwipe. I have also placed a chip of solder in the joint in preparation for heating. Pic 38 The soldered joint. Once again I used a bit of solder on the soldering iron tip to create a heat bridge due to the large relative mass of the rod and the need to get solder melt as fast as possible. Pic 39. Here is the finished joint after cleanup and trimming. Pic 40. Iíve made, cleaned, tinned and cleaned again a small bracket for installation between the brass rod crosspieces. Pic 41. Iíve cleaned the brass rod, applied the wet Kimwipes, and positioned the bracket for soldering between the crosspieces. Pic 42. Below is the finished joint after cleanup. Notice that all of the other joints are still shiny and solid. Pic 43.Comments
This is a fantastic tutorial, and one I know I'll be coming back to time and again.
Some of Paul's techniques I have already been working with, but most of it are new ideas to me. It did occur to me that using cotton buds dipped in alcohol might work as effectively as the kem-wipes with the added advantage of being reusable. Haven't tried it yet, but intend to with my next PE soldering project.
DEC 02, 2015 - 05:42 PM
Mark,
I'm glad you are finding the article useful!
One critical point though on the use of alcohol in actual soldering process; the autoignition point ( the point when a substance ignites spontaneously without flame or spark )for 90% isopropyl alcohol is just 750 degrees. Even if you have military or NASA grade soldering gear with highly accurate temp control, the chance of an accident is too high to recommend placing alcohol soaked materials next to a powered heat source. Additionally, should you have resistance soldering gear in use, even the slightest slip will cause a small spark that could have catastrophic results! Fumes from alcohol travel very quickly and if you can smell it, you are already surrounded by them.
If the buds are going to work, they will work with water. That is the only way I would recommend trying that procedure.
Metal cools very rapidly once the joint is done, so you clean the joint with alcohol within 10-15 seconds in safety. I'd also recommend keeping your alcohol container closed and separate from the soldering iron to prevent accidents.
Hope this helps,
Paul H
DEC 02, 2015 - 07:51 PM
Very good point, Paul, and I'm rather red-faced to have not thought of that on my own. Water...so simple...
DEC 02, 2015 - 08:22 PM
Mark,
I absolutely intend to try the wet cotton buds idea as a supplement to the Kimwipes. They might be just the ticket for soldering tight areas if held at the right angle with "helping hands". They won't hold a lot of water, but they may be great for really quick joints.
Cheers!
Paul H
DEC 02, 2015 - 11:11 PM
A really fine article, Paul- my thanks! This ought to up my game a bit-cheers!
DEC 03, 2015 - 12:23 AM
Chuck,
Thanks for the positive words... Loved the I.A.R. 81C! Great bit of work on the engine mount.
Cheers,
Paul H
DEC 03, 2015 - 05:46 AM
Copyright ©2021 by Paul Howard. Images and/or videos also by copyright holder unless otherwise noted. The views and opinions expressed herein are solely the views and opinions of the authors and/or contributors to this Web site and do not necessarily represent the views and/or opinions of Armorama, KitMaker Network, or Silver Star Enterrpises. All rights reserved. Originally published on: 2015-11-07 10:52:42. Unique Reads: 20653


