Soldering Brass, Copper and Photo Etch
28
Comments
RESISTANCE SOLDERING
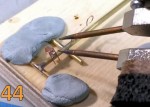
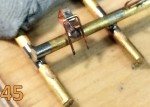
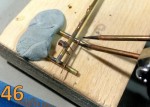
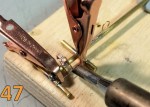
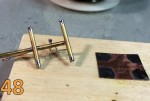
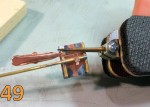
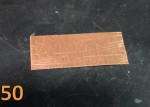
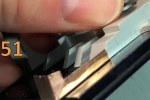
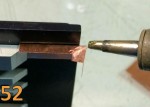
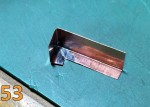
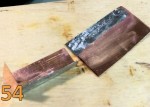
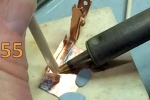
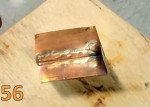
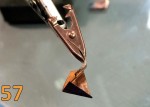
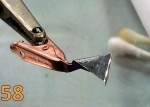
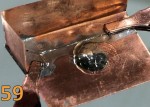
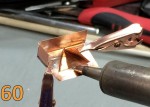
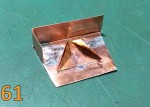
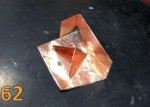
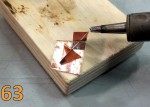
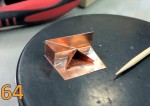
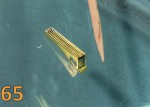
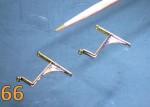
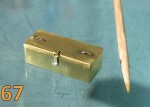
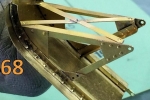
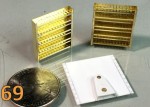
I’ll switch gears here and install the next fitting using resistance soldering methods. This could be done with the standard soldering iron and heat sinks, but I wanted to show one of the benefits of resistance soldering. Additionally, this U-shaped brace is going to be installed with solder paste instead of solder wire. Either would work, but again, I wanted to show you when you can really use the advantages of this medium. Added flux is optional in this instance since the solder paste has a large amount mixed in as the binder for the paste. Pic 44. I installed a Blu Tack brace at the bottom of the U and made the joint by placing the tweezers on either side of the joint. The resistance caused by the joint itself causes the low voltage, high amperage current flowing through the two sides of the tweezers to generate heat at that joint and melt the solder. Since the heat is centered at the joint between the two pieces, the heating of the adjacent areas is less severe. The closely spaced joints are unaffected by our work and remain solid and shiny. Railroad modelers have used this system for years soldering their brass locomotives together. Pic 45. Next I will install a small diameter cross brace using resistance soldering and solder paste. Tinning the parts is optional but cleaning is not. The solder paste can be used as an aid to locating the part. It will not secure the part until the solder is melted but it does help keep parts in the general position. This task could just as easily be done by tinning the two pieces, applying flux and heat sinking the surrounding joints to allow use of the conventional soldering iron. Pic 46. I performed the same process on the both ends of the small crosspiece and got ready to solder the U-brace using solder paste and the conventional soldering iron. Since I could heat both joints on the brace at the same time, using the conventional iron means I have less chance of slipping and moving the joint. Before making the U brace joints, I installed heat sink clips on each side of the area to protect the outboard joints. Heat really only has one conductor to travel on in this instance since I will be touching the joint for less than a second and the clips isolate it well enough that wet Kimwipes are not needed. Pic 47 To demonstrate you can still solder large surfaces even after you have made very small joints, I have cleaned a piece of sheet copper, fluxed and tinned the corners and tinned the ends of the brass rod cross pieces for joining. The flux residue has not been cleaned from either of the pieces yet… Pic 48. I heat sink each leg and use the resistance soldering hand piece to make each joint. The quick heating of each joint is a real benefit that makes this large surface job easy compared to using the conventional iron and the Kimwipes. Both can still be done, but nobody gets extra credit for doing things the hardest way possible. Pic 49. I am going to show you how to solder flat surfaces in the next series of pictures. I have cleaned and folded a sheet of copper, applied flux and am about to solder the joint. Pic 50, 51, 52. Here is the finished joint. Pic 53. Here I have cleaned and tinned another piece of copper sheet in preparation for soldering the previous part in place. Pic 54. Here is the soldering action with a clamp in place and using an orangewood stick to help maintain positioning. Pic 55. Here is the completed joint. Notice the smooth bright fillet along the edge of the joint. Pic 56. Here is the next folded piece going on. We will solder this on the larger surface and create another long joint. Pic 57. Here is the tinned and cleaned part ready for install. Pic 58. Here is the base piece tinned and ready for the next part with heat sinks in place. Pic 59. Solder bridge in place, joint being made… Pic 60. Here is the fininshed joint. Note the smooth fillet next to the solder bridge. Pic 61. Here is the upper joint of the pyramid after being cleaned, fluxed and soldered closed. This was done again with the standard soldering iron. Pic 62. And to show that small parts can still be added even on large areas with a standard soldering iron and solder paste… Pic 63. Here is the finished assembly. Pic 64. There’s nothing to it! Hopefully, this information will help you decide to attack some of those more challenging projects. It is not all inclusive, but it should provide a good foundation for anyone interested in soldering components to make them stronger, cleaner and more realistic. Here are some of the assemblies I’ve done using these methods for an FT-17: Pic 65, 66, 67, 68, 69.Comments
This is a fantastic tutorial, and one I know I'll be coming back to time and again.
Some of Paul's techniques I have already been working with, but most of it are new ideas to me. It did occur to me that using cotton buds dipped in alcohol might work as effectively as the kem-wipes with the added advantage of being reusable. Haven't tried it yet, but intend to with my next PE soldering project.
DEC 02, 2015 - 05:42 PM
Mark,
I'm glad you are finding the article useful!
One critical point though on the use of alcohol in actual soldering process; the autoignition point ( the point when a substance ignites spontaneously without flame or spark )for 90% isopropyl alcohol is just 750 degrees. Even if you have military or NASA grade soldering gear with highly accurate temp control, the chance of an accident is too high to recommend placing alcohol soaked materials next to a powered heat source. Additionally, should you have resistance soldering gear in use, even the slightest slip will cause a small spark that could have catastrophic results! Fumes from alcohol travel very quickly and if you can smell it, you are already surrounded by them.
If the buds are going to work, they will work with water. That is the only way I would recommend trying that procedure.
Metal cools very rapidly once the joint is done, so you clean the joint with alcohol within 10-15 seconds in safety. I'd also recommend keeping your alcohol container closed and separate from the soldering iron to prevent accidents.
Hope this helps,
Paul H
DEC 02, 2015 - 07:51 PM
Very good point, Paul, and I'm rather red-faced to have not thought of that on my own. Water...so simple...
DEC 02, 2015 - 08:22 PM
Mark,
I absolutely intend to try the wet cotton buds idea as a supplement to the Kimwipes. They might be just the ticket for soldering tight areas if held at the right angle with "helping hands". They won't hold a lot of water, but they may be great for really quick joints.
Cheers!
Paul H
DEC 02, 2015 - 11:11 PM
A really fine article, Paul- my thanks! This ought to up my game a bit-cheers!
DEC 03, 2015 - 12:23 AM
Chuck,
Thanks for the positive words... Loved the I.A.R. 81C! Great bit of work on the engine mount.
Cheers,
Paul H
DEC 03, 2015 - 05:46 AM
Copyright ©2021 by Paul Howard. Images and/or videos also by copyright holder unless otherwise noted. The views and opinions expressed herein are solely the views and opinions of the authors and/or contributors to this Web site and do not necessarily represent the views and/or opinions of Armorama, KitMaker Network, or Silver Star Enterrpises. All rights reserved. Originally published on: 2015-11-07 10:52:42. Unique Reads: 20653


