

Soldering Brass, Copper and Photo Etch
28
Comments
INTRODUCTION
I was recently asked by several people how I soldered such small parts for one of my recent projects. The fact is, the size of the part is really immaterial to the process; its pretty much the same techniques regardless of the size. Im going to give a brief explanation of how I approach soldering photo etch and small metal parts beginning with the equipment needed and pressing through the step by step guide to how I actually do the process. I have extensive miniature and micro-miniature electronic soldering experience but I have only recently started on brass and copper photo etch. While I am not a professional modeler or writer, I do know the soldering process. As a heads up, you should know that soldering irons, materials following soldering, and the molten solder itself are extremely hot. Eye protection is a must and if you decide to use leaded solder, as I do, then rubber gloves are recommended.EQUIPMENT DESCRIPTION
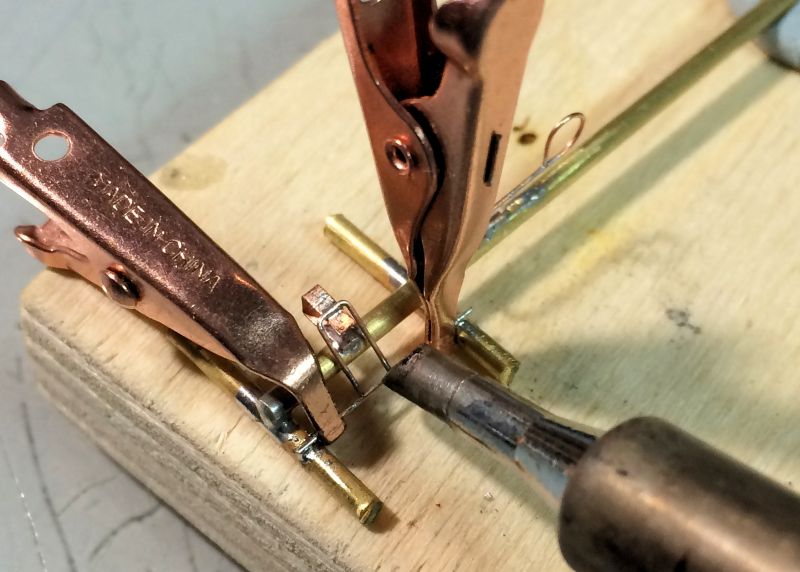
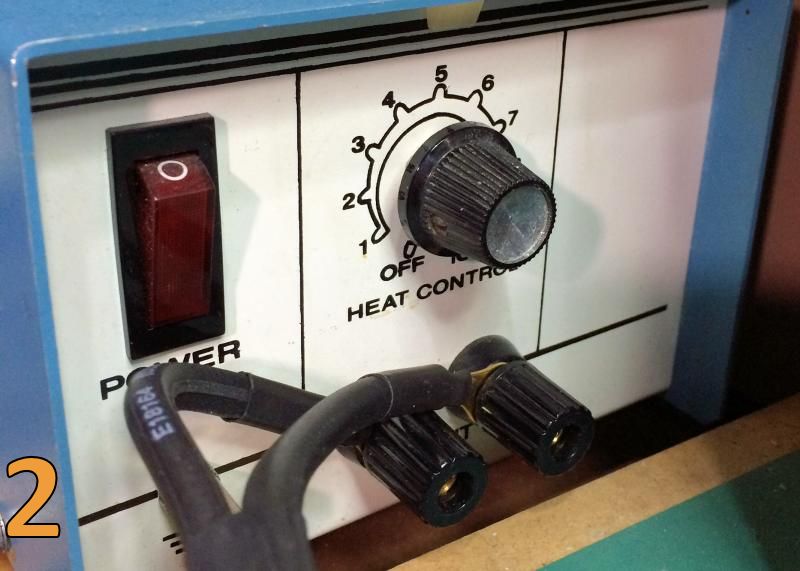
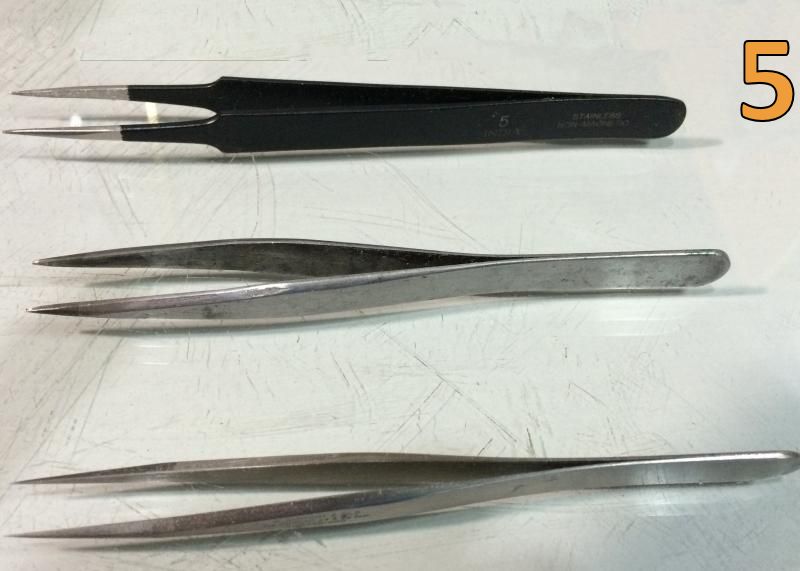
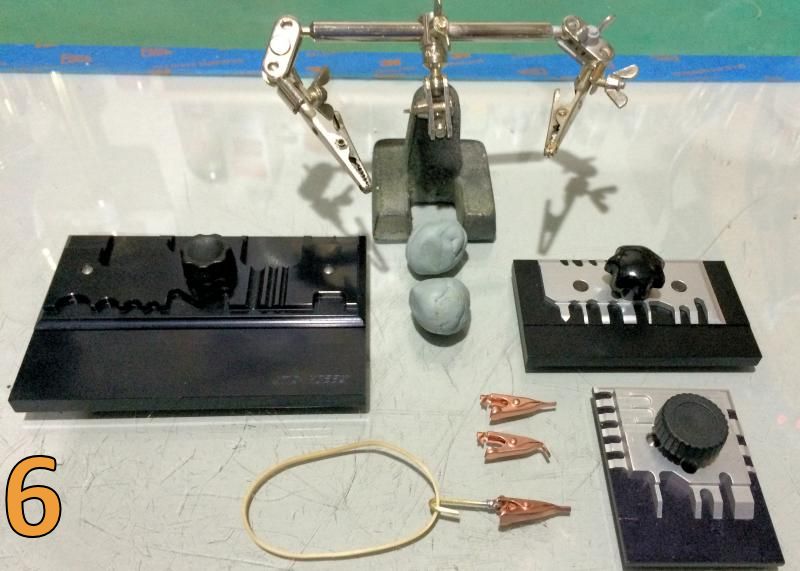
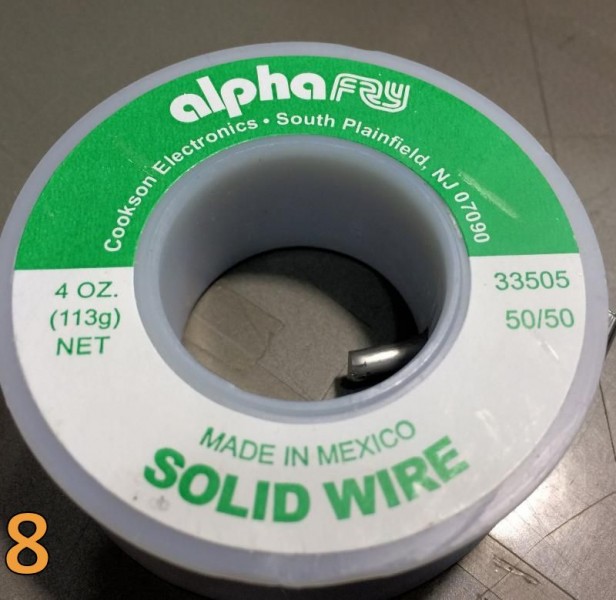
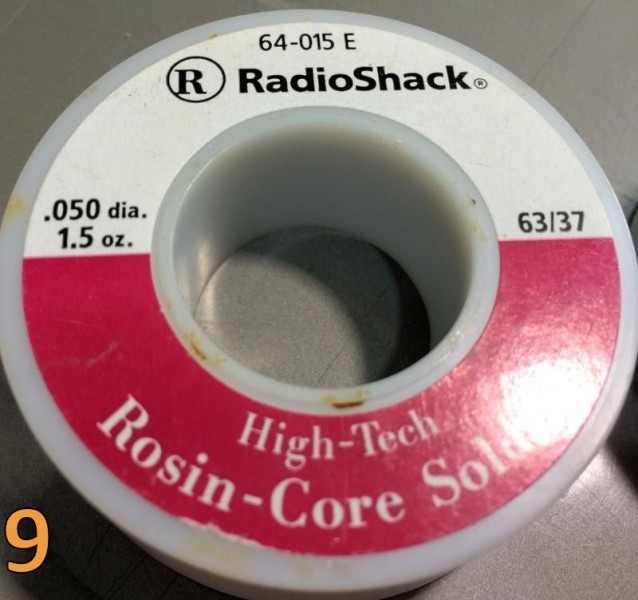
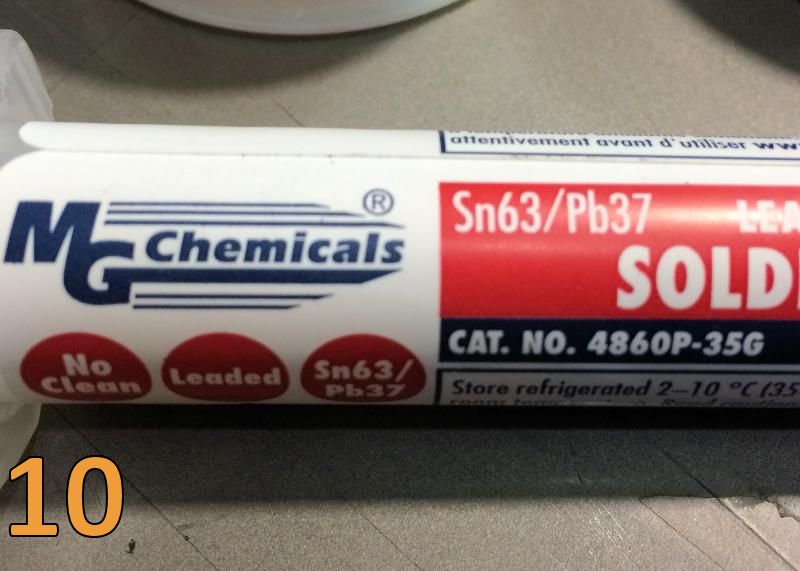
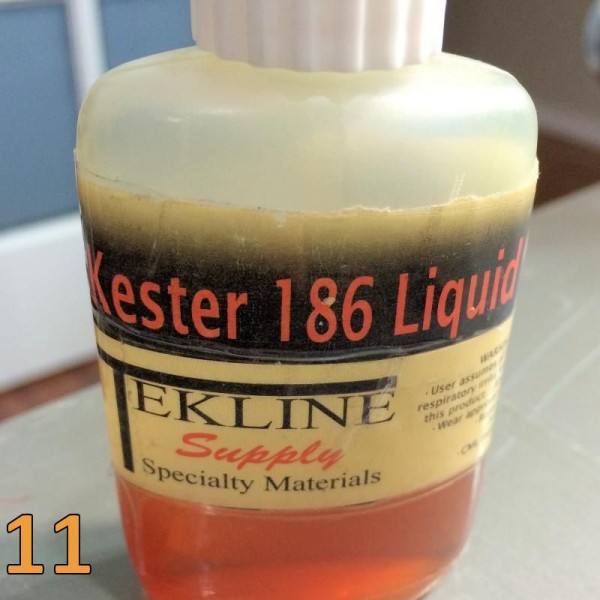
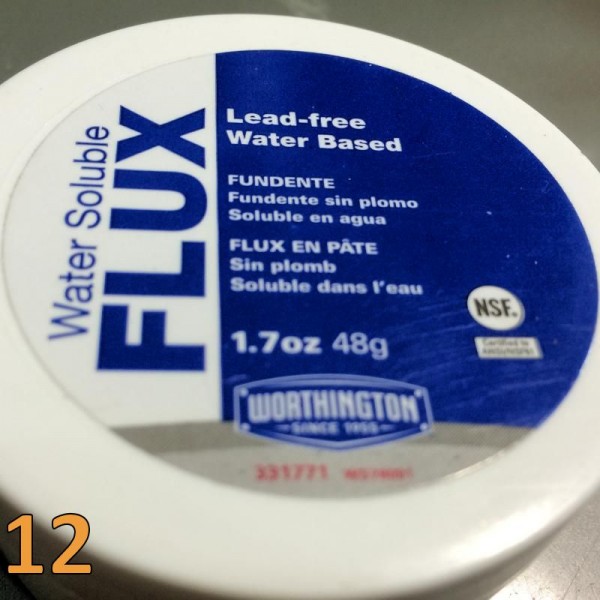
Pic1: For most work I use a variable temperature soldering station that can be purchased for less than $75.00 from Amazon. The station I used for this project is a store-branded Hakko 936, and all tips designed for this machine series are interchangeable. Brands such as Pace, Weller, Edsyn, all make stations suitable for our purpose. The soldering temperature for most brass work should be between 600-700 degrees Fahrenheit (315-370 Celsius). It is not a necessity that the soldering iron you use has variable temperature, but it allows making fine adjustments to get the best solder flow without damaging the parts being joined. 35-50 watt irons are fine for most of the soldering we need to do even in non-variable irons. Irons with 30 watts or less will drive you to curse as they cannot maintain tip temperatures under load. Pic 2: I also use a Pace PPS 10 resistance soldering setup that I bought second hand when I cant use heat sinks or dampened towels to keep adjacent joints cool. Pic 3: I use a tweezer-style hand piece but there are many types available. Single probe hand pieces that use a separate ground wire or platform are also very good options. Again, brands like Pace and American Beauty are the standards, but there are others out there that will work also. Pic 4: Good solder joints absolutely require that all joints be clean. Brass or copper exposed to the air for even a few minutes will start to form oxides that inhibit solder flow. The fiberglass bristle pen is a good all-around tool for cleaning, but my preferred tool for cleaning PE is the white core typewriter eraser. This tool has no oils to impede the solder flow, and it leaves the surface smoother than the pen or the green scrub pad I use for large surfaces. I use the paint brush to apply flux to precise locations, and I use the acid brush with trimmed bristles to clean the solder joints of flux residue. This is a good place to mention that you ALWAYS need to clean the joint after soldering. Even no-clean fluxes leave residue that will impede primer and paint adhesion. No-clean only means that the residue left behind will not cause corrosion in electronic components. Pic 5: I have included photos of the most useful tweezers I have for soldering photo etch. I know most people will say I already have tweezers I like but I want to make sure you realize that you need to use stainless or ceramic tweezers to handle parts while soldering. Carbon steel tweezers are awesome for lots of things, but solder will stick to then and cleaning then after solder has stuck to them can cause a lot of wear. As an example, the tweezers in the center used to be very sharp like the ones on the bottom of the picture. Pic 6: Here are the items I use to hold and position the parts to be soldered. Blu Tack is a staple for soldering as are the copper heat sinks. The photo etch bending tools are also used to hold photo etch while soldering. I make sure the heat is as low as possible to keep from damaging the gripping surfaces. I actually have a Small Shop (UK)Bug that I only use for soldering, since I dropped it and bent it enough to prevent use of several teeth. Believe it or not, that has been a boon since the parts that still clamp work great for keeping things square when soldering. I use several different types of solder and flux. The ones I use the most are shown in the pictures below. Solders are alloys of metals that are mixed together in specific ratios for certain purposes. The alloy is marked on the roll or package in a ratio marking i.e. 60/40, 50/50, 63/37 etc. The first number is usually the tin content and the second number is the lead content. Please notice that both of the solders shown are 63/37 type solder. This tin/lead alloy is what I use almost all of the time. It is what is known as eutectic solder, which means it doesnt have a plastic state. It goes from solid to a liquid almost instantaneously, unlike 60/40 and 50/50. You can still disturb the joint while it is cooling, but it is much less susceptible to this than other alloys. Disturbed solder joints are often misidentified as cold solder joints. As you can see, you can also get solder paste in this mix so our techniques need not change to account for another solder mix. Reliable brands of wire solder are Kester and Alpha, and I have used Kester, Alpha and MG Chemicals with good results in the solder paste area. Pic 7, Pic 8, Pic 9, Pic 10. As far as wire solder goes, it doesnt matter whether you use solid wire solder or if you use material with a rosin core. Since we ALWAYS clean the joint after we solder, we dont have problems with paint adhesion or rosin bleed through. Some people recommend acid core flux for working with etched brass, but I have never found it really necessary. Failure to remove acid core flux residue can cause the metal you soldered to corrode. Needless to say, it wont be immediately, but when it happens, you will be less than ecstatic. The water soluble flux shown below is acid core and works well, but I make absolutely sure I leave no residue behind when I use it. By the way flux is not very expensive so I recommend you try several types to see what works best for you. My personal favorites are shown below. The Kester is also great for electronics, the Worthington should never, ever be used in that fashion. Pic 11, Pic 12.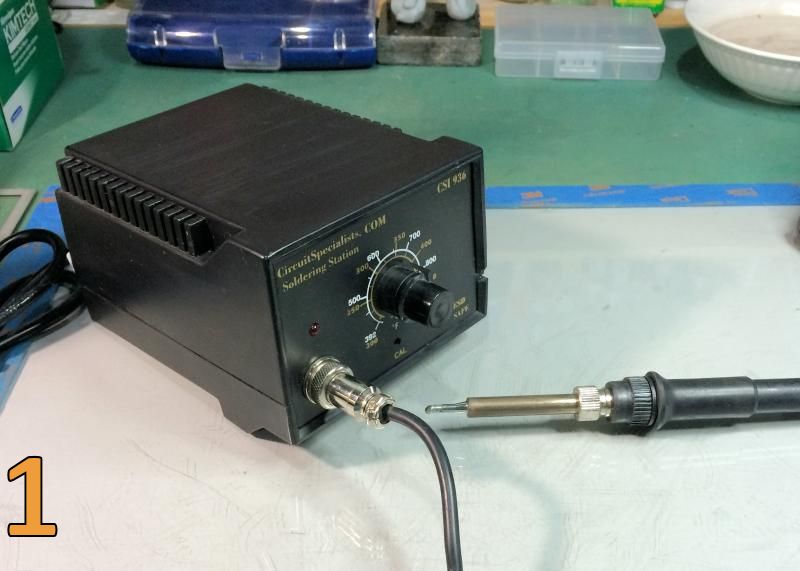


About the Author

Comments


This is a fantastic tutorial, and one I know I'll be coming back to time and again.
Some of Paul's techniques I have already been working with, but most of it are new ideas to me. It did occur to me that using cotton buds dipped in alcohol might work as effectively as the kem-wipes with the added advantage of being reusable. Haven't tried it yet, but intend to with my next PE soldering project.
DEC 02, 2015 - 05:42 PM

Mark,
I'm glad you are finding the article useful!
One critical point though on the use of alcohol in actual soldering process; the autoignition point ( the point when a substance ignites spontaneously without flame or spark )for 90% isopropyl alcohol is just 750 degrees. Even if you have military or NASA grade soldering gear with highly accurate temp control, the chance of an accident is too high to recommend placing alcohol soaked materials next to a powered heat source. Additionally, should you have resistance soldering gear in use, even the slightest slip will cause a small spark that could have catastrophic results! Fumes from alcohol travel very quickly and if you can smell it, you are already surrounded by them.
If the buds are going to work, they will work with water. That is the only way I would recommend trying that procedure.
Metal cools very rapidly once the joint is done, so you clean the joint with alcohol within 10-15 seconds in safety. I'd also recommend keeping your alcohol container closed and separate from the soldering iron to prevent accidents.
Hope this helps,
Paul H
DEC 02, 2015 - 07:51 PM
Very good point, Paul, and I'm rather red-faced to have not thought of that on my own. Water...so simple...
DEC 02, 2015 - 08:22 PM
Mark,
I absolutely intend to try the wet cotton buds idea as a supplement to the Kimwipes. They might be just the ticket for soldering tight areas if held at the right angle with "helping hands". They won't hold a lot of water, but they may be great for really quick joints.
Cheers!
Paul H
DEC 02, 2015 - 11:11 PM
A really fine article, Paul- my thanks! This ought to up my game a bit-cheers!
DEC 03, 2015 - 12:23 AM
Chuck,
Thanks for the positive words... Loved the I.A.R. 81C! Great bit of work on the engine mount.
Cheers,
Paul H
DEC 03, 2015 - 05:46 AM

Copyright ©2021 by Paul Howard. Images and/or videos also by copyright holder unless otherwise noted. The views and opinions expressed herein are solely the views and opinions of the authors and/or contributors to this Web site and do not necessarily represent the views and/or opinions of Armorama, KitMaker Network, or Silver Star Enterrpises. All rights reserved. Originally published on: 2015-11-07 10:52:42. Unique Reads: 20649

WEB HOSTING BY


Copyright ©2021 Armorama and Kitmaker Network, a subsidiary of Silver Star Enterprises
All Rights Reserved. Please read our Conditions of Use and Privacy Policy.
All Rights Reserved. Please read our Conditions of Use and Privacy Policy.