

1⁄35In Over My Head
21
Comments
Painting and Weathering
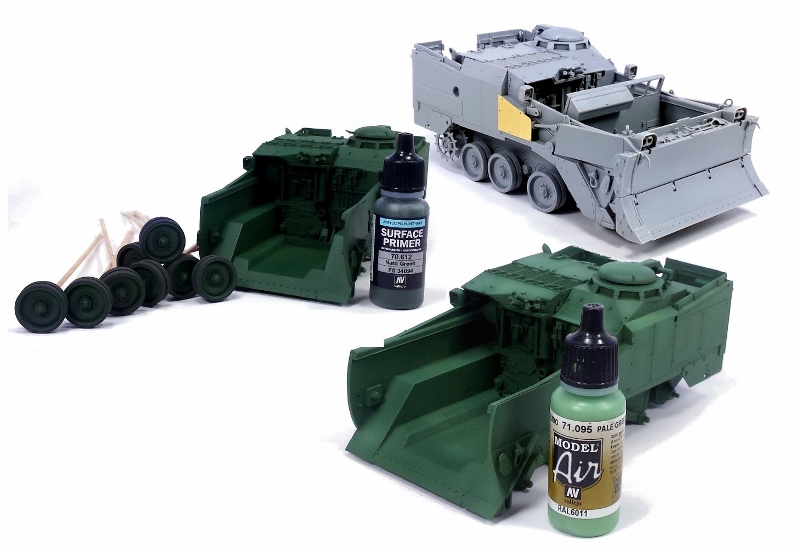
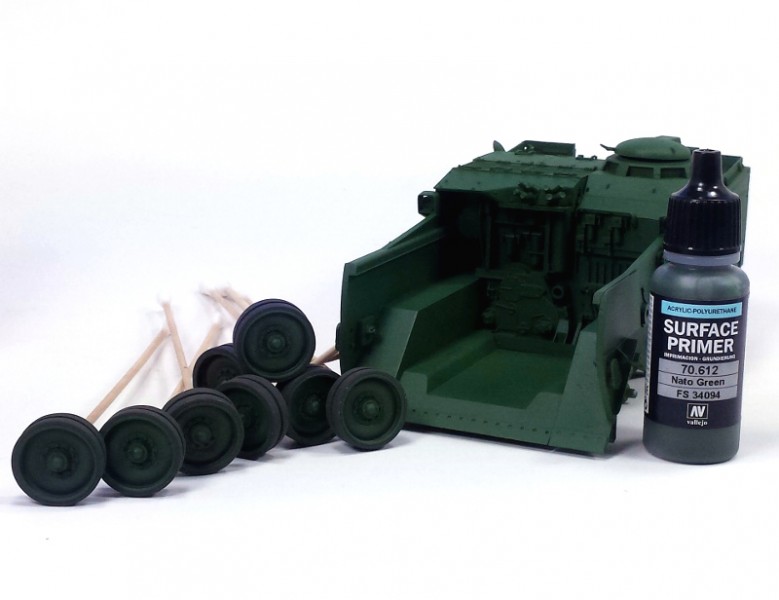
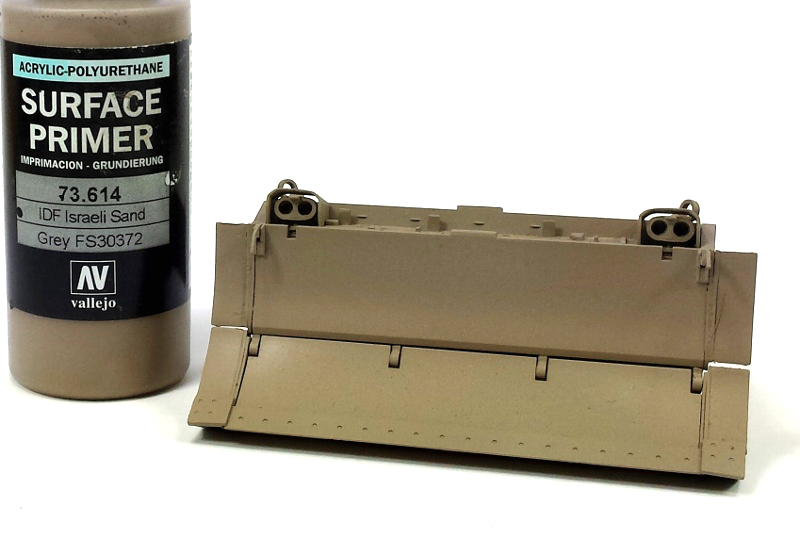
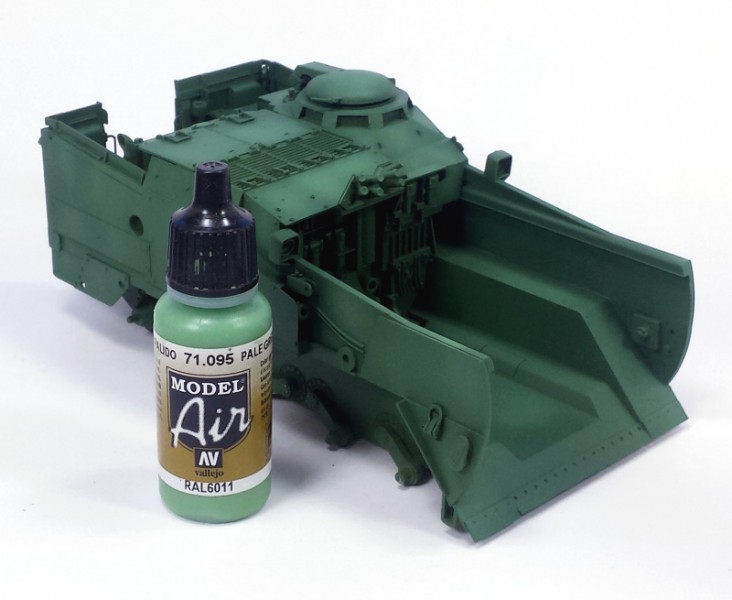
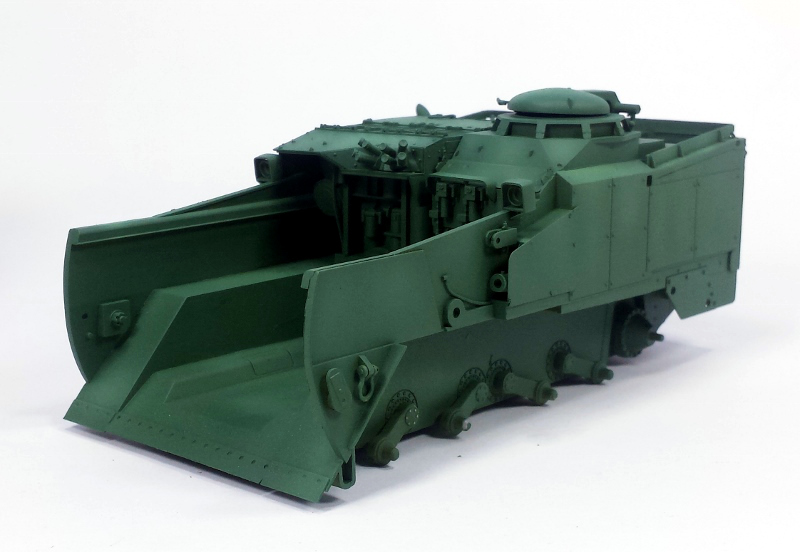
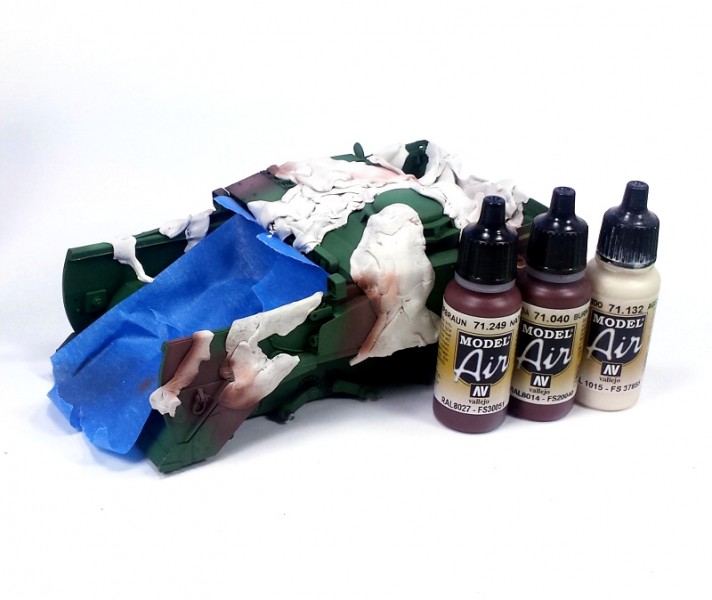
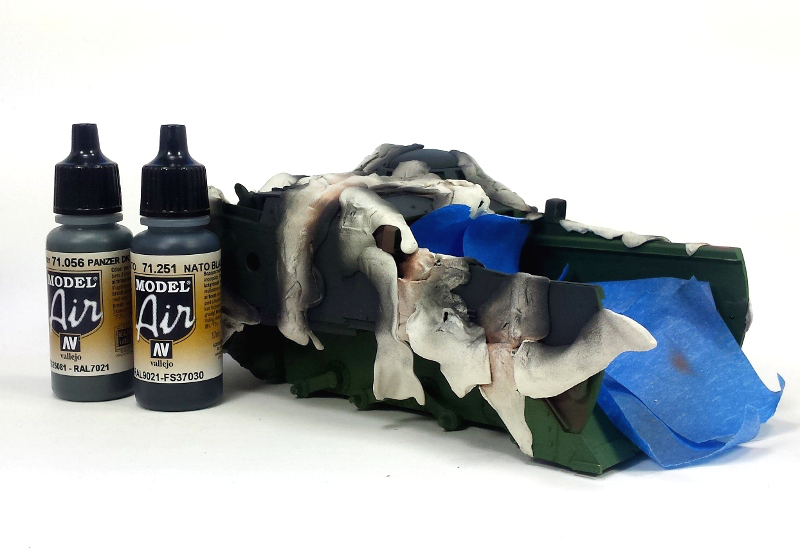
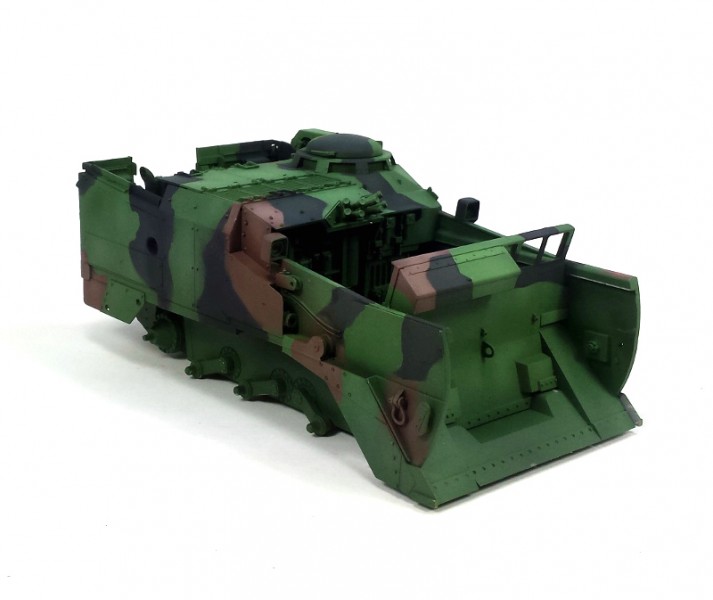
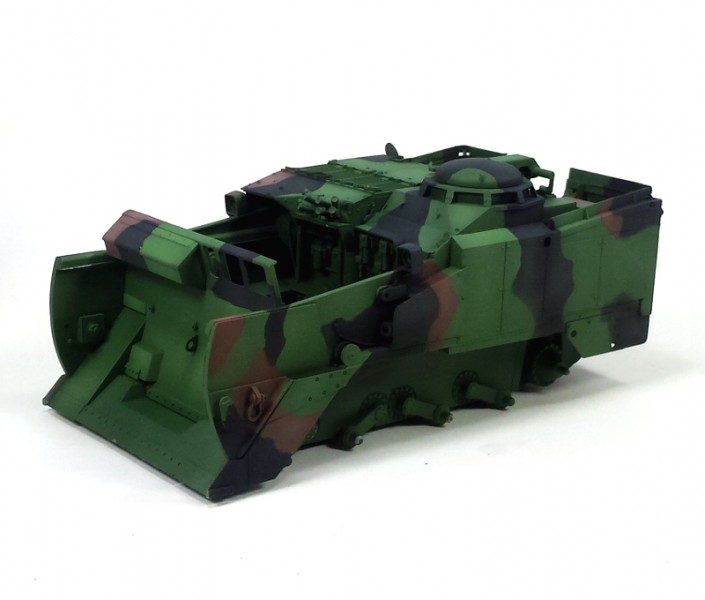
Once construction was complete, the process to painting and deciding on weathering was at hand. I chose to paint the blade to this dozer as a separate sub-assembly allowing me to add some contrast with a different color than the M9 itself. The M9 model, minus the blade, was primed with Vallejos NATO Green (70.612) primer first. The blade was primed as well, but with Vallejos IDF Israeli Sand (73.614) primer. The blade itself was the quicker of the two paint jobs as IDF color is a perfect starting point to the desert coloring I was looking for. A couple of lightly applied coats of Model Air Sand (71.075) was all that was needed to jumpstart the blade. My thoughts for the final coloring to the M9 was that of the tri-color NATO camouflage scheme. Its no small secret that I actually dislike doing camo schemes, but sometimes there is just no other option. After applying some highlights with Model Air Pale Green (71.095) it was time to layout my camo pattern. Not wanting to put too much thought into this, a little poster-tack molded into position covering all of the areas I wanted to remain green, the brown coloring position of the camo came next. As I did with the previous green colors, I laid a darker base of NATO Brown (71.249) followed by some highlighting with Burnt Umber (71.040) and a light dusting with the same Burnt Umber Mixed with a couple of drops of Antique White (71.132). With the next layer of poster-tack applied, it was onto the black color of this camo scheme. The first color to go down was NATO Black (71.251) which was followed up with a dusting of Panzer Dark Grey (71.056). The tonal changes in the colors is subtle; just enough to remove the paint job from looking too much like a factory finish yet also keeping it from looking too old and faded.
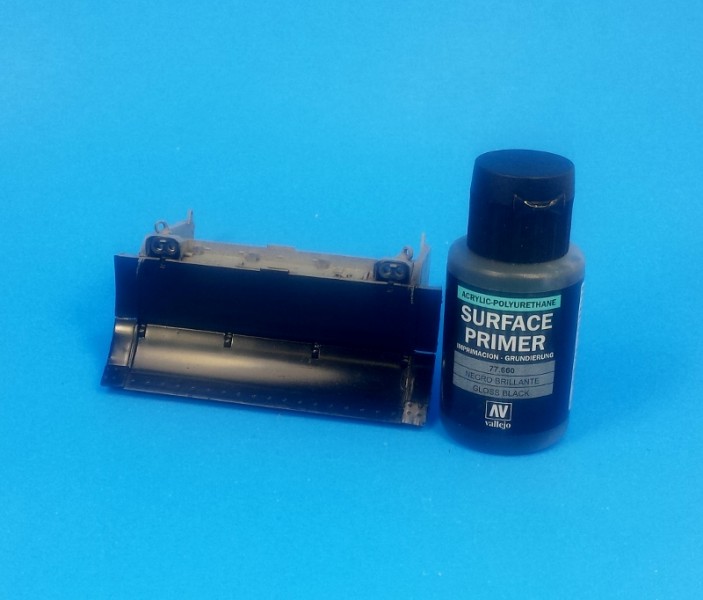
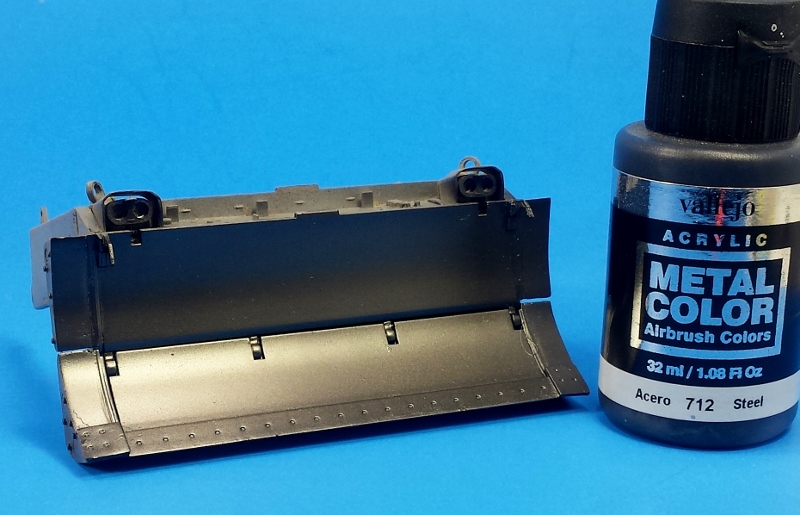
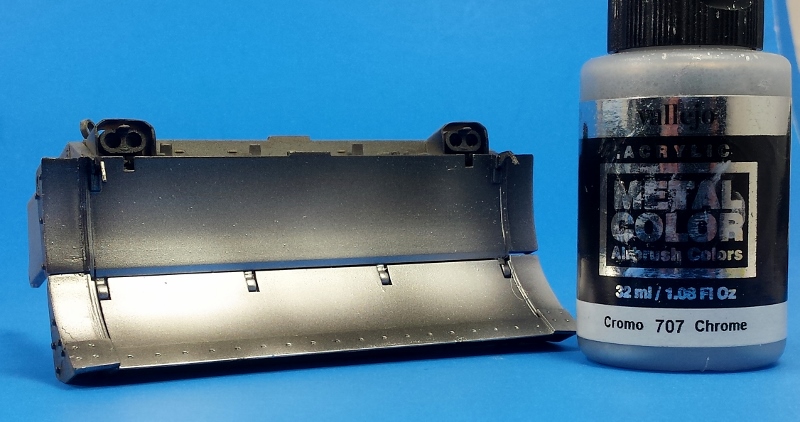
Still not sure what the end result of this project was going to look like, I wanted to at least add a bare metal surface to the front of the dozer blade. This was accomplished through the use of some of


About the Author


FROM: MASSACHUSETTS, UNITED STATES
I am building what I like, when I like and how I like it; having fun doing it. I have been building and finishing models on and off my whole life but the past ten years things really exploded. Just about anything goes when it comes to hitting the bench, but wrecked armor, rusted hulks, ships or ...
Comments


You may have been up to your ears in mud there, but you most definitely pulled it off. Excellent job Todd!
MAY 31, 2016 - 11:38 PM
Your work is definitely professional work and really neat, absolutely cool! Congratulations mate and really a nice sharing! ^^
OCT 08, 2016 - 11:57 AM


Copyright ©2021 by Todd Michalak. Images and/or videos also by copyright holder unless otherwise noted. The views and opinions expressed herein are solely the views and opinions of the authors and/or contributors to this Web site and do not necessarily represent the views and/or opinions of Armorama, KitMaker Network, or Silver Star Enterrpises. All rights reserved. Originally published on: 2016-05-29 05:51:57. Unique Reads: 22989

WEB HOSTING BY


Copyright ©2021 Armorama and Kitmaker Network, a subsidiary of Silver Star Enterprises
All Rights Reserved. Please read our Conditions of Use and Privacy Policy.
All Rights Reserved. Please read our Conditions of Use and Privacy Policy.