

1⁄35M1 ABV The Build
4
Comments
The Build
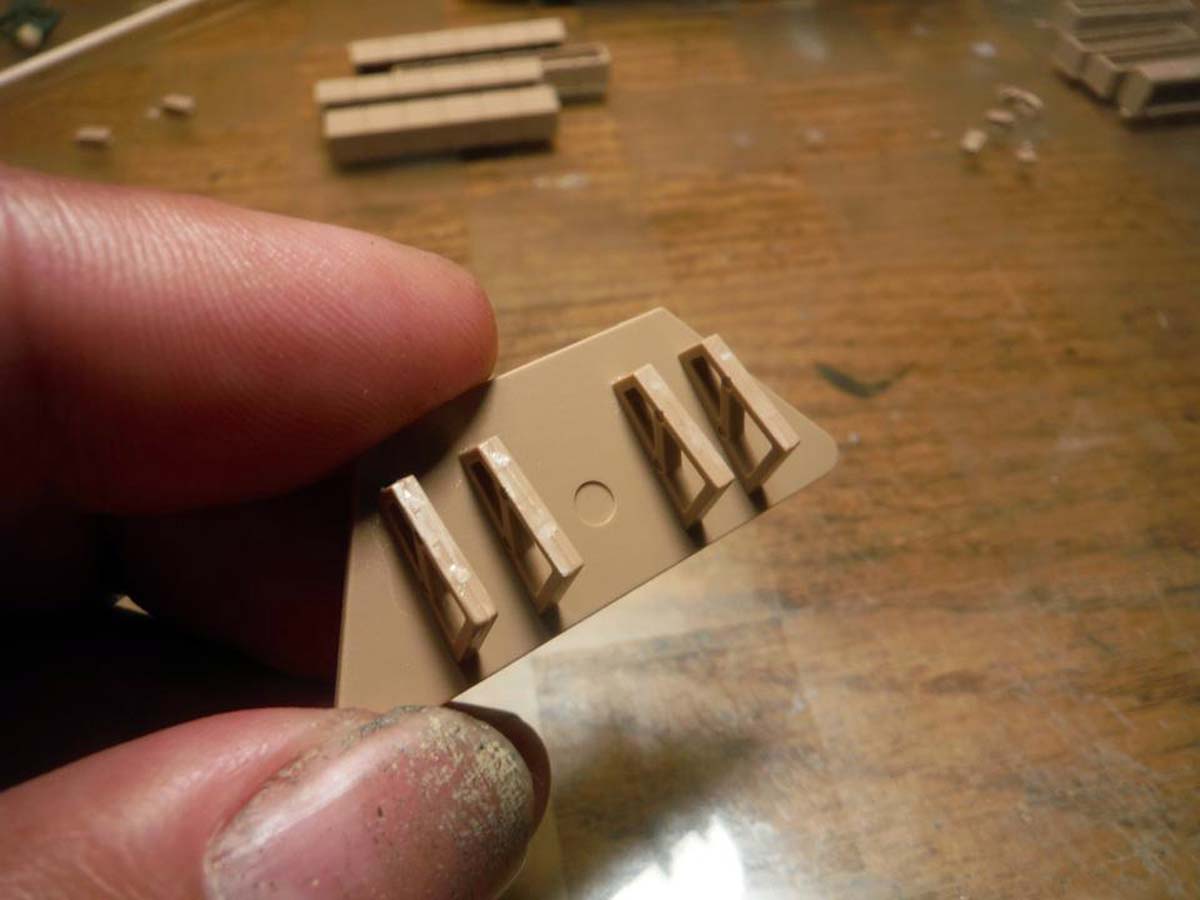
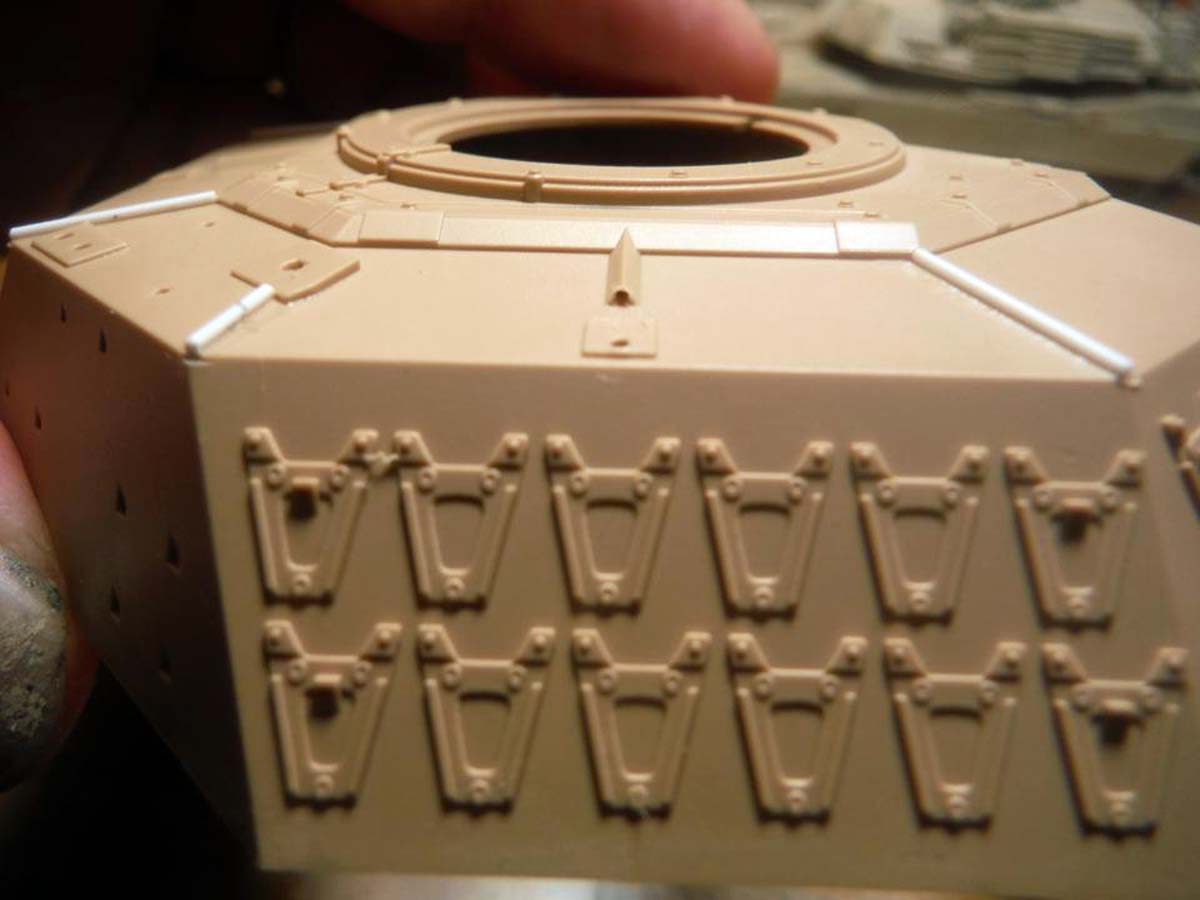
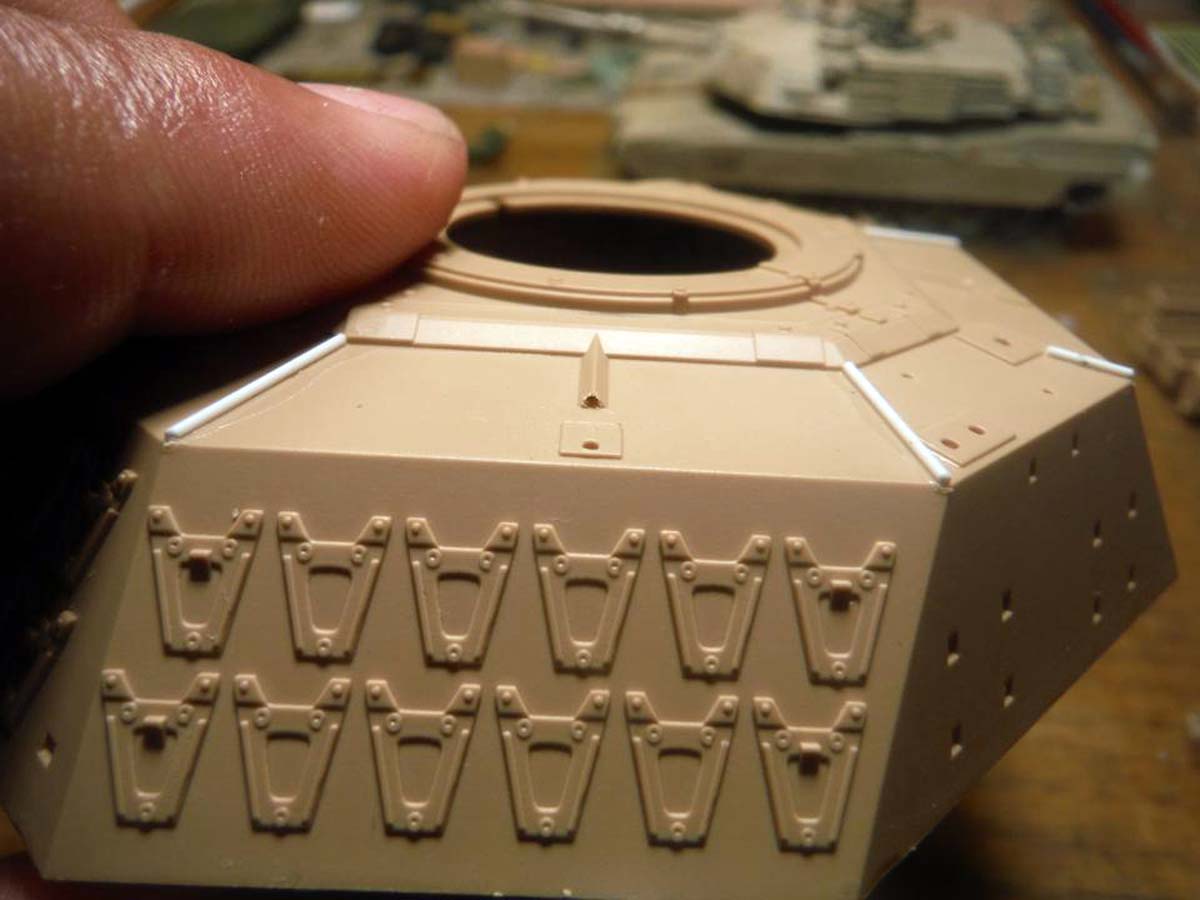
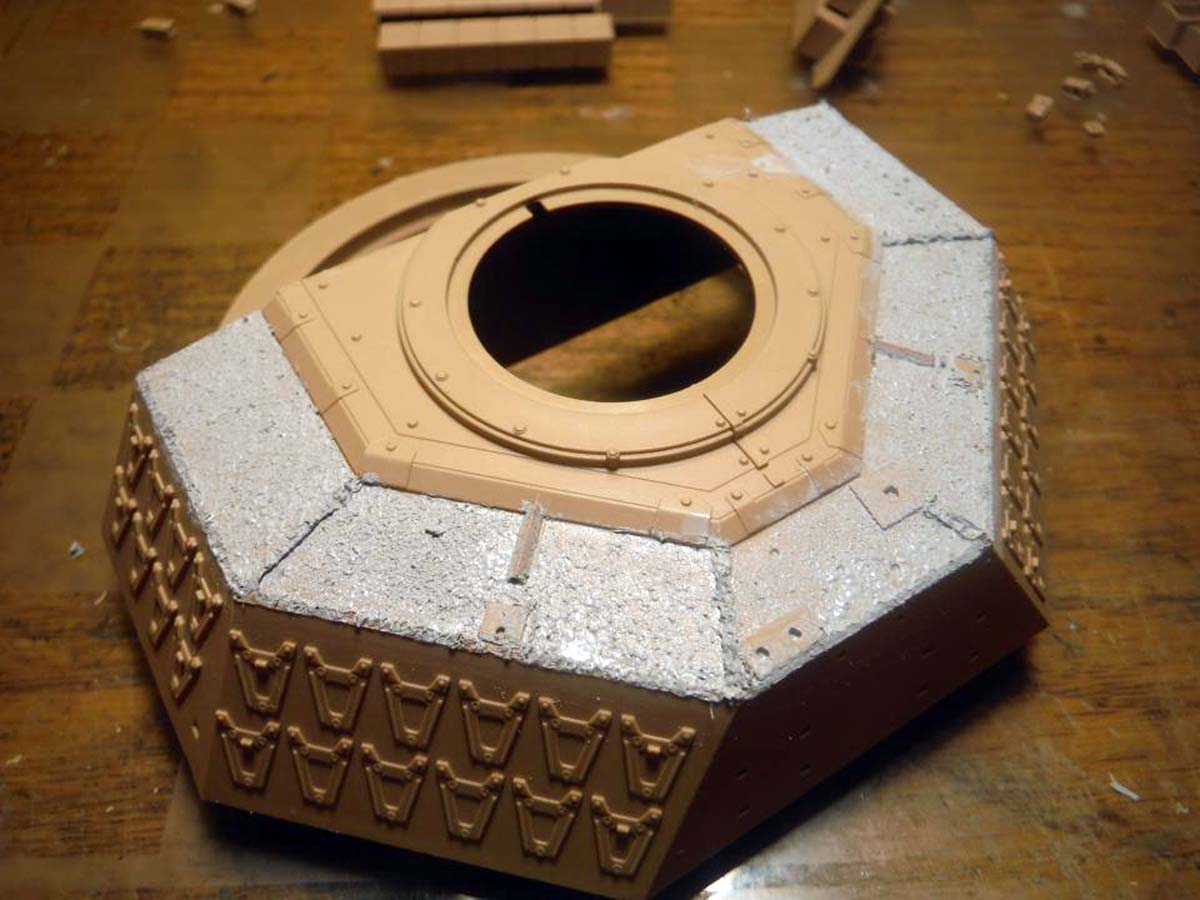
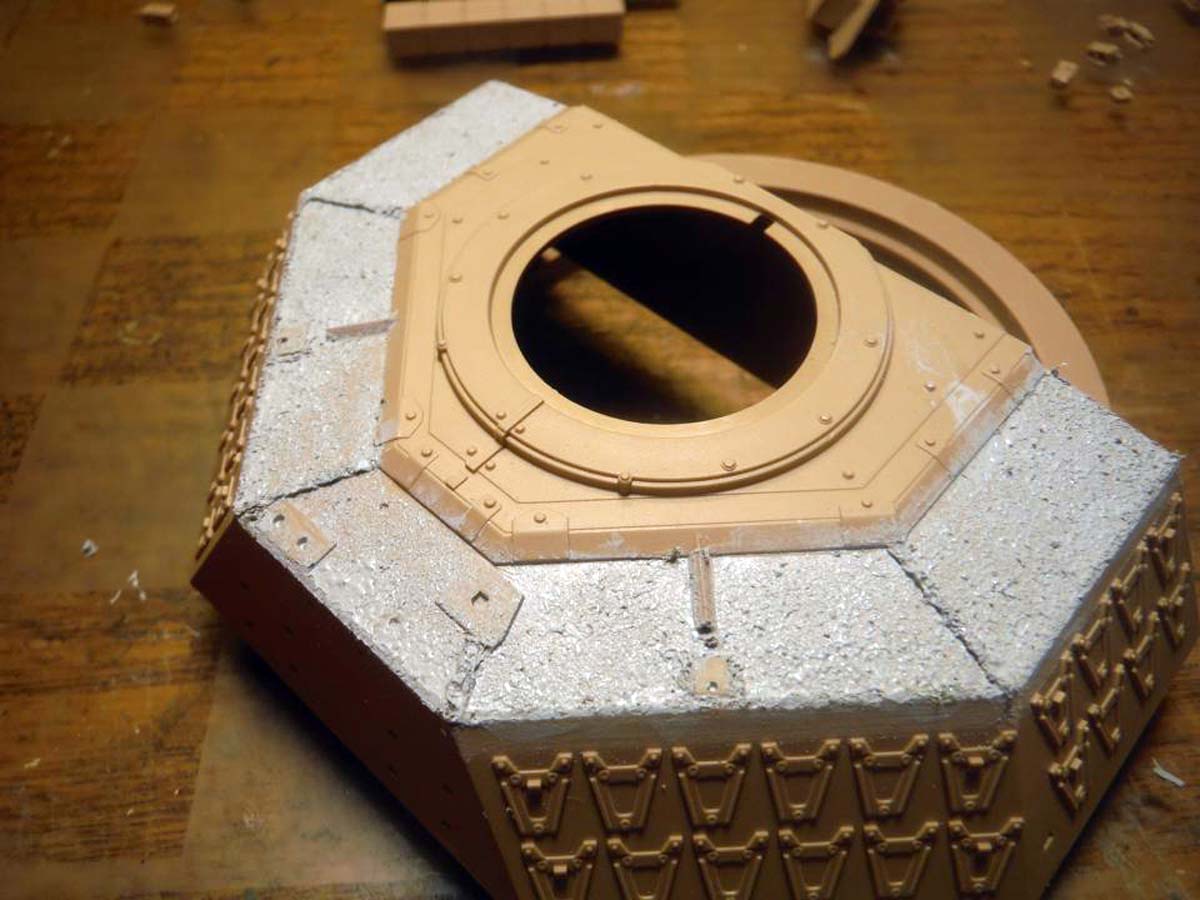
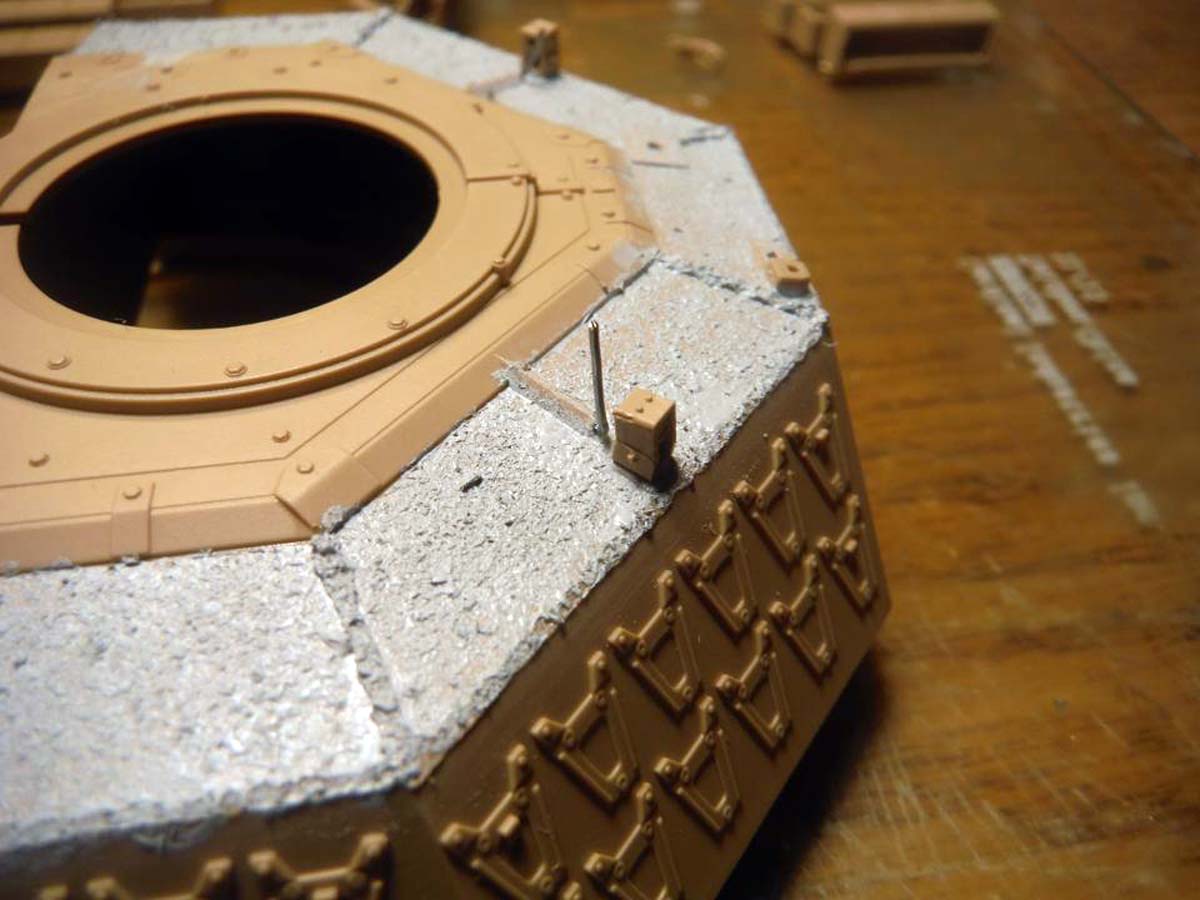
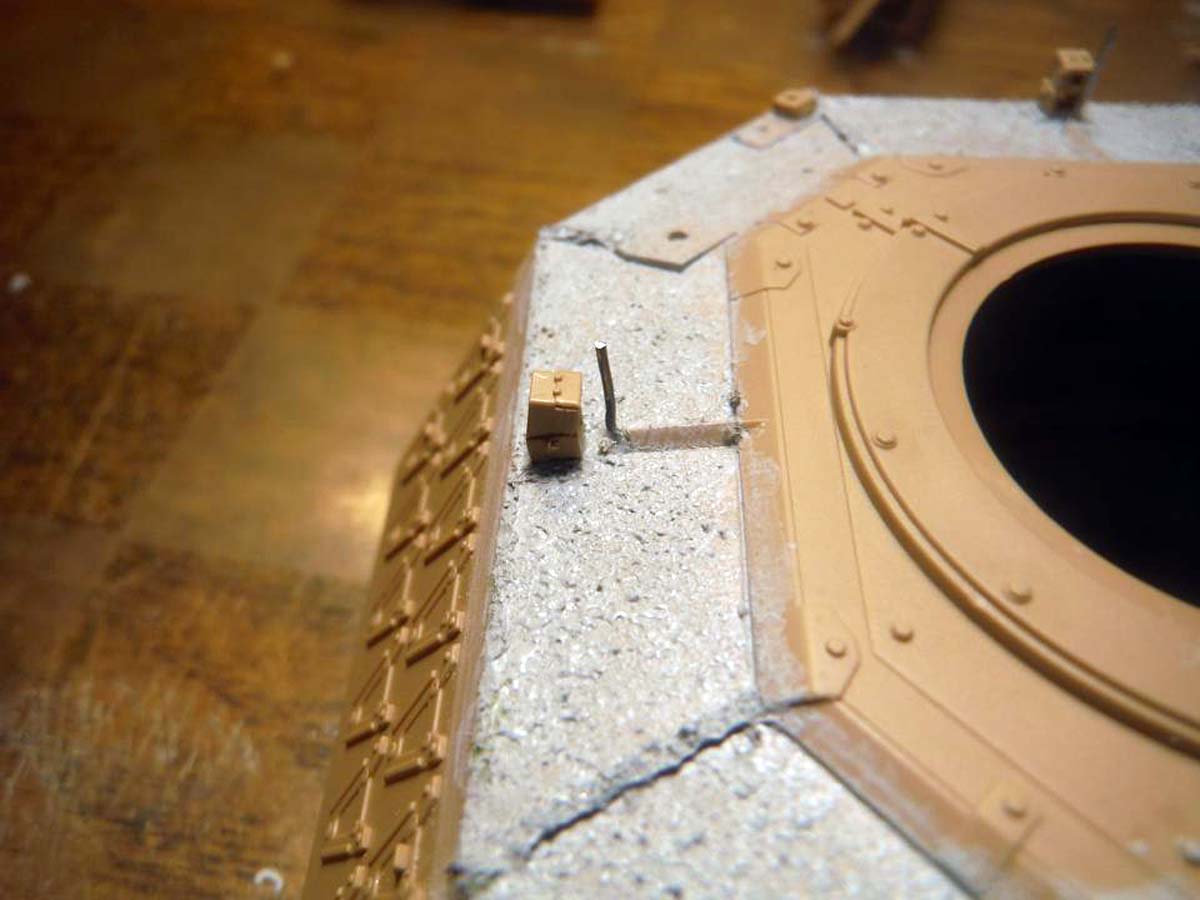
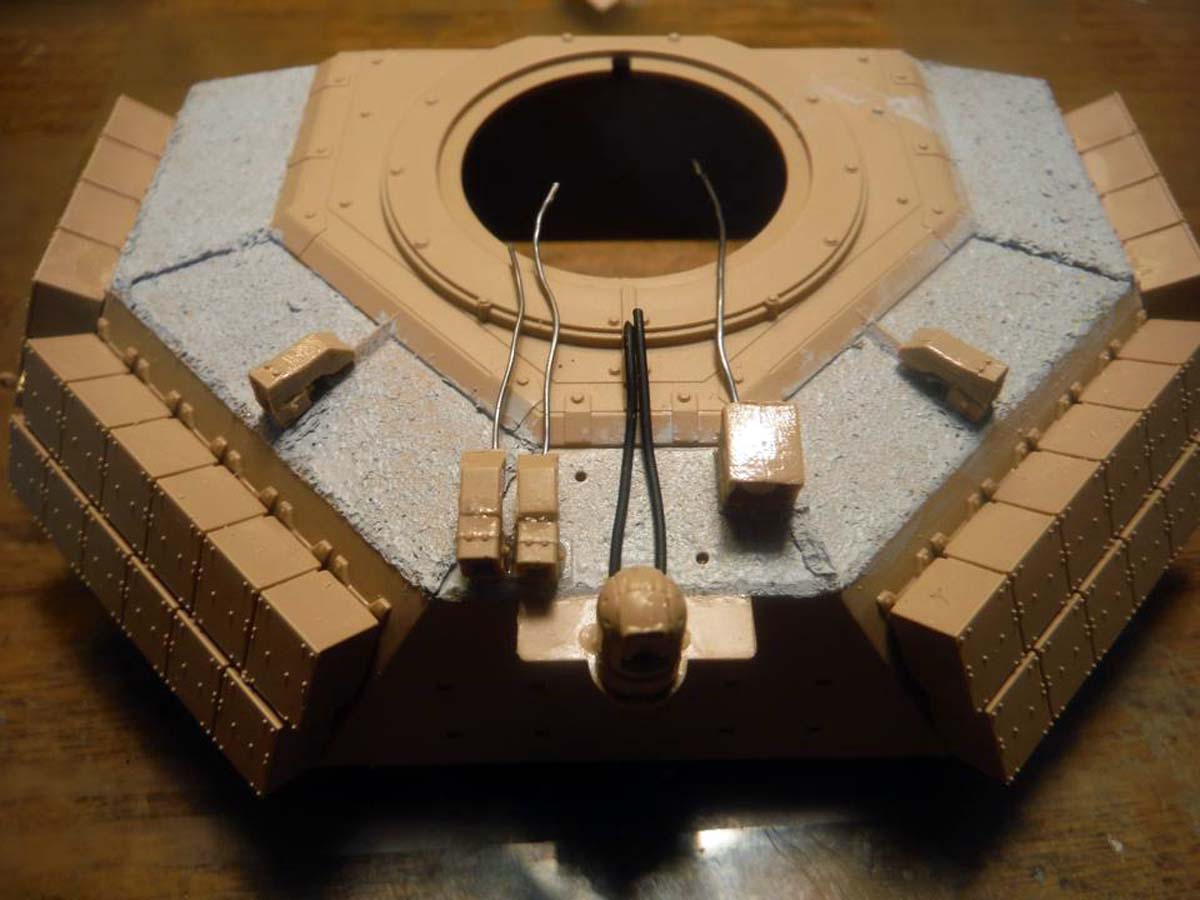
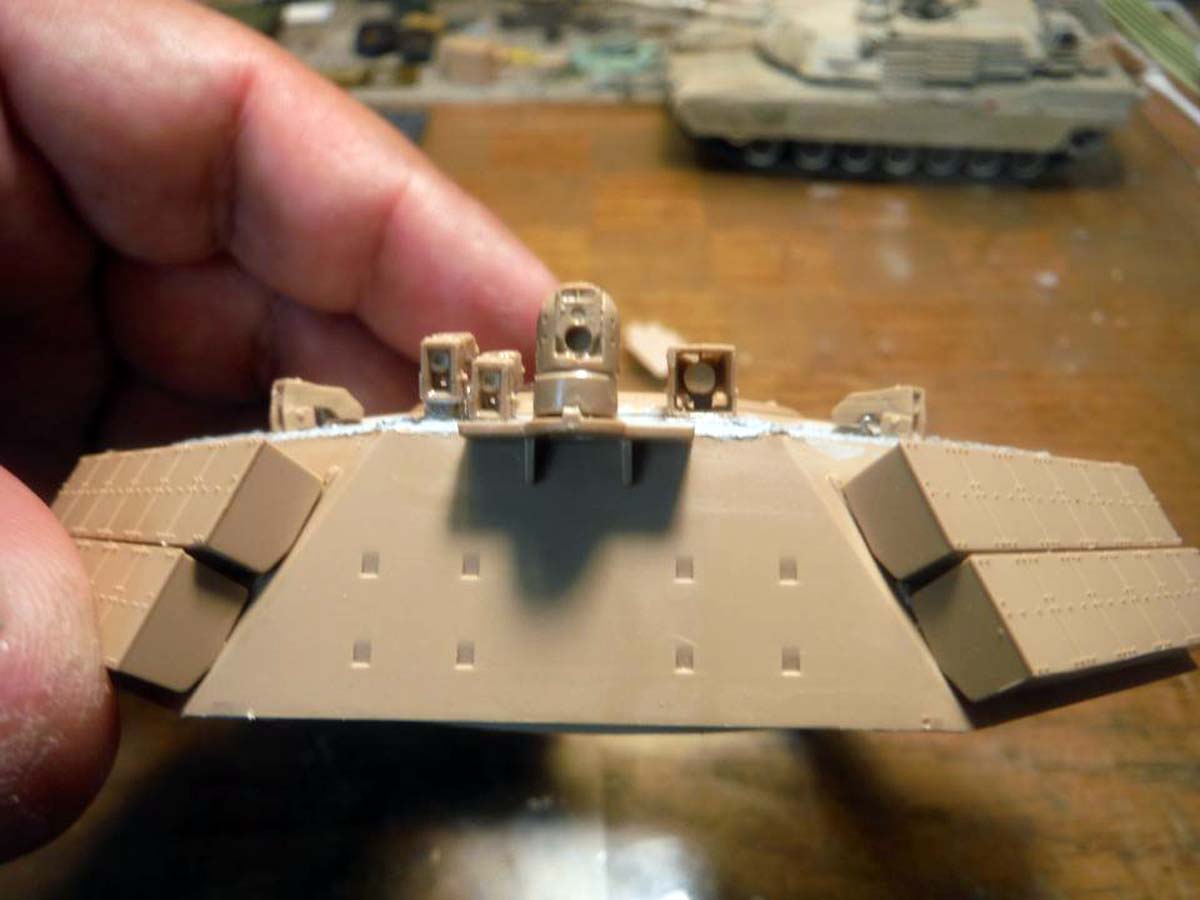
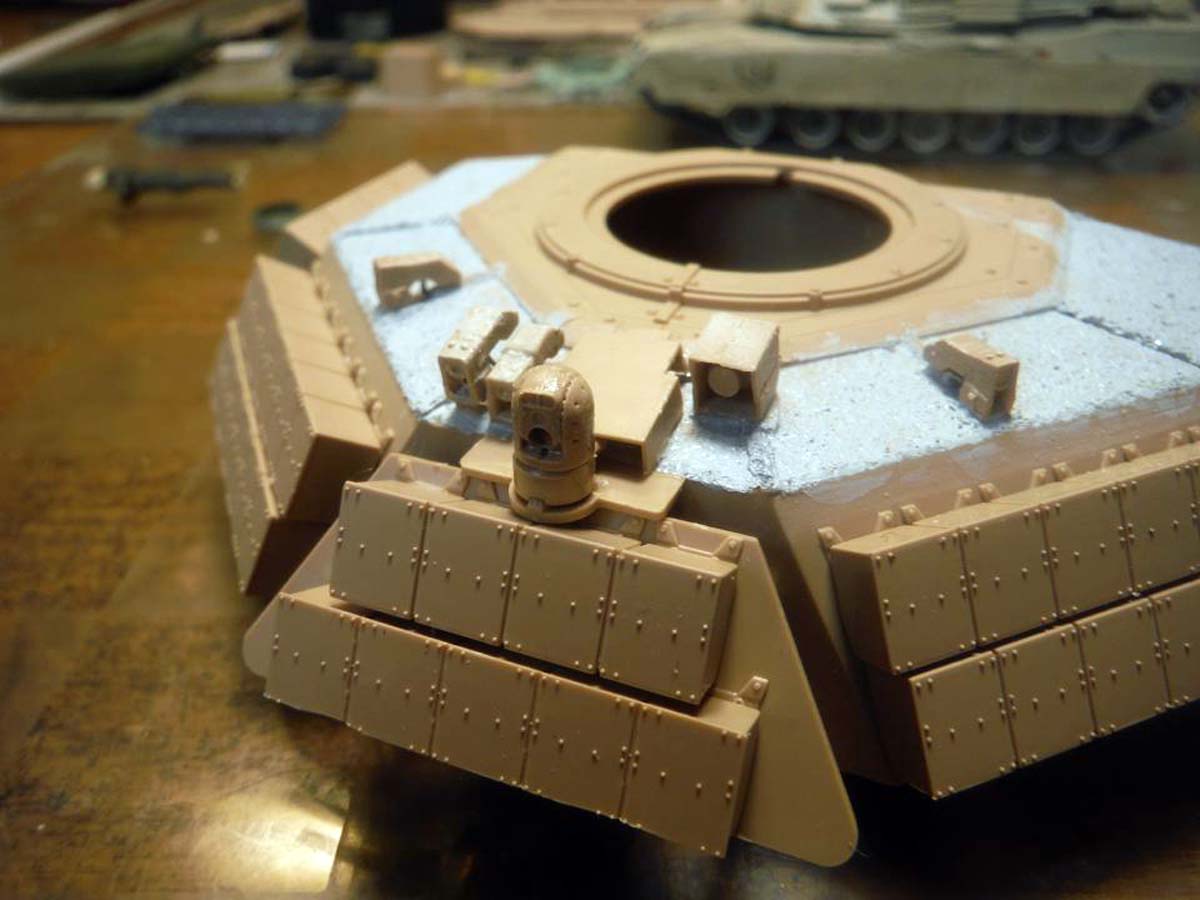
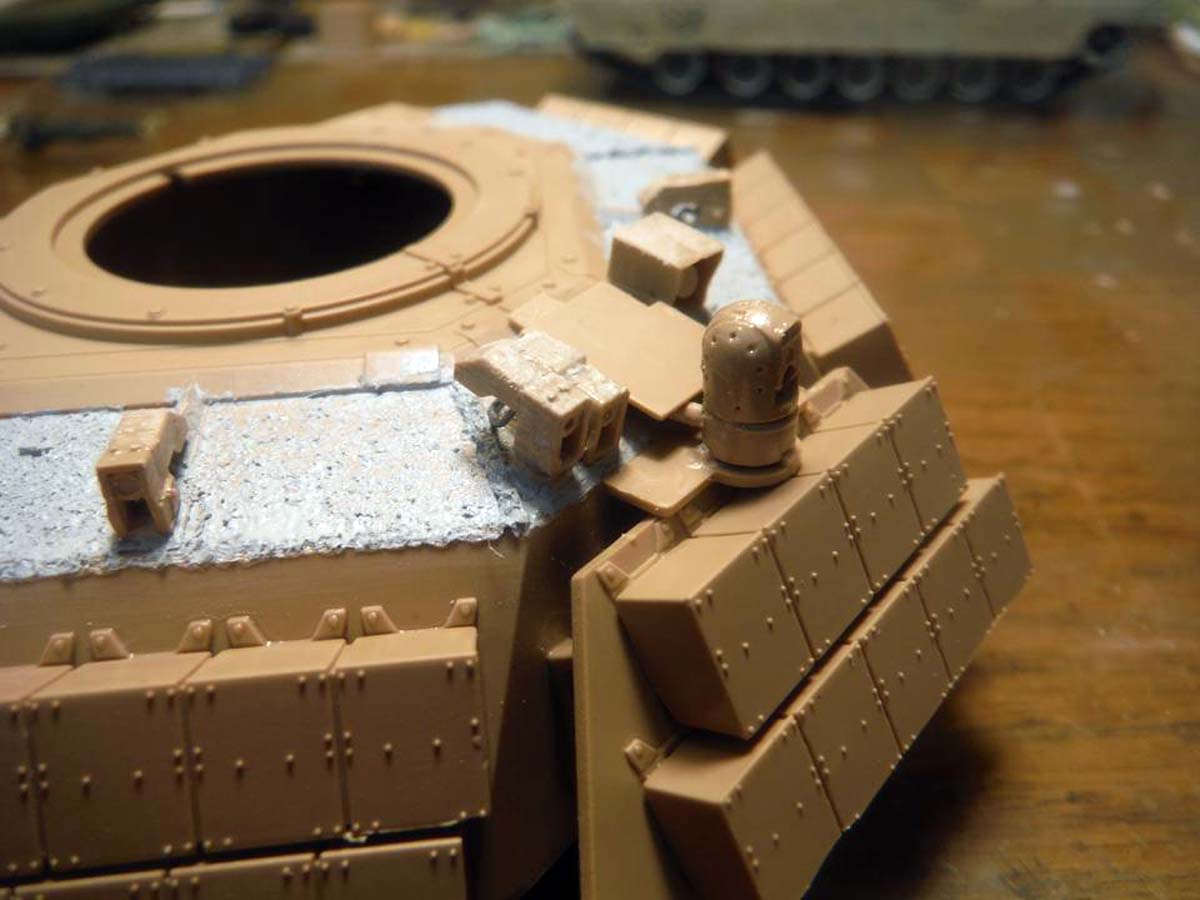
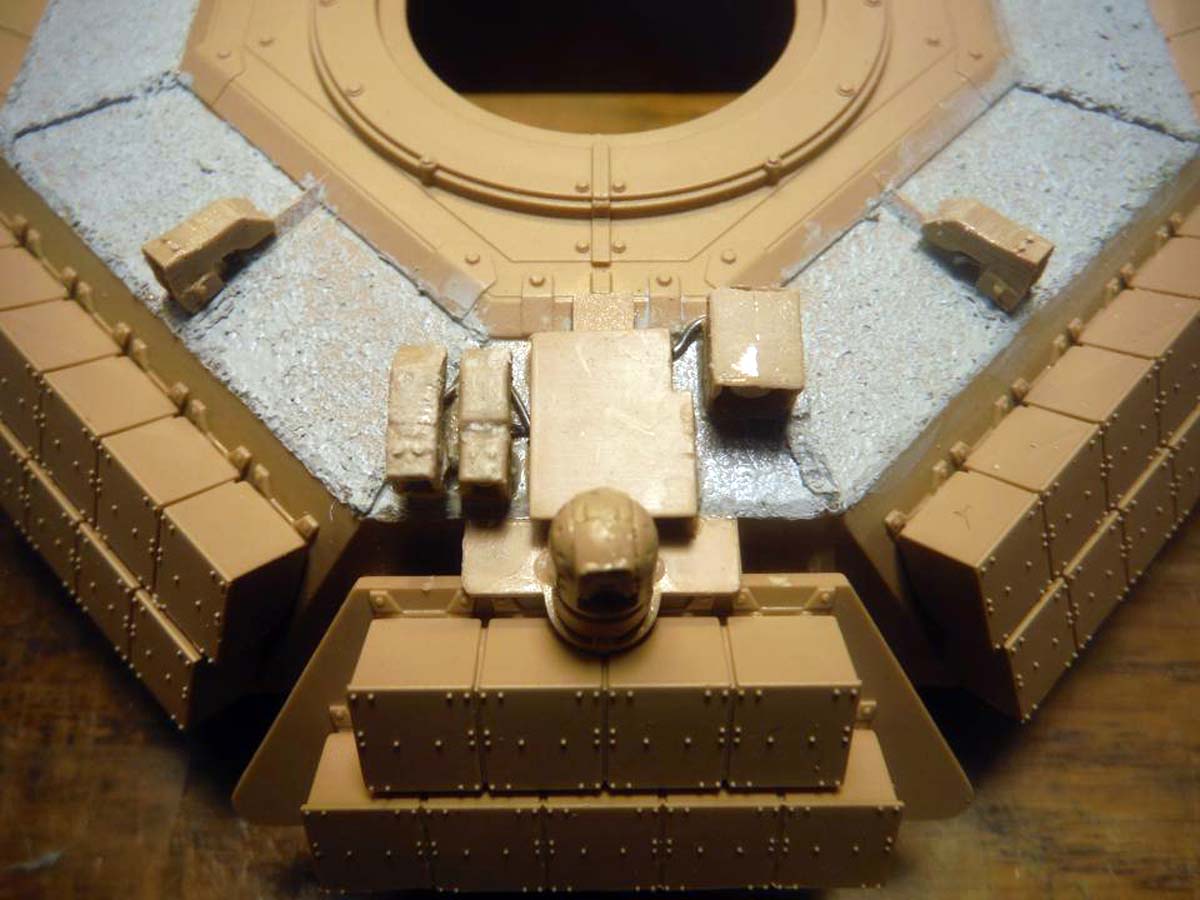
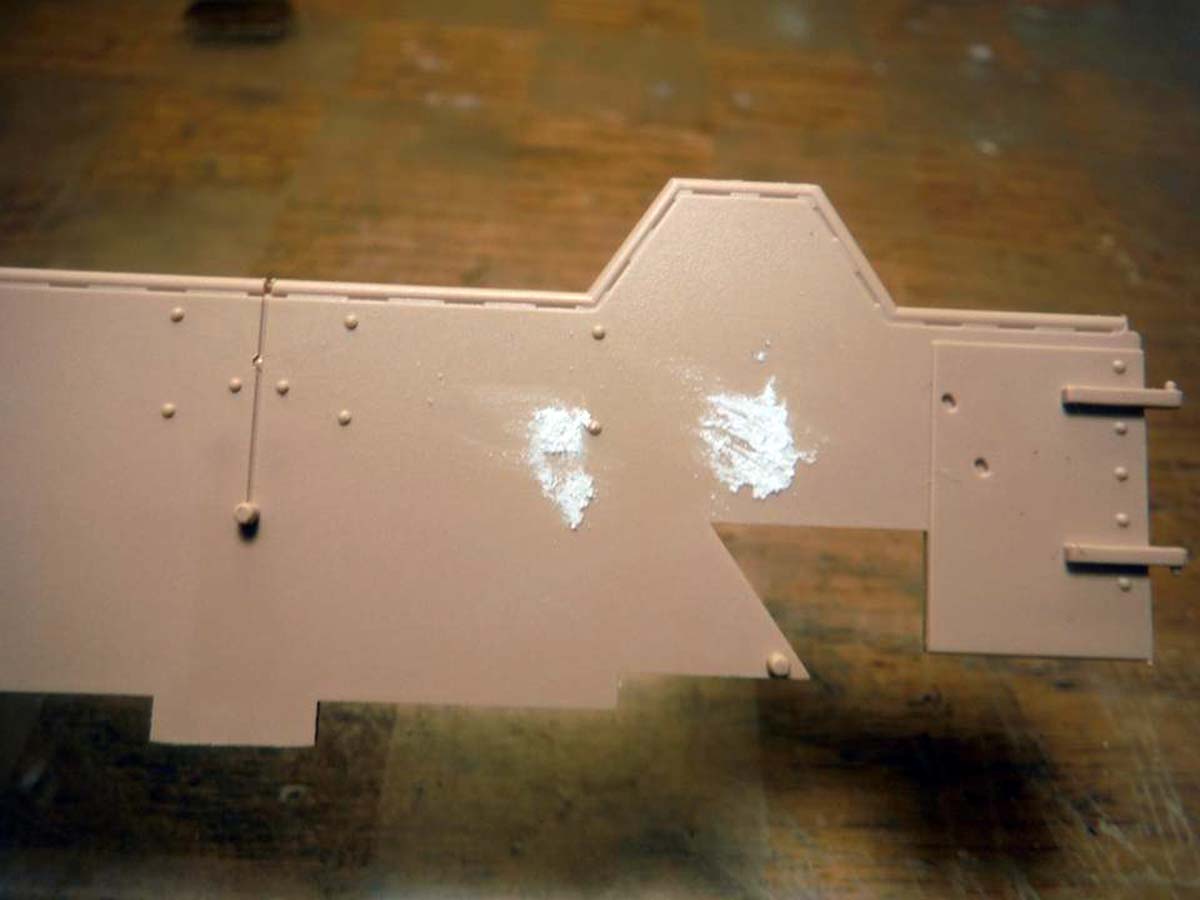
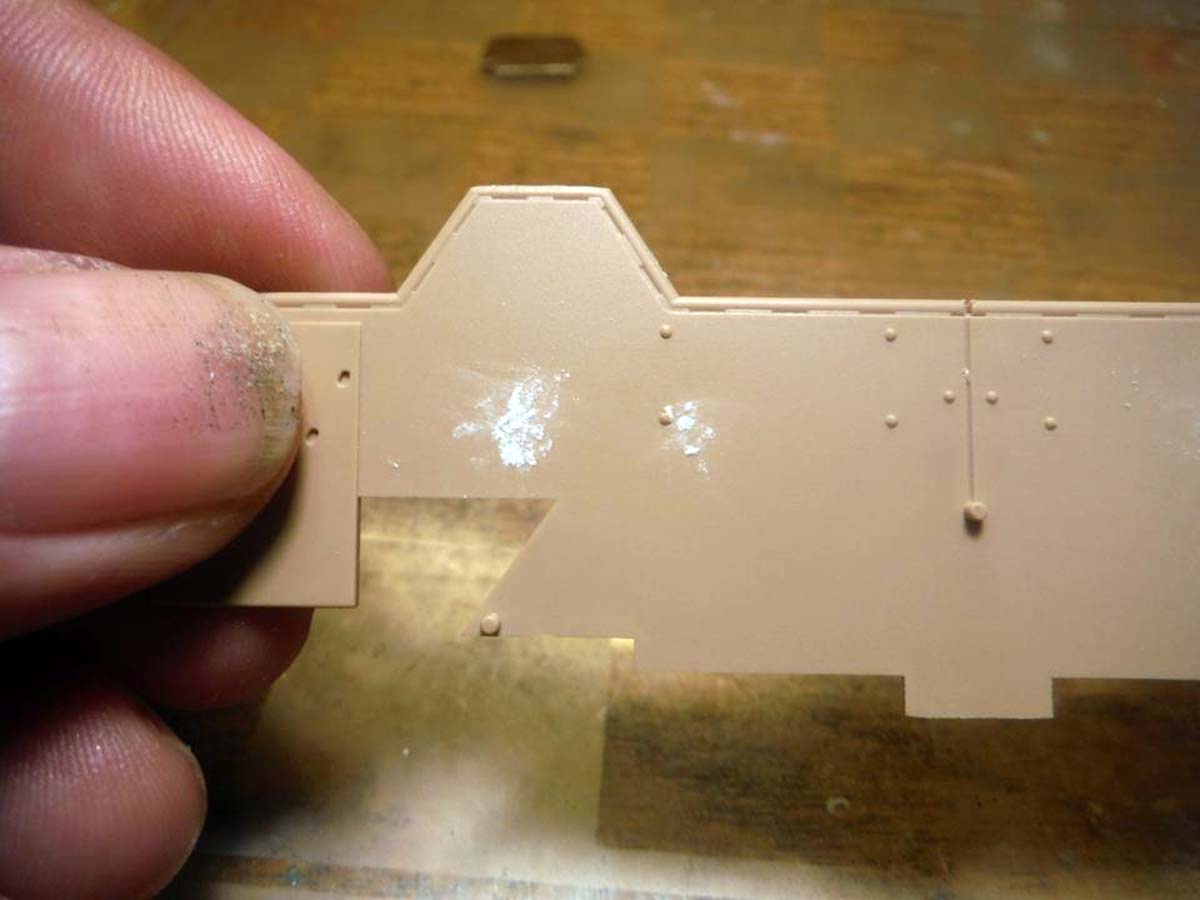
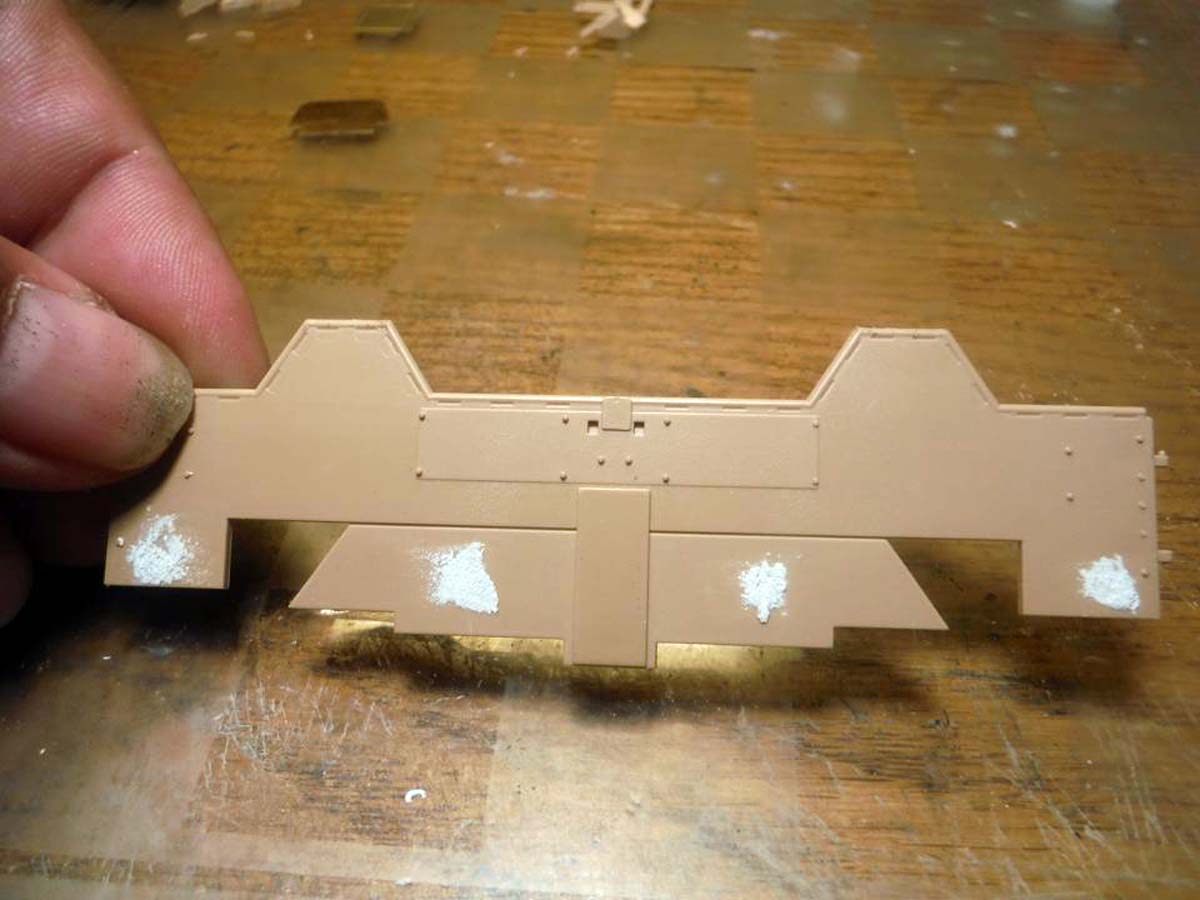
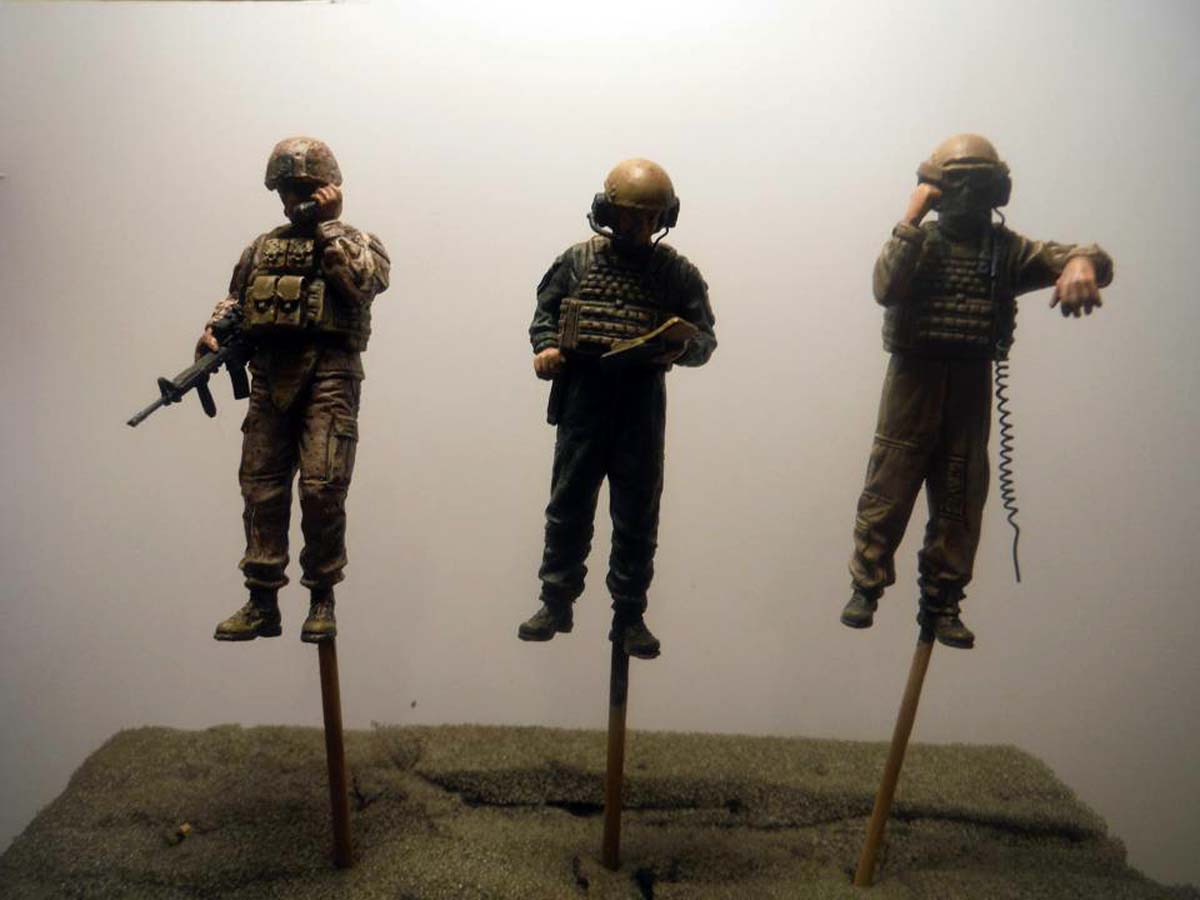
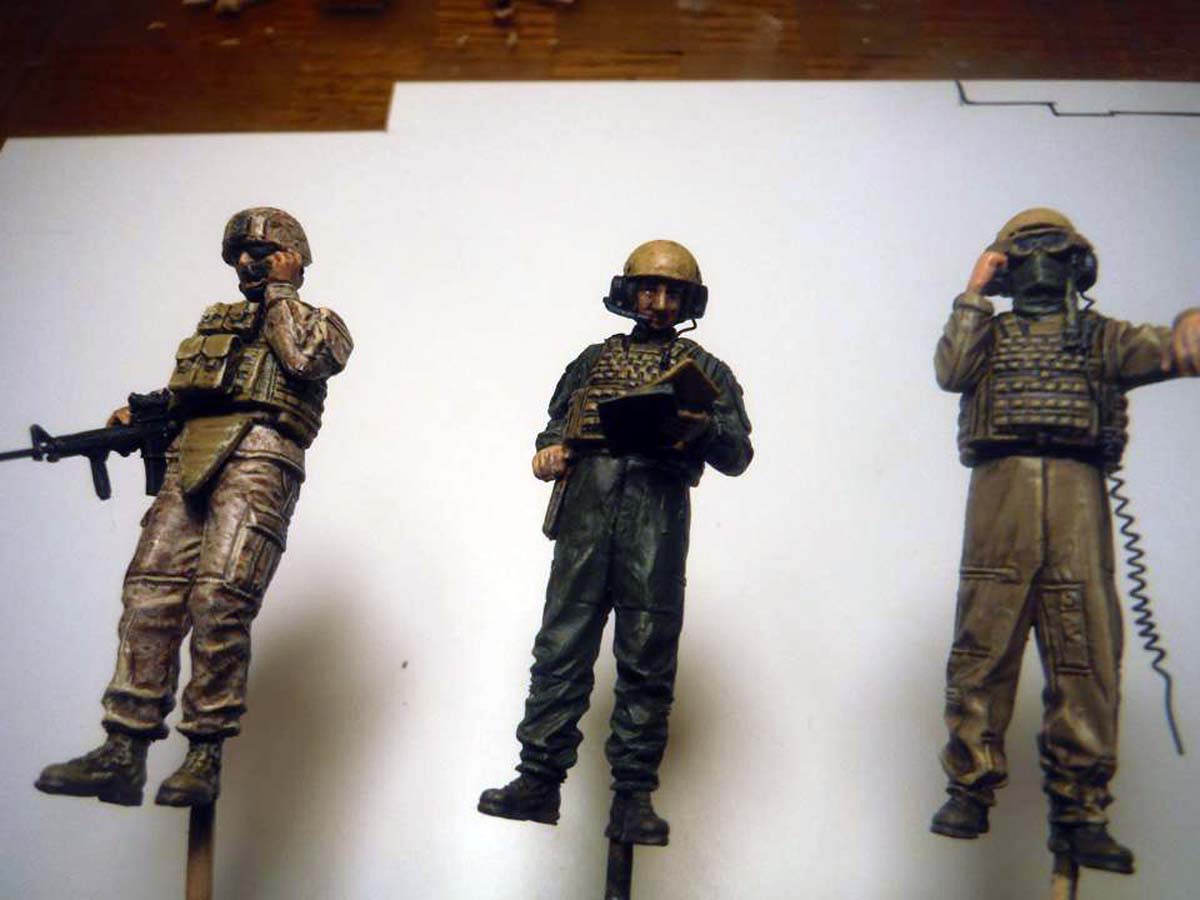
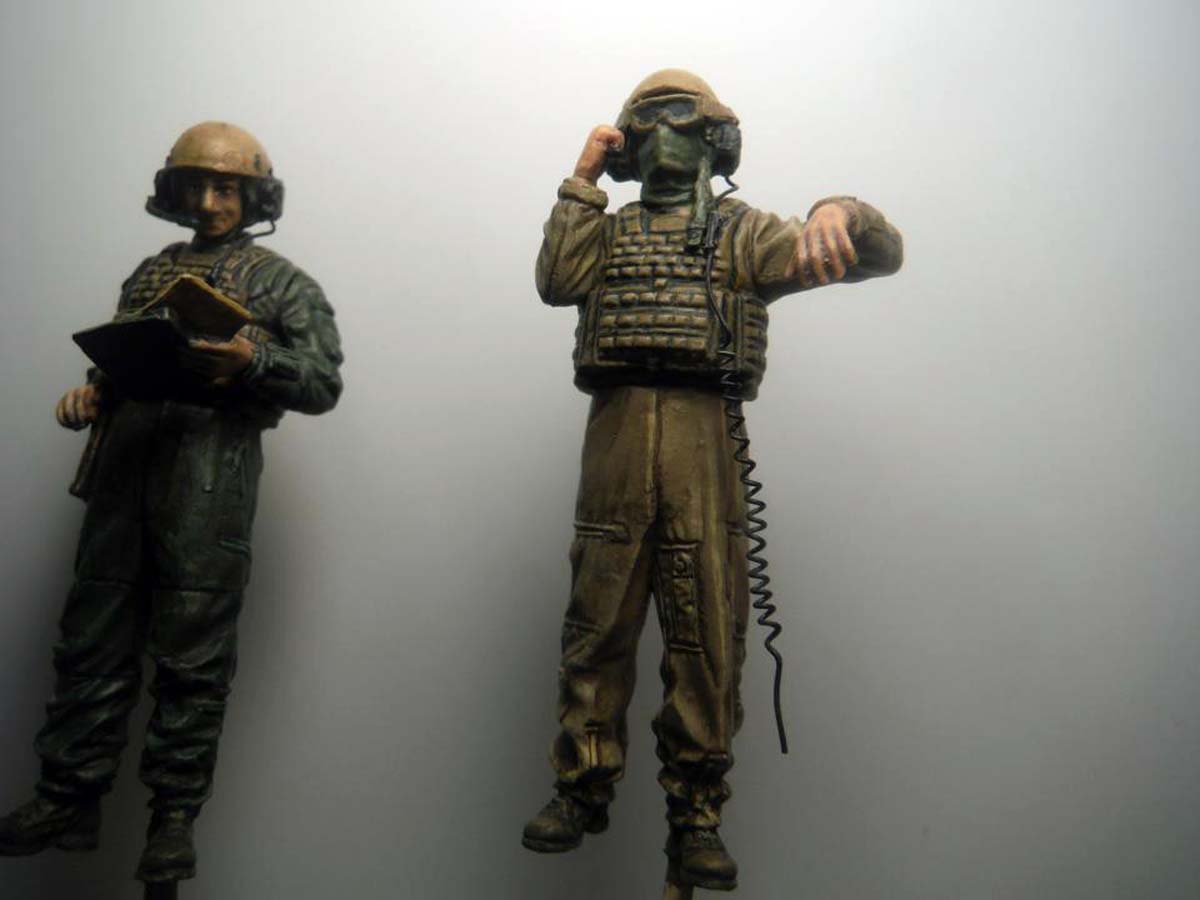
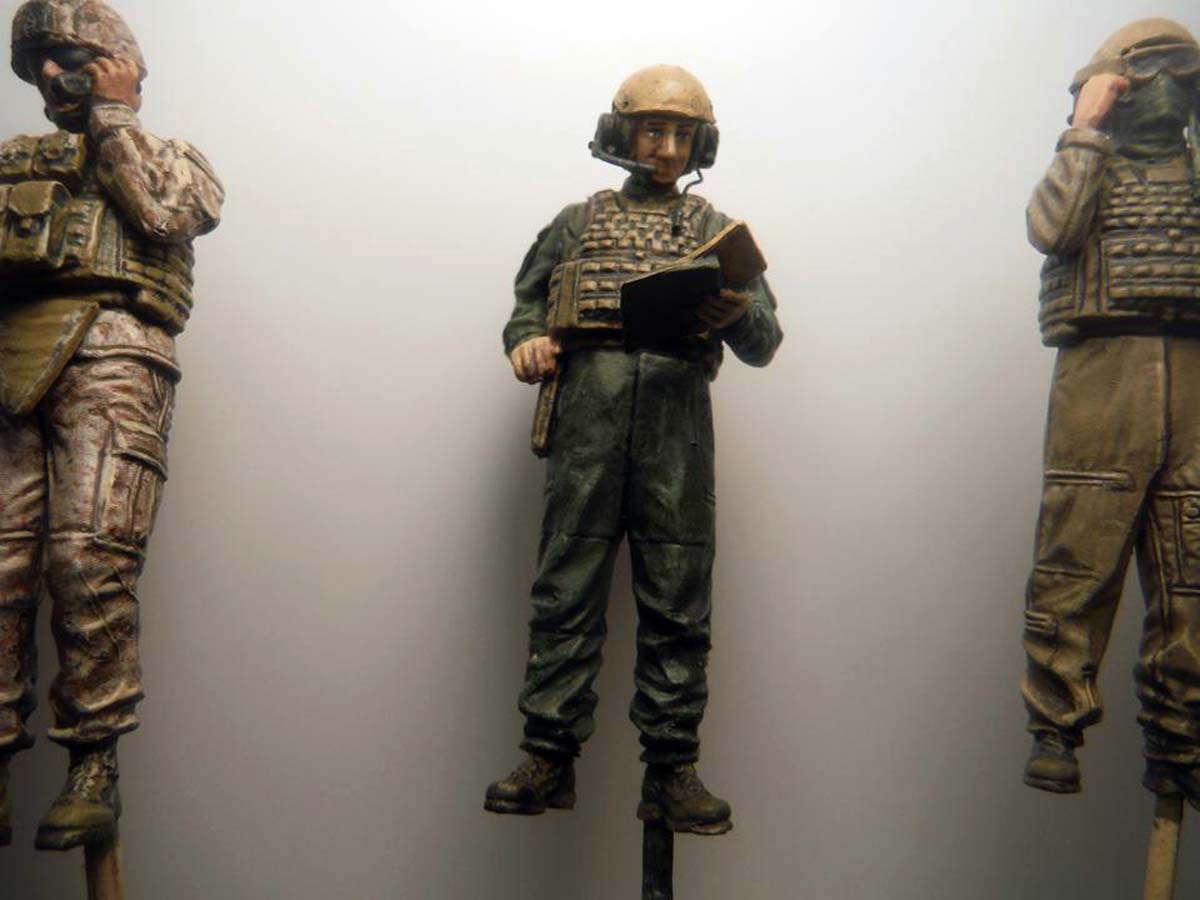
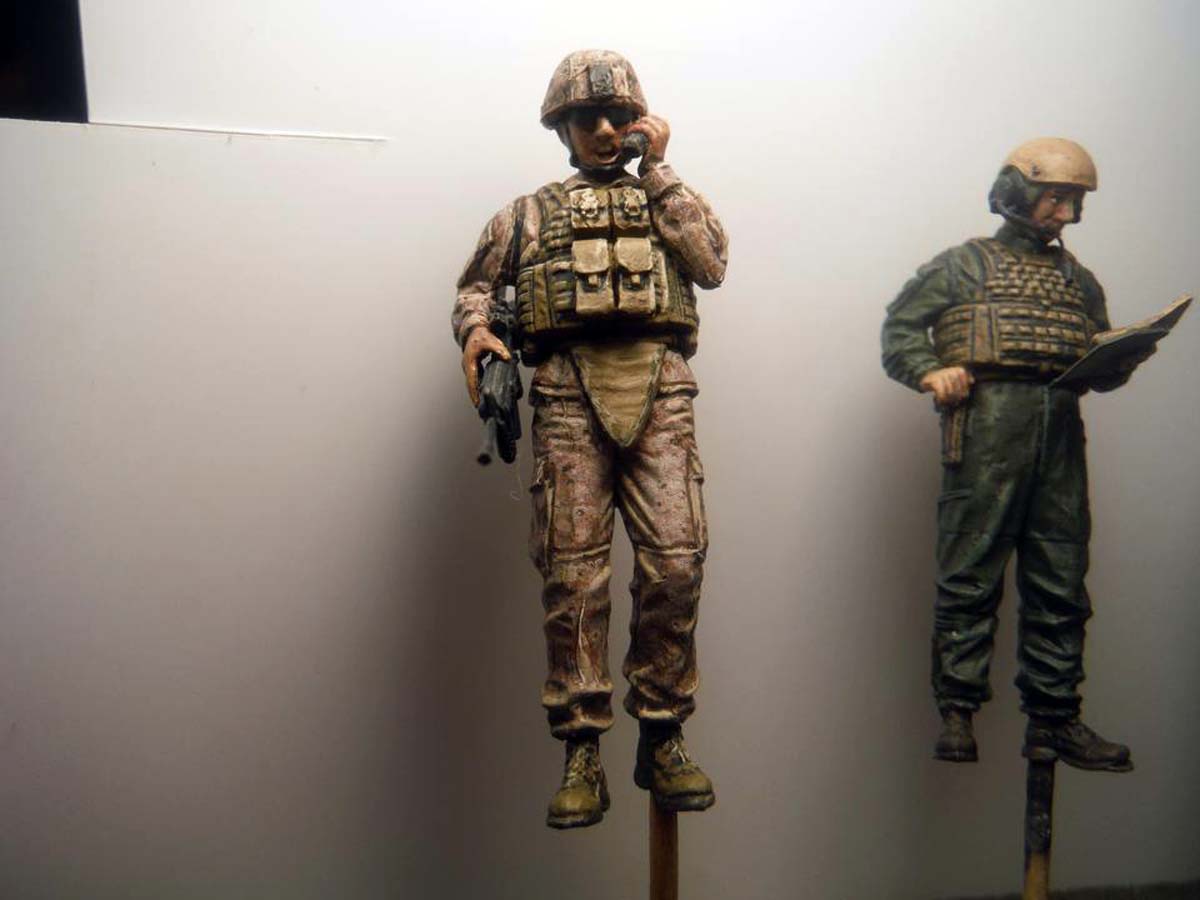
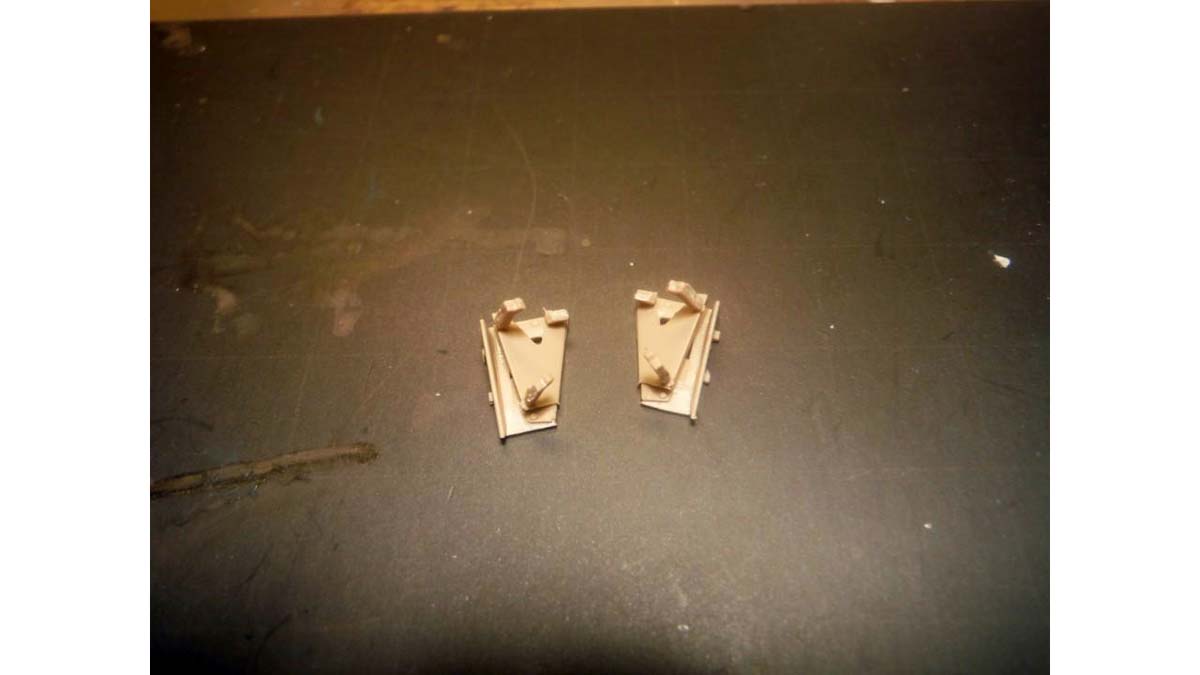
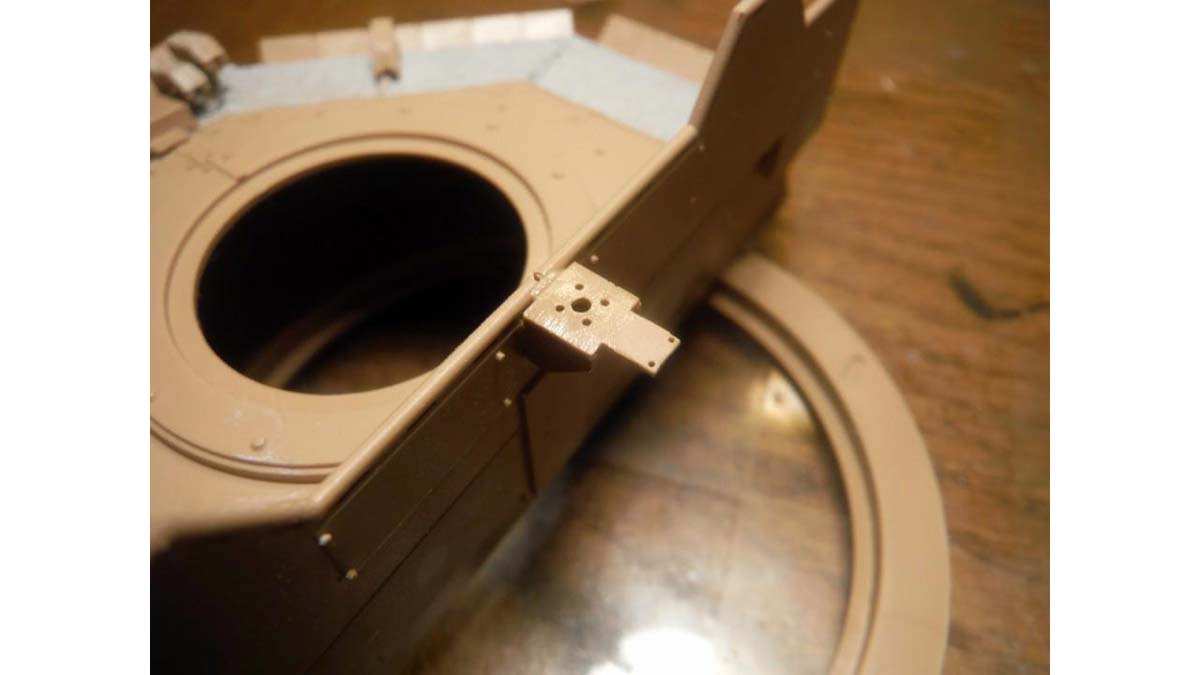
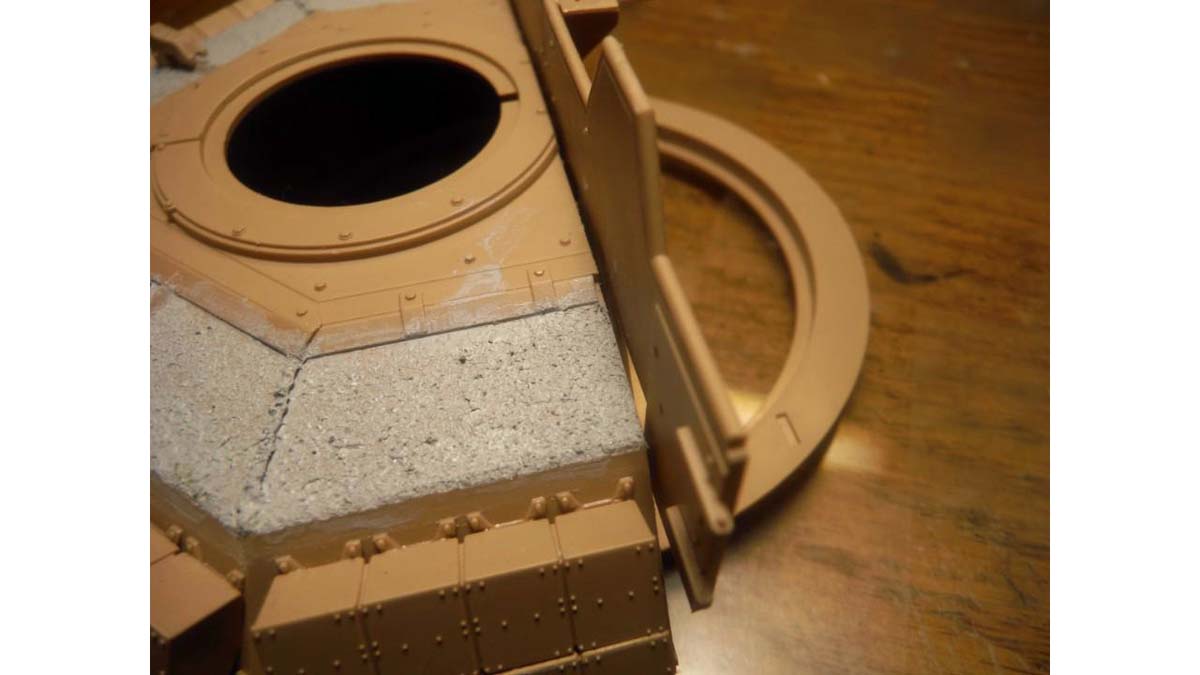
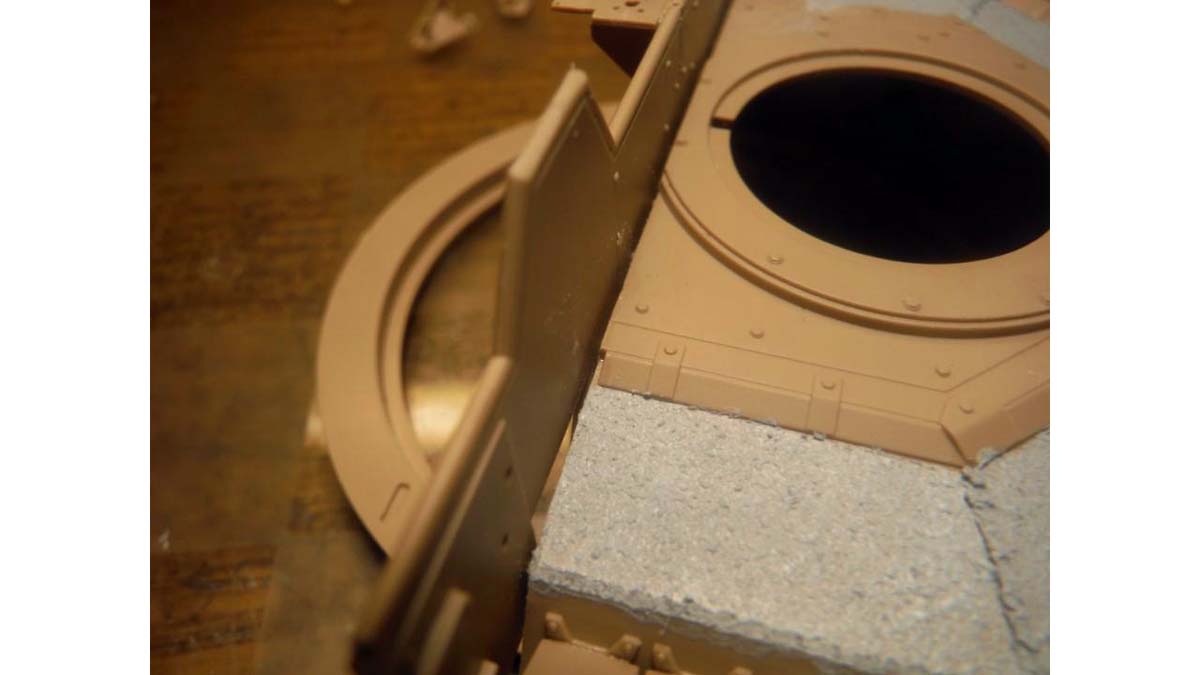
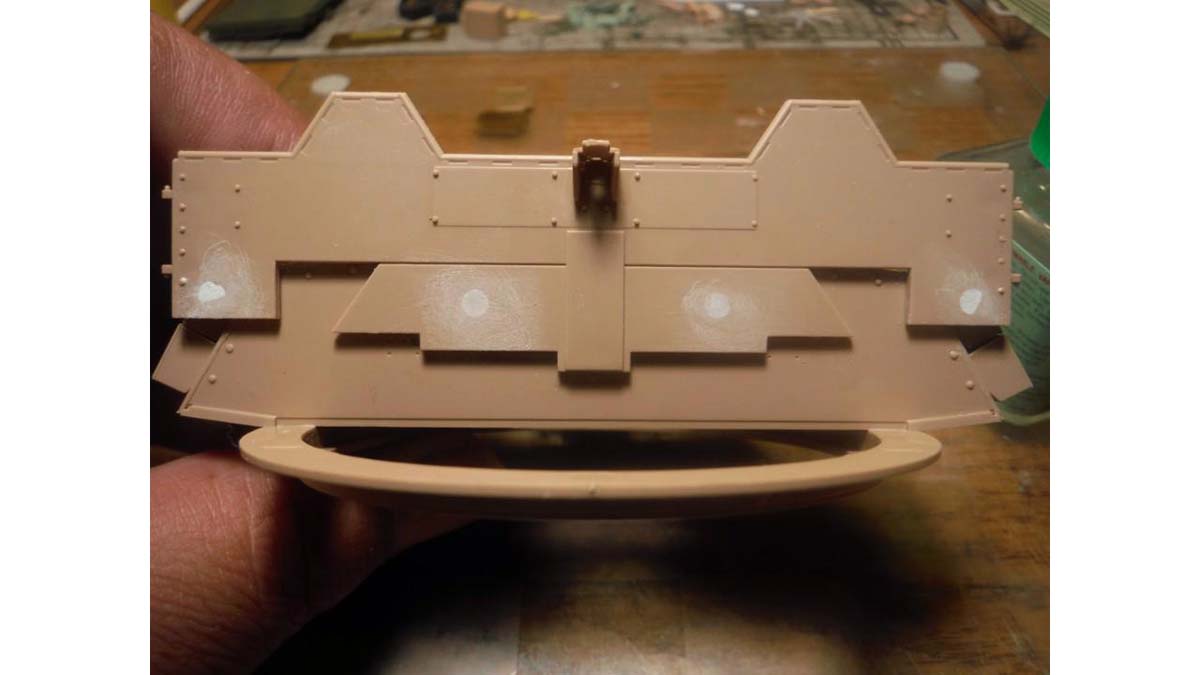
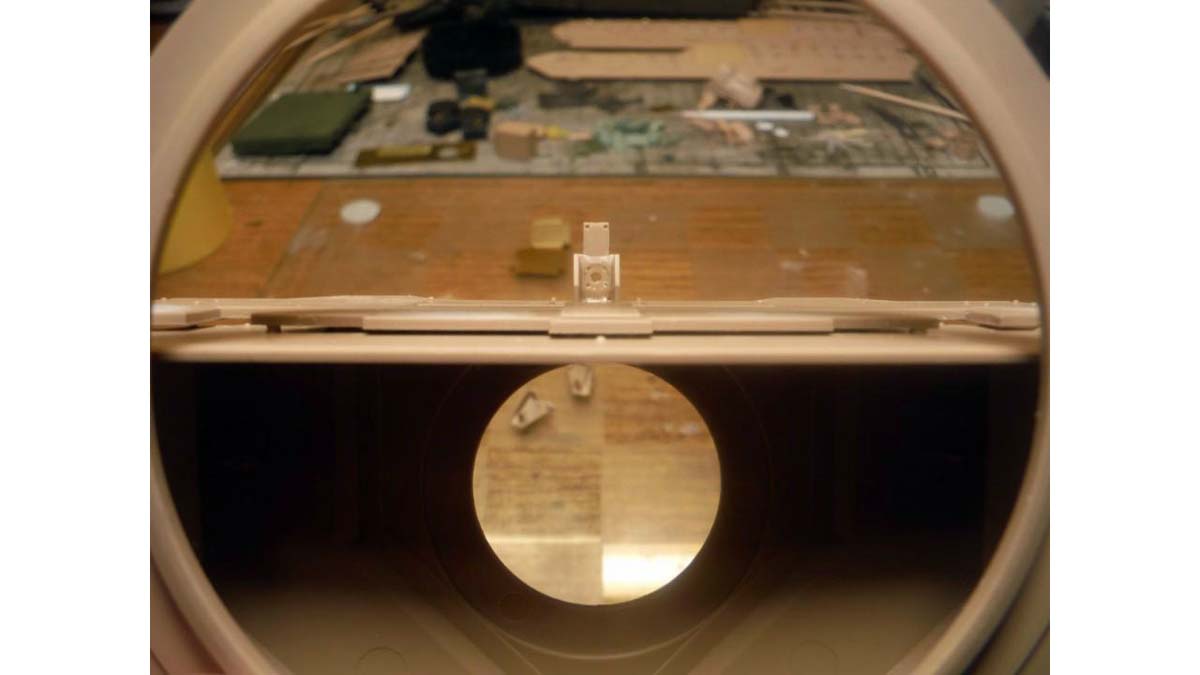
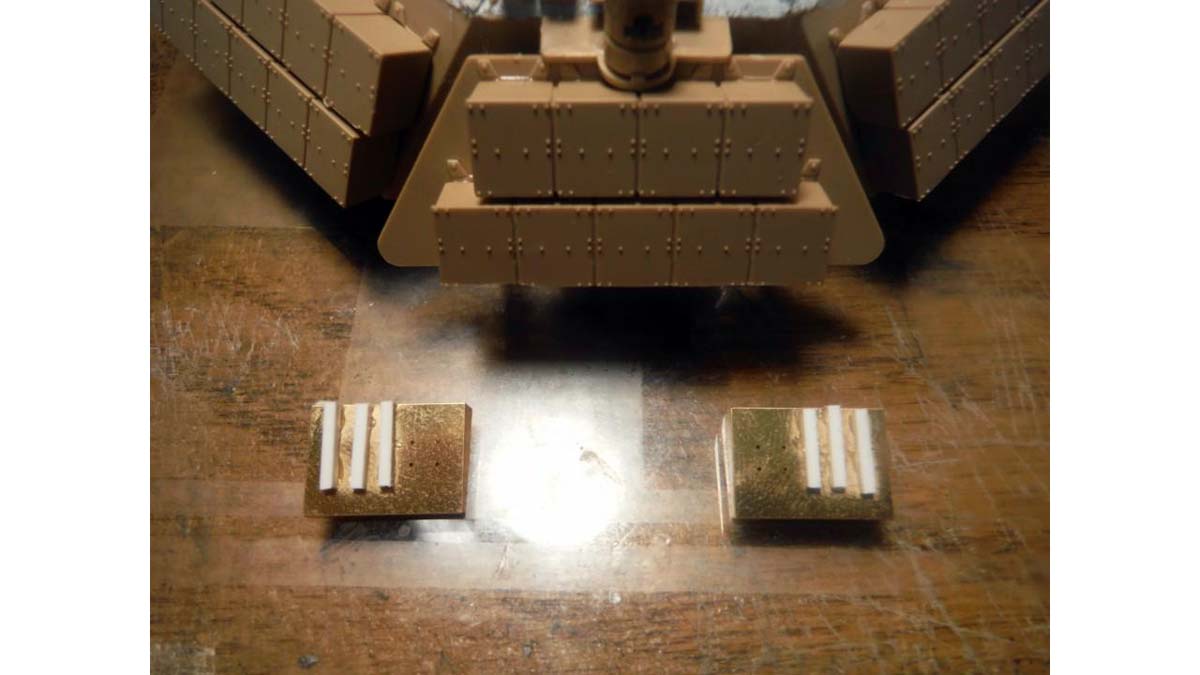
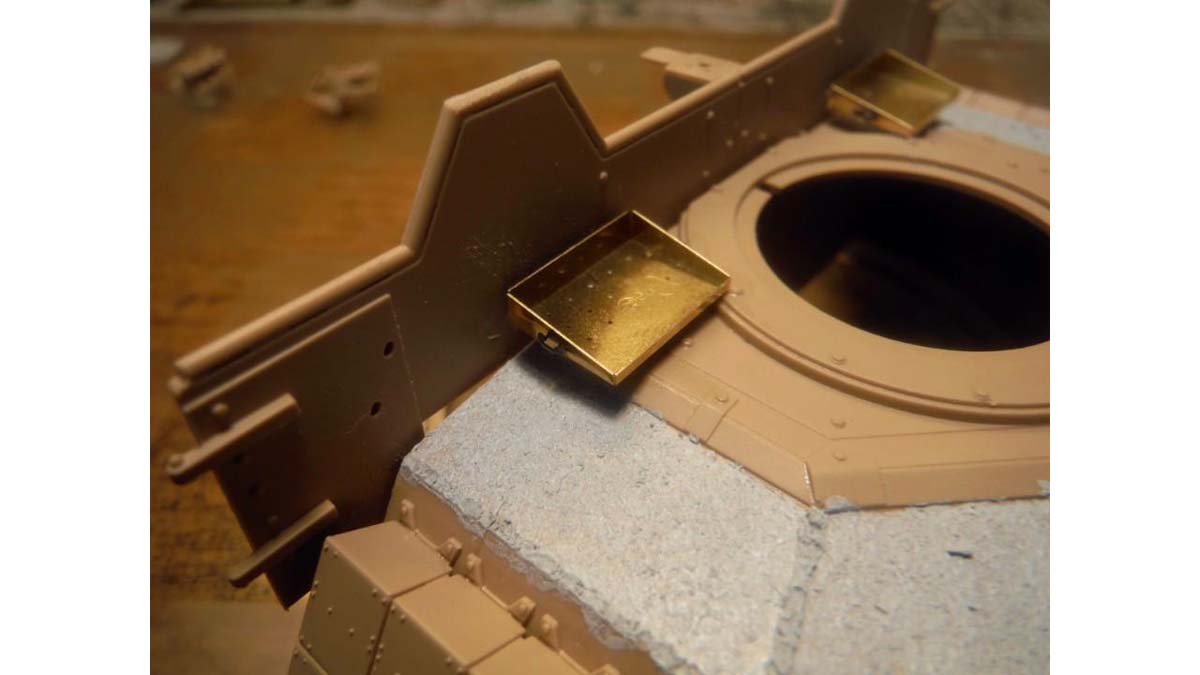
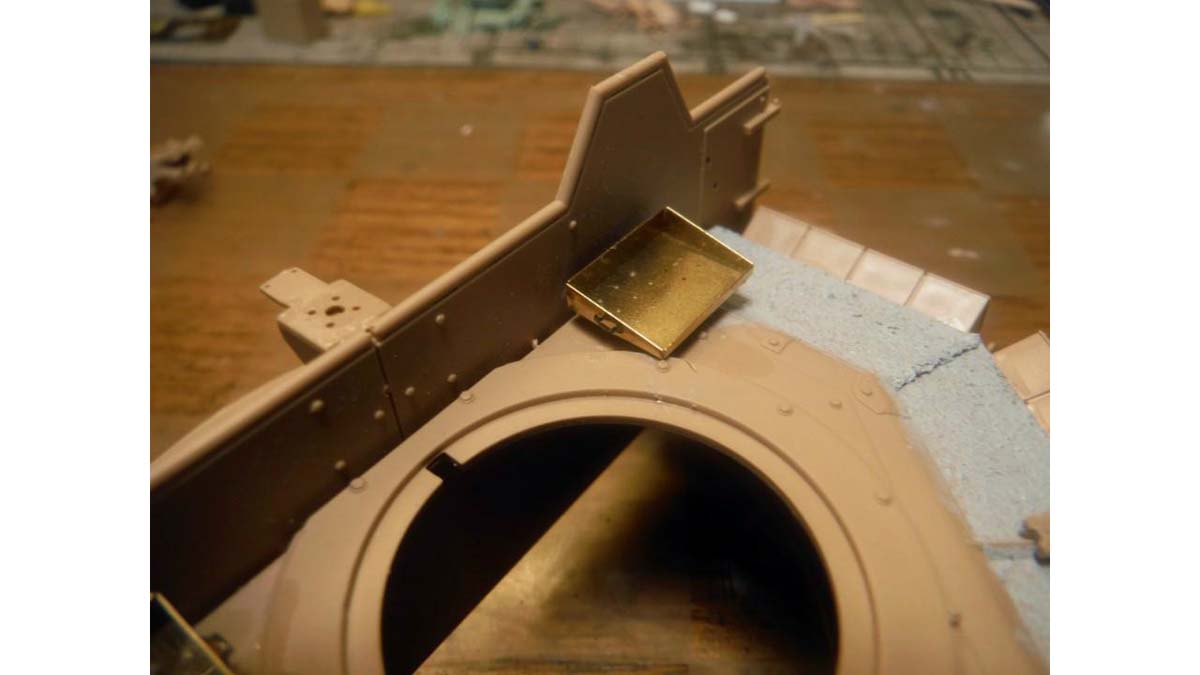
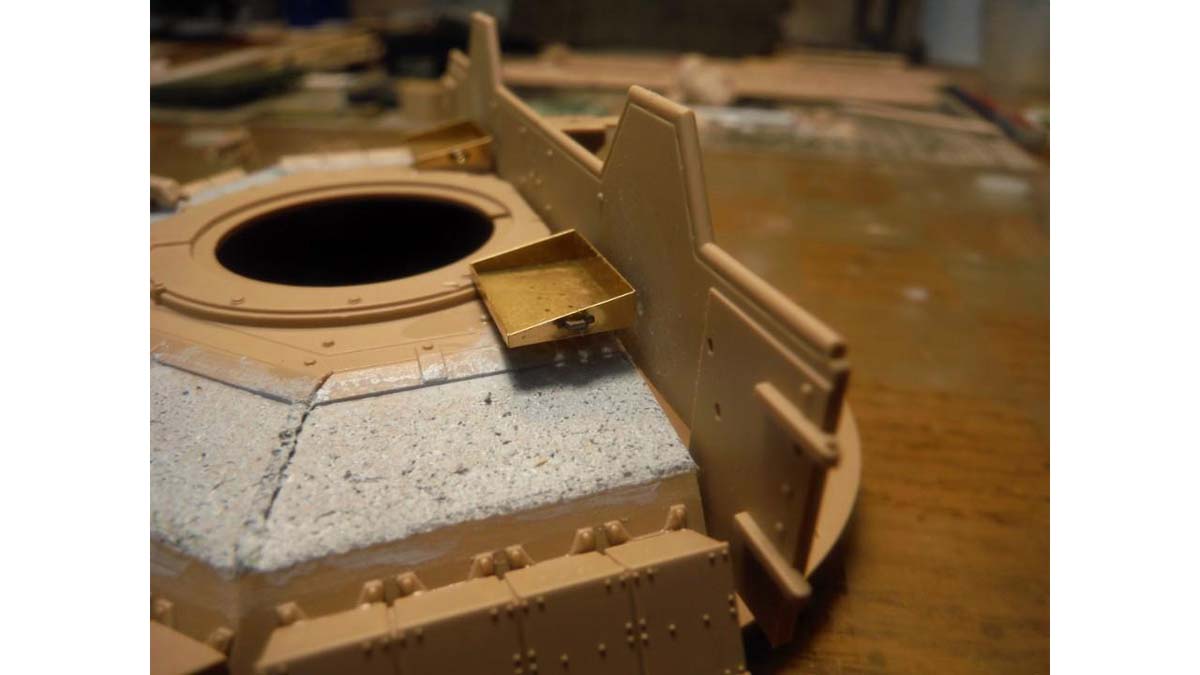
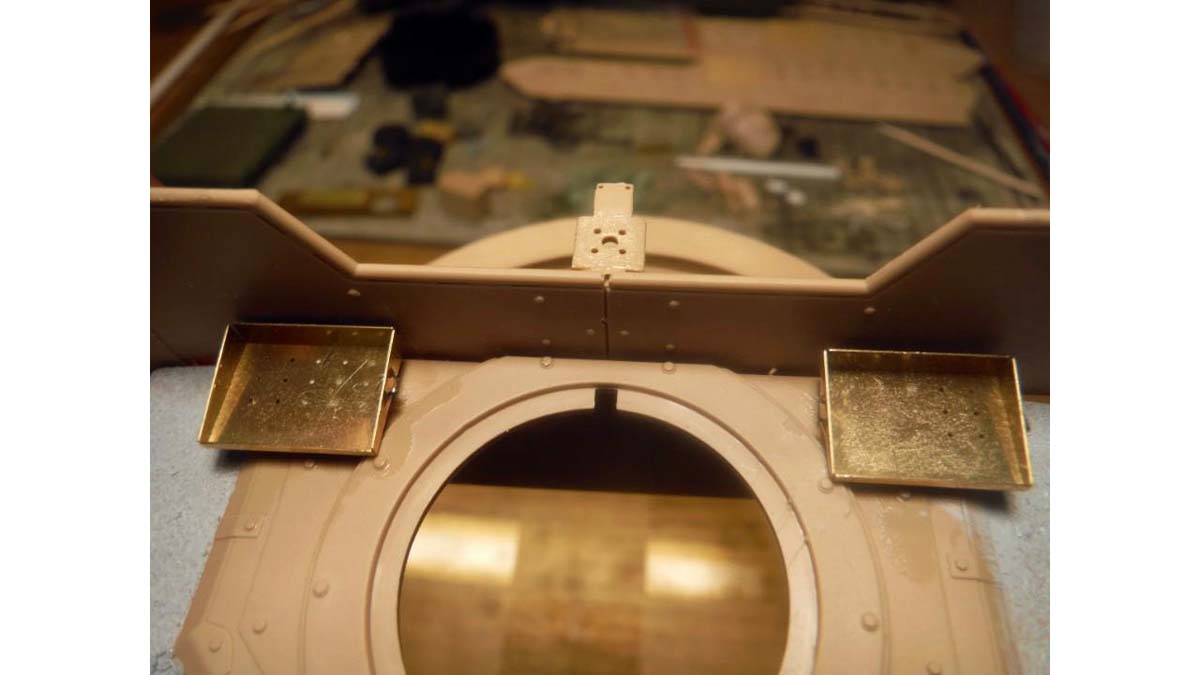
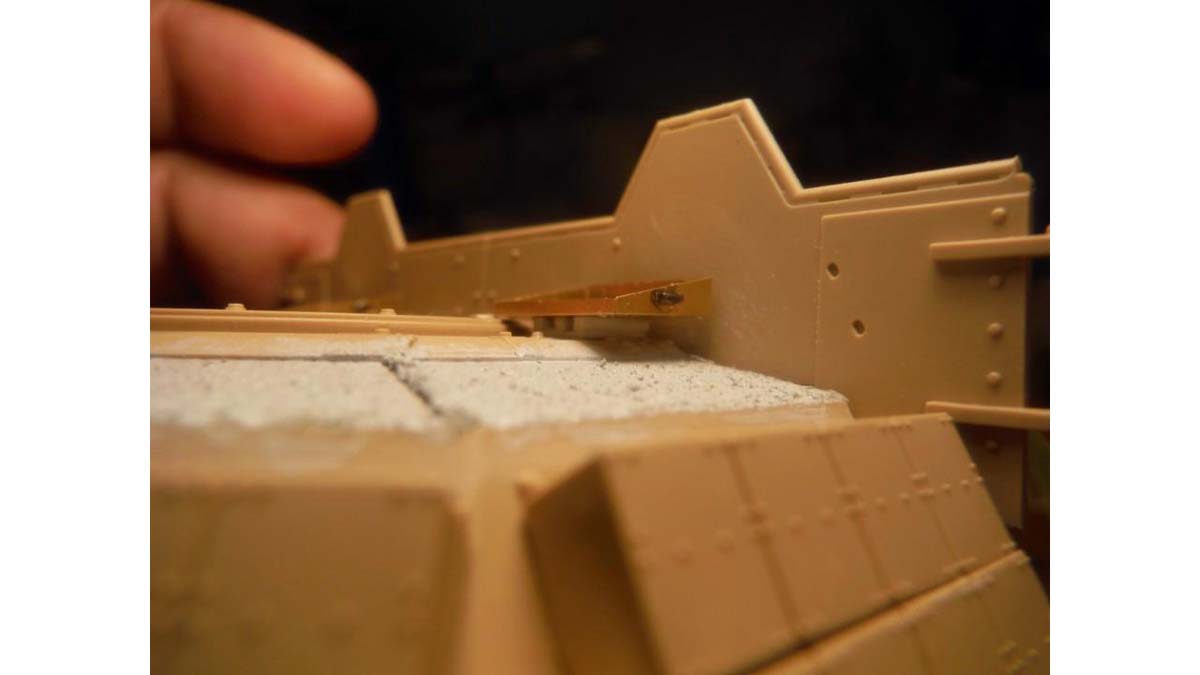
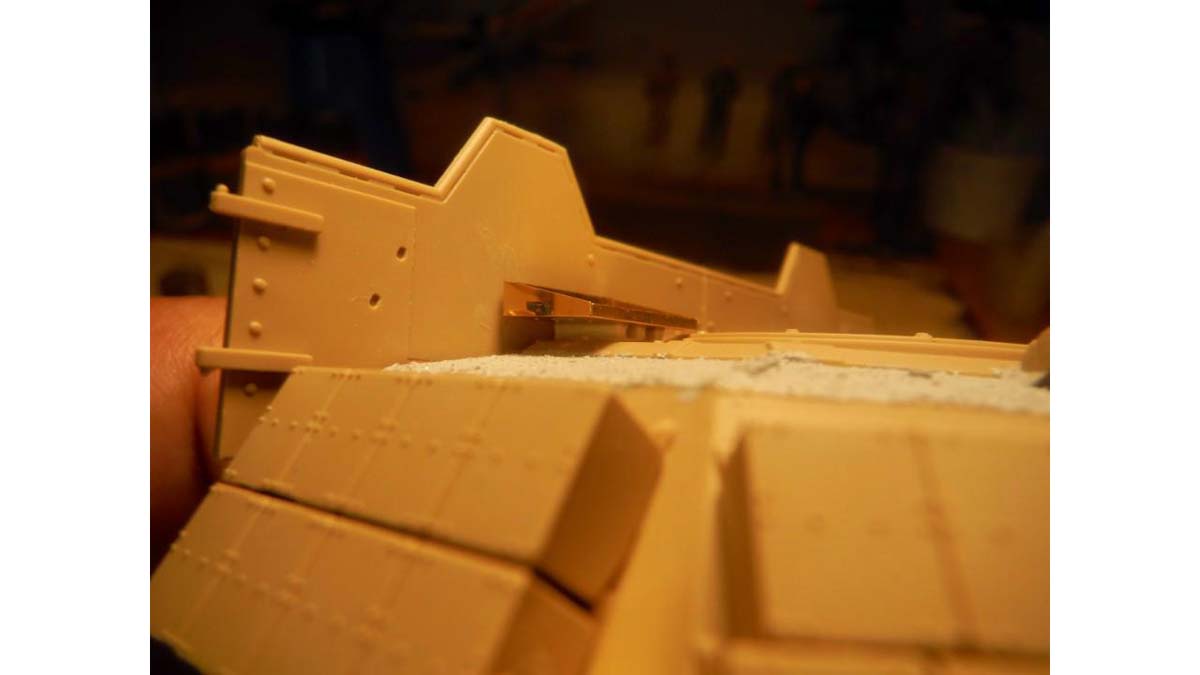
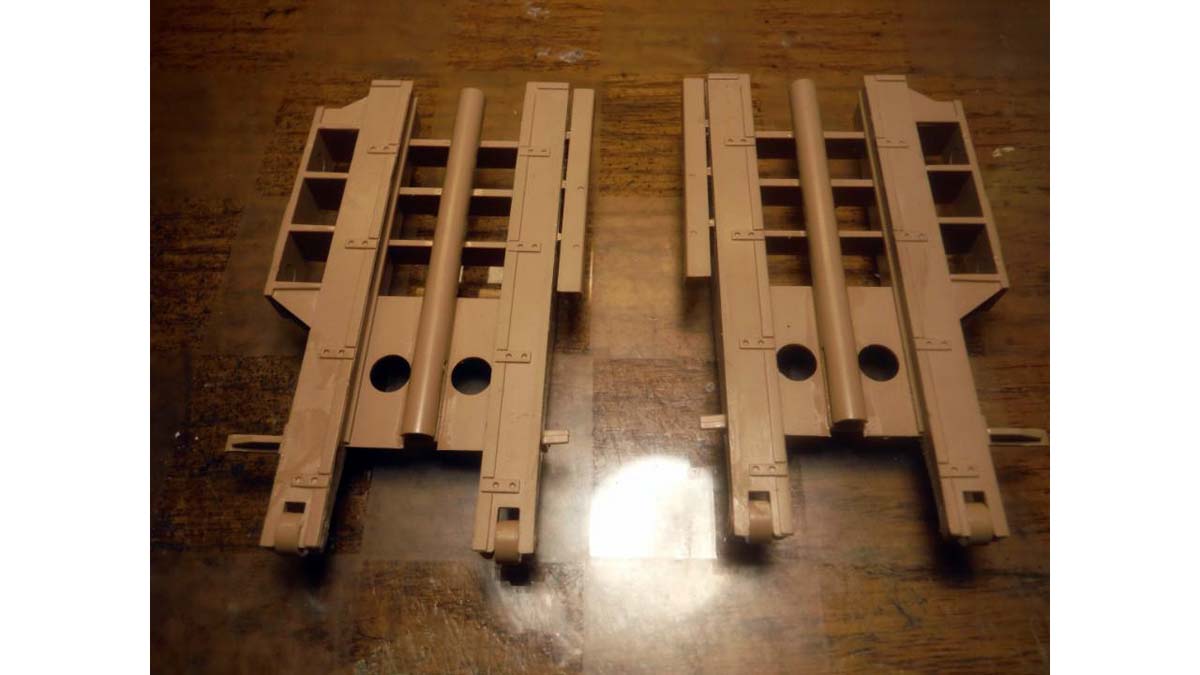
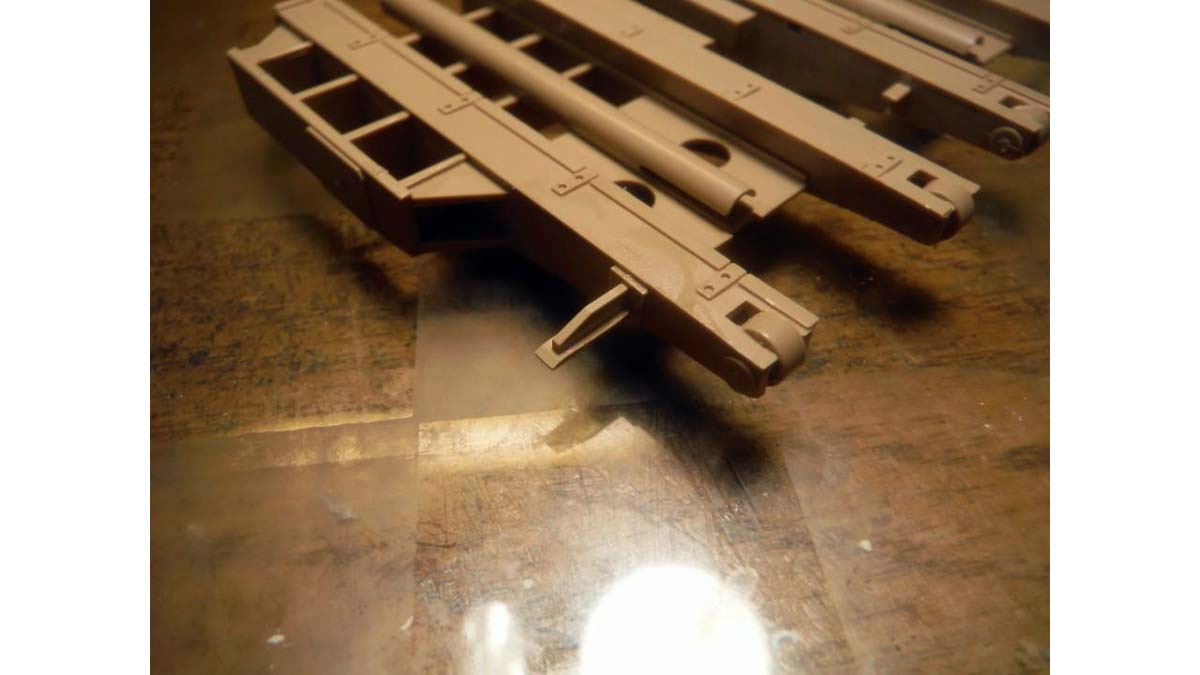
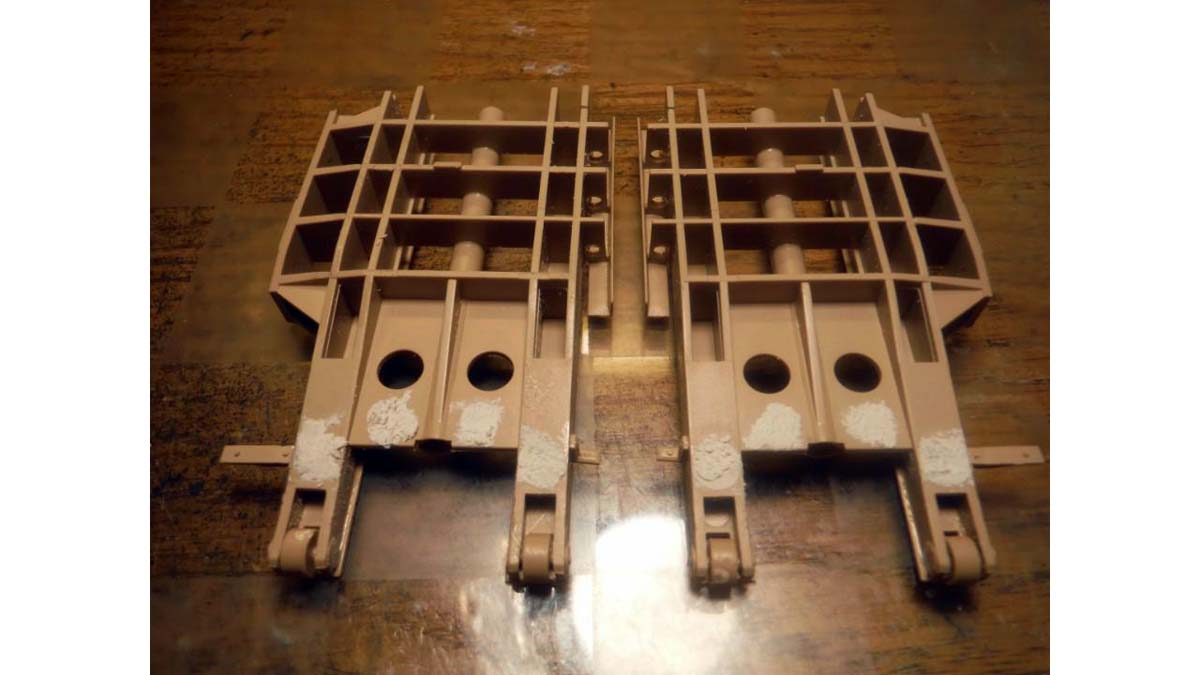
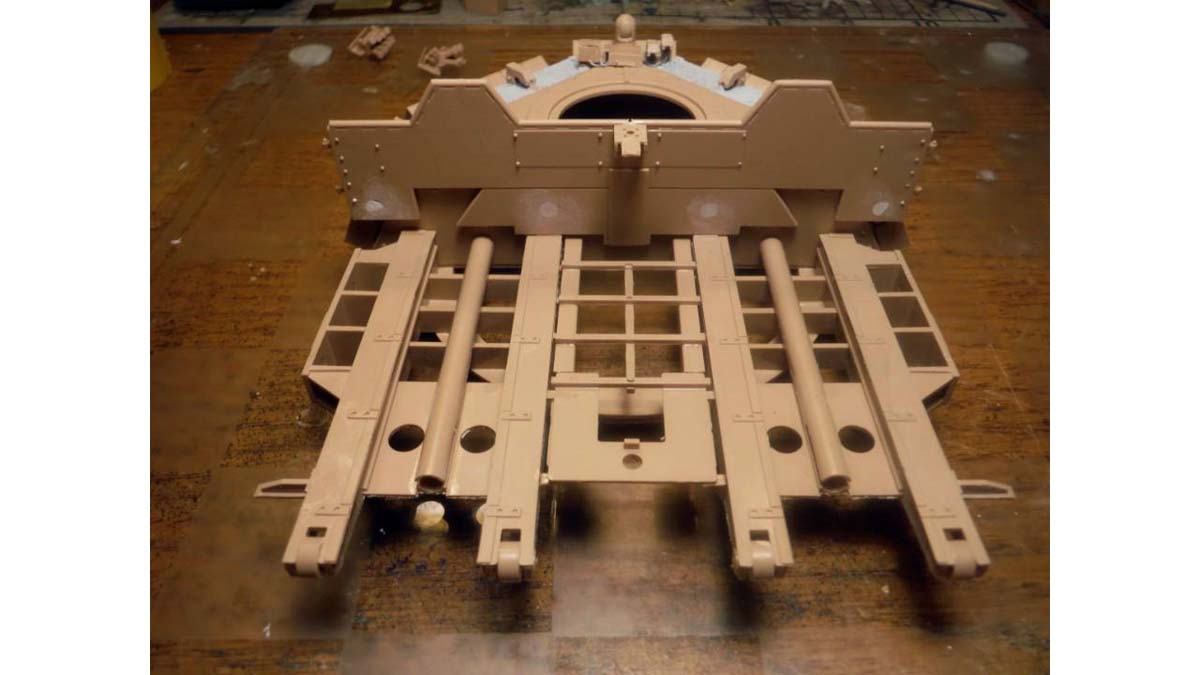
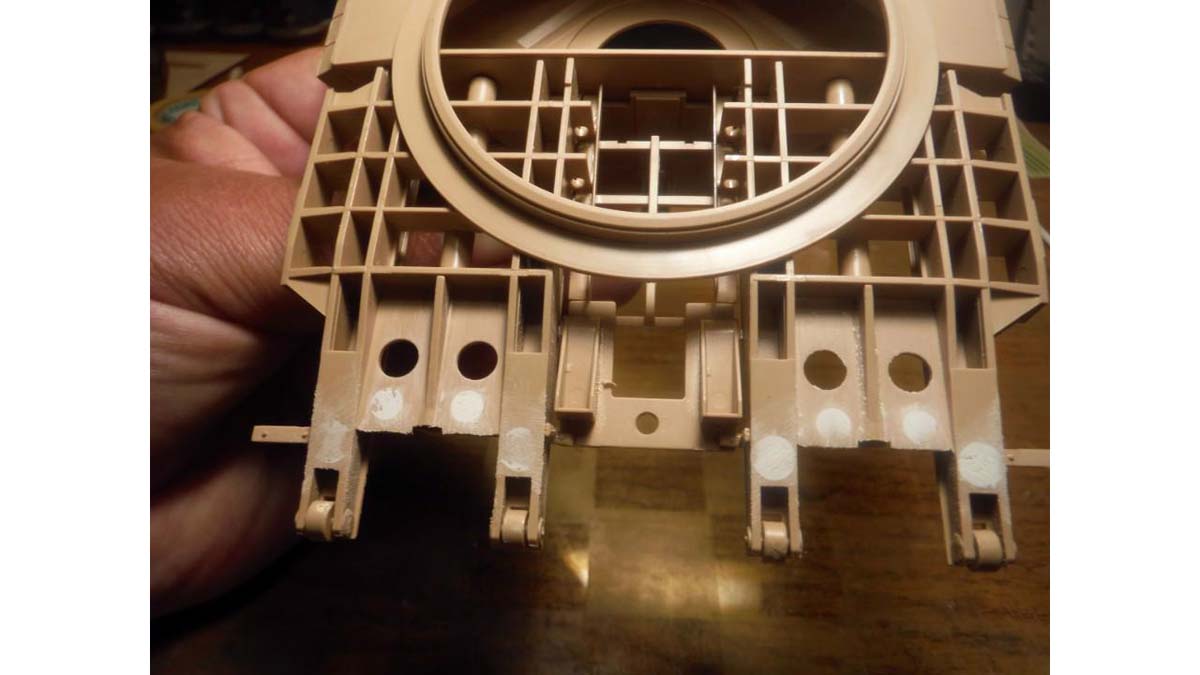
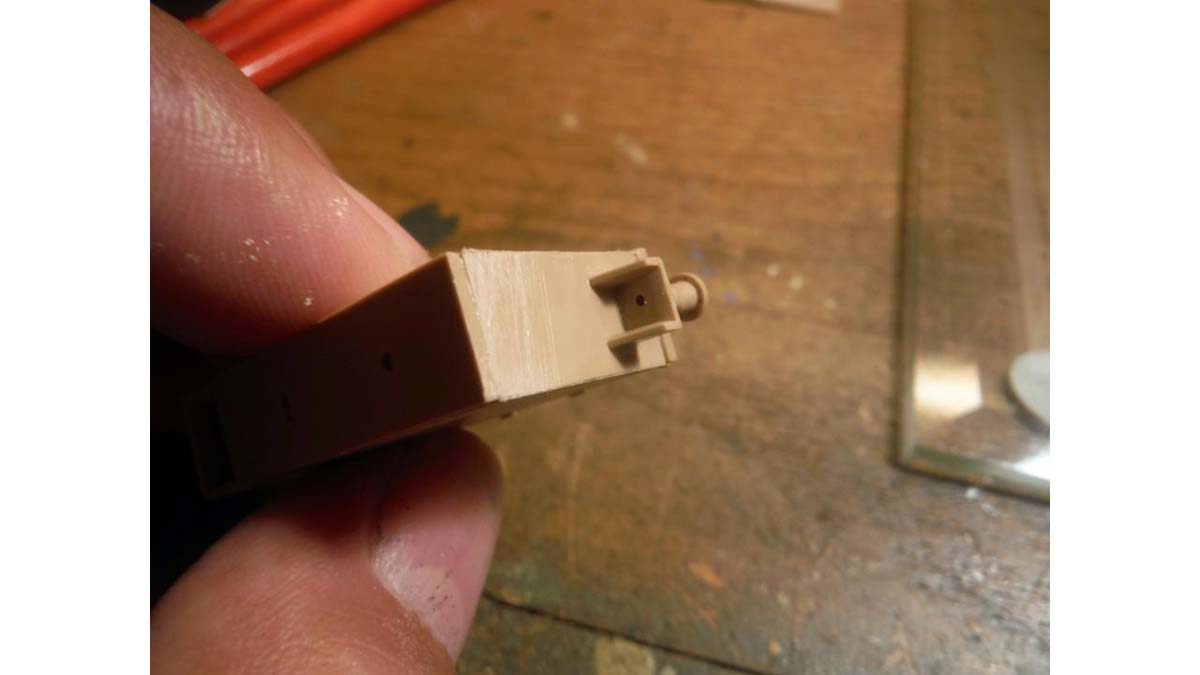
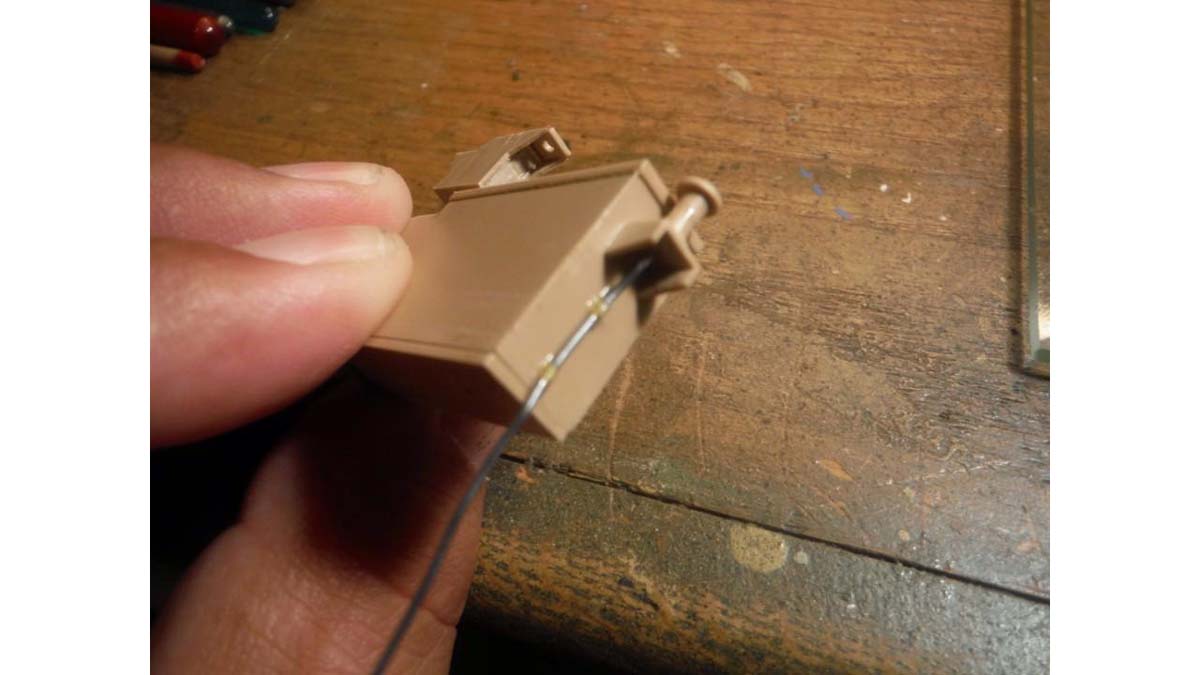
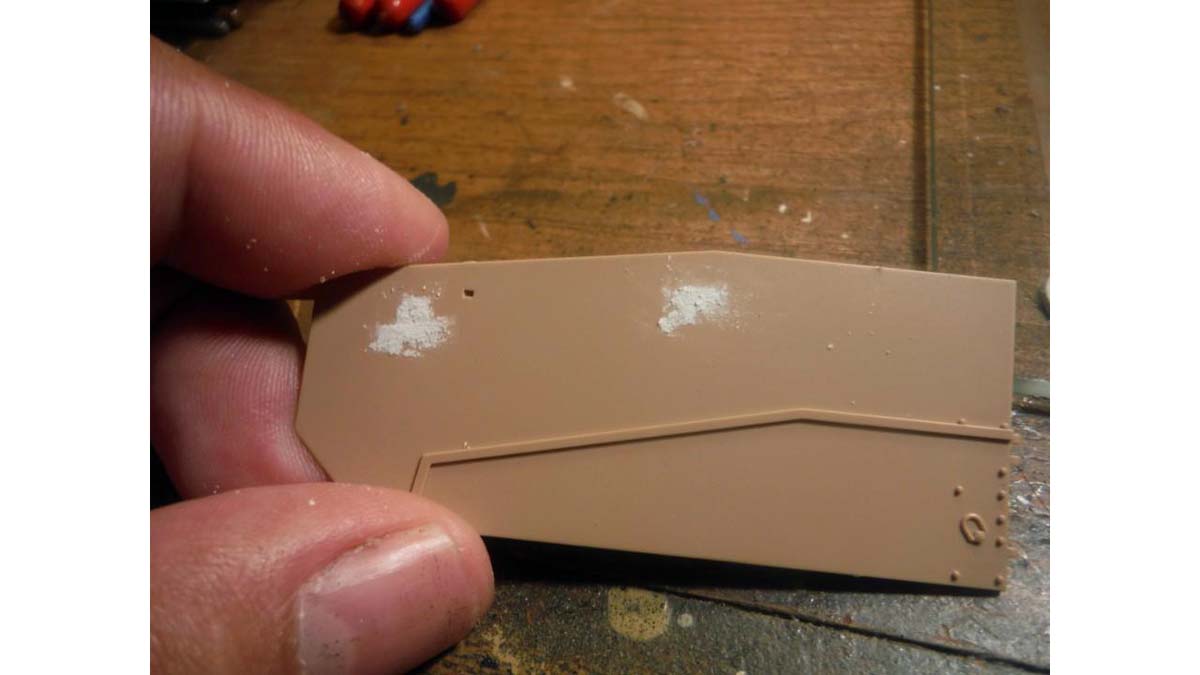
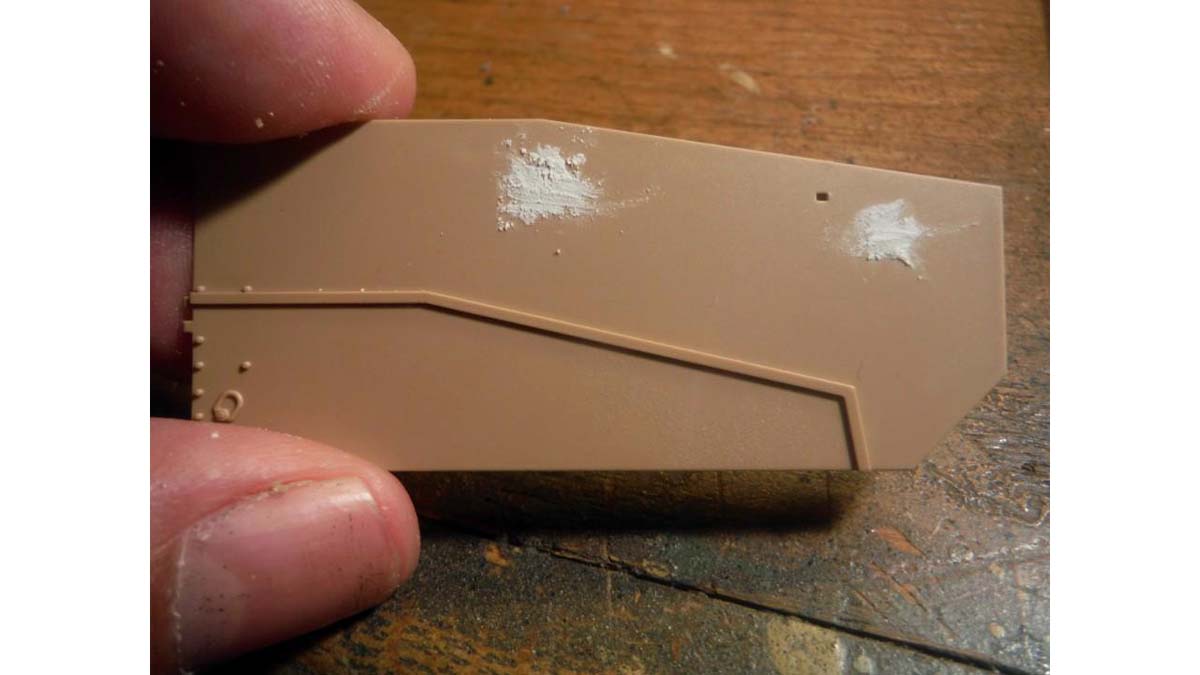
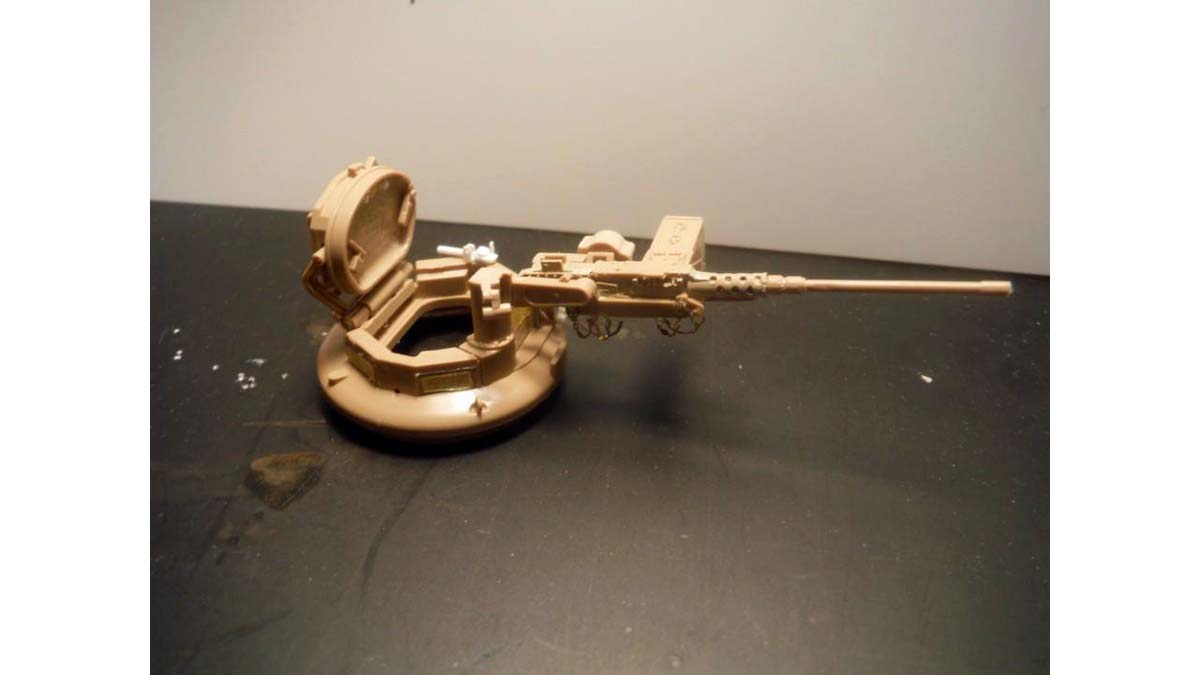
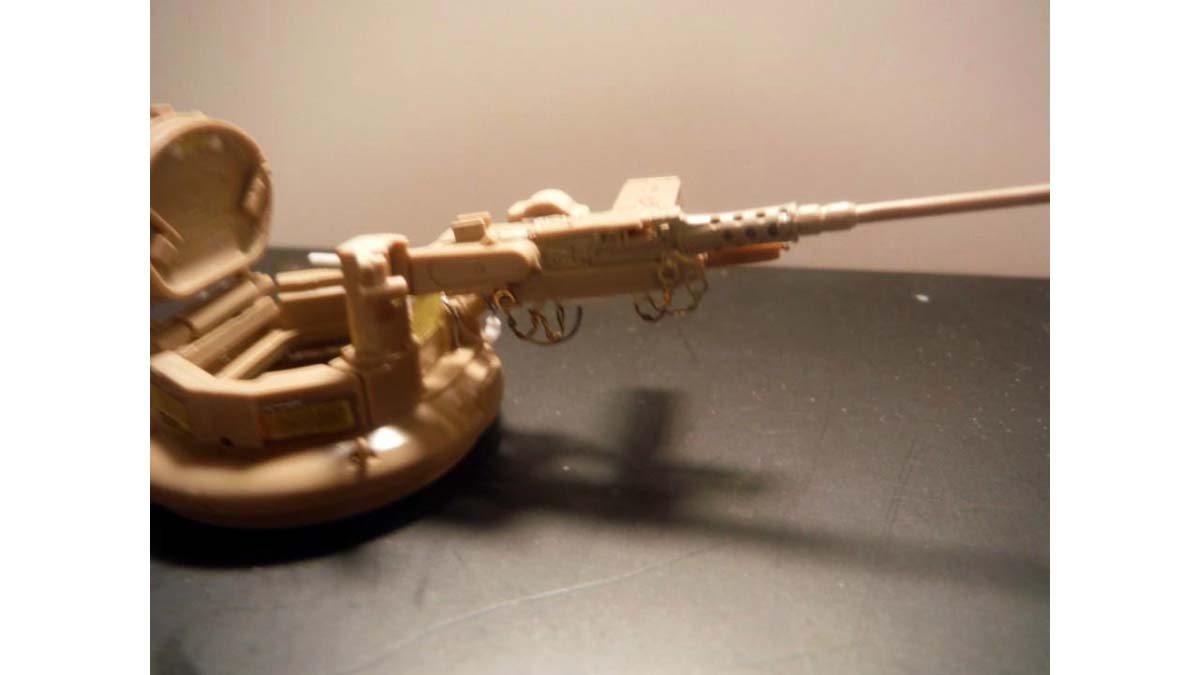
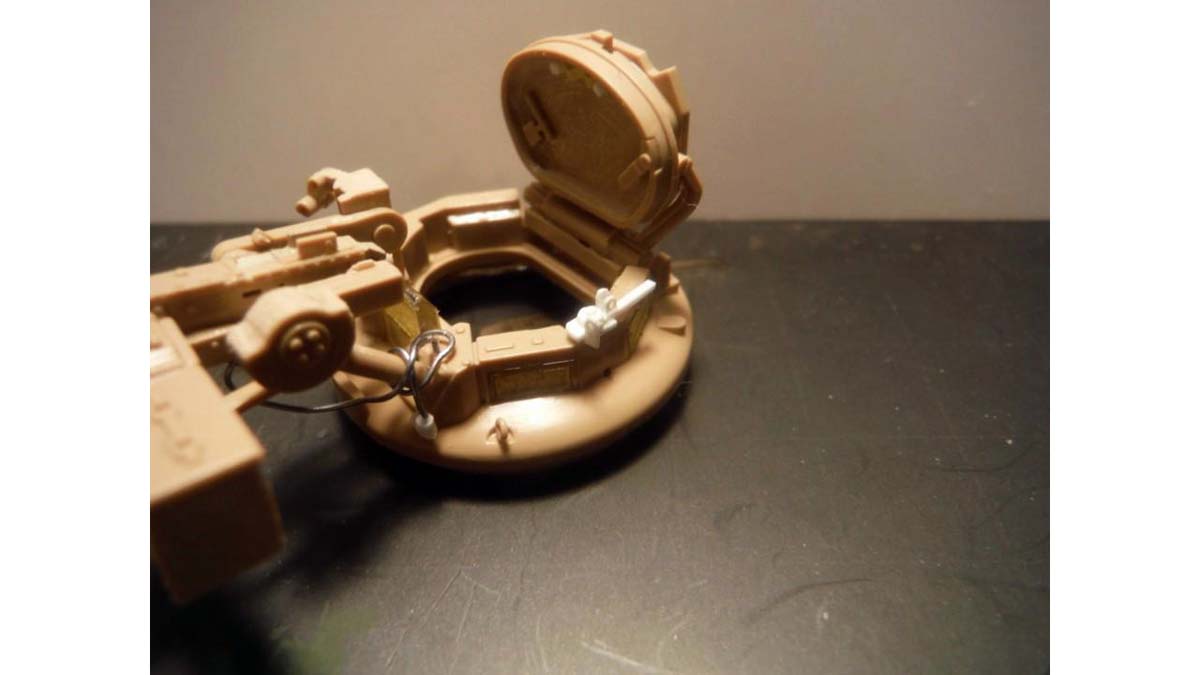
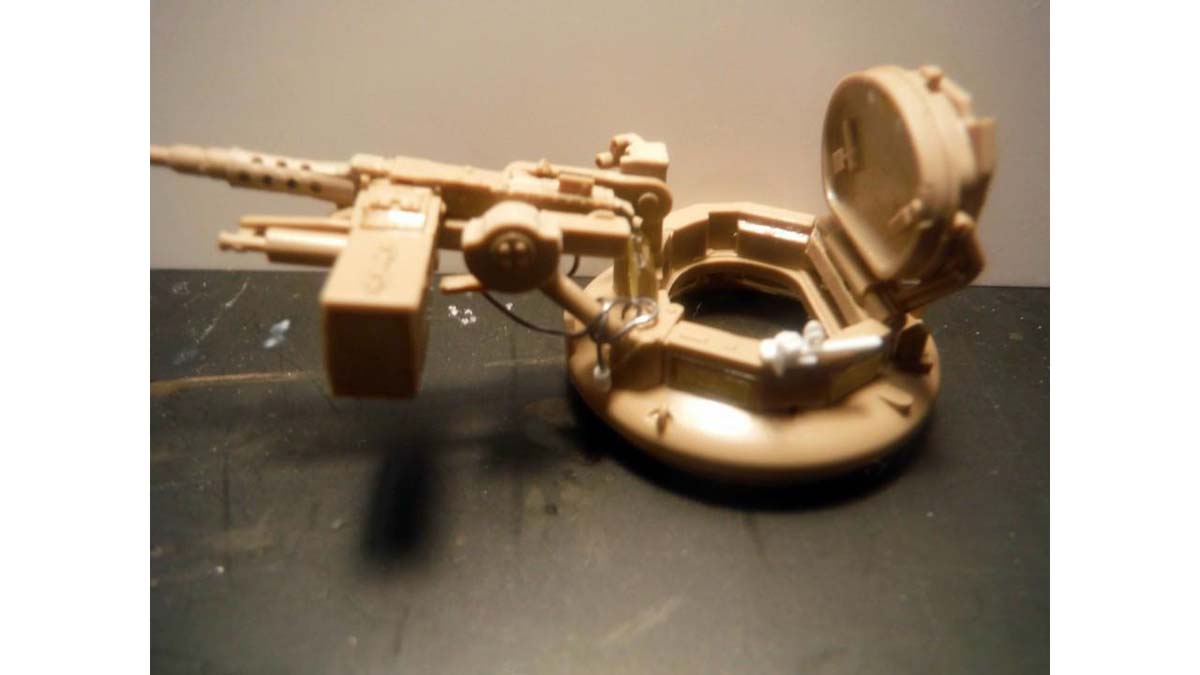
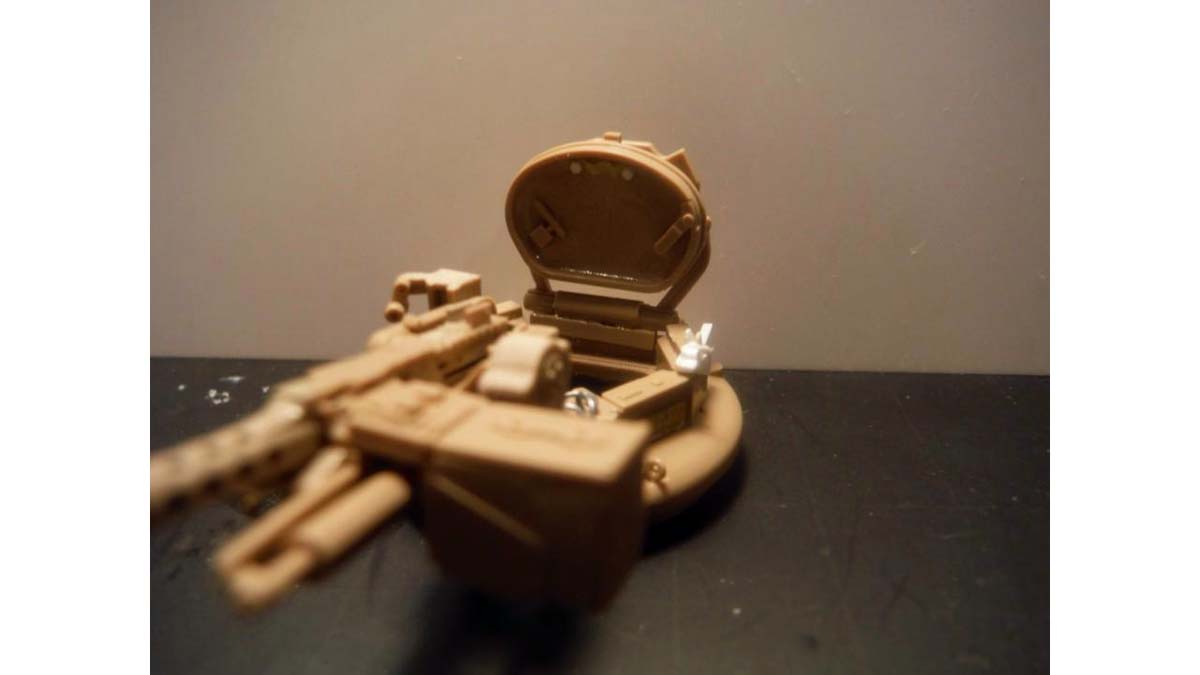
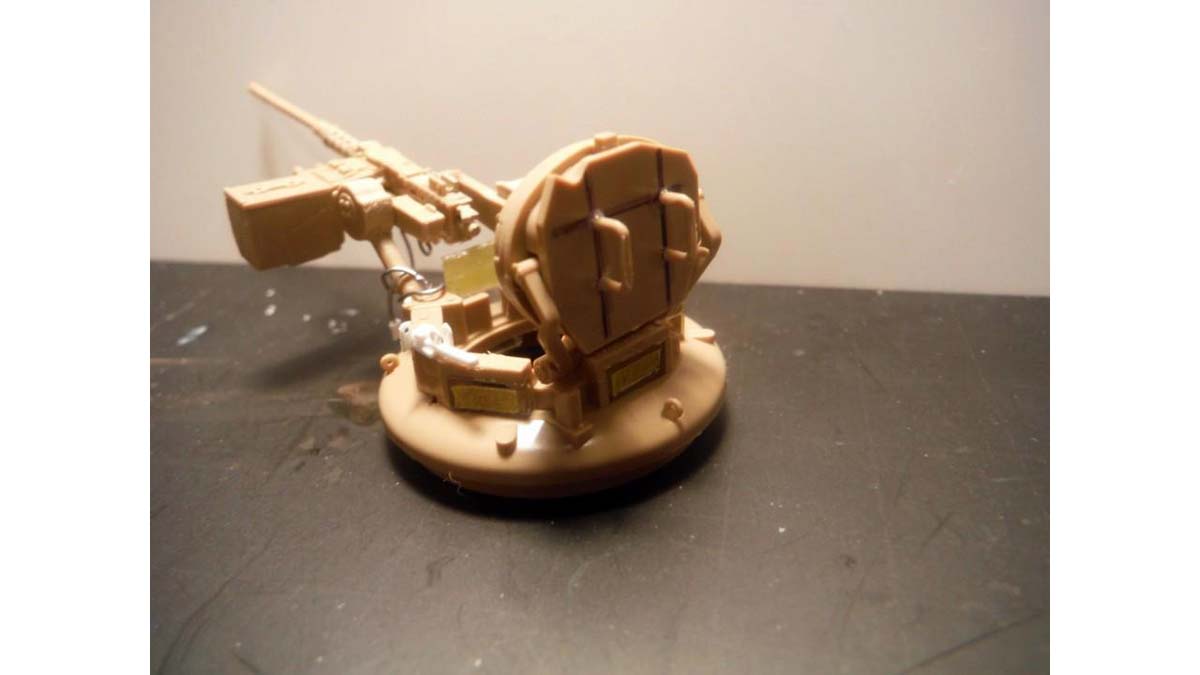
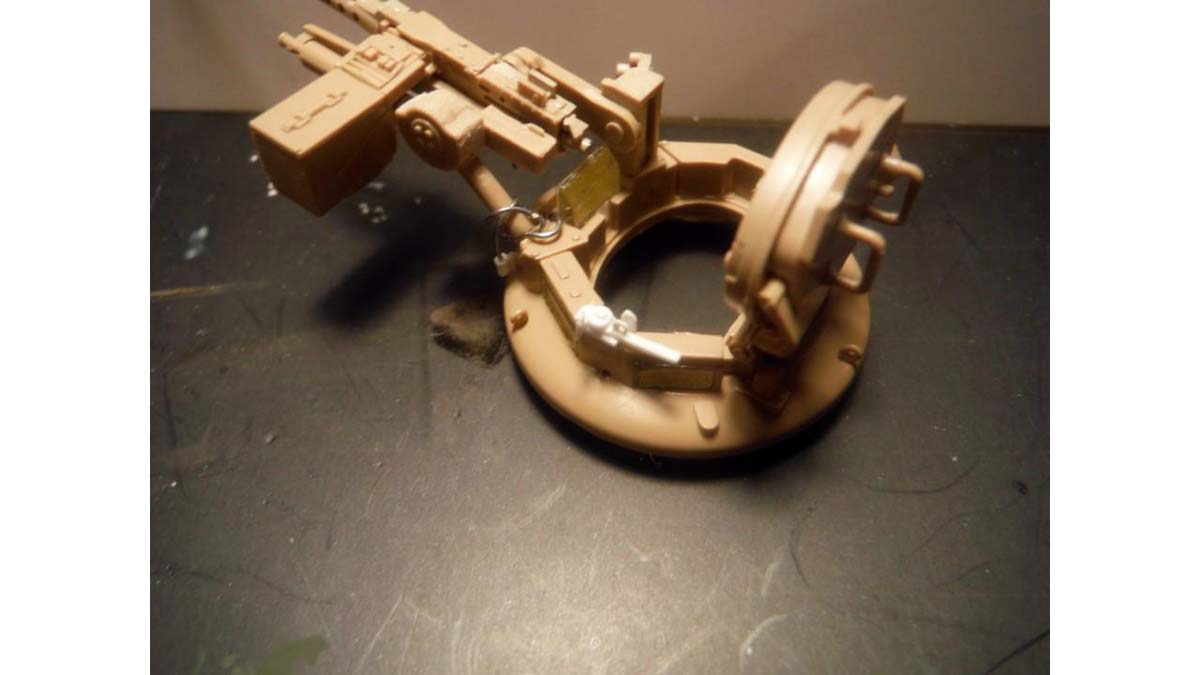
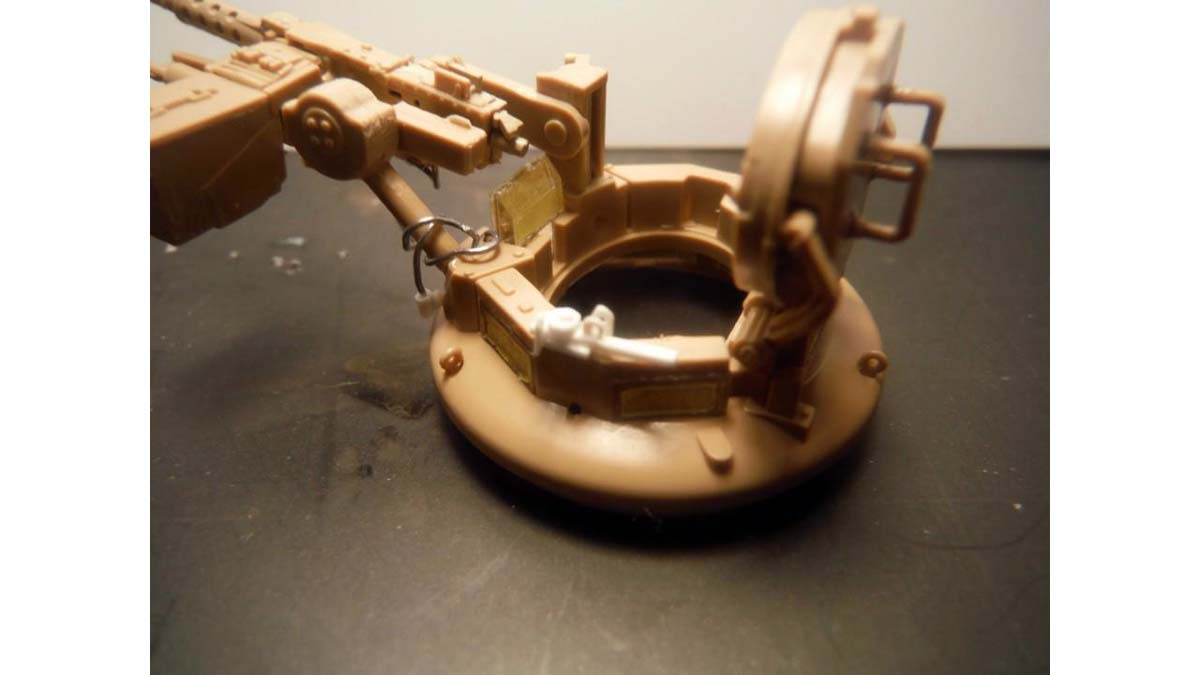
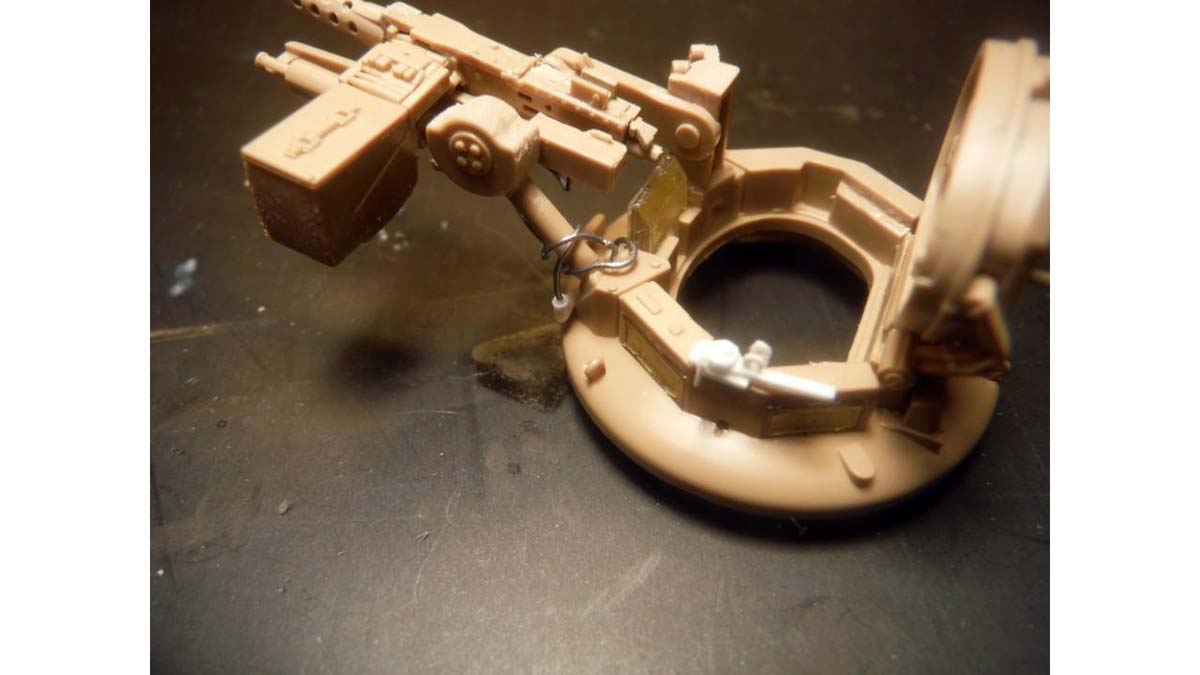
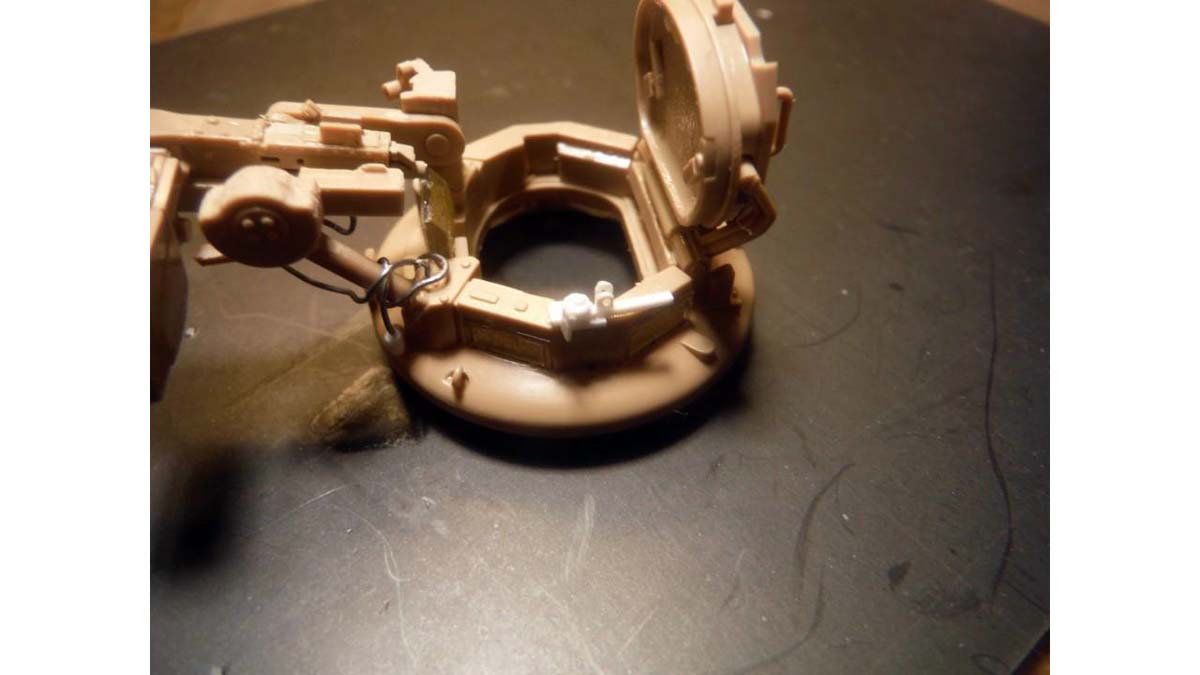
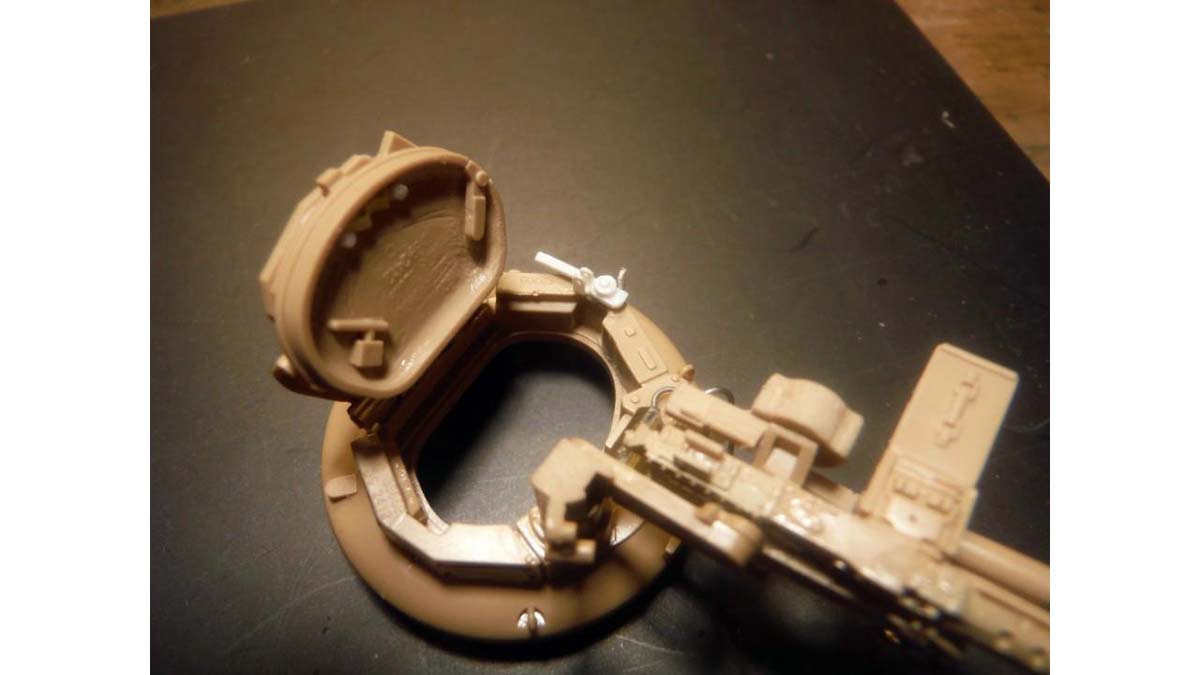
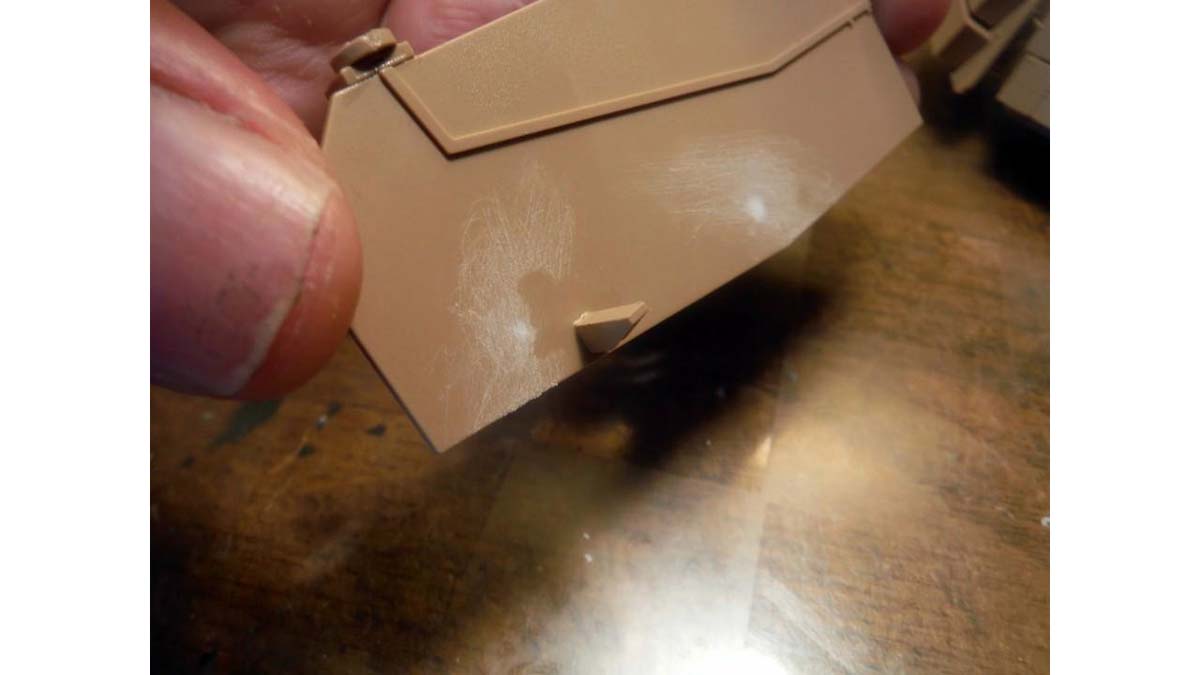
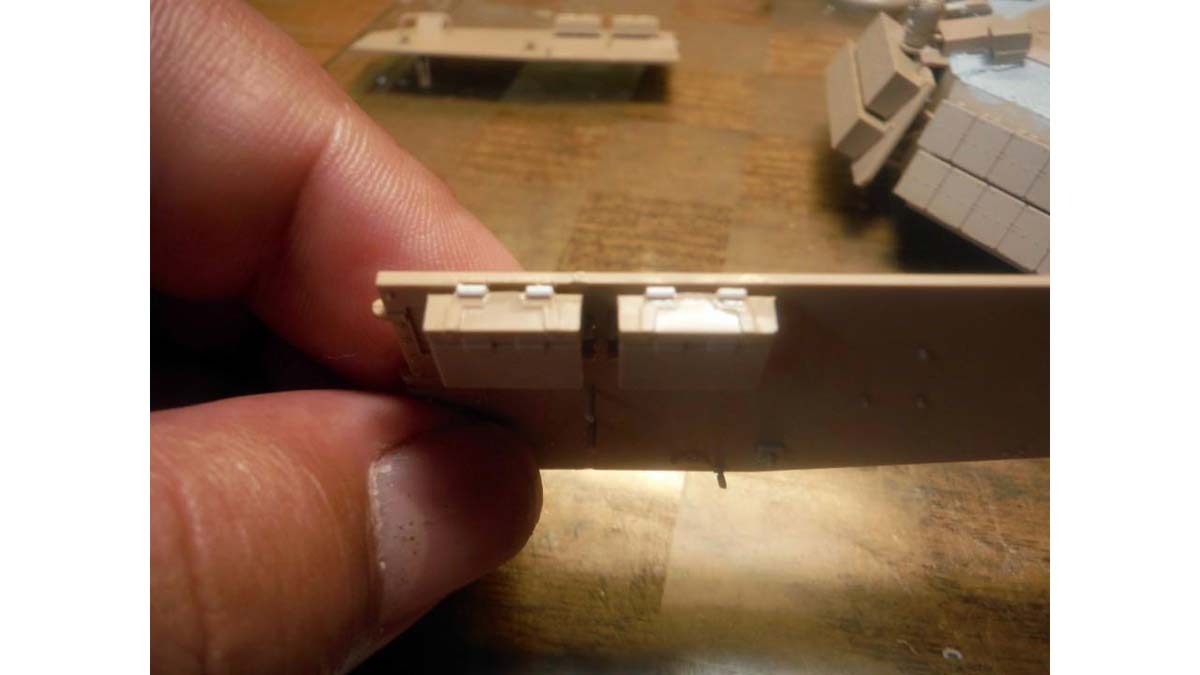
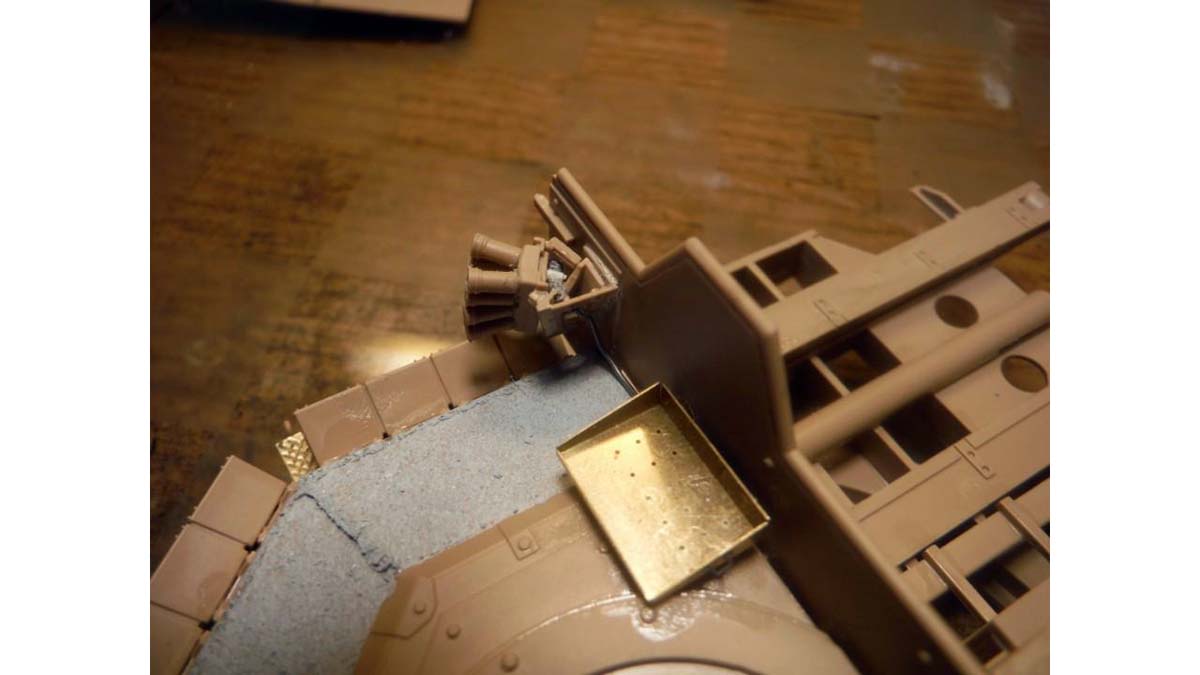
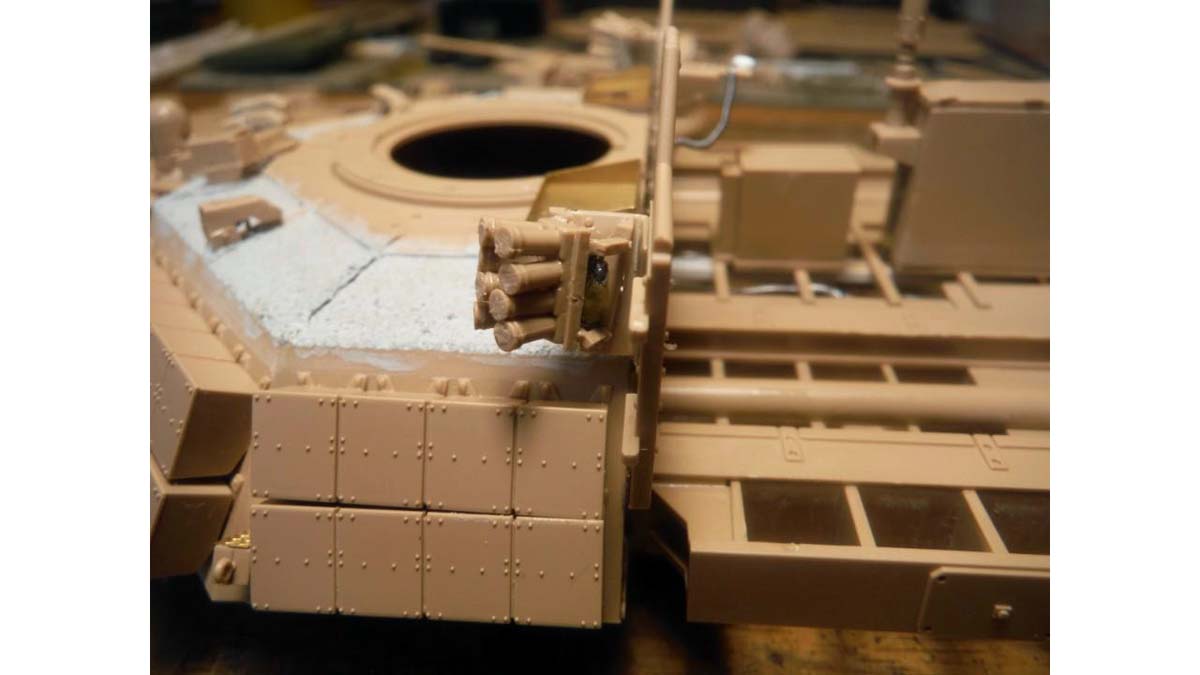
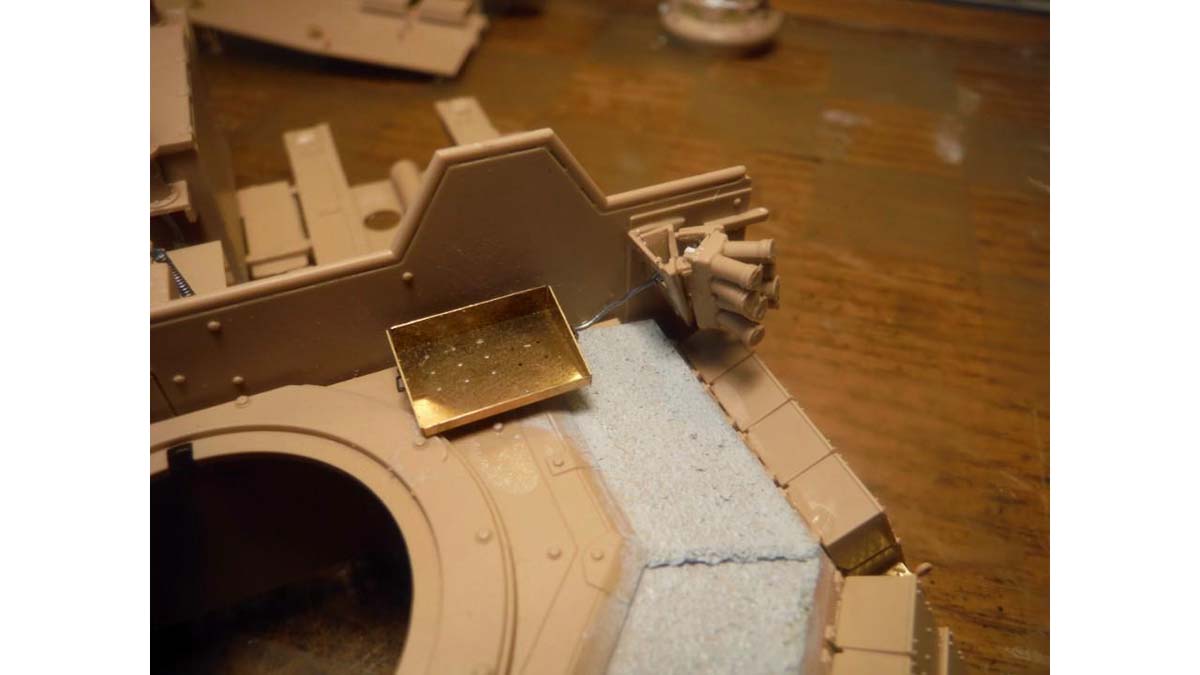
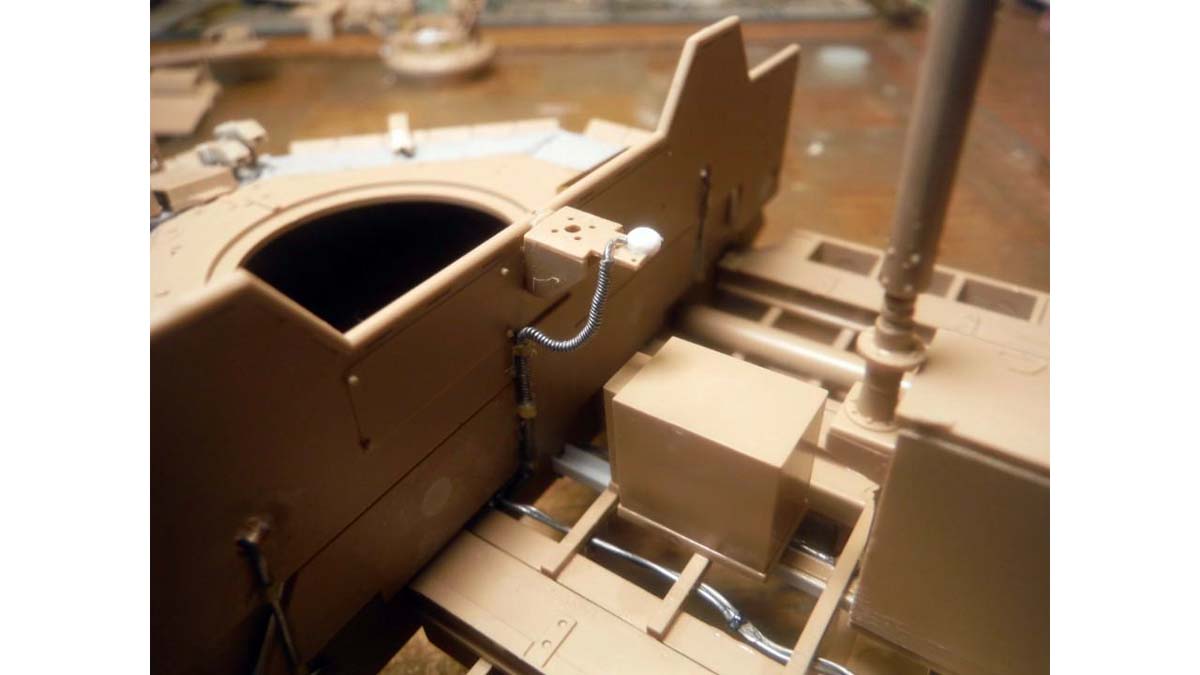
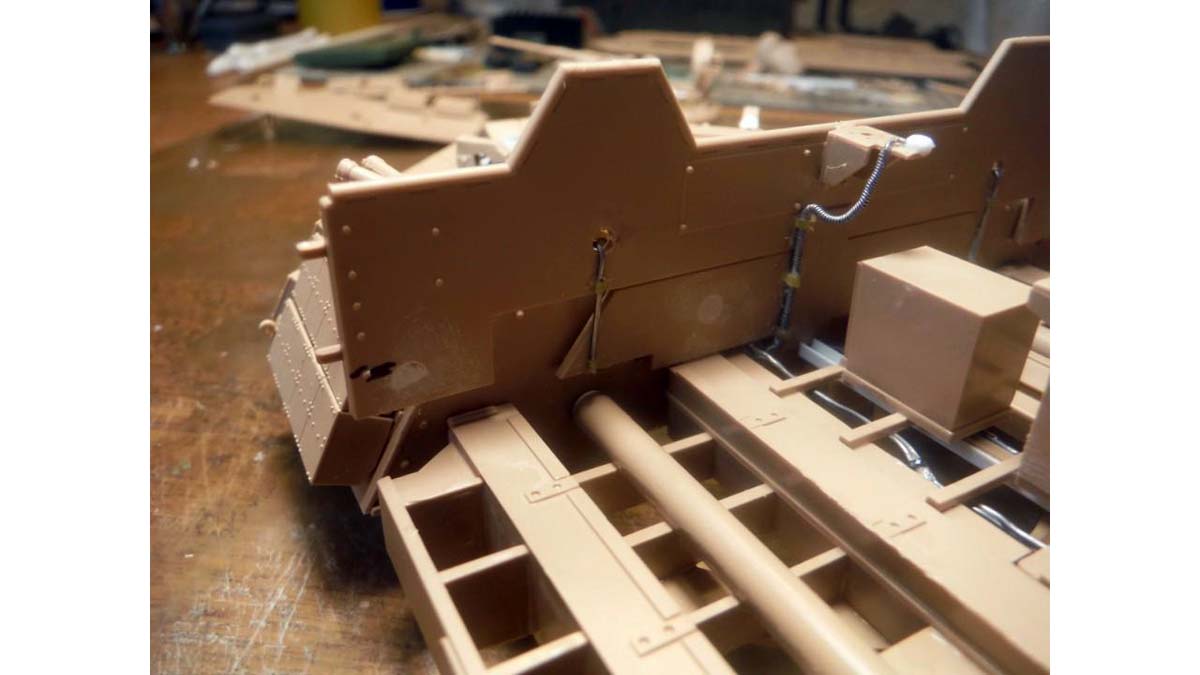
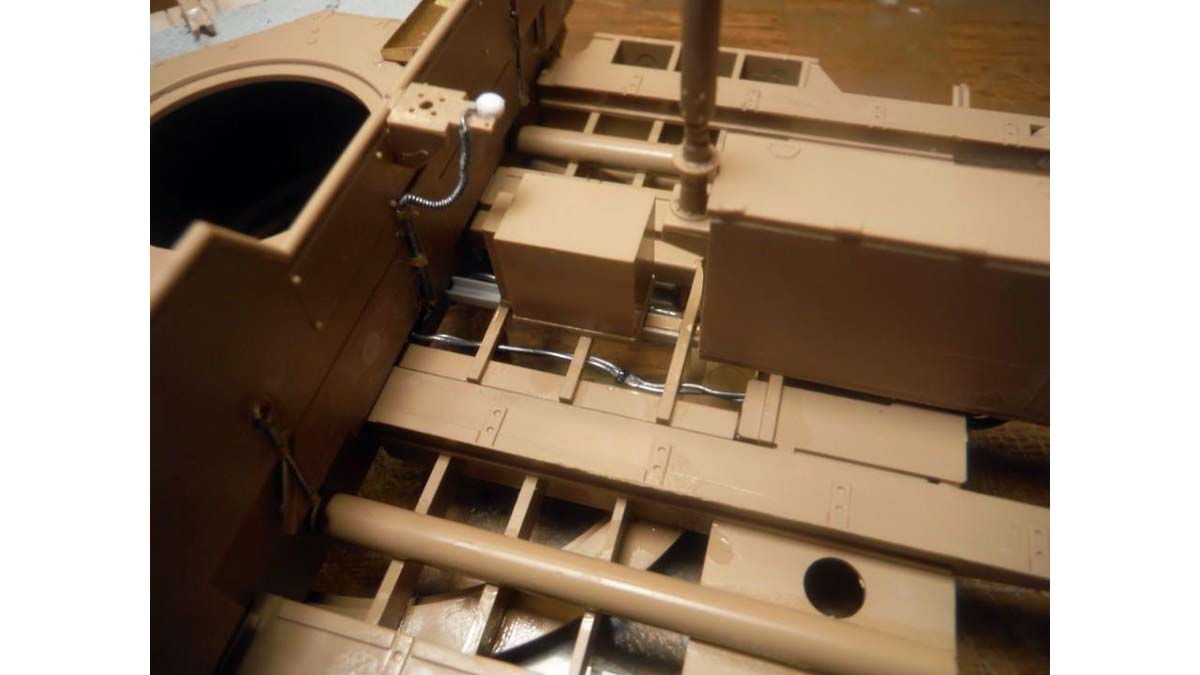
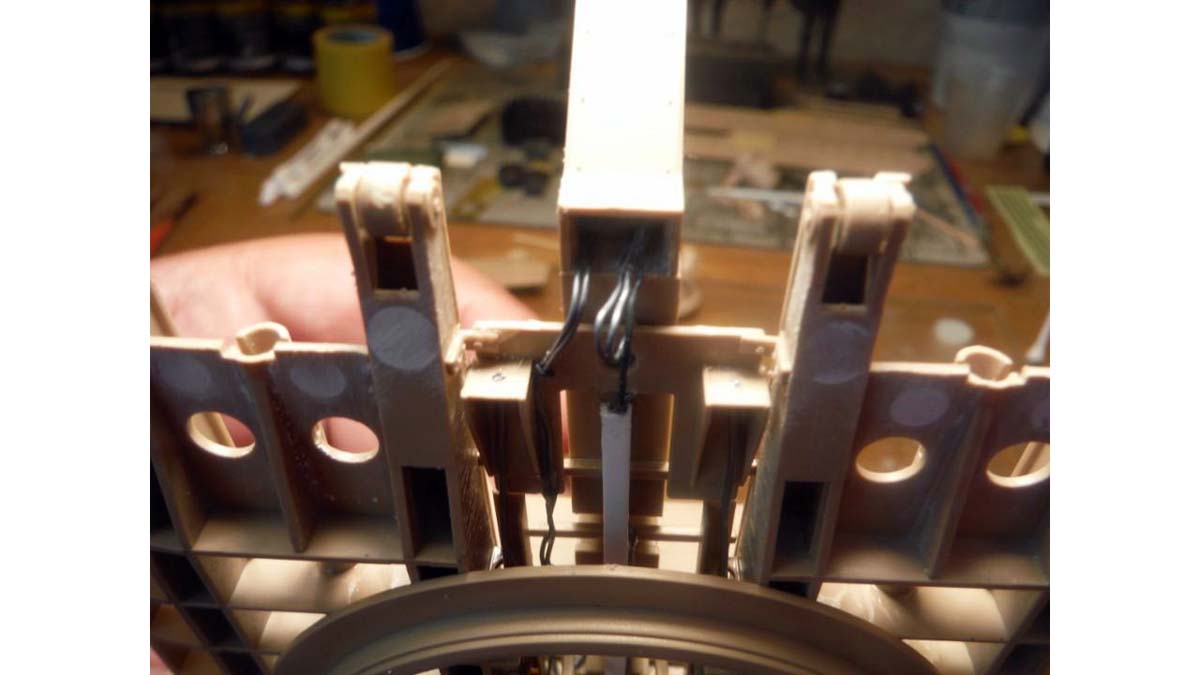
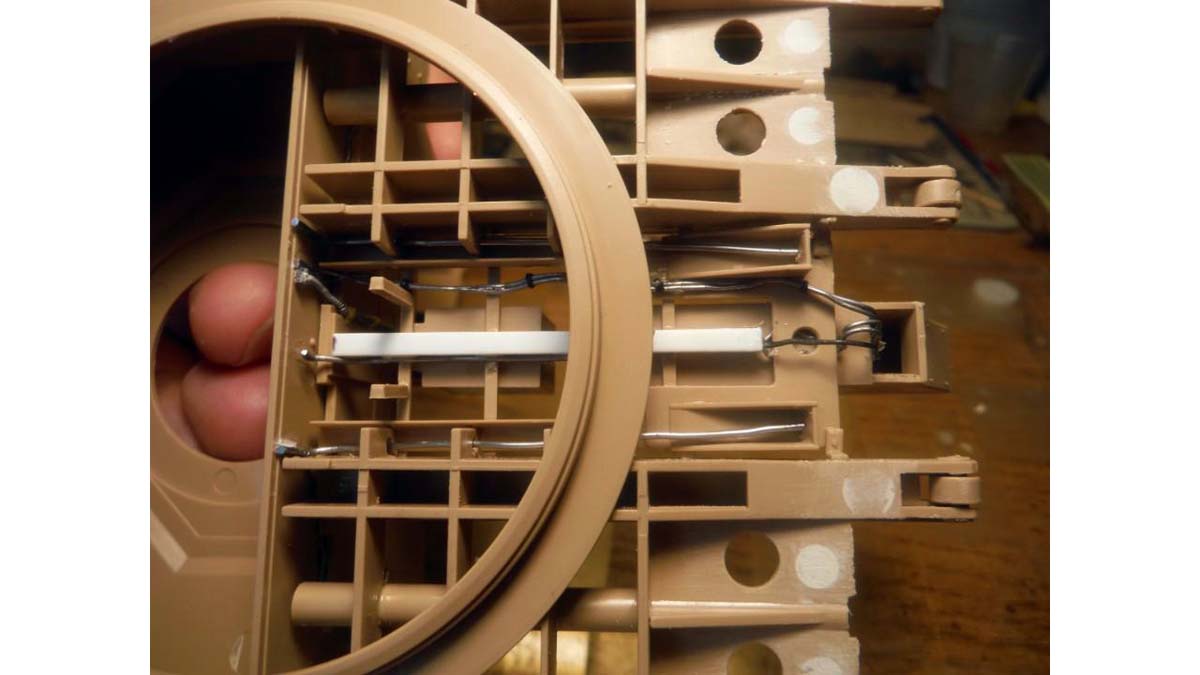
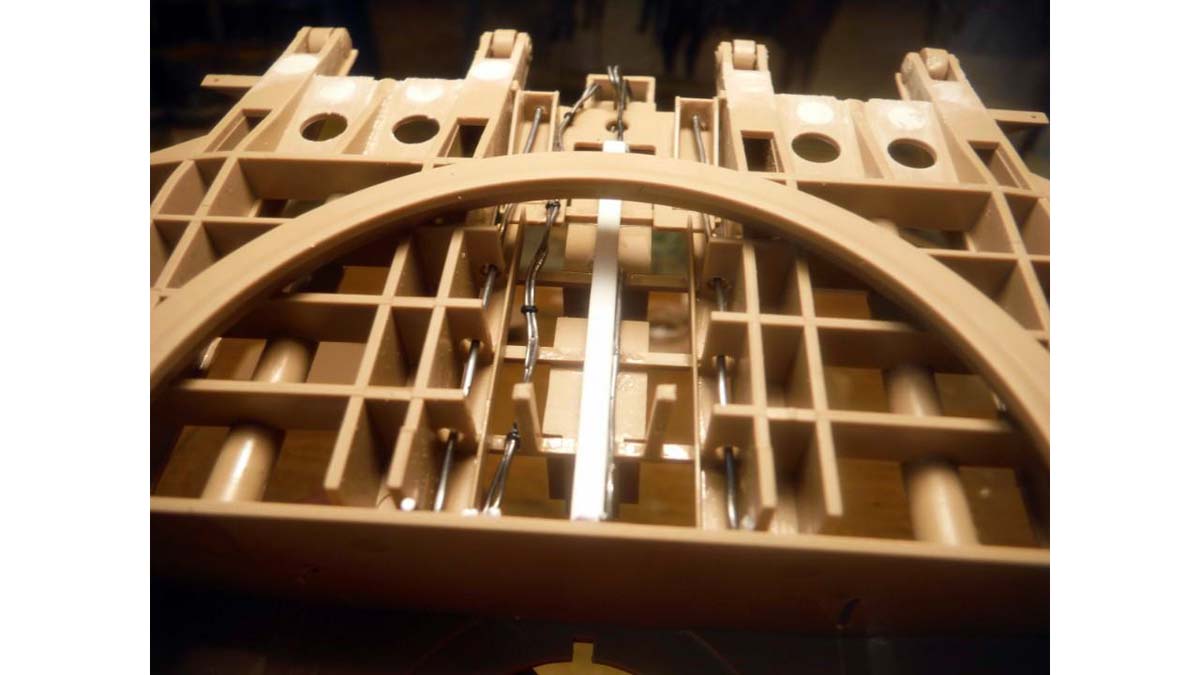
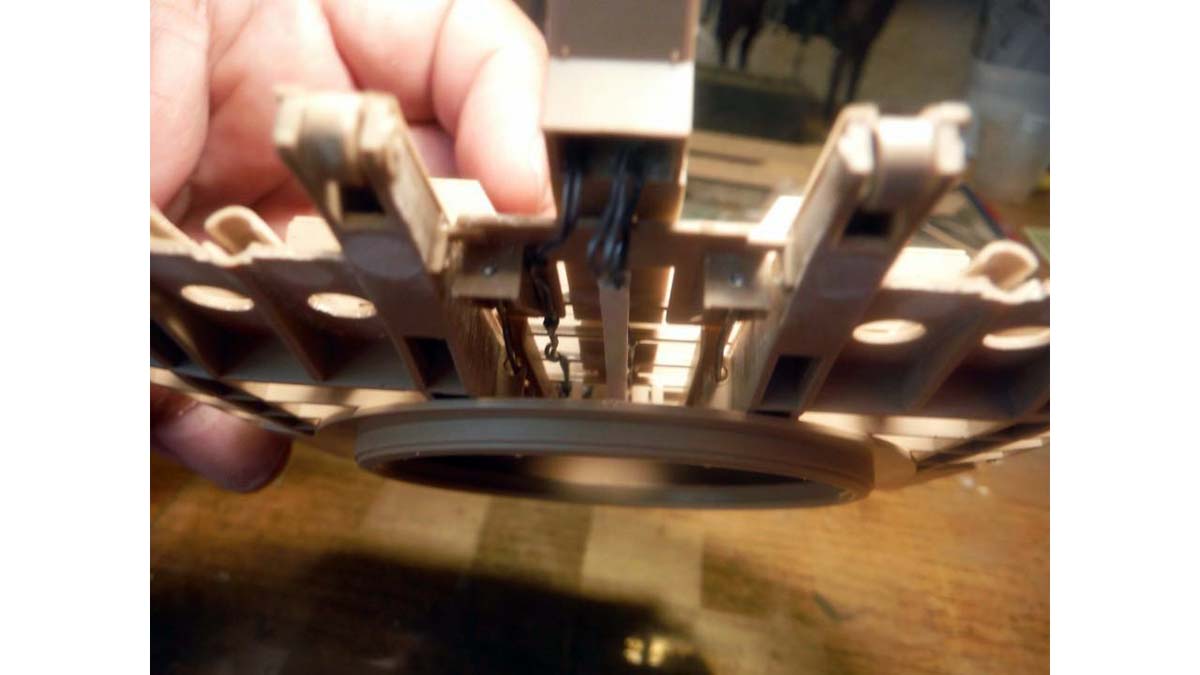
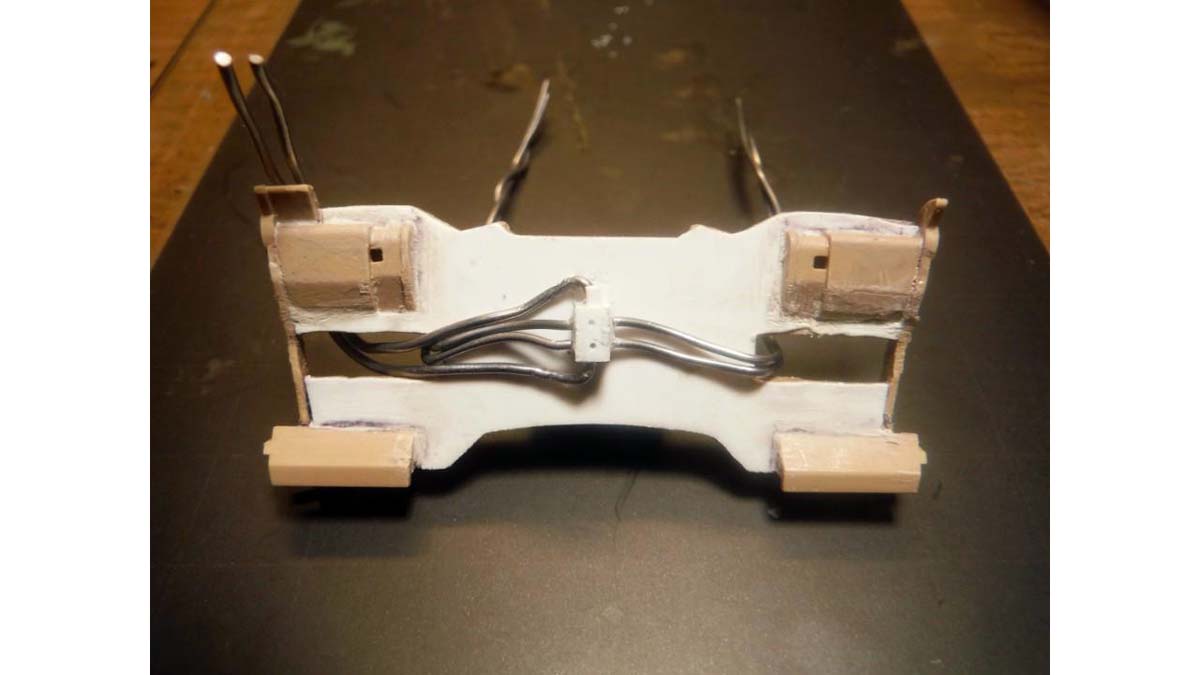
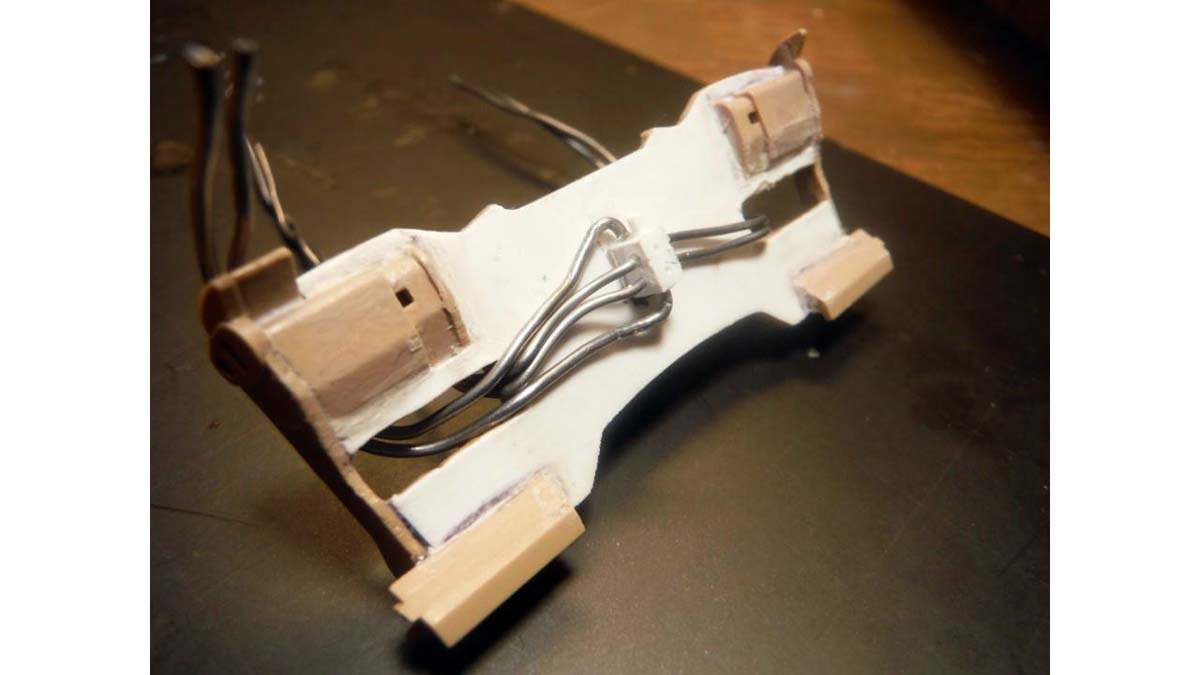
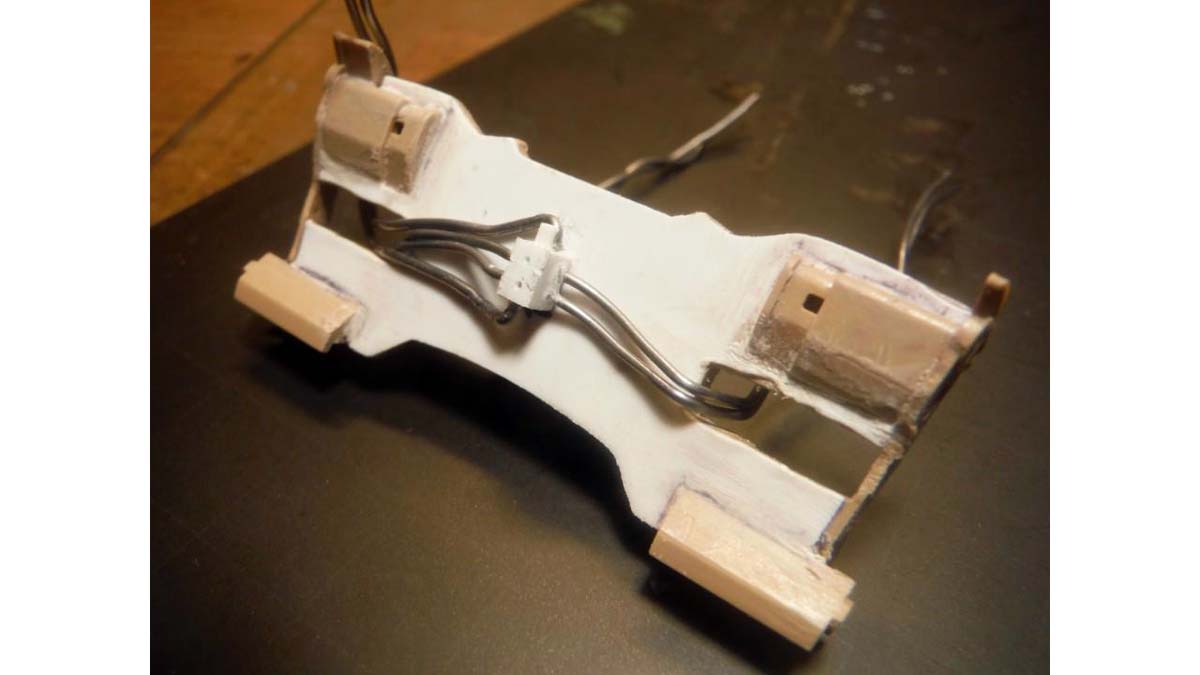
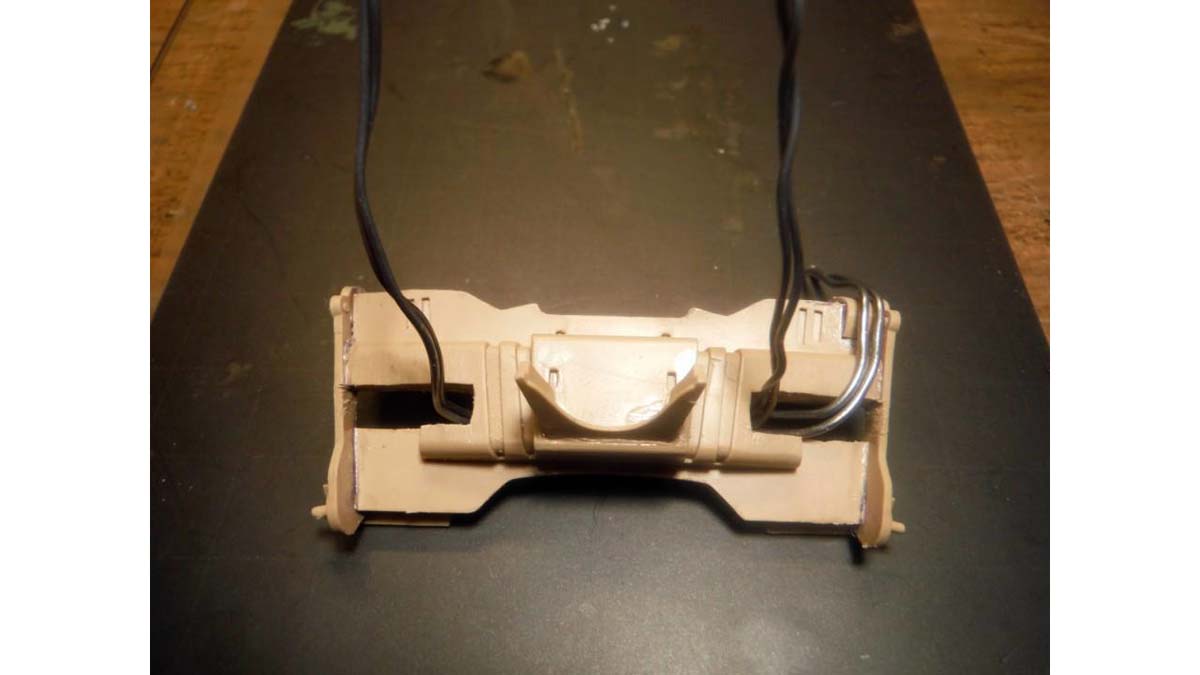
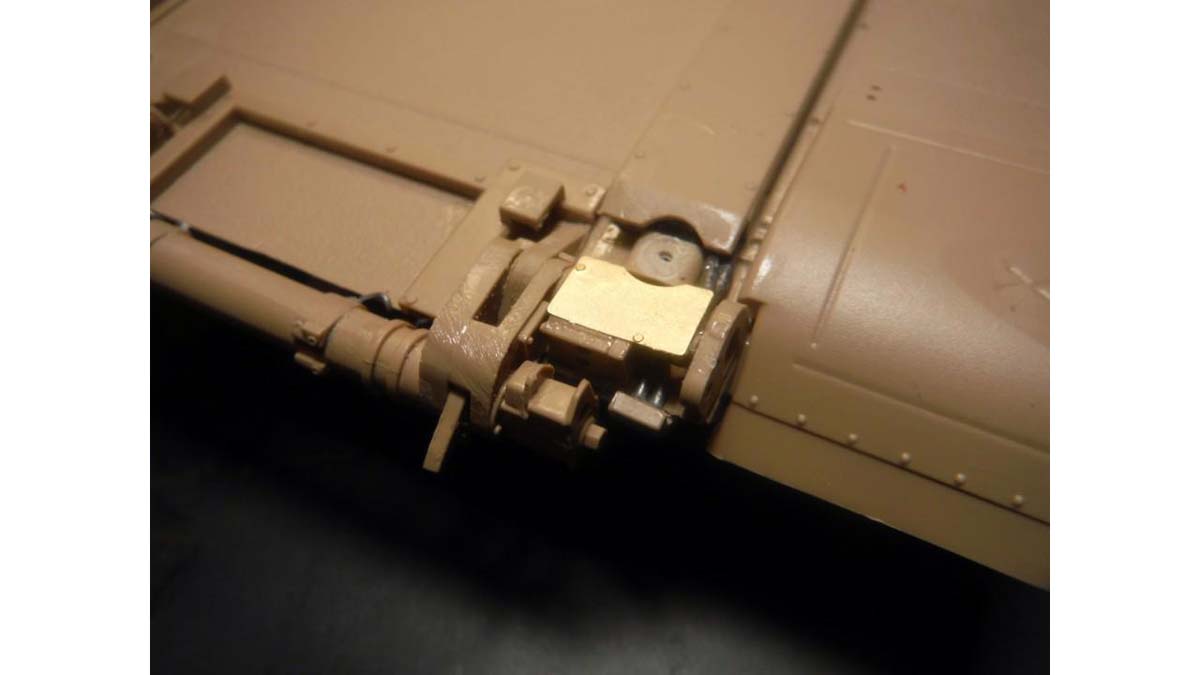
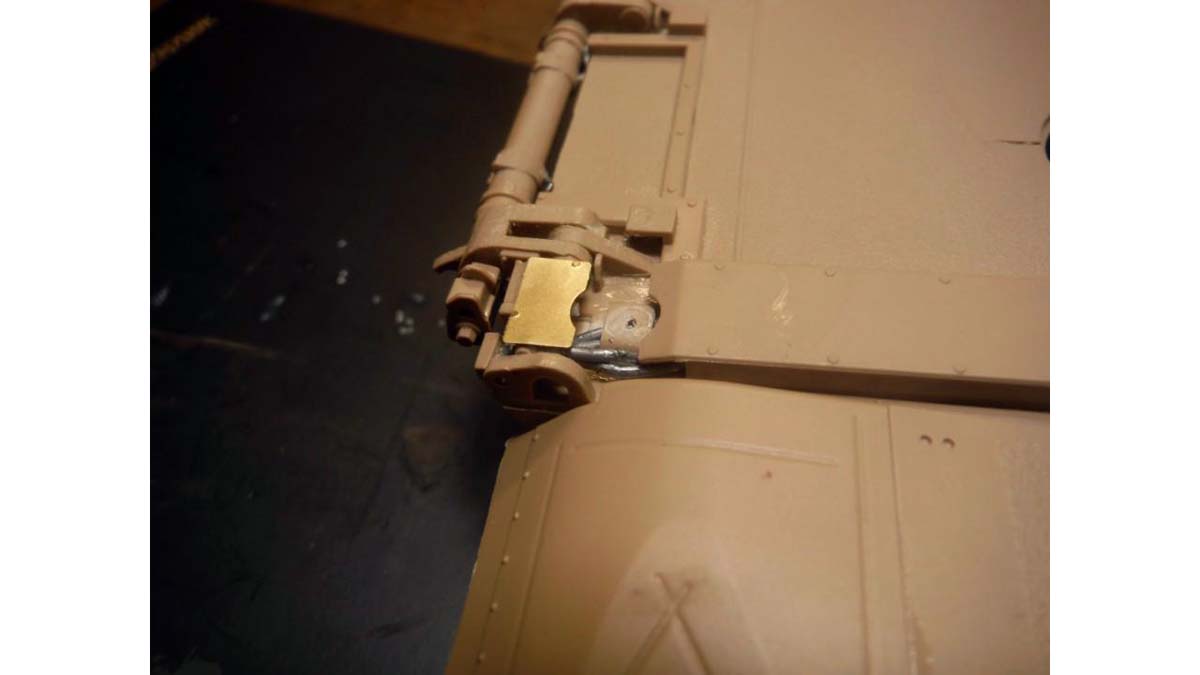
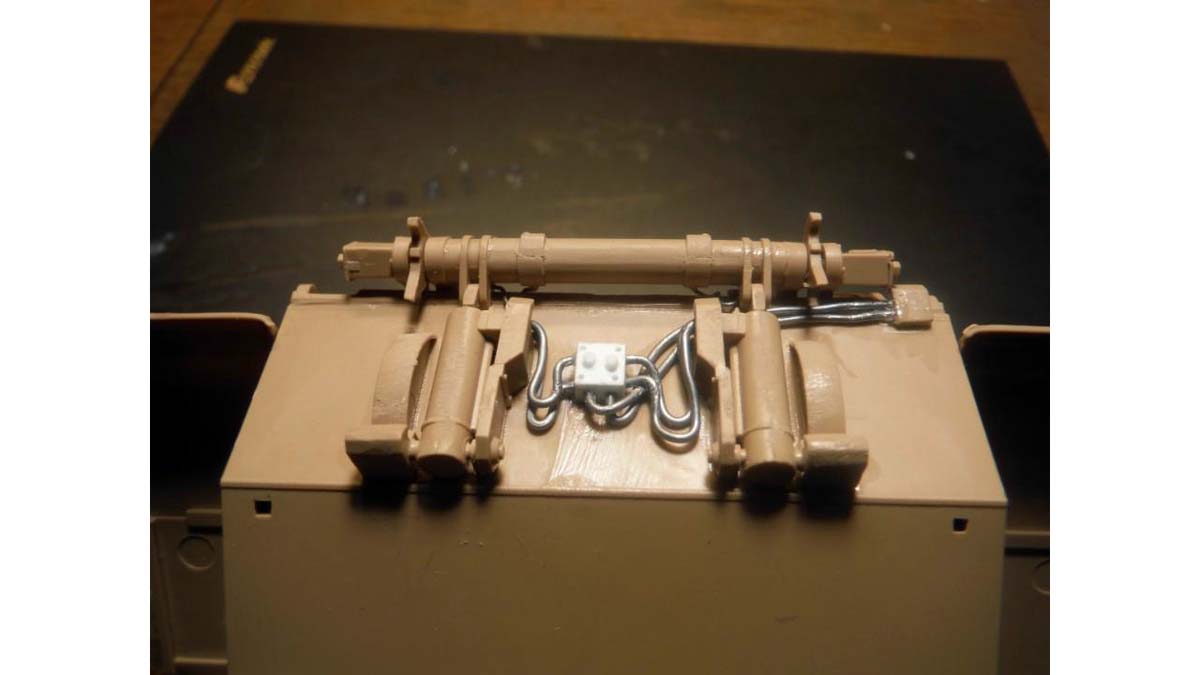
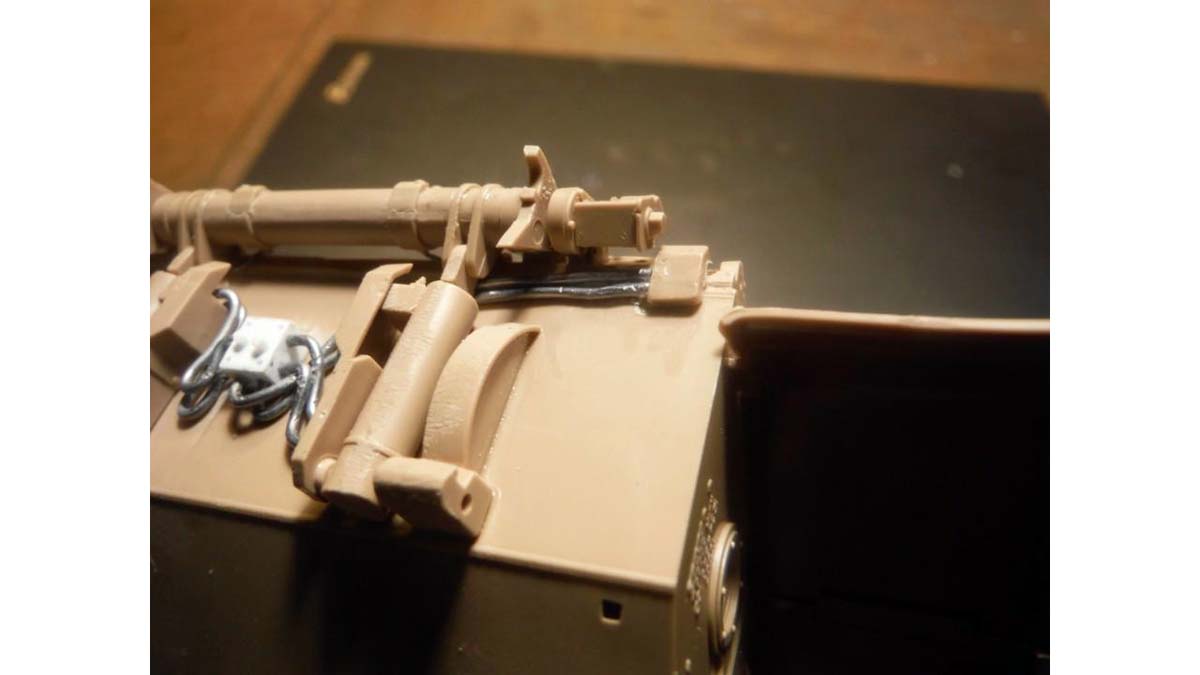
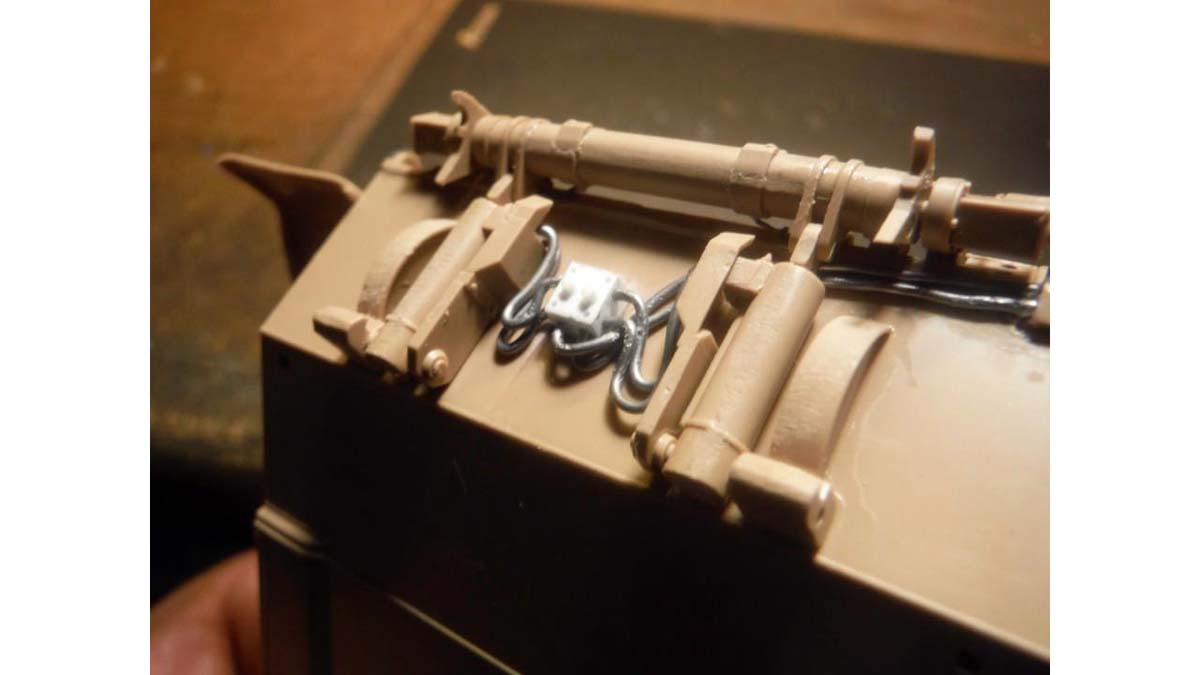
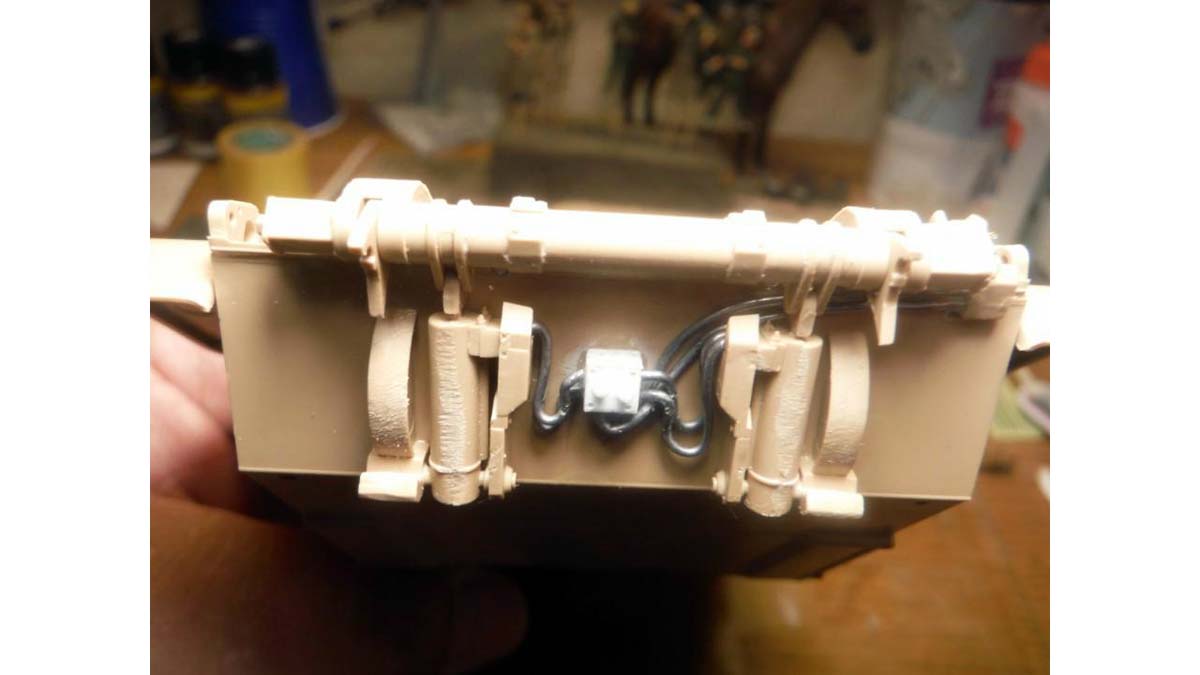
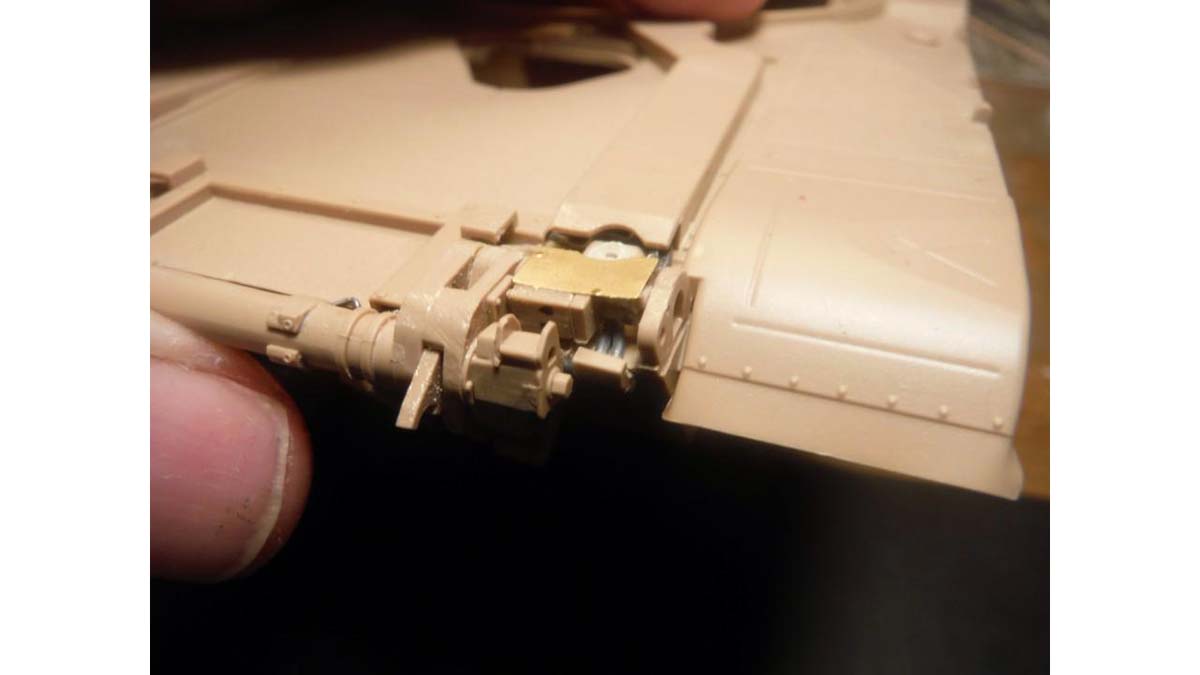
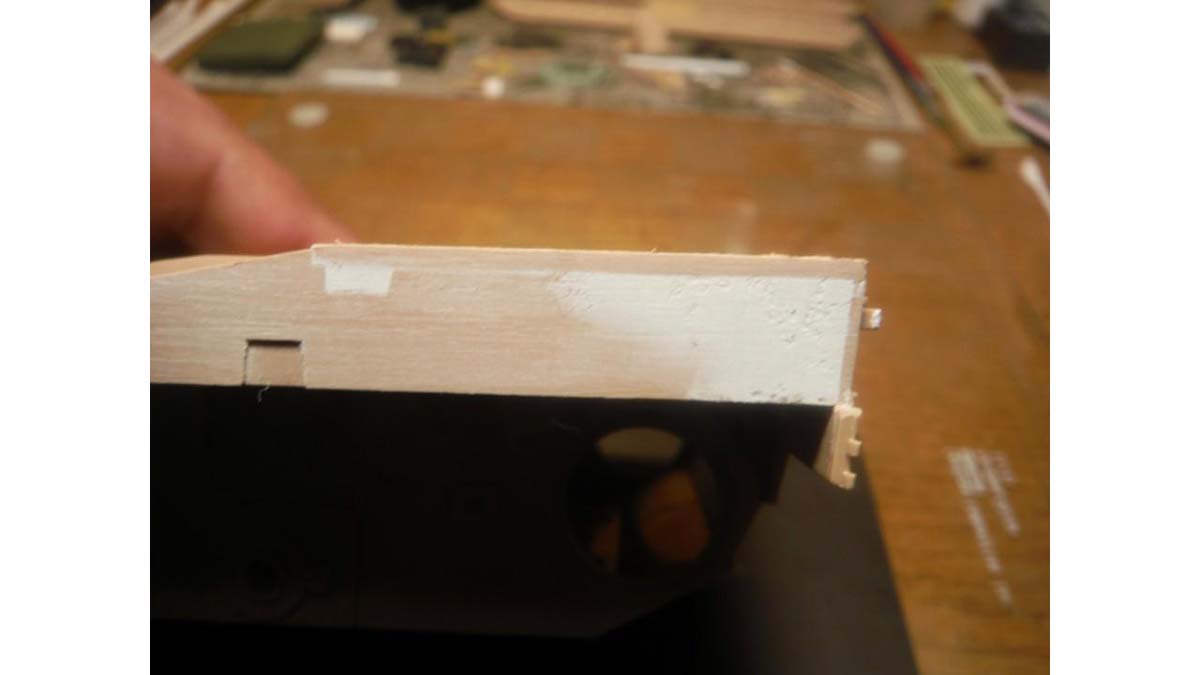
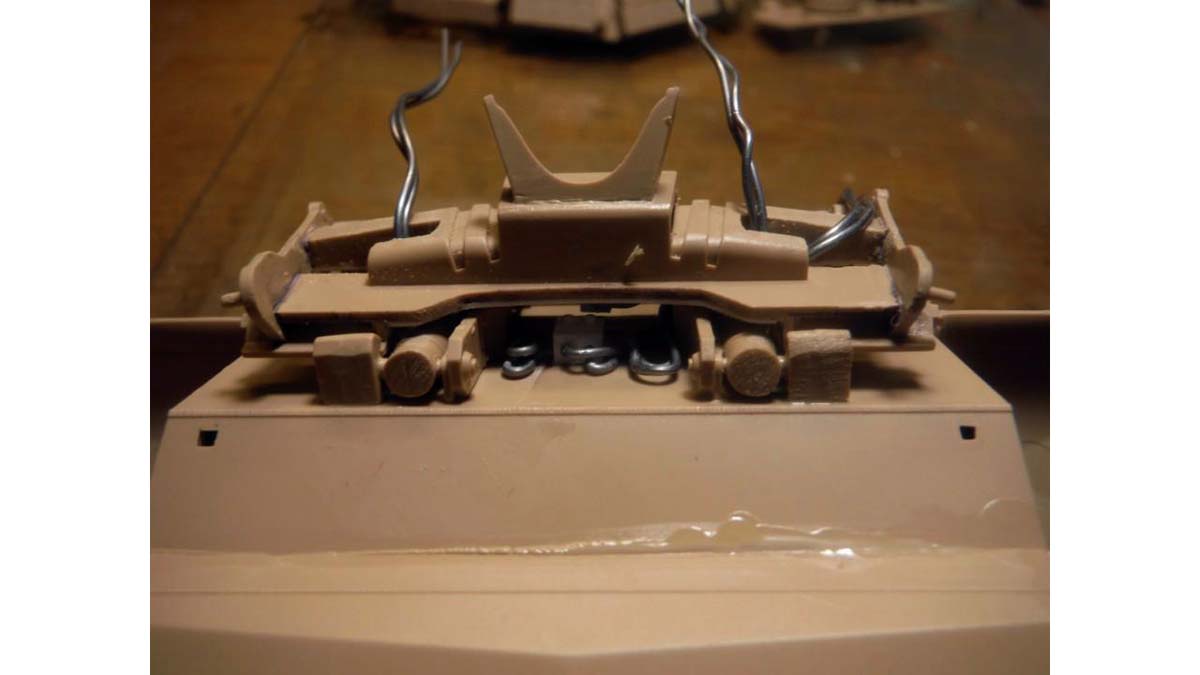
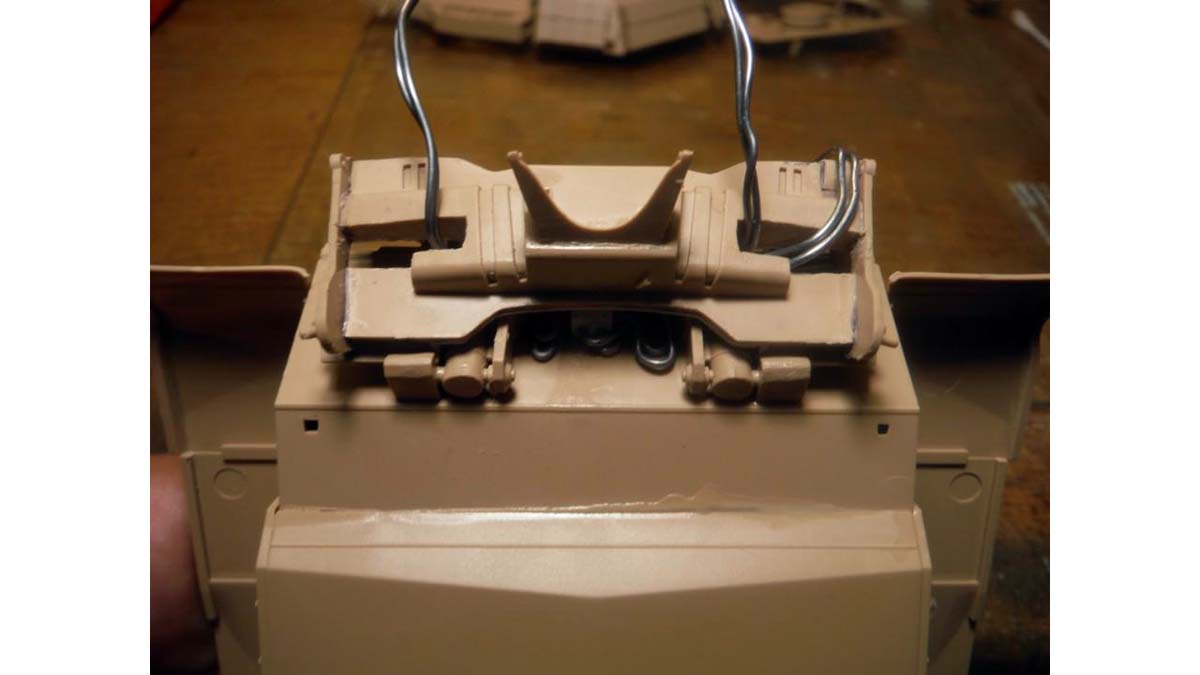
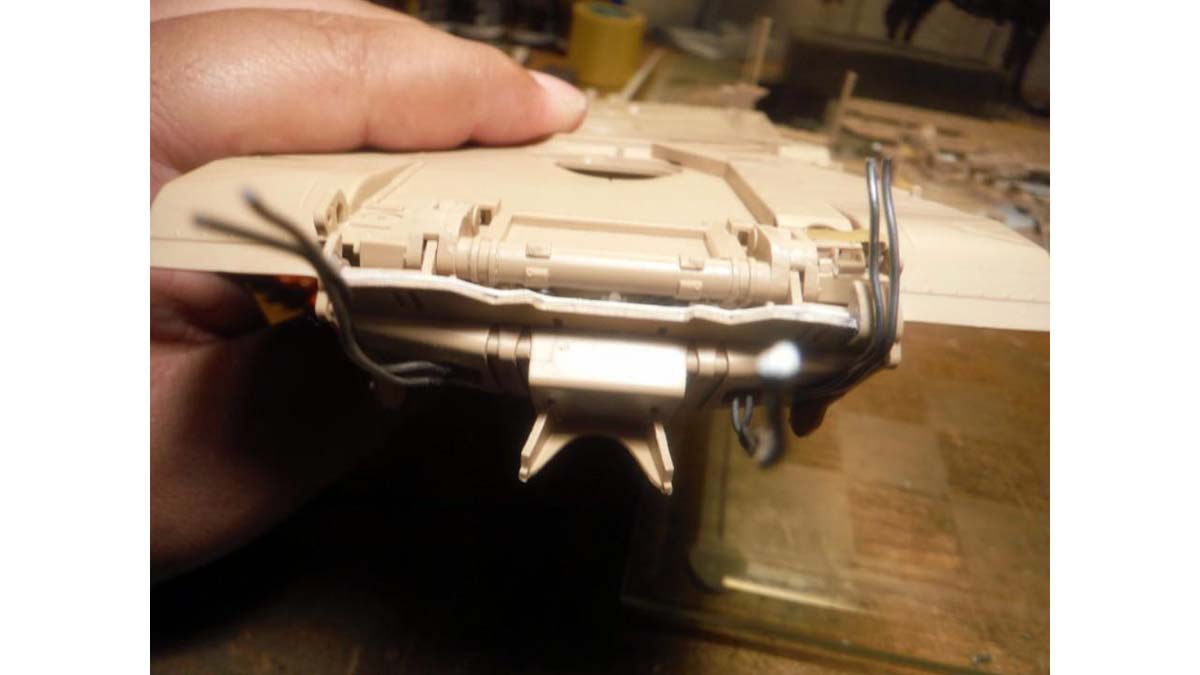
As stated above, both the US Army and Marines use the ABV. The main difference between the two are the smoke grenade launchers and the storage boxes for the smoke grenades. The Marines use the 8 shot smoke grenade launchers and the Army uses the 6 shot launchers. As for the storage boxes, the Marines mount 2 (on each side) four count storage boxes and the Army mounts 1 (on each side) 6 count storage box. Both style of launchers and boxes are included in the kit. One figure from Mini Art's latest USMC Modern Tank Crew will be used as the TC in the build. NOTE: They can't be used for US Army tankers because the Marines use a different body armor than the Army The turret was tackled first. I didn't get away too much from the instructions here. Most that was done was the addition of missing details. I added missing weld beads that you can see on the real thing. I used plastic rod and softened it with a soldering iron. After that I added the anti-slip coating with Mr. Surfacer 500 stippled on with an old flat brush. In Step 2, in order for Part H110 to fit properly, you need to leave off parts G27, G20, and L2 till after H110 is installed. I removed the locating pins on the back of Parts N97 to ease in placing on Part G8. The cable conduits were drilled out and thin lead wire was used for the cables. After the cameras and sensors were done, I jumped to Step 4 and added the cable cover, Part H73. I skipped step 3 which consist of the TC's weapon station and went on to Step 4A where you install the Part G10 (the wall that holds the smoke grenades) to the rear of the turret. Big punch marks on Part G10 need to be filled and sanded. NOTE: Nothing needs to be removed from parts G10 and G9 for proper fitting. The shelves on the real thing DO NOT attach to the back wall (part G10). Instead they are bolted down to the turret roof. The locating points for the plastic part (part N80x2) or the photo etch parts (part V15x2) need to be filled and sanded. I left off the Marine style smoke grenade launchers till later because I needed to cable them up but I still installed the back wall and DUKE antenna mount, Part G18, to the turret. And with the DUKE antenna mount, I didn't want to add the actual antenna, so I shaved off the antenna mounting "disk" and drilled the hole where the bolts would be. NOTE: There is supposed to be a gap between parts G10 and the rear of the turret Next were the photo-etch shelves. I used small plastic square stock for the mounting points. I glued the square bars to the bottom of the shelf aligning them with the inner 3 sets of pre-drilled holes in the photo-etch. Then I glued the shelf to the turret roof leaving the gap between the shelf and the wall. I also added the missing tie down loops on the left and right side of the shelf. The smoke launchers were done and cabled up at this point. If you want to make an Army M1 ABV, omit parts H103, H21, H21, H22, H15, N35 and use parts E101, E103, and E105. Parts E102, E104, and E106 are for the other side. I jumped back to the TC's weapon station. I added the retaining chains to the cradle and the cables that come from the inside. I also added the missing locking handle that is mounted on the left of the TC hatch. Also missing are handles on the TC hatch. I used the handles form the Engine Smoke Deflector, Parts C41x2, instead of making them from brass wire. Last thing missing was the strap located on the inside, top, of hatch. I made that from Tamiya tape and added two styrene bolts.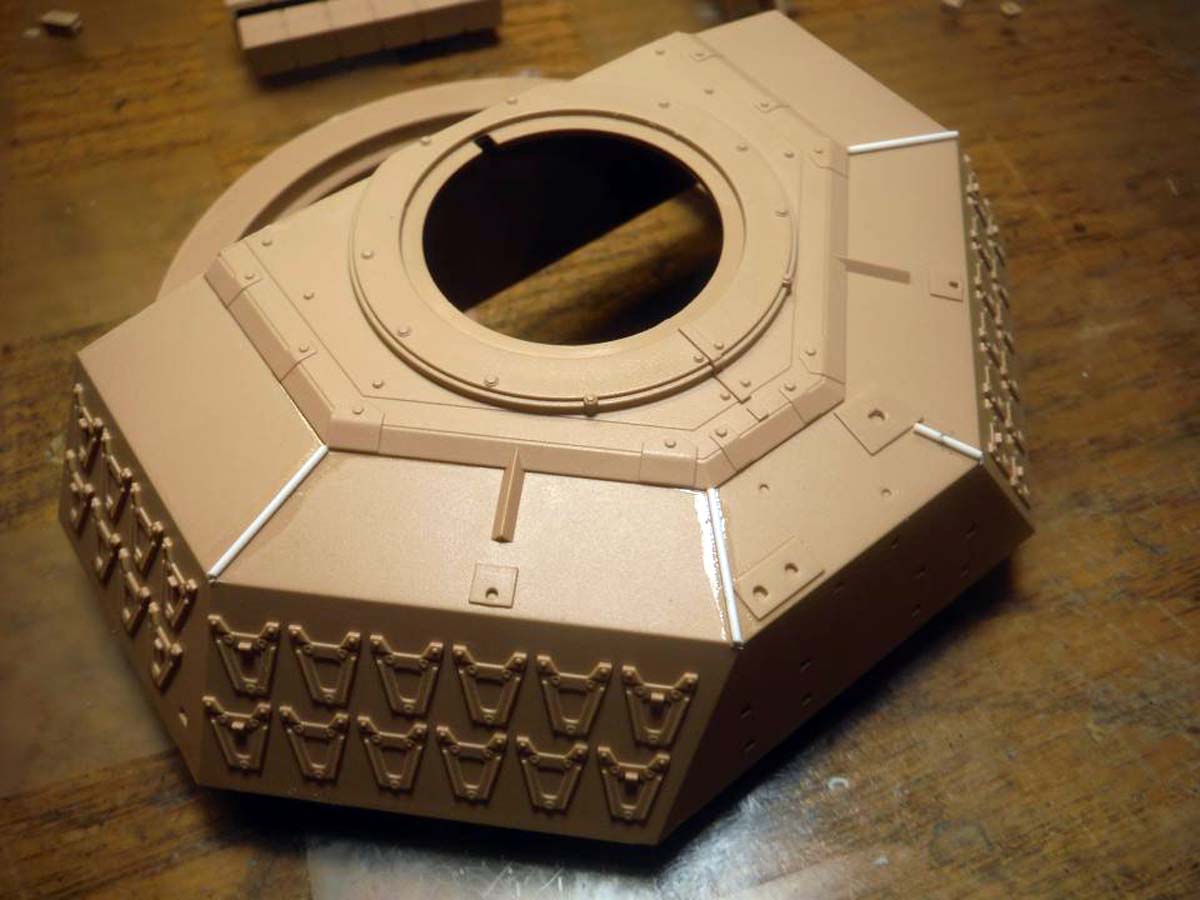


About the Author
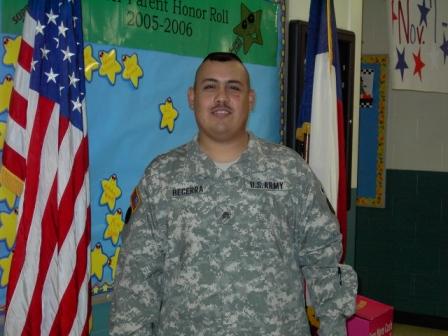

FROM: TEXAS, UNITED STATES
I am 48 years of age. I have been modeling since I was around 8 years old. As you can see from my signature, I am retired from the US Army and Texas Army National Guard. I served 6 years in active duty from 1989 to 1995 and in 1998 I joined the Texas Army National Guard and been serving up unt...
Comments


Great job, Pete. She came out looking awesome. Good article with lots of great tips too. I will have to reference it when I build mine.
OCT 29, 2017 - 11:41 PM

Copyright ©2021 by Pete Becerra. Images and/or videos also by copyright holder unless otherwise noted. The views and opinions expressed herein are solely the views and opinions of the authors and/or contributors to this Web site and do not necessarily represent the views and/or opinions of Armorama, KitMaker Network, or Silver Star Enterrpises. All rights reserved. Originally published on: 2017-10-28 16:10:17. Unique Reads: 23701

WEB HOSTING BY


Copyright ©2021 Armorama and Kitmaker Network, a subsidiary of Silver Star Enterprises
All Rights Reserved. Please read our Conditions of Use and Privacy Policy.
All Rights Reserved. Please read our Conditions of Use and Privacy Policy.