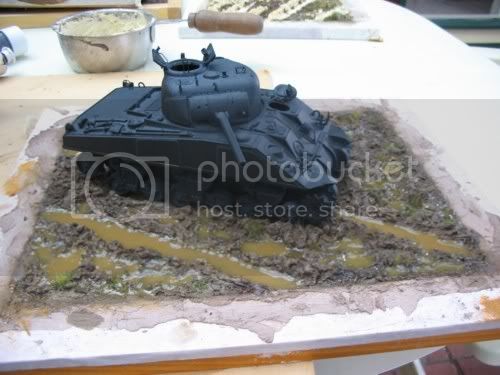
Thanks lads. I'll try to show her motoring through, although it may be hard to make 'flying' mud spatters look the goods...I can work on the trail left behind her by showing sloppy mud being squirted out of the ruts maybe.
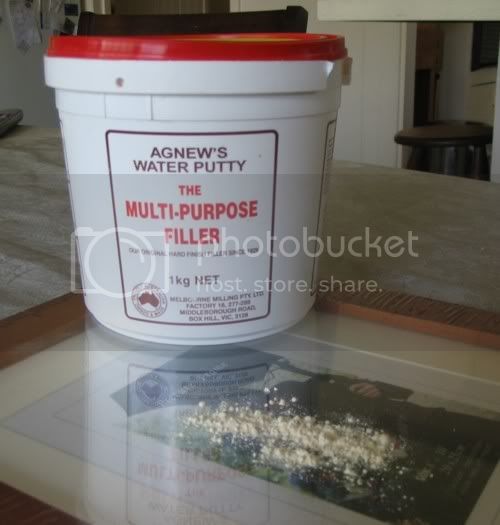
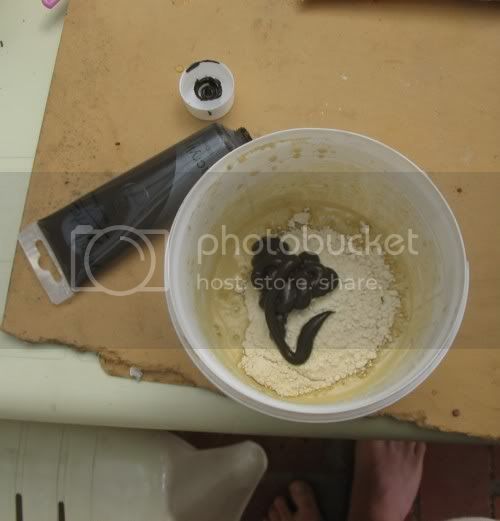
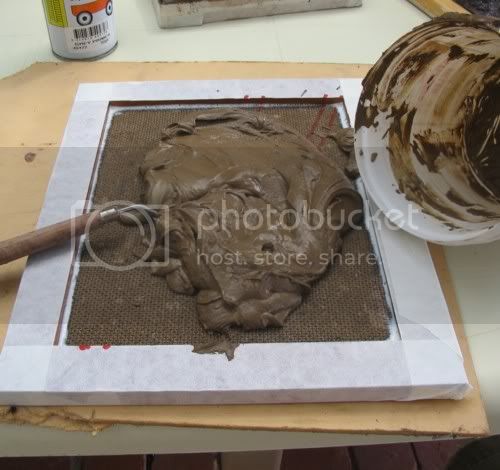
Chas, the puddles are created by a couple of products available from Bunnings. I used a wood putty called Agnews, and casting resin with catalyst. When the wood putty (mixed with water) is starting to cure, I ran a spatula at the respective widths for Shermans from a plan I already had roughly sketched. Helps to know what parts will need high ridges of mud/dirt, and when the putty is in this hardening stage you can really shape some detail; mostly blobs of churned mud for me here. An acrylic tint was added to the putty when starting (El cheapo $2 shop stuff) This gives me a 'solid' brown throughout the cover, so if any breaks off it is the same colour underneath, not white like painted Plaster of Paris for example. The kit's tracks (rubber band type) were pressed into the setting putty. A wash with some brown ink was added next, letting it serttle into the nooks and crannies.
Long story short, I don't know what will look the part, moreso I know what
doesn't so a bit of trial and error...
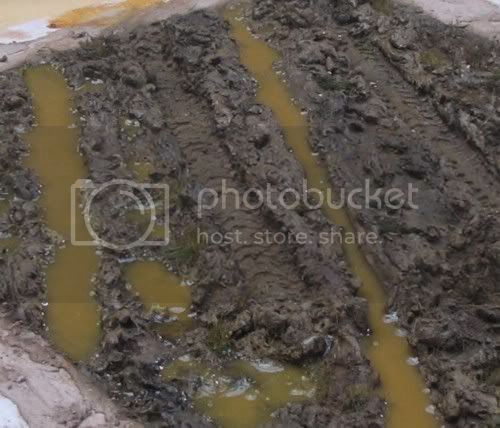
The cler resin was decanted into an empty Tamiya acrylic glass jar, then Tamiya desert yellow was added (about 3 or 4 substantial drops) then the catalyst. This was mixed thoroughly, then using the jar itself, I poured a thin stream in a continuous motion along the centre of the ruts to the depth required. Taking care not to exceed about 3 or 4 mm in height of each pour, to ensure zero shrinkage. Using the spatula (long thin flat flexible-bladed one

) I carefully worked the centrally poured resin to the edges, where it 'clings' a little and levels itself out a bit. Make sure there is no dust or wind as this will embed in the resin, possibly ruining it. Make sure you have a mask, as this stuff is leeful!
Brad


 )
)