Illinois, United States
Joined: November 25, 2005
KitMaker: 131 posts
Armorama: 88 posts
Posted: Tuesday, September 02, 2008 - 04:42 PM UTC
Great work so far Darren. But you might want to shorten the teeth a lil' bit cause any movement of the tank might cause them to dig in the ground and slow if not stop the tank. and secondly the space in the front of the tank between the ram and the hull might cause the tank to get hung up on rubble or other items, might want to fill that in...I hope I'm not to much of a buzz kill. Sides I love your build all in all and I really want to start my own interpretation to this design as you did.
Cheers Alex

CMOT
 Editor-in-Chief
England - South West, United Kingdom
Joined: May 14, 2006
KitMaker: 10,954 posts
Armorama: 8,571 posts
Posted: Wednesday, September 03, 2008 - 07:14 AM UTC
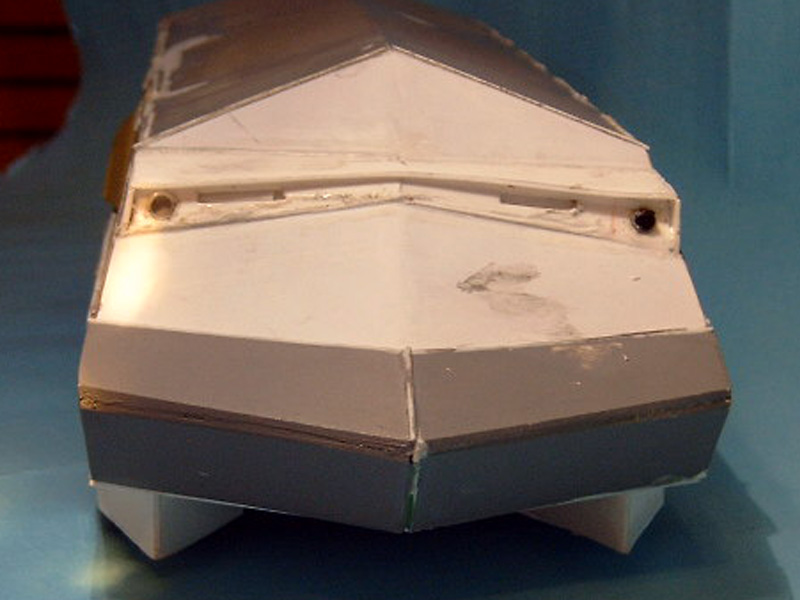
Thanks for the feed back, I had considered filling in the area at the front as I left it to begin with to accommodate the hydraulically operated dozer blade, the teeth currently have a 7inch clearance on a full size vehicle (I could increase that to 12inch). What I am really after is perceptions of the viewing area.
California, United States
Joined: October 21, 2007
KitMaker: 3,684 posts
Armorama: 2,938 posts
Posted: Wednesday, September 17, 2008 - 02:57 PM UTC
Excellent work, Darren! It's simply amazing what you have built from scratch so far, from design to actual fabrication. I'm looking forward to seeing more.
Indiana, United States
Joined: May 09, 2008
KitMaker: 1,019 posts
Armorama: 657 posts
Posted: Wednesday, September 17, 2008 - 03:34 PM UTC
i saw a Rammtiger vacuum formed conversion kit for an Elefant on eBay yesterday which made me wonder if this build campaign inspired someone to make one.
Yours is coming along quite nicely!
If it weren't for law enforcement and physics I would be unstoppable!
Illinois, United States
Joined: November 25, 2005
KitMaker: 131 posts
Armorama: 88 posts
Posted: Monday, September 22, 2008 - 06:55 AM UTC
Darrren the vision port looks great I would not change it for the world. I've been looking at your pic's and I see nothing. And maybe a scale 12" clearance would be good for the teeth. I am drooling for a update I hope to see one soon!
Keep up the Great work Alex

CMOT
Editor-in-Chief England - South West, United Kingdom
Joined: May 14, 2006
KitMaker: 10,954 posts
Armorama: 8,571 posts
Posted: Monday, September 22, 2008 - 09:52 AM UTC
I will post an update by the weekend and I hope to have the first layer of paint onboard to boot.
CMOT
Editor-in-Chief England - South West, United Kingdom
Joined: May 14, 2006
KitMaker: 10,954 posts
Armorama: 8,571 posts
Posted: Wednesday, September 24, 2008 - 05:56 AM UTC
Pennsylvania, United States
Joined: October 21, 2003
KitMaker: 683 posts
Armorama: 630 posts
Posted: Wednesday, September 24, 2008 - 06:57 AM UTC
I like all the though that you have put into this project!
One thing to add is maintenance of the engines and drive motors. The orginal engines were not very reliable and had to be replaced often. So, I cut a large hatch over the engine and the drive motors behind them with some lifting rings. In the orgingal VK3601 the engines were just behind the turret and electric drive motors were just inside the hull at the rear drive sprocket. My hatch was just forward of the rear slope to about half way to the peak on the top. You would jut need to score the lines and install lift points.
I think the driver and radio operator/MGer would have been punishment. I can hear it now:
"Hans und Klaus, since you fell asleep on guard duty last night, you will be operating the Ram this morning! You will drive the large, slow beast down the street to the well defended strong point that we could not take for the past few weeks and ram it! Now every thing they have will be thrown at it to stop you, but once you punch through we will rush in to exploit the gap For the Fatherland! Seig Heil!"
I like it when modelers put time and effort into the "What if" models they design.
By the way gravity does not care about 110, 220 or 440 AC voltage. My Great Dane pulled a Godzilla on one of my kits one time. You are right about bad things happen to platsic models that are left on the floor, or under leaky glue bottles!
CMOT
Editor-in-Chief England - South West, United Kingdom
Joined: May 14, 2006
KitMaker: 10,954 posts
Armorama: 8,571 posts
Posted: Wednesday, September 24, 2008 - 08:32 AM UTC
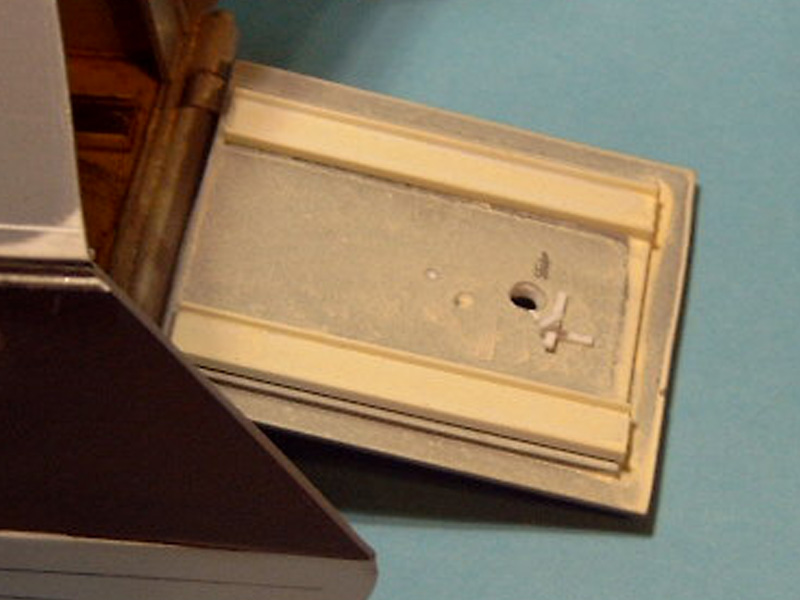
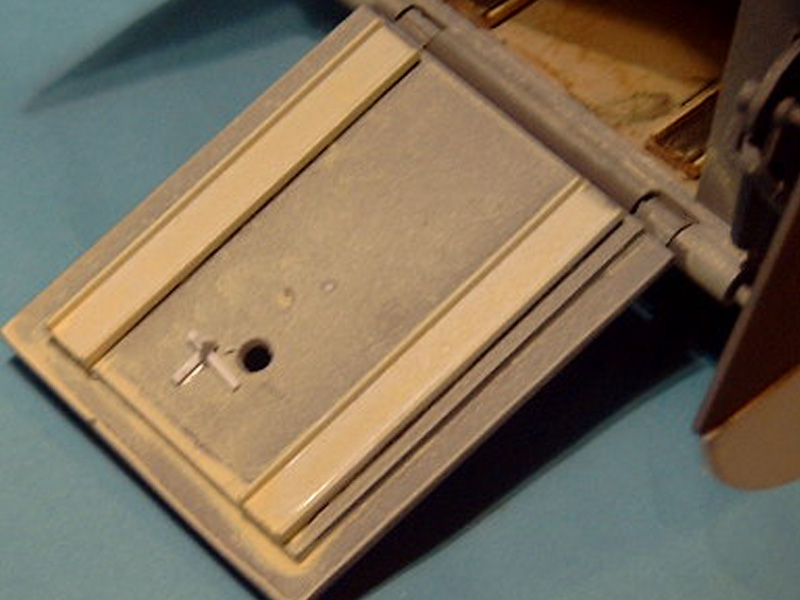
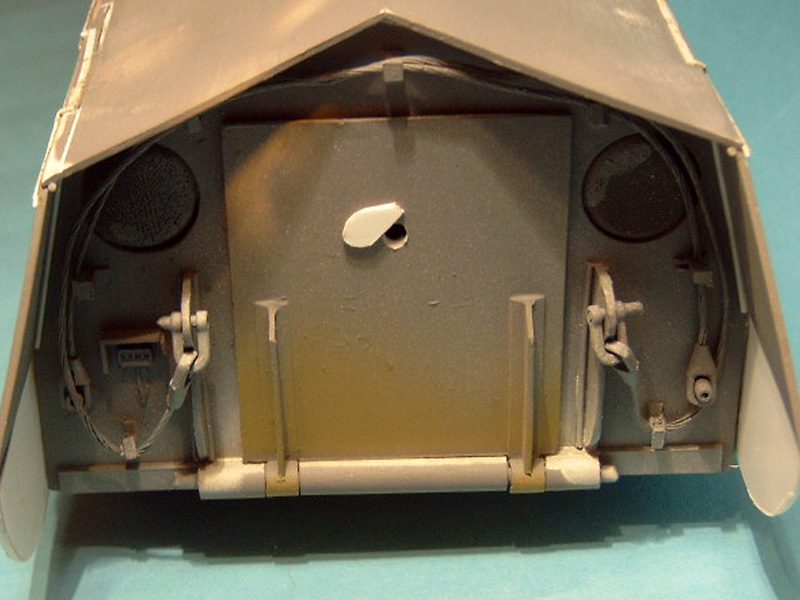
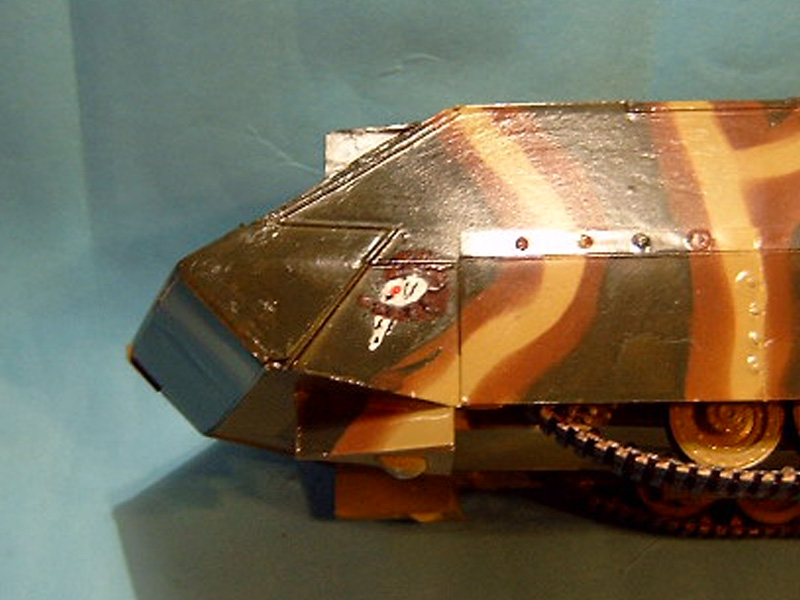
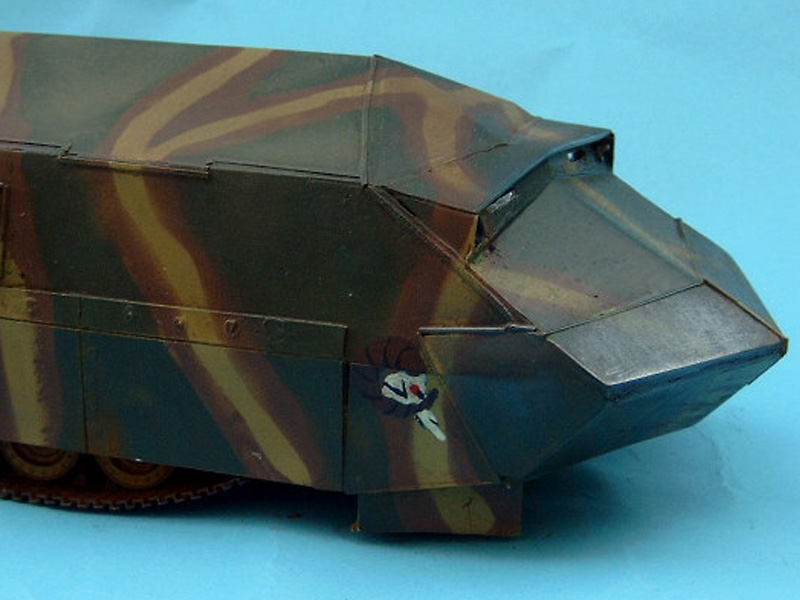
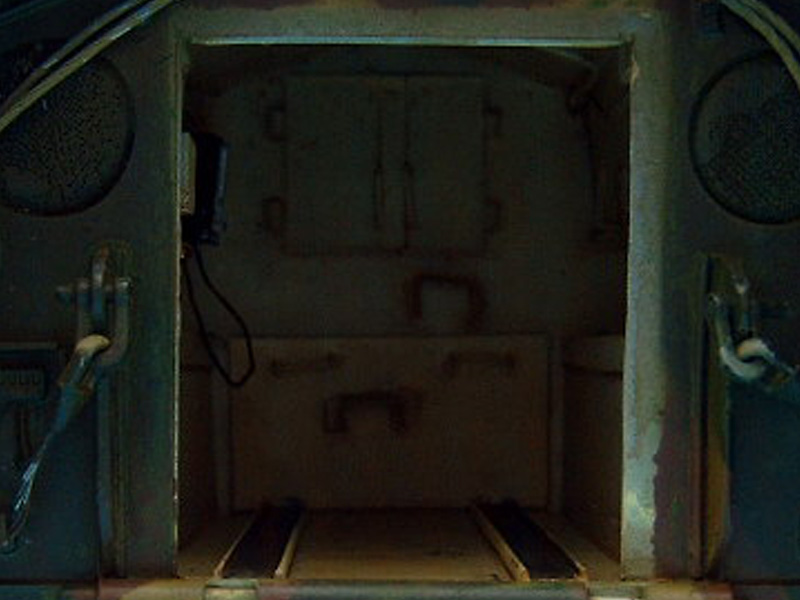
Jim I have altered the internal layout quite a lot and completely done away with the rear drives, I have retained two engines and placed them inline driving the front sprockets. The rear drive has been replaced with Tiger idler wheels. The engines can be removed via a track system running through the rear crew compartment, this is not a great picture but shows the driver and radio operators entry door which is at the top of the vehicle, the lower door you can see is for the removal of the engine and part of the track system is visable.
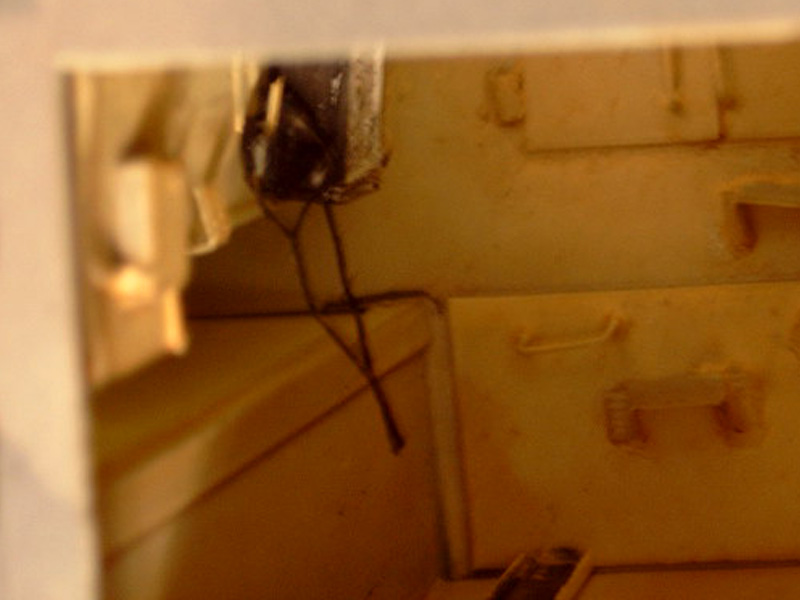
Under the nose at the front will be an emergency escape door for the suckers I mean driver and radio/weapons operator.
Just to show I am a glutton for punishment I plan to build a second RammTiger identical to the first, but this time with clear panels down one side so I can show off a full interior I hope to design and build, I just hope my measurements I used when designing the overall size of this one will let everything fit.
I am also trying to get someone to take some decent pictures of this one now it is finally getting near the finish.
CMOT
Editor-in-Chief England - South West, United Kingdom
Joined: May 14, 2006
KitMaker: 10,954 posts
Armorama: 8,571 posts
Posted: Friday, September 26, 2008 - 10:15 AM UTC
Indiana, United States
Joined: May 09, 2008
KitMaker: 1,019 posts
Armorama: 657 posts
Posted: Friday, September 26, 2008 - 10:45 AM UTC
If it weren't for law enforcement and physics I would be unstoppable!
CMOT
Editor-in-Chief England - South West, United Kingdom
Joined: May 14, 2006
KitMaker: 10,954 posts
Armorama: 8,571 posts
Posted: Saturday, September 27, 2008 - 05:02 AM UTC
Thank you for bringing that to my attention Jim, however it is not quite what I am looking for and is a tad pricey.
Indiana, United States
Joined: May 09, 2008
KitMaker: 1,019 posts
Armorama: 657 posts
Posted: Saturday, September 27, 2008 - 07:25 AM UTC
Quoted Text
Thank you for bringing that to my attention Jim, however it is not quite what I am looking for and is a tad pricey.
agreed on the price!
If it weren't for law enforcement and physics I would be unstoppable!
Illinois, United States
Joined: November 25, 2005
KitMaker: 131 posts
Armorama: 88 posts
Posted: Tuesday, September 30, 2008 - 09:59 AM UTC
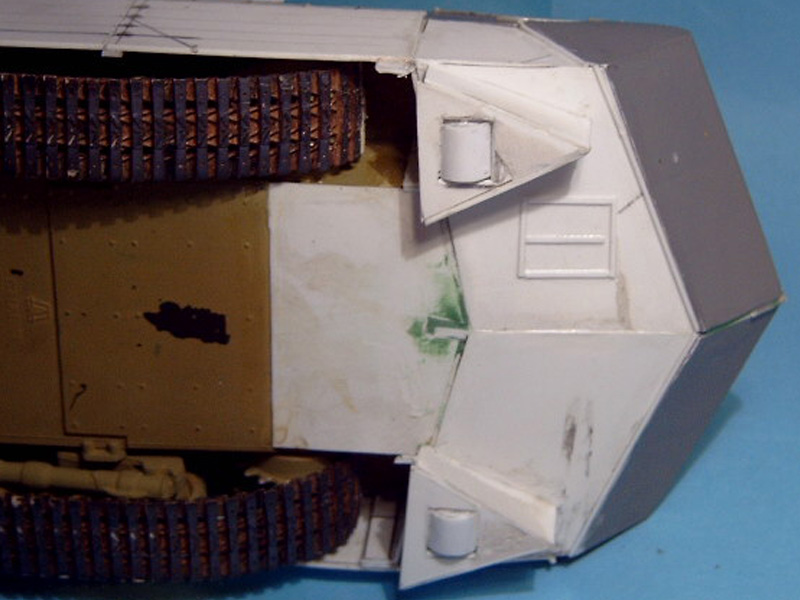
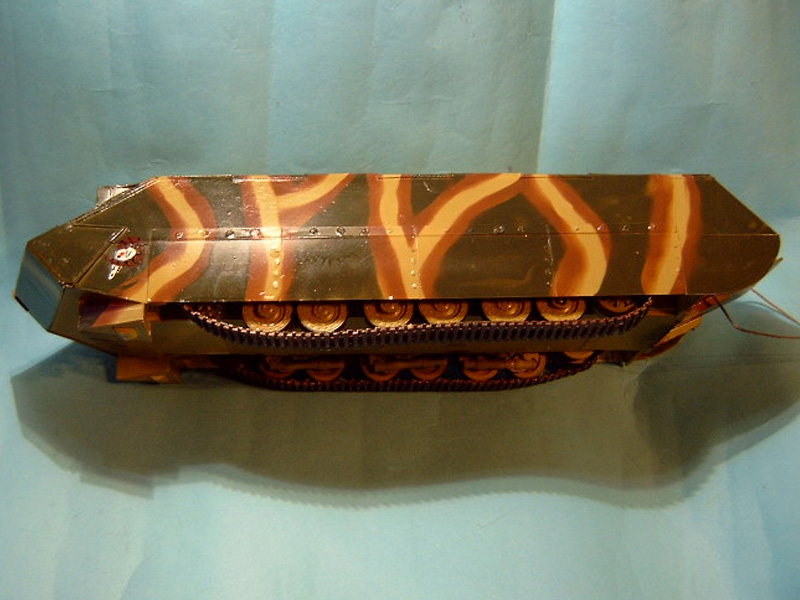
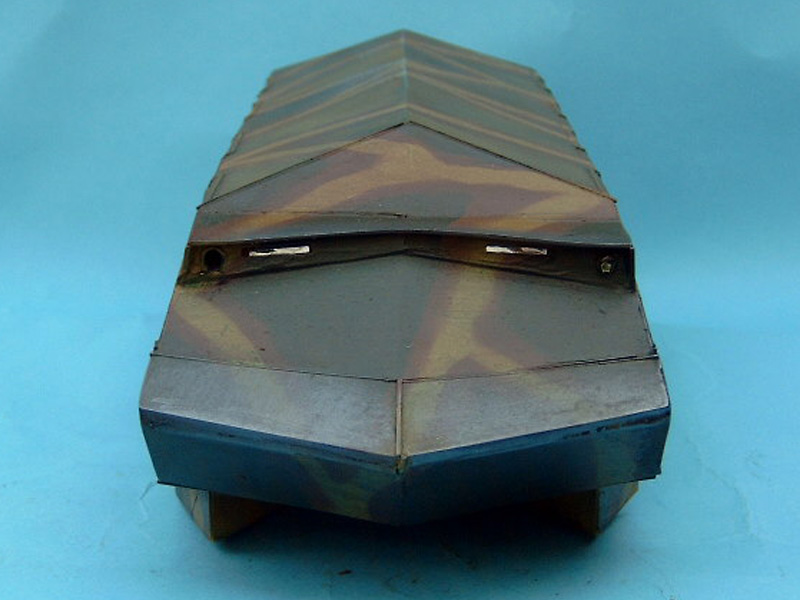
Wow Darren very cool I really like the track protectors different approach and idea but I think that would work better than the rubble liner upper teeth. And I see that you did not do away with your vision ports their great I also like side skirts. I cant wait too see a coat of paint on it. Great work keep it up!
Cheers Alex
CMOT
Editor-in-Chief England - South West, United Kingdom
Joined: May 14, 2006
KitMaker: 10,954 posts
Armorama: 8,571 posts
Posted: Friday, October 03, 2008 - 08:27 AM UTC
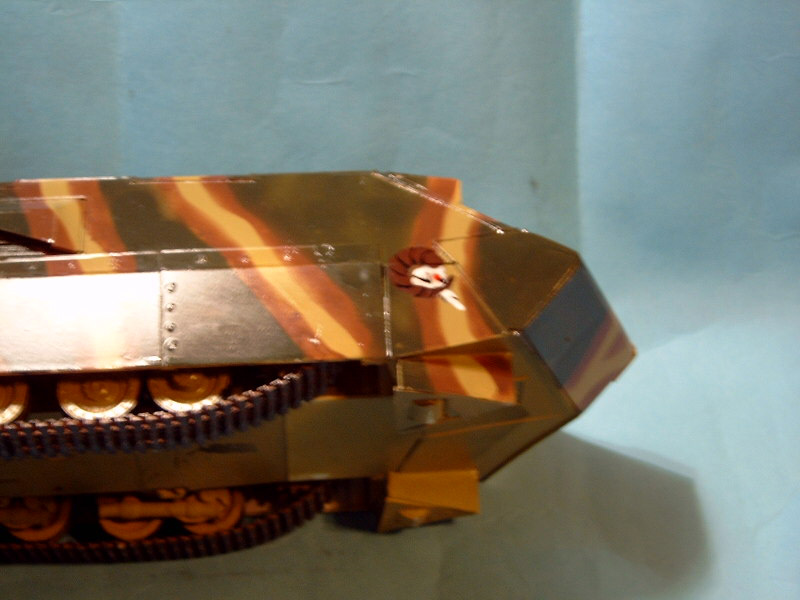
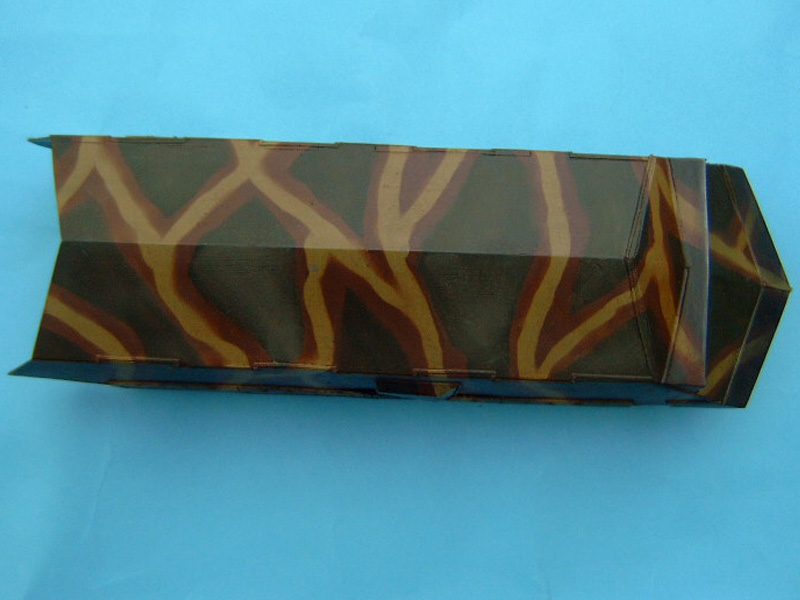
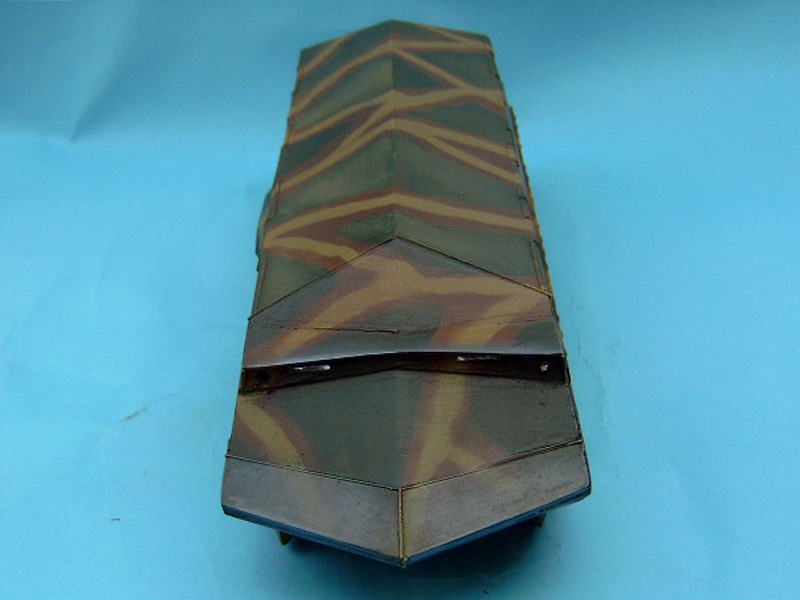
Camouflage painting has been done and the first cote of Klear is drying as I type, second cote will be applied tomorrow and when dry I will take some pictures and post them up. What would be the correct German cross to apply to a 44 German AFV also what unit identification if any would be used?
CMOT
Editor-in-Chief England - South West, United Kingdom
Joined: May 14, 2006
KitMaker: 10,954 posts
Armorama: 8,571 posts
Posted: Sunday, October 05, 2008 - 02:46 AM UTC
CMOT
Editor-in-Chief England - South West, United Kingdom
Joined: May 14, 2006
KitMaker: 10,954 posts
Armorama: 8,571 posts
Posted: Friday, October 10, 2008 - 03:19 AM UTC
CMOT
Editor-in-Chief England - South West, United Kingdom
Joined: May 14, 2006
KitMaker: 10,954 posts
Armorama: 8,571 posts
Posted: Friday, October 10, 2008 - 03:28 AM UTC
Looking through the Pics again I see I forgot the Red Primer around the door frame.
Indiana, United States
Joined: May 09, 2008
KitMaker: 1,019 posts
Armorama: 657 posts
Posted: Friday, October 10, 2008 - 09:17 AM UTC
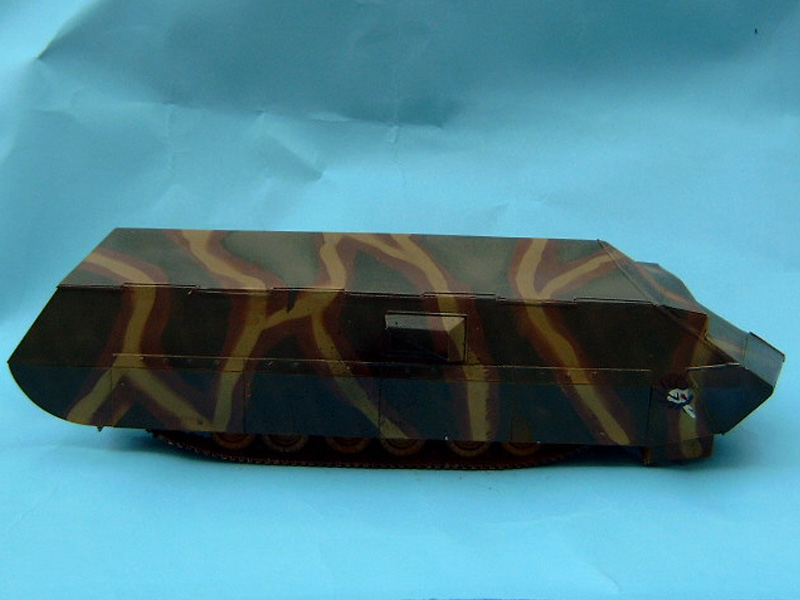
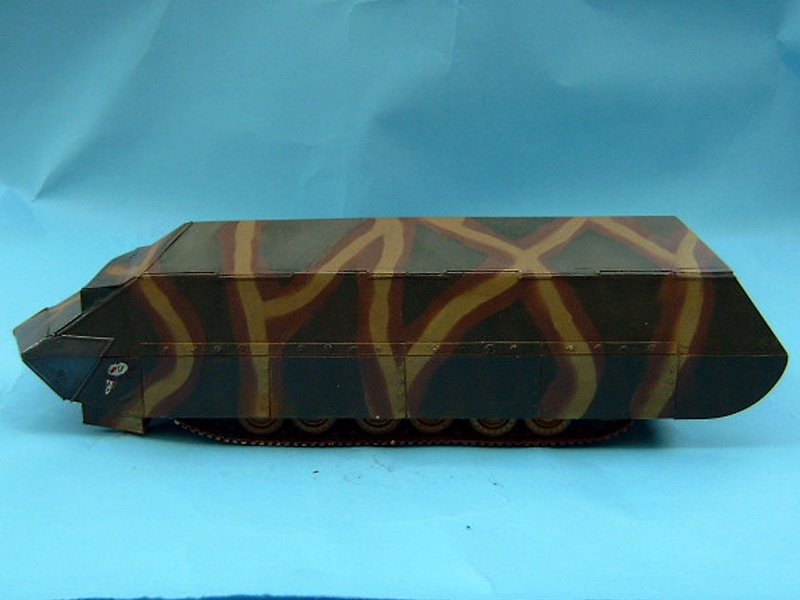
I really like the camo pattern! At first I wondered how good a job it would do breaking up the vehicle's shape, but it does it very well.
If it weren't for law enforcement and physics I would be unstoppable!
Colorado, United States
Joined: December 25, 2004
KitMaker: 3,770 posts
Armorama: 2,263 posts
Posted: Friday, October 10, 2008 - 03:24 PM UTC
Hey Hey!!! Very interesting build....waaaay back from the start (and the alterations) to the finished product. I like everything you've done with it....this isn't some "cut some plastic, make a shell, plop it on a donor kit." Hell no.....what you put into it goes WAAAAAAY beyond.....Thought, concept, thought, reality.
Damn nice bro!
Mike

CMOT
Editor-in-Chief England - South West, United Kingdom
Joined: May 14, 2006
KitMaker: 10,954 posts
Armorama: 8,571 posts
Posted: Friday, October 10, 2008 - 10:33 PM UTC
Thanks to everyone who encouraged me with this and gave me new direction when a problem raised its head.
Wales, United Kingdom
Joined: September 06, 2008
KitMaker: 967 posts
Armorama: 842 posts
Posted: Saturday, October 11, 2008 - 07:32 AM UTC
Watching the build as been great fun and I've learnt a lot along the way, expecially if it dont work try,try again. Sorry though the camo just don't look right, sorry.

Current projects Tam Stug IV cut and shunt Trump KV2 Dragon Panther D with zim BefehlsPanther and Tam Hetzer
CMOT
Editor-in-Chief England - South West, United Kingdom
Joined: May 14, 2006
KitMaker: 10,954 posts
Armorama: 8,571 posts
Posted: Saturday, October 11, 2008 - 07:51 AM UTC
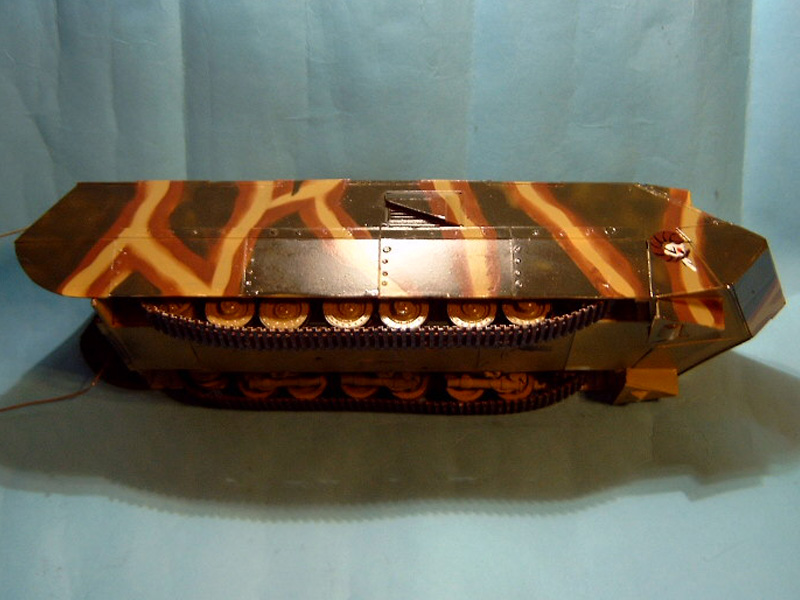
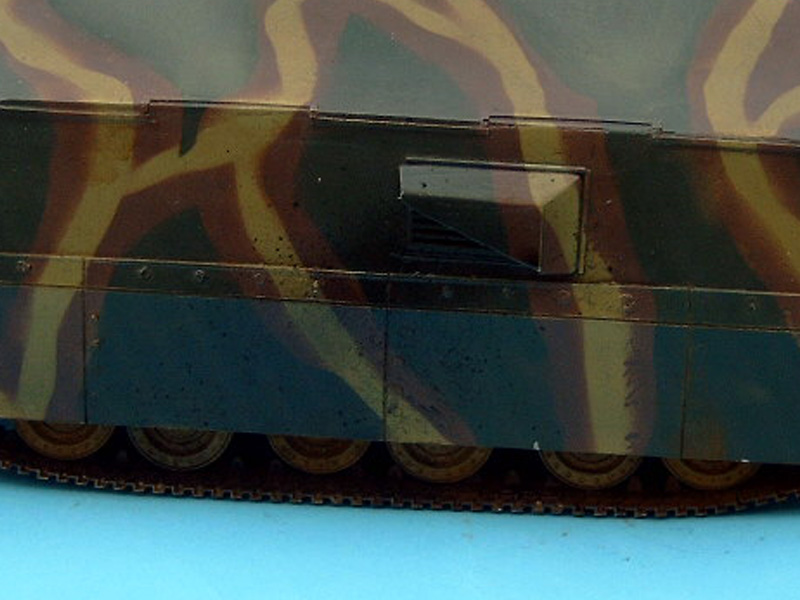
Thats no problem Geraint I have my own doubts about the camo paint as well, but you never know until you try. From what I have read both here and in books I believe I am correct in saying that German AFV's at the very end of the war were painted green with an amount of brown and dunkl(sand colour) supplied to the crews, that is why I painted it the way I have with a limited amount of Brown and sand applied by the crew.
Illinois, United States
Joined: November 25, 2005
KitMaker: 131 posts
Armorama: 88 posts
Posted: Saturday, October 11, 2008 - 11:02 AM UTC
Impressive work Darren watching your build from concept to finish really showed me what expert scratch building is. And really inspired me to continue my work on my own conversion. With that paint scheme it looks like a WW 1 tank now............only kidding

. This thing looks like its ready to go through some buildings now
, I cant wait for your next project now I will be keeping my eyes peeled for something!
Cheers Alex
CMOT
Editor-in-Chief England - South West, United Kingdom
Joined: May 14, 2006
KitMaker: 10,954 posts
Armorama: 8,571 posts
Posted: Saturday, October 11, 2008 - 11:16 AM UTC
I am no expert Alex as this is the first full scratch build I have attempted, second if you count the destruction of the first effort

. That said I am really pleased it has encouraged you to start trying some major scratch work, and there are builders here who are always willing to help point you in the right direction.


