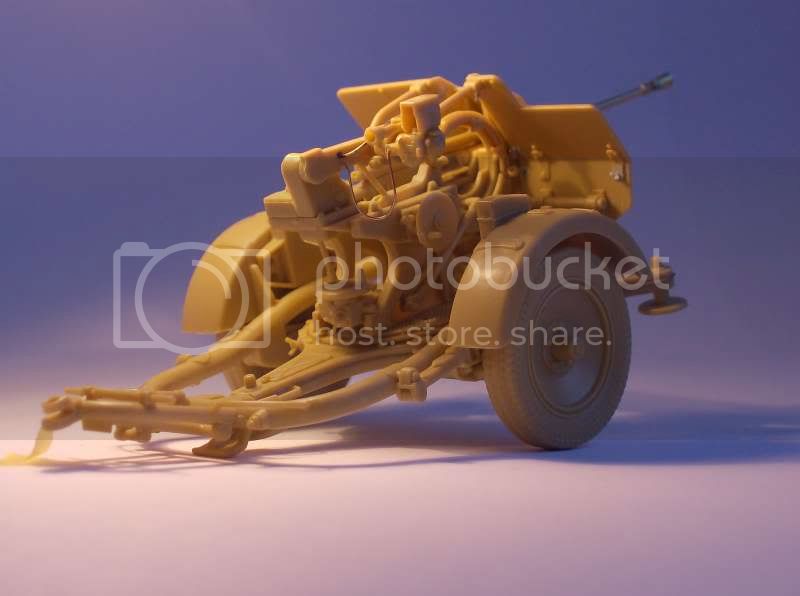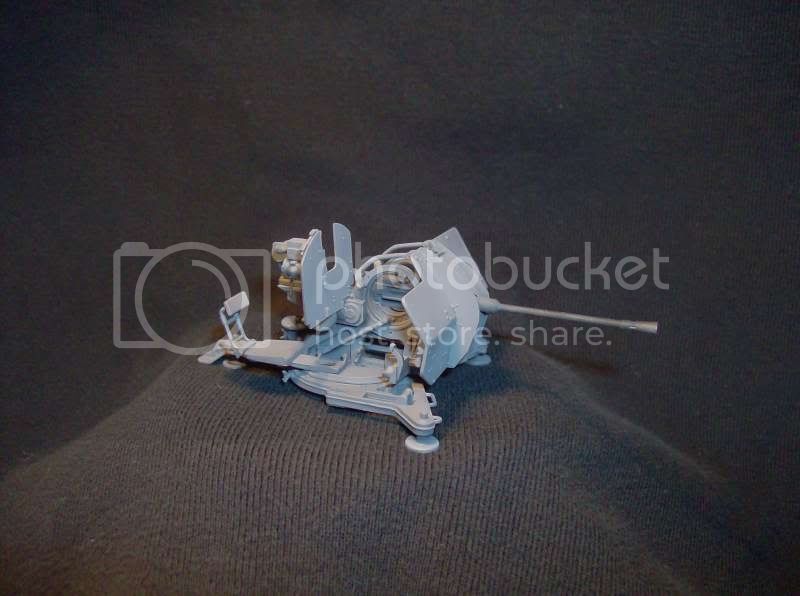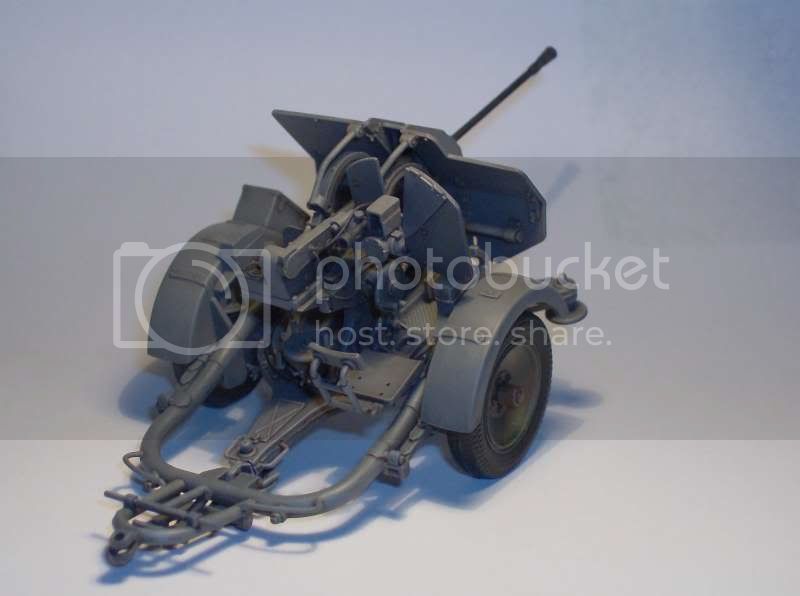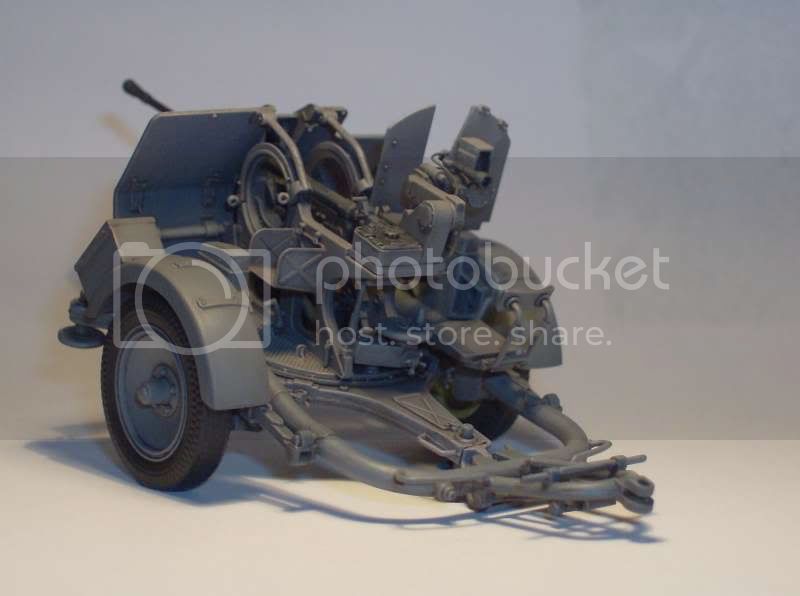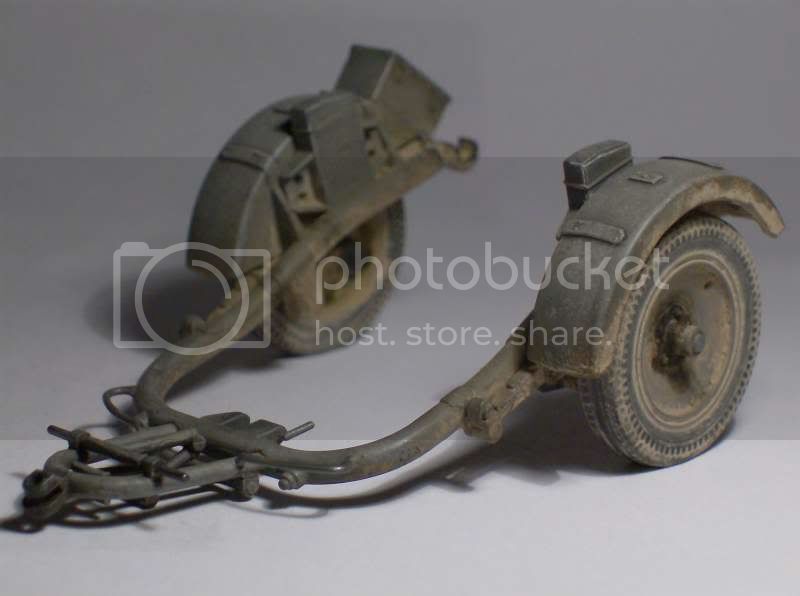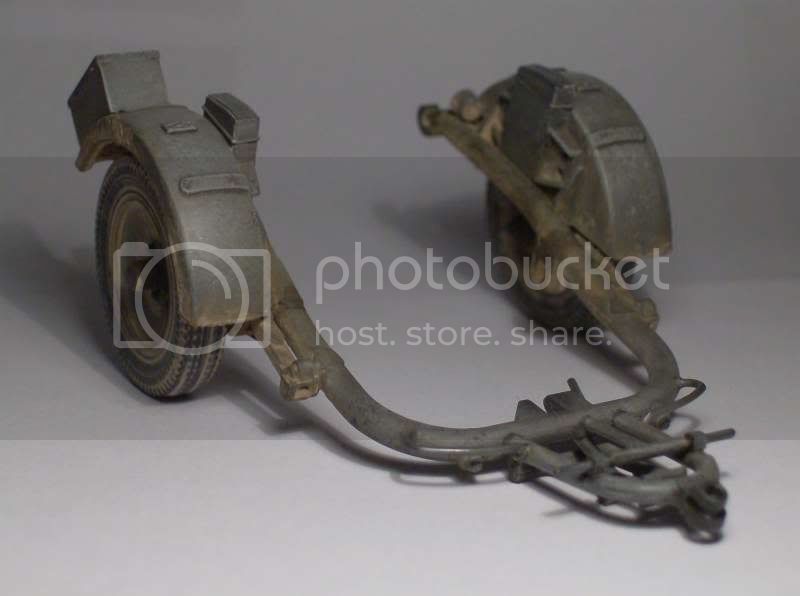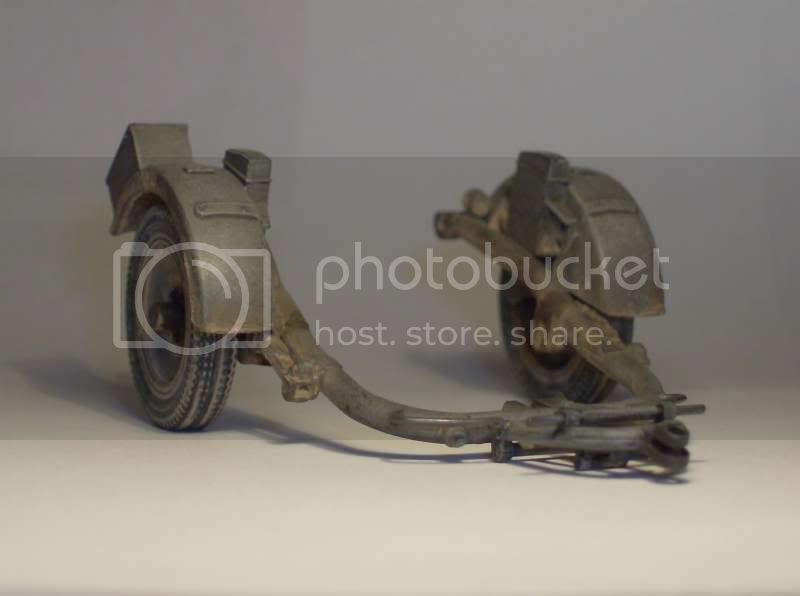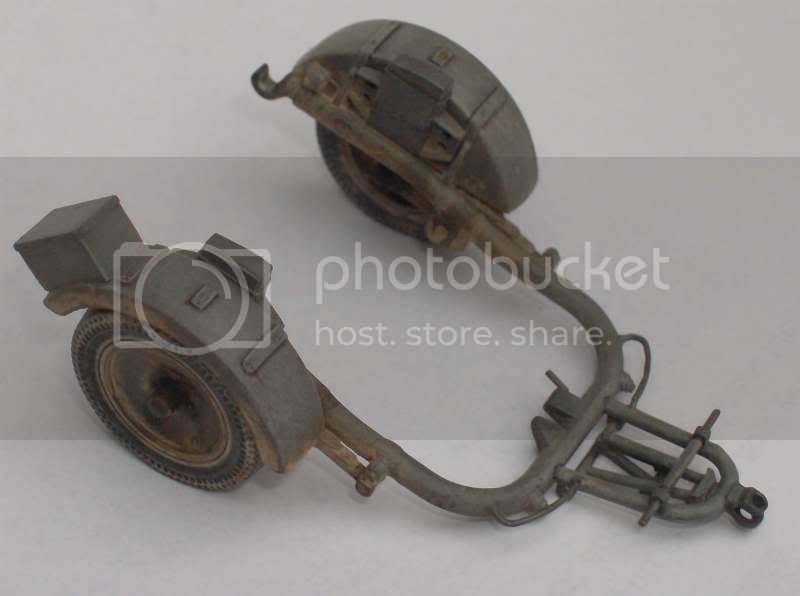
It's time for something different, so this is my new project :
It's Tristar's Flak 38 on trailer with Waffen SS crew.
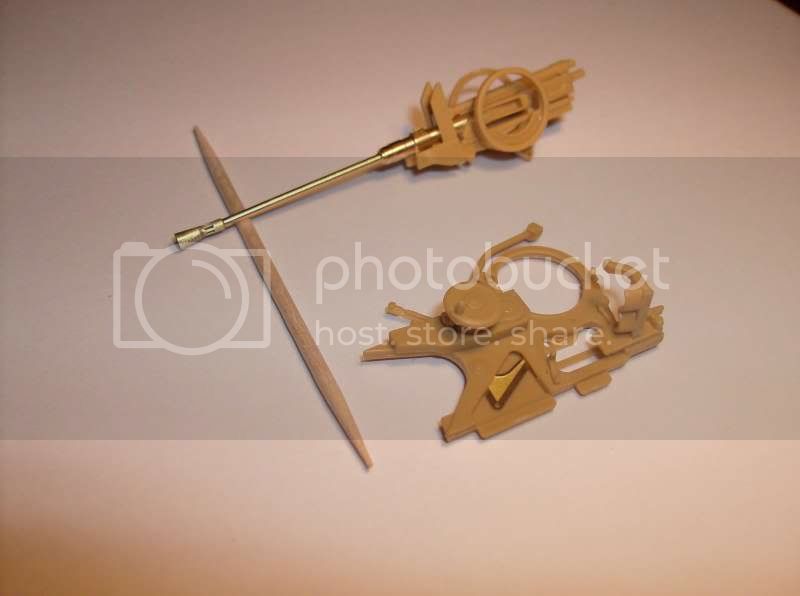
I will use an Aber's barrel to add more realism.
The start : Barrel and Gun mount :
G.
Hosted by Darren Baker
Flak 38 Tristar.
guygantic
Antwerpen, Belgium
Joined: August 19, 2006
KitMaker: 7,084 posts
Armorama: 970 posts
Joined: August 19, 2006
KitMaker: 7,084 posts
Armorama: 970 posts
Posted: Thursday, December 04, 2008 - 03:51 AM UTC
guygantic
Antwerpen, Belgium
Joined: August 19, 2006
KitMaker: 7,084 posts
Armorama: 970 posts
Joined: August 19, 2006
KitMaker: 7,084 posts
Armorama: 970 posts
Posted: Monday, December 08, 2008 - 01:42 AM UTC
Holy madre mia, artillery section seems to be a dead forum.
For the viewers : an update follows shortly.
Greetz Guy.
For the viewers : an update follows shortly.
Greetz Guy.
johnnyboy
New Hampshire, United States
Joined: December 18, 2003
KitMaker: 173 posts
Armorama: 80 posts
Joined: December 18, 2003
KitMaker: 173 posts
Armorama: 80 posts
Posted: Monday, December 08, 2008 - 03:47 AM UTC
guy i am excited i have been wanting to see some one blog this.more pictures please i would def like to see the figures thanks johnny
johhar
Alabama, United States
Joined: September 22, 2008
KitMaker: 476 posts
Armorama: 447 posts
Joined: September 22, 2008
KitMaker: 476 posts
Armorama: 447 posts
Posted: Monday, December 08, 2008 - 03:54 AM UTC
Have this one and am starting to build. Want to see everything. Would like to see someone (hint to DML, or whoever) come out with the quad 2cm, stand alone and mounted (where is DML's much anticipated Sdkfz 7).
Much appreciated.
Much appreciated.
guygantic
Antwerpen, Belgium
Joined: August 19, 2006
KitMaker: 7,084 posts
Armorama: 970 posts
Joined: August 19, 2006
KitMaker: 7,084 posts
Armorama: 970 posts
Posted: Tuesday, December 09, 2008 - 08:09 AM UTC
John, the figures look quite good, but the gear could have been executed finer in my opinion.
But they remain nice, as I said. Tx for your reply. Luckily some people are interested in this remarkable kit.
Jonathan, thank you too for your comment.
Today, I practically finished building the gun, tomorrow I'll start assembling the trailer.
It was a straightforward build, didn't have much problems but the Tristar guys can't count I think.
Why ? Seven chains are needed to complete it, but I could find only four on the pe fret of the box..
And those tiny parts that jump away so easily and dissappear on the floor, watch out friends, you have no parts extra in this kit. And two parts to complete a box aren't there, also pe parts.
The shield needs to be assembled with a lot of accuracy and attention. Each part has to be lined out to avoid a messed up look.
The chair can be build in transport position, or operational.
G.
johhar
Alabama, United States
Joined: September 22, 2008
KitMaker: 476 posts
Armorama: 447 posts
Joined: September 22, 2008
KitMaker: 476 posts
Armorama: 447 posts
Posted: Tuesday, December 09, 2008 - 11:13 AM UTC
I got the PE fret in this kit, but it was missing in their old 2cm flak kit, which I also bought.
Any experience with Tristar customer service?
guygantic
Antwerpen, Belgium
Joined: August 19, 2006
KitMaker: 7,084 posts
Armorama: 970 posts
Joined: August 19, 2006
KitMaker: 7,084 posts
Armorama: 970 posts
Posted: Tuesday, December 09, 2008 - 07:14 PM UTC
Jonathan, I do not have experience with costumer service. I'm afraid that it's better to buy aftermarket parts to complete the gun. How long would it take to finish a transaction via costumer service, I don't want to know I'm afraid... I hate it when a kit isn't complete !
G.
G.
guygantic
Antwerpen, Belgium
Joined: August 19, 2006
KitMaker: 7,084 posts
Armorama: 970 posts
Joined: August 19, 2006
KitMaker: 7,084 posts
Armorama: 970 posts
Posted: Wednesday, December 10, 2008 - 03:49 AM UTC
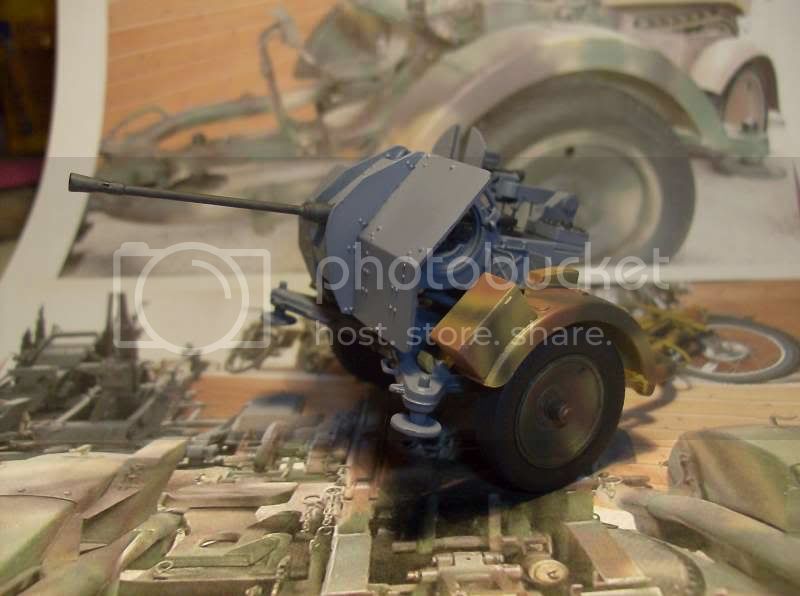
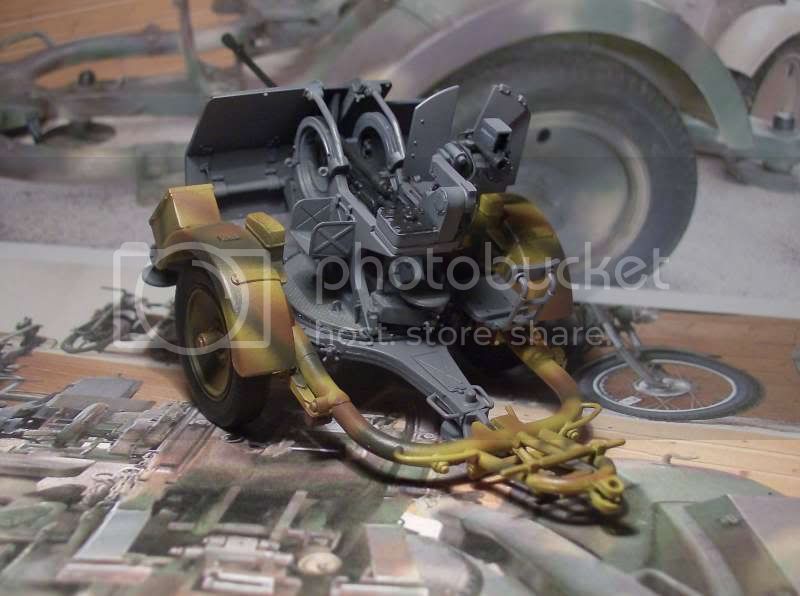
Ready to start the painting !
What you see is a test fitting with sub assemblies (exept for the chair) :
Hopefully soon another update. Greetz G.
What you see is a test fitting with sub assemblies (exept for the chair) :
Hopefully soon another update. Greetz G.
captnenglish
California, United States
Joined: May 20, 2008
KitMaker: 1,184 posts
Armorama: 770 posts
Joined: May 20, 2008
KitMaker: 1,184 posts
Armorama: 770 posts
Posted: Wednesday, December 10, 2008 - 05:19 AM UTC
Thanks fosting this build as this one of those kits I am considering
wbill76
Texas, United States
Joined: May 02, 2006
KitMaker: 5,425 posts
Armorama: 4,659 posts
Joined: May 02, 2006
KitMaker: 5,425 posts
Armorama: 4,659 posts
Posted: Wednesday, December 10, 2008 - 07:29 AM UTC
Moving right along Guy, looking forward to seeing it with paint on.
Posted: Wednesday, December 10, 2008 - 10:13 AM UTC
Guy what is your opinion of the kit supplied barrel, I ask as I am tight fisted and hate spending out money on AM if I don't need to.
guygantic
Antwerpen, Belgium
Joined: August 19, 2006
KitMaker: 7,084 posts
Armorama: 970 posts
Joined: August 19, 2006
KitMaker: 7,084 posts
Armorama: 970 posts
Posted: Saturday, December 13, 2008 - 07:38 AM UTC
The barrel in the box is quite acceptable, only a little sanding/drilling out is needed.
I changed the plan to airbrush it dark yellow with camo stripes. I did it in a German grey and I hope it will make a good match with my two other trailers (yellow/camo).
I still have to paint the finer parts in their base colors.
Then satin varnish and I can start aging the thing.
The trailer of it will be painted in dark yellow and a brown/green camo.
Bye ! G.
guygantic
Antwerpen, Belgium
Joined: August 19, 2006
KitMaker: 7,084 posts
Armorama: 970 posts
Joined: August 19, 2006
KitMaker: 7,084 posts
Armorama: 970 posts
Posted: Sunday, December 14, 2008 - 05:50 AM UTC
Hello guys,
Here's my next update, I hope you enjoy it !
I gave the Flak a German grey color and the trailer was airbrushed in a three tone camo pattern, typical for the Normandy battles.
The details were painted in the base colors and a satin varnish to protect the paint was added. Now it can begin, I can hardly wait...
I wanted to give this project something extra by giving the grey Flak a camouflaged trailer.
G.
guygantic
Antwerpen, Belgium
Joined: August 19, 2006
KitMaker: 7,084 posts
Armorama: 970 posts
Joined: August 19, 2006
KitMaker: 7,084 posts
Armorama: 970 posts
Posted: Tuesday, December 16, 2008 - 02:56 AM UTC
Hello,
Here's my newly painted trailer, camo was one bridge too far concerning chipping stage. I always want to do it as good as possible and I wasn't satisfied at the end.
I removed the paint and started all over again :
G.
Here's my newly painted trailer, camo was one bridge too far concerning chipping stage. I always want to do it as good as possible and I wasn't satisfied at the end.
I removed the paint and started all over again :
G.
Posted: Tuesday, December 16, 2008 - 04:55 AM UTC
Great build! I have this kit also, along with the "Bailout from Kursk" figures. I was thinking of combining both kits to have the flak in a ground role covering the withdrawl of the injured/ retreating soldiers. Sometimes I find the simpler the better. I really like the field gray look. I'm sure there were examples of rear echelon equipment that were not painted dark yellow prior to the Normandy invasion. Even when I was in the military when we had to repaint our vehicles we had a certain time frame in which to complete the task. Don't forget that the German troops, according to themselves, were living like "Gott in Frankreich". There was no big hurry to get anything done. Thanks again.
Jeff
Jeff
guygantic
Antwerpen, Belgium
Joined: August 19, 2006
KitMaker: 7,084 posts
Armorama: 970 posts
Joined: August 19, 2006
KitMaker: 7,084 posts
Armorama: 970 posts
Posted: Wednesday, December 17, 2008 - 12:33 AM UTC
Thanks Bodeen, I hope you will enjoy your build as much as I did. Now I feel good about the grey color on both the trailer and gun. G.
guygantic
Antwerpen, Belgium
Joined: August 19, 2006
KitMaker: 7,084 posts
Armorama: 970 posts
Joined: August 19, 2006
KitMaker: 7,084 posts
Armorama: 970 posts
Posted: Thursday, December 18, 2008 - 03:26 AM UTC
Washes, filter, pinwash, drybrushing :
Next : rust, chippings, metals, more color...
Greetz !
Next : rust, chippings, metals, more color...
Greetz !
sauceman
Ontario, Canada
Joined: September 28, 2006
KitMaker: 2,672 posts
Armorama: 2,475 posts
Joined: September 28, 2006
KitMaker: 2,672 posts
Armorama: 2,475 posts
Posted: Thursday, December 18, 2008 - 04:37 AM UTC
Really nice work so far. Too bad about the camo, although I do like the one camo'd wheel. Gives it a little character.
cheers from the sandbox
exer
Dublin, Ireland
Joined: November 27, 2004
KitMaker: 6,048 posts
Armorama: 4,619 posts
Joined: November 27, 2004
KitMaker: 6,048 posts
Armorama: 4,619 posts
Posted: Thursday, December 18, 2008 - 06:14 AM UTC
Guy, you've inspired me. I just bought the original Tristar flak 38 which I might mount on the new Zvesda Mercedes 4.5t Cargo Truck.
The Flak 38 without crew is going for $10.24 USD; €7.14 Euros over on HLJ
guygantic
Antwerpen, Belgium
Joined: August 19, 2006
KitMaker: 7,084 posts
Armorama: 970 posts
Joined: August 19, 2006
KitMaker: 7,084 posts
Armorama: 970 posts
Posted: Friday, December 19, 2008 - 08:23 AM UTC
Rick, Pat, thank you for the kind words, this is how far I am actually :
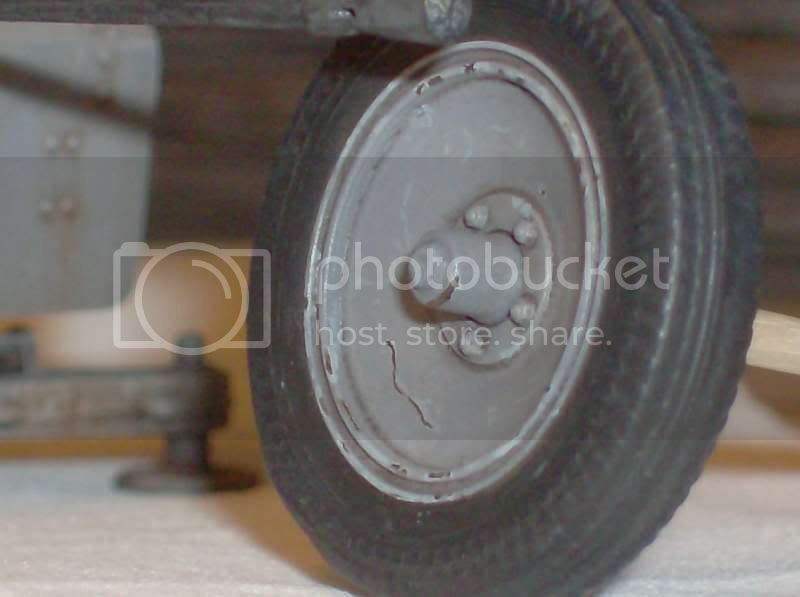
Chipped this wheel a bit :
Started painting red on the handles of the two small wheels :
These still need weathering to be realistic enough ! Now they look like clowns noses.
Guy.
Chipped this wheel a bit :
Started painting red on the handles of the two small wheels :
These still need weathering to be realistic enough ! Now they look like clowns noses.
Guy.
guygantic
Antwerpen, Belgium
Joined: August 19, 2006
KitMaker: 7,084 posts
Armorama: 970 posts
Joined: August 19, 2006
KitMaker: 7,084 posts
Armorama: 970 posts
Posted: Sunday, December 21, 2008 - 09:13 AM UTC
Ho ho ho guys,
I removed the red paint, I've seen so many reference pics now, there are really a lot of ways to finish this kit ! I decided to make it a standard Flak.
I finished the barrel today, using Humbrol metal enamels, fantastic paint for this job.
The back of the seat was done in a dark leather color. The seat is iron.
Tomorrow a new update G.
guygantic
Antwerpen, Belgium
Joined: August 19, 2006
KitMaker: 7,084 posts
Armorama: 970 posts
Joined: August 19, 2006
KitMaker: 7,084 posts
Armorama: 970 posts
Posted: Monday, December 22, 2008 - 08:16 AM UTC
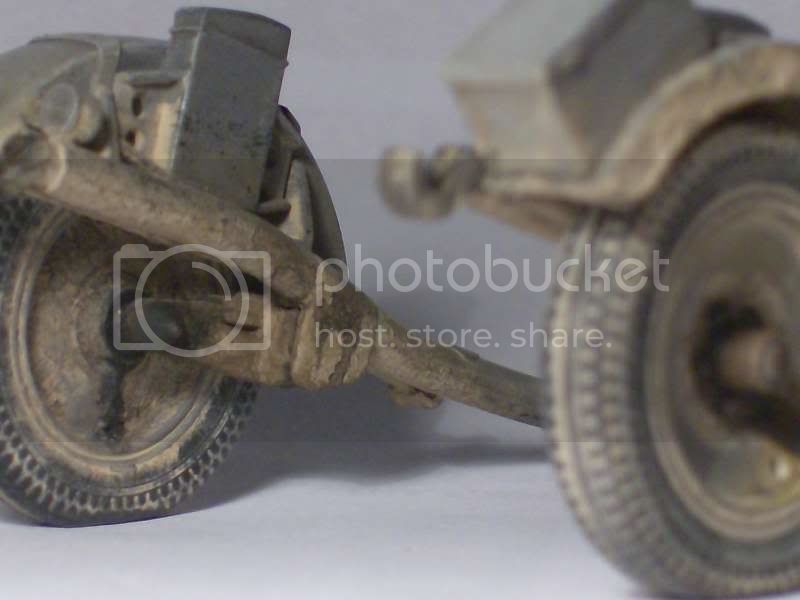
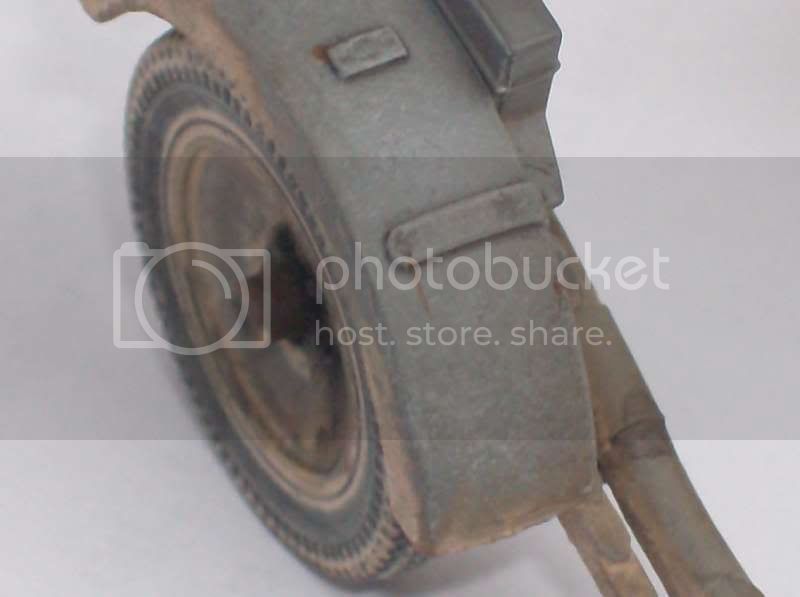
I attacked the trailer again, dry mud, dust, scratches,...
The trailer is almost done, I made some corrections meanwhile, I do another update tomorrow for the people who follow this thread.
G.
The trailer is almost done, I made some corrections meanwhile, I do another update tomorrow for the people who follow this thread.
G.
guygantic
Antwerpen, Belgium
Joined: August 19, 2006
KitMaker: 7,084 posts
Armorama: 970 posts
Joined: August 19, 2006
KitMaker: 7,084 posts
Armorama: 970 posts
Posted: Tuesday, December 23, 2008 - 01:45 AM UTC
Come on guys, don't you like this kit, or is it my way of finishing it ?
Anyway, here's my next update, the finished trailer and a new detail in the Flak :
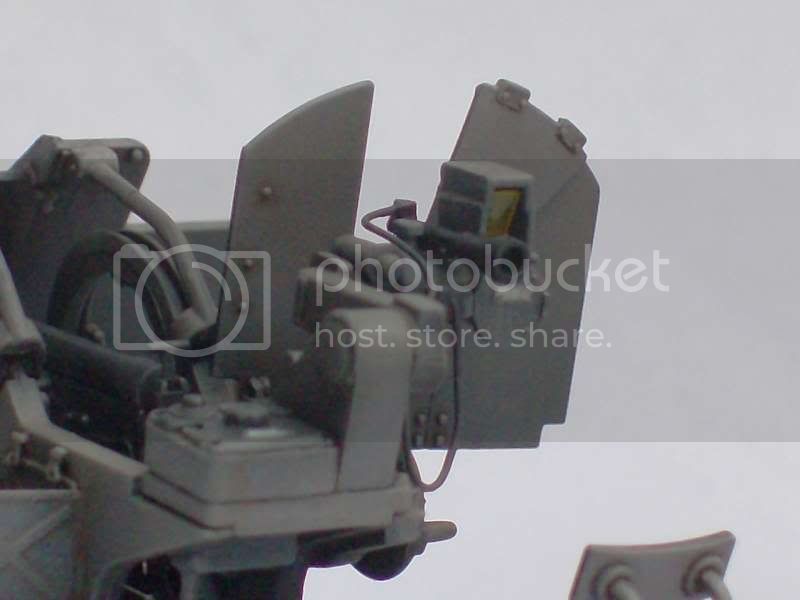
I discovered that the aiming system had this yellow glass/mirror (?), I tried to make one :
Guy. Merry Christmas my friends !
Anyway, here's my next update, the finished trailer and a new detail in the Flak :
I discovered that the aiming system had this yellow glass/mirror (?), I tried to make one :
Guy. Merry Christmas my friends !
Posted: Tuesday, December 23, 2008 - 03:07 AM UTC
Frohe Weihnachten!!!!!!!!!!!! Merry Christmas!!!!!!
Guy....This really looks nice... in my humble opinion very realistic.
Thanks, for sharing,
Jeff
Guy....This really looks nice... in my humble opinion very realistic.
Thanks, for sharing,
Jeff
sauceman
Ontario, Canada
Joined: September 28, 2006
KitMaker: 2,672 posts
Armorama: 2,475 posts
Joined: September 28, 2006
KitMaker: 2,672 posts
Armorama: 2,475 posts
Posted: Tuesday, December 23, 2008 - 03:15 AM UTC
That is truly awesome work! Very realistic.
Merry Xmas!
cheers from the sandbox
Merry Xmas!
cheers from the sandbox