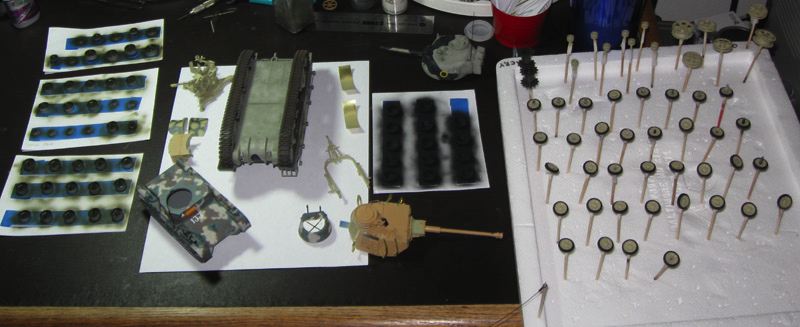
I decided to build up the tracks before adding all the small photo etched parts associated with the tools. I give a brief description of my track assembly procedure below. WARNING: Do not start track assembly as described below unless you have enough uninterrupted time to complete the procedure. Failure to finish a run in one session could render the entire run permanently unusable. I use Testors liquid cement for this procedure, which gives plenty of working time. Please consider that other cements may allow more or less working time.
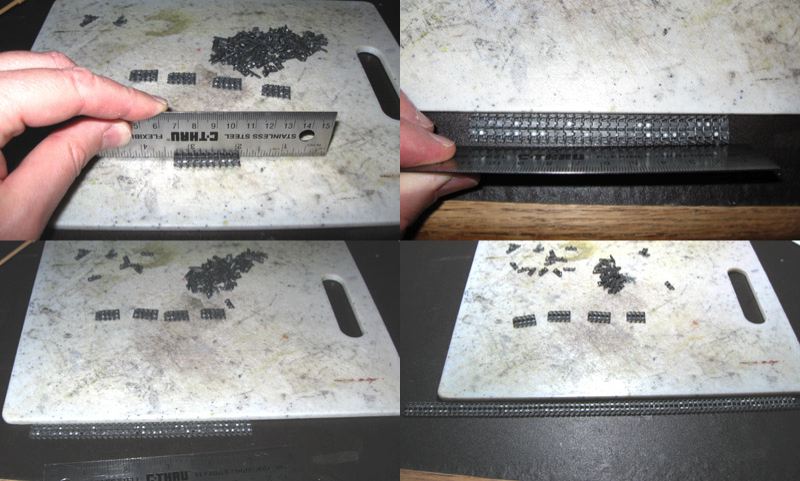
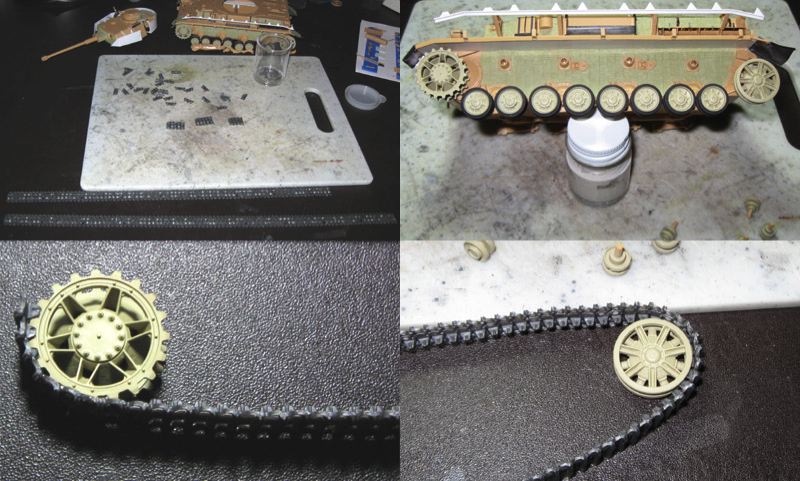
Picture 1: Track construction began by building sets of five tracks using Testors liquid cement. After building a set, I made sure the links sat together correctly and used a metal ruler to push the links flat. I laid out the sets on my cutting board, from left to right, in order of assembly. After assembling 6 sets I connected sets one and two. From this point on I alternated between building new sets and attaching the oldest set to the growing track run. For example, assemble set 7. Connect set three to the tail of the track run. Assemble set 8. Connect set 4 to the tail of the track run. And so forth. When assembling links that can connect from either side, make sure the track pads point in the same direction in every set and run! This is not an issue with Panzer IV track, but look often when assembling Sherman track. Also, if you happen upon a broken or deformed link, put it aside. There are usually plenty of spares and a bad link could put a kink in your run.
Picture 2: After attaching a new set to the track run I pushed the entire run flat with a metal ruler, both against the desk and against the edge of the cutting board. This keeps the track run flat and straight.
Picture 3: As the track run grew, I also picked out the best links and set them aside to the upper left. These links will eventually become the spare track runs on the bow.
Picture 4: If you are not sure how long to make your tracks, take a piece of paper, cut a long strip, and wrap it around the tank running gear. Mark where the ends connect and use this as a ruler to measure the correct run length. Build the track one link longer than measured. If the run ends up too long, just pull off the extra link from the tail of the run. In this case I know the runs measure approximately 99 links. This picture shows a complete run, though I have yet to add the last 4 sets. I use a black Sharpie marker on every tenth link, making them easy to count.
Picture 5: I immediately launched into building the second run. Do not attempt this unless you can build both runs fairly quickly--in 60 to 90 minutes. The runs remain flexible for quite some time because the liquid cement melts the plastic at the contact points. However, the runs eventually go rigid and must rest securely on the model before that happens.
Picture 6: Set up the running gear on the side of your model. Put the idler wheel axle in place and drop the road wheels, drive sprocket, and idler wheel onto the appropriate axles. Leave the return rollers aside for now. Do not glue the idler wheel axle in place--wait until securing the completed tracks to the model. This allows adjustment of the idler wheel as required to tension the tracks. Do not glue any of the wheels, idlers, or sprockets in place. If you have difficulty managing so many loose parts, secure them with Blue Tac or a similar temporary adhesive. I did not use any adhesives for this example. I used a paint jar to position the hull at a good angle, keeping the wheels in place while preventing damage to the opposite side skirt rails.
Picture 7: Wrap the head of the track run about 1/3 around the drive sprocket. Now, go back and check your references to make sure you are putting the track on in the right direction! Look at more than one tank--sometimes real crews put them on in the wrong direction.
Picture 8: About halfway down the track, wrap the run around the idler.
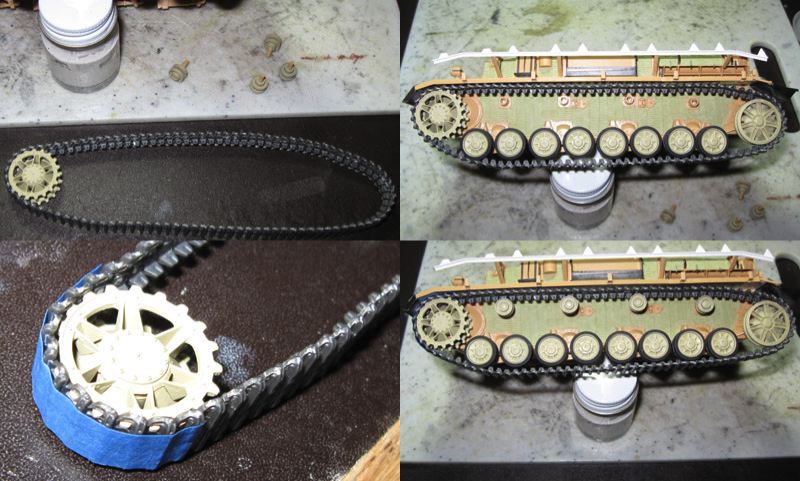
Picture 9: Connect the tail to the head at the drive sprocket to form a loop. If you connect the ends somewhere else, you may have a very difficult time getting the sprocket free of the track! The track will remain somewhat flexible, but do not make any sharp kinks. Double check the track direction.
Picture 10: Slip the track run onto the running gear. I usually put the idler in place, loop the far end of the track around the idler, then secure the sprocket. You will probably knock off some wheels. After you get the idler and sprocket in place, drop any wheels that fell off back into place. You must now judge the track length--too much, too little, or just right. If just right, proceed to the next step. If too much, take the track off, pull a link off the tail end, and try again. The glue will generally not grab fresh plastic at this point, but DO NOT accidentally glue the loop closed! If too short, add a link or two, wait five minutes, and try again. The newly added link(s) will end up on the drive sprocket and so held in place by the teeth.
Picture 11: Once satisfied with the track length, tape the run closed at the sprocket. I use blue panter's tape.
Picture 12: Install the run back on the model as described under Picture 10. Add the return rollers.
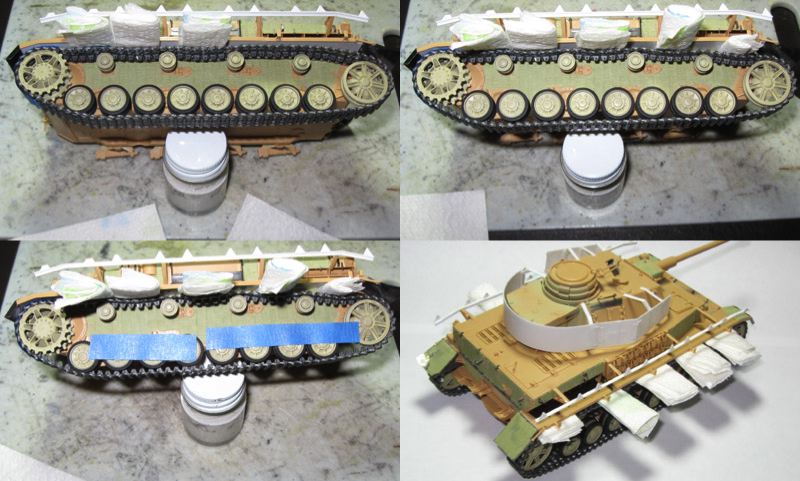
Picture 13: Using small squares of paper towel (the cheap kind that does not release a lot of lint), make flexible shims and add whatever degree of slack you feel appropriate. I start at the drive sprocket and work aft, placing the paper towel shims between the return rollers. For a tack with little or no slack, place the shim right above the rollers, with just enough tension to keep the track in position. Make sure the shims are of equal thickness all the way through, or you may put a kink in the top of the run.
Picture 14: The shims take up the slack, such that the track run now grabs the running gear tightly. The links will pull together somewhat as they dry, so do not try to make the runner extremely tight. I actually build in some play in anticipation of shrinkage. If the tracks shrink too much, the adjustable idler axle will allow you to move the idler forward and correct for the loss of length.
Picture 15: Lightly apply some blue painters tape to keep everything in place while adding the opposite track run. If you used temporary adhesive to secure the running gear you can skip this step. WARNING: If you only built up one track run, or built up one track run and intend to build the other during another session, sit the model flat on its track and shim up the opposite side so that the tank sits level. If you do not do this the tracks may dry pigeon toed!
Picture 16: Place the second track run on the model, then sit the whole thing flat on a level surface to dry.
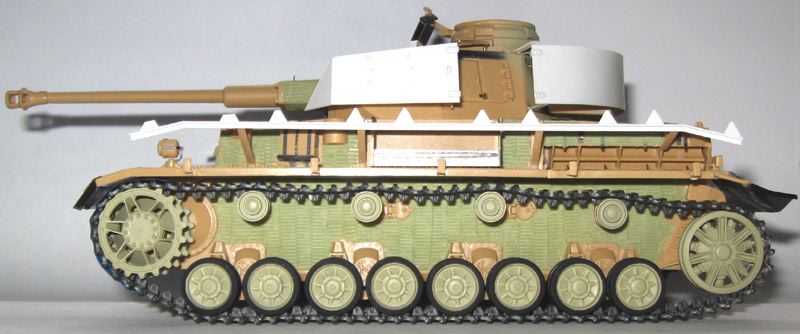
Picture 17: On this model I removed the shims after one hour. On some models, especially Panthers and Tigers, I leave the shims in place much longer. By adding more or less links and adjusting the idler wheel axle you can add more or less sag to a run. Give the tracks at least one full day to dry, then disassemble the running gear for painting. If you intend to wait a while between assembly and painting, leave the tracks on the model. This will help prevent excessive shrinkage.
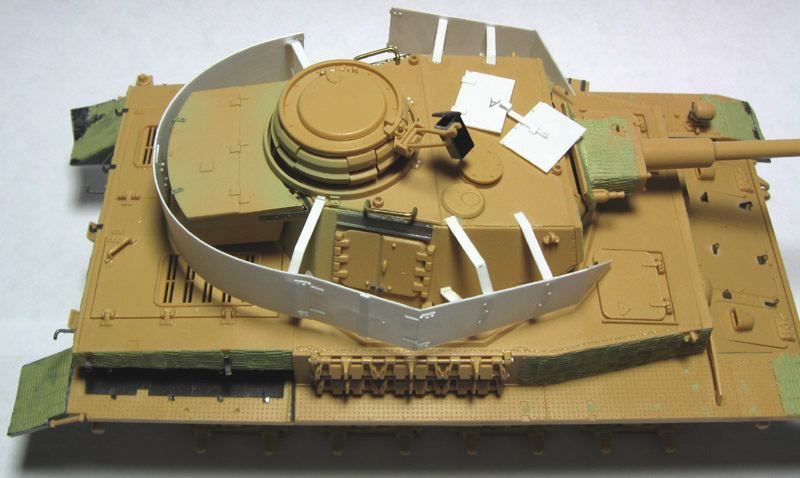
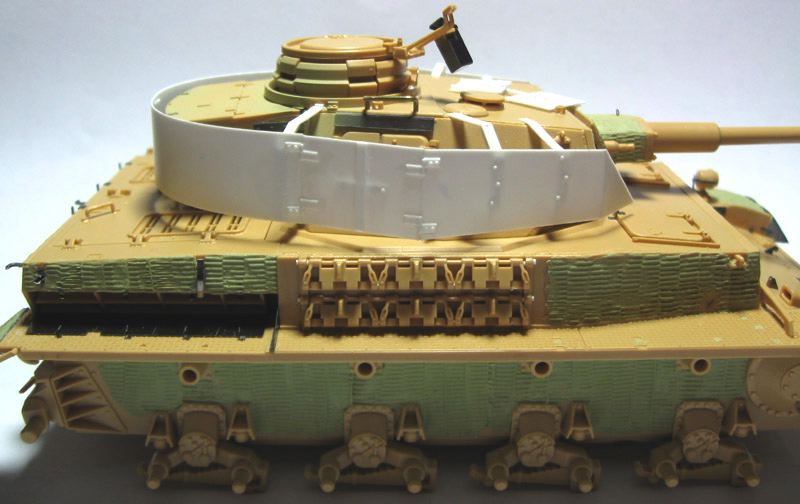
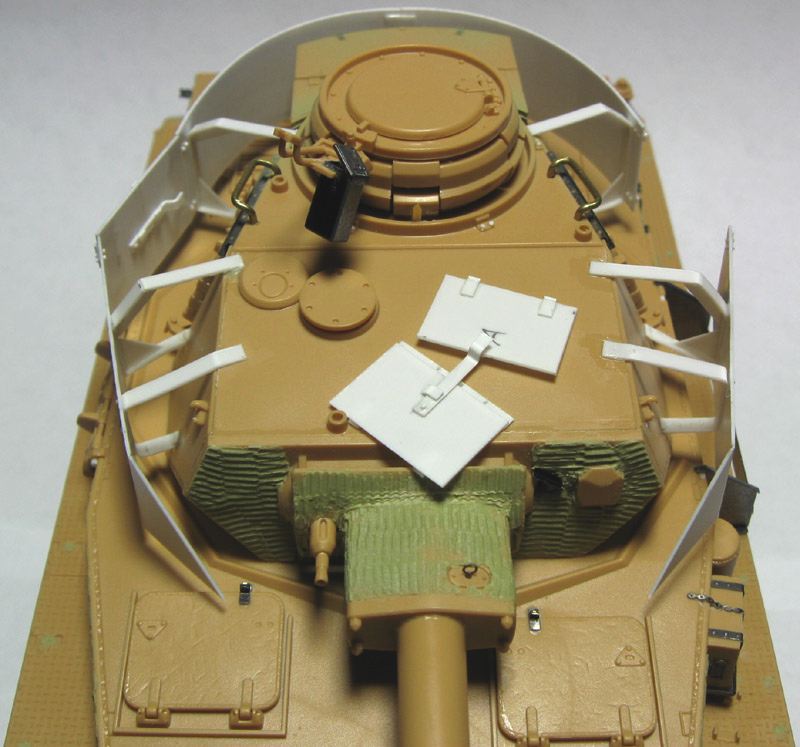
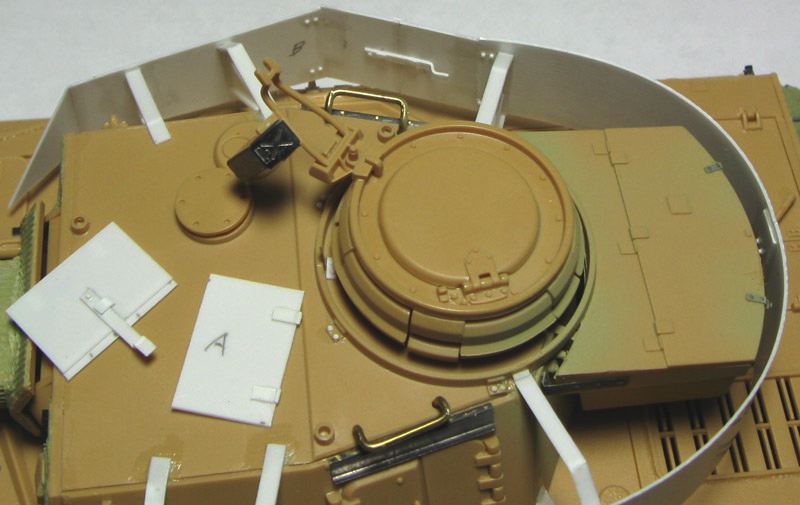
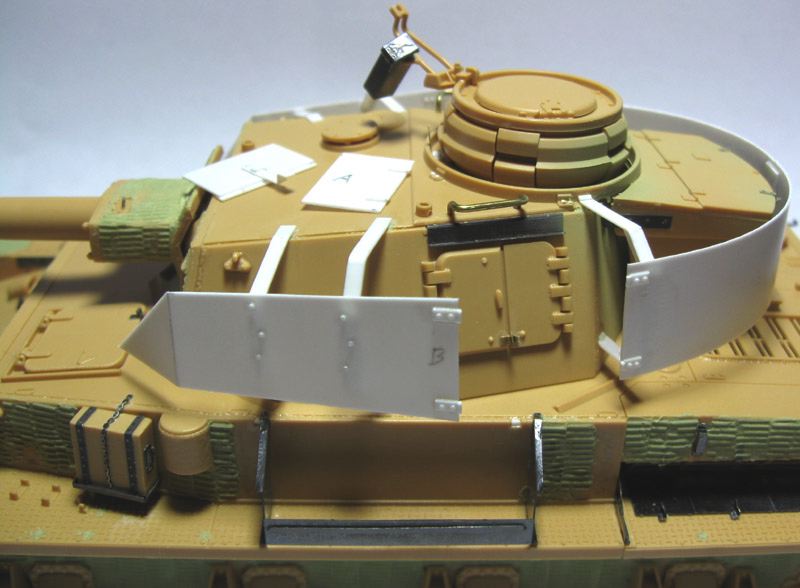
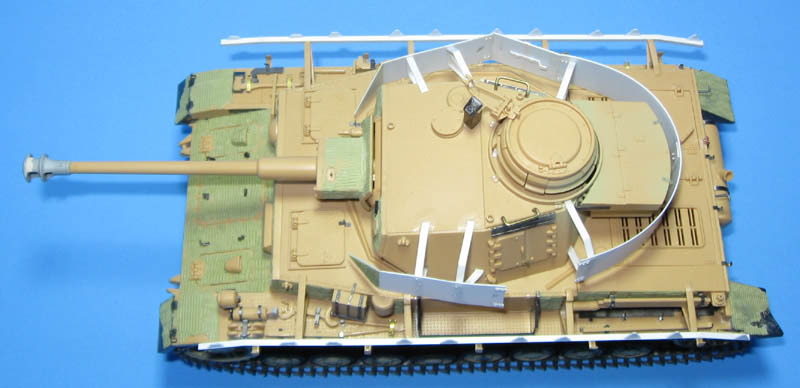
To avoid alignment problems with the hull skirts I used the kit supplied brackets. However, I sanded the brackets to a much thinner profile and replaced the rails entirely.
I do not like the tool clamps in the Eduard set and need to find or order new ones. Until then--I'm thinkin Jagdsherman.
-Doug


