We join this program already in progress...
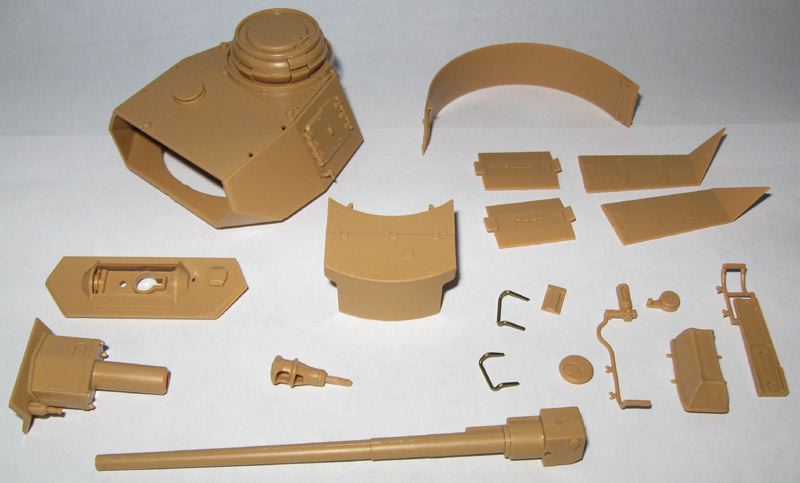
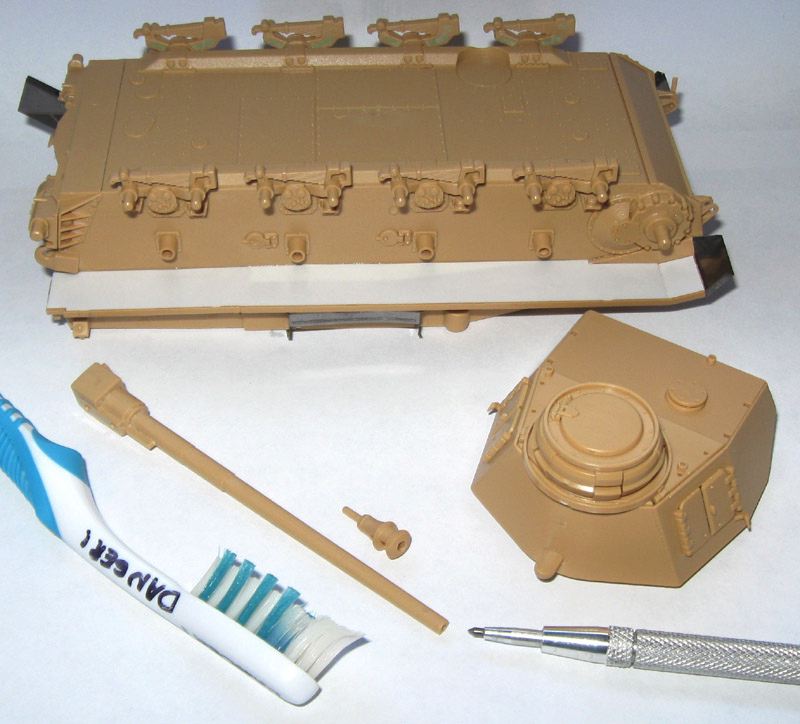
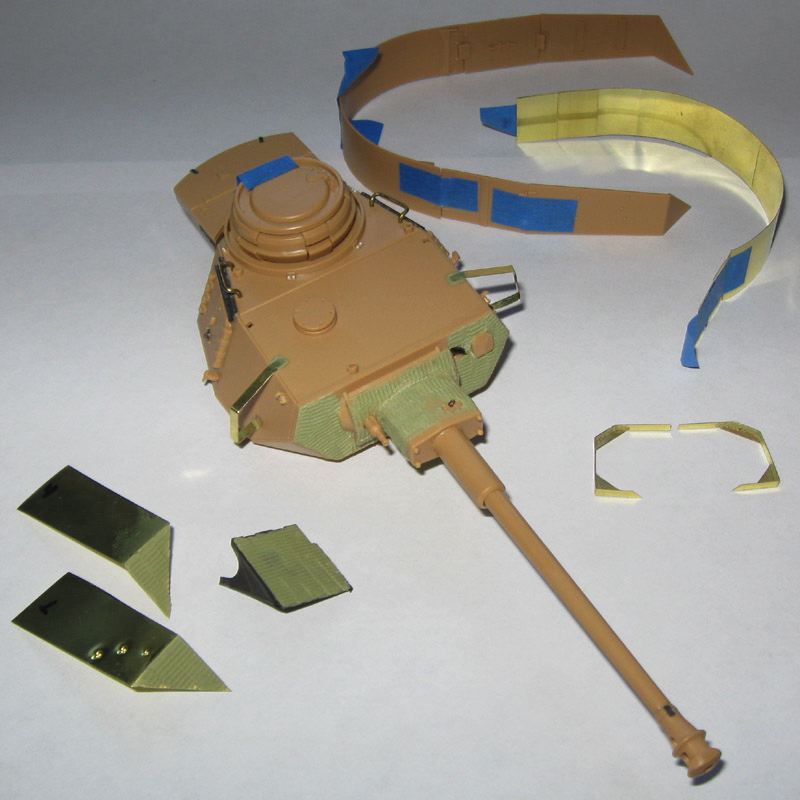
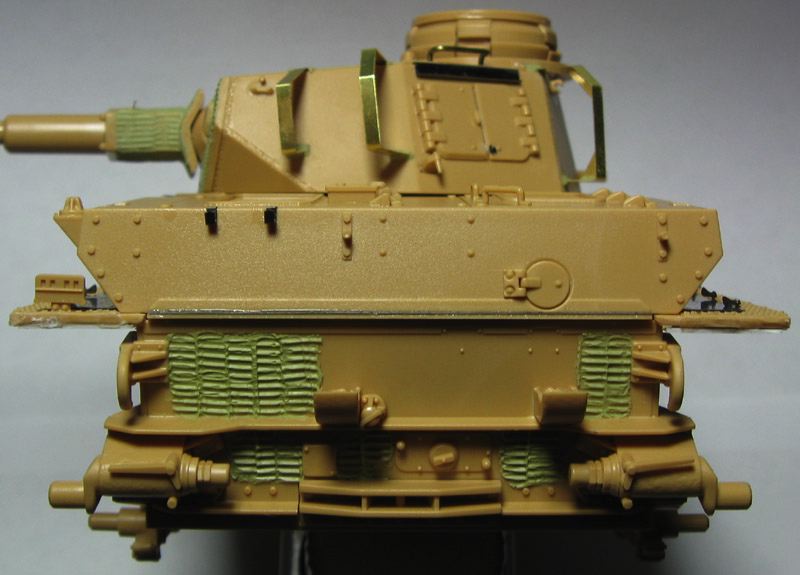
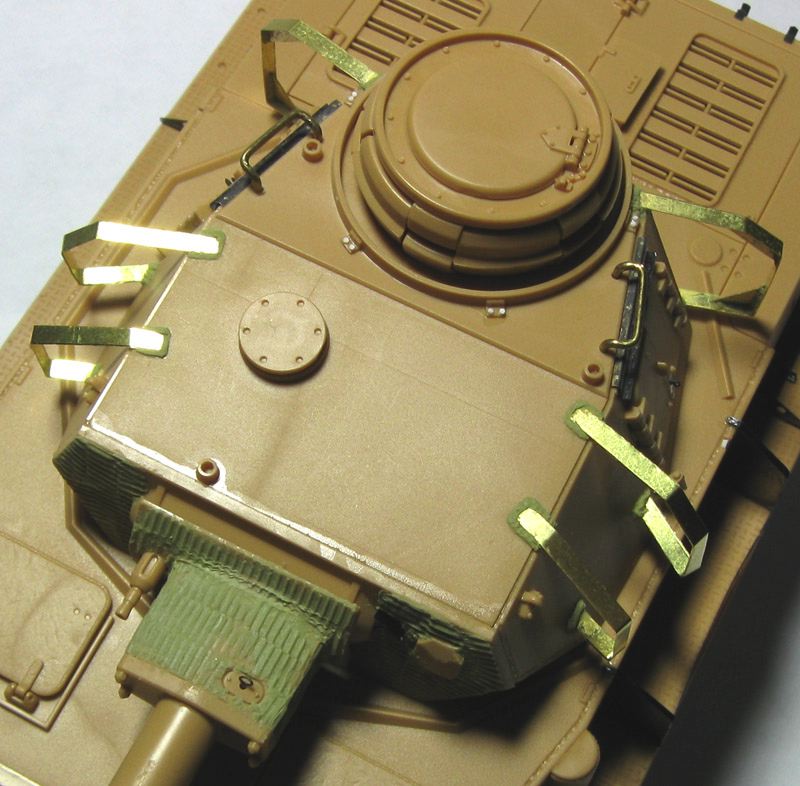
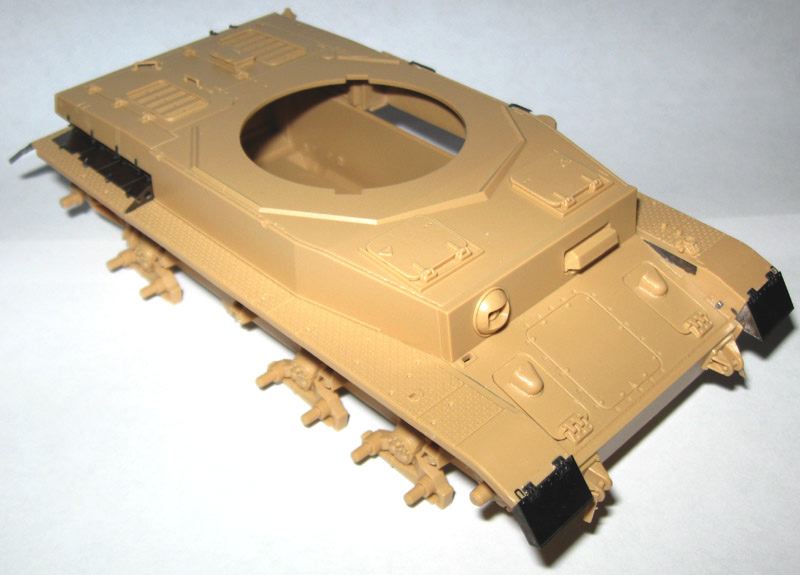
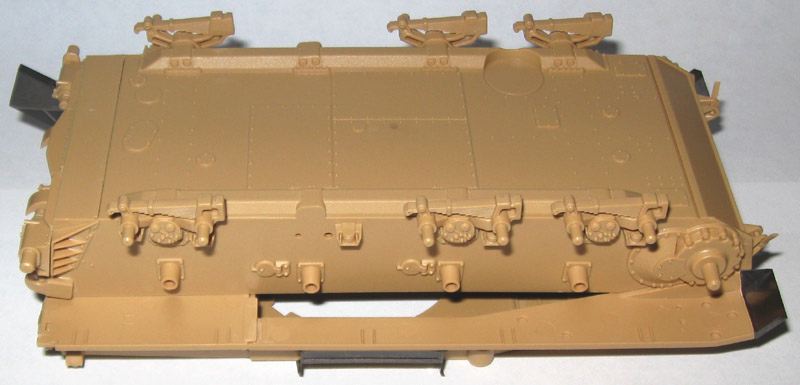
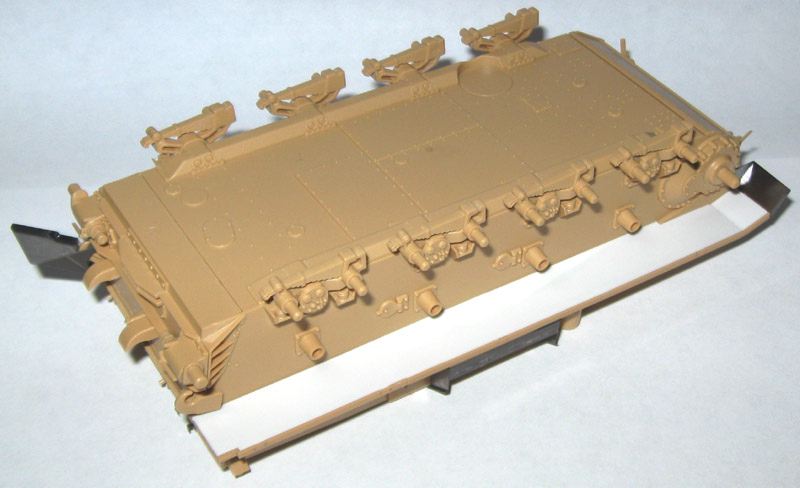
The first two photos show what I found in the box--an assembled hull with 6 of the bogie trucks in place, some etch fenders, and various detail parts installed. One fender and one tool bracket broke off in storage.
Back in 2001 the Tamiya Panzer IV Ausf.J was considered one of the best and most accurate models available. A lot has changed since then, but she still has good bones. I want to get this model to the painting stage quickly, but I will also make some corrections along the way.
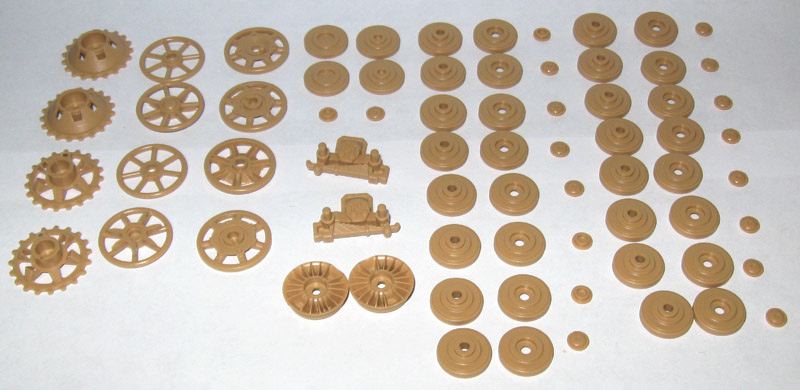
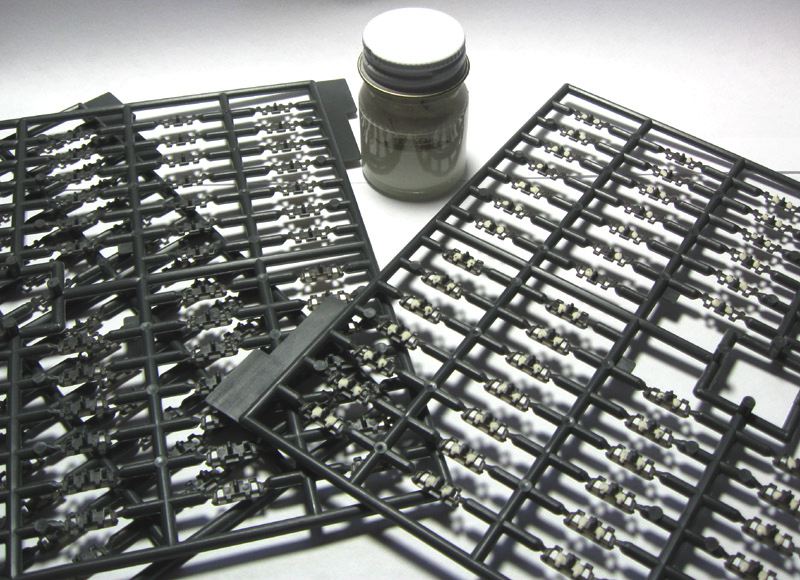
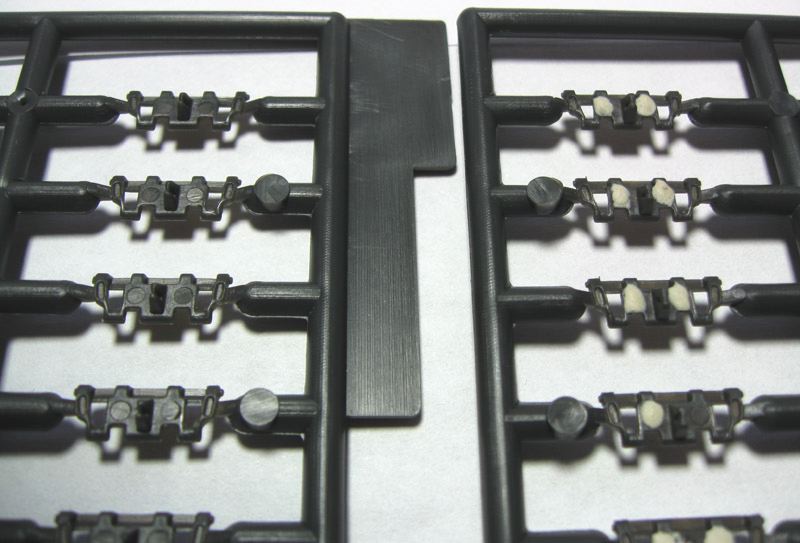
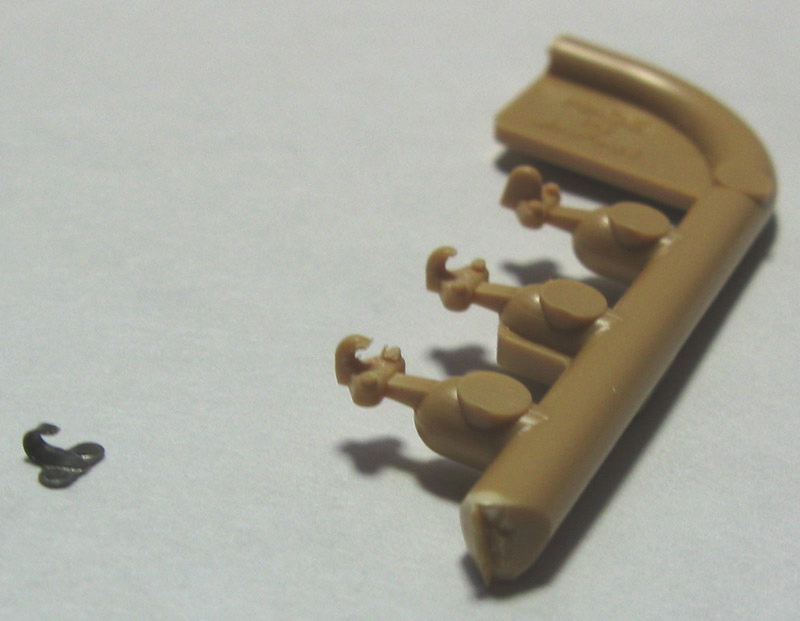
To get the ball rolling I cleaned up two sprues of suspension parts. The hubcaps on Panzer IVs vary from mark to mark and even vehicle to vehicle so I checked references and confirmed that Tamiya provides the right parts. The hub on the bogie swing arm also varies, but the Tamiya kit matches pictures I have of a Panzer IV Ausf.H.
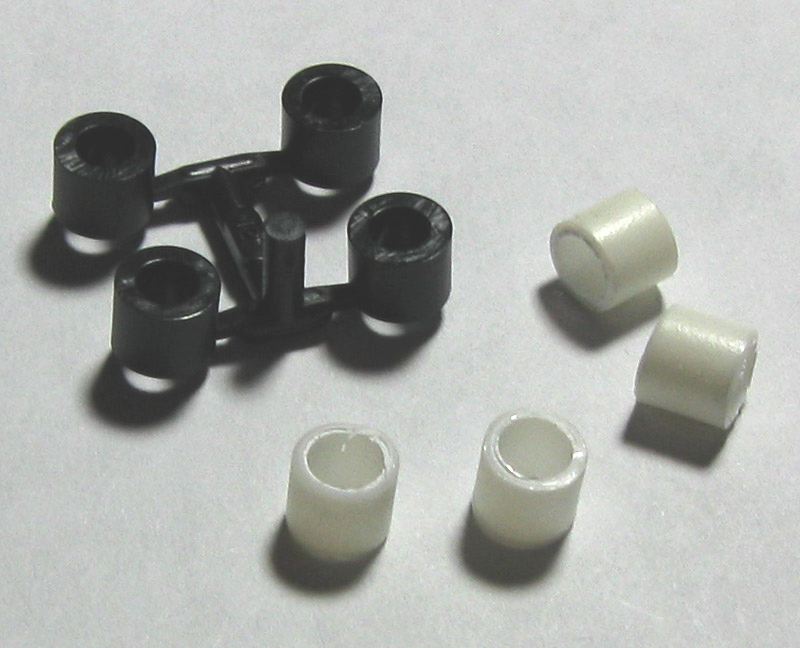
The drive sprockets incorporate a soft plastic bearing and attach to the final drives by friction. I replaced the bearings with styrene tube stock, which will allow me to glue the sprockets in place.
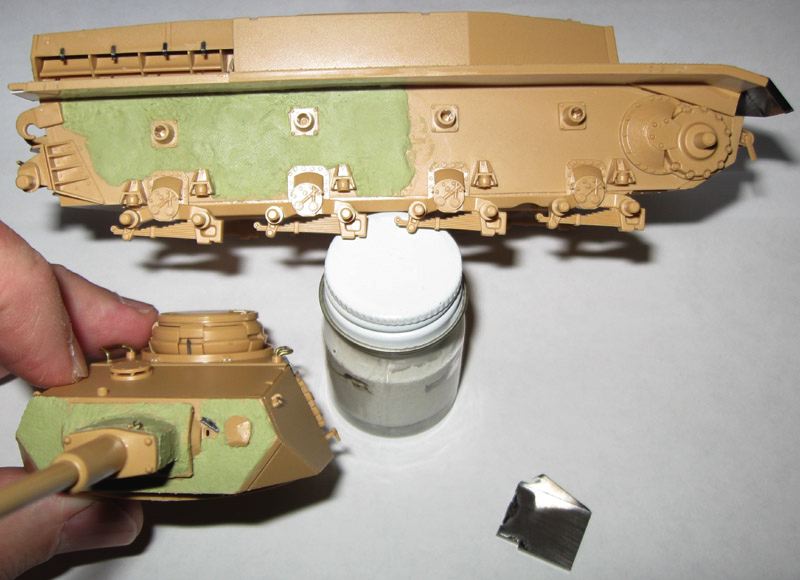
Back in 2001 things like open sponsons did not concern me. Now they do. If started from scratch I would fill that open wedge with styrene and then putty all the nooks and crannies. This would preserve the full depth of the fenders. Brass replacements would also work. In this case I want to keep costs down and move quickly so I will panel over the problem with very thin plastic card. A quick test showed that the card will leave some depth.
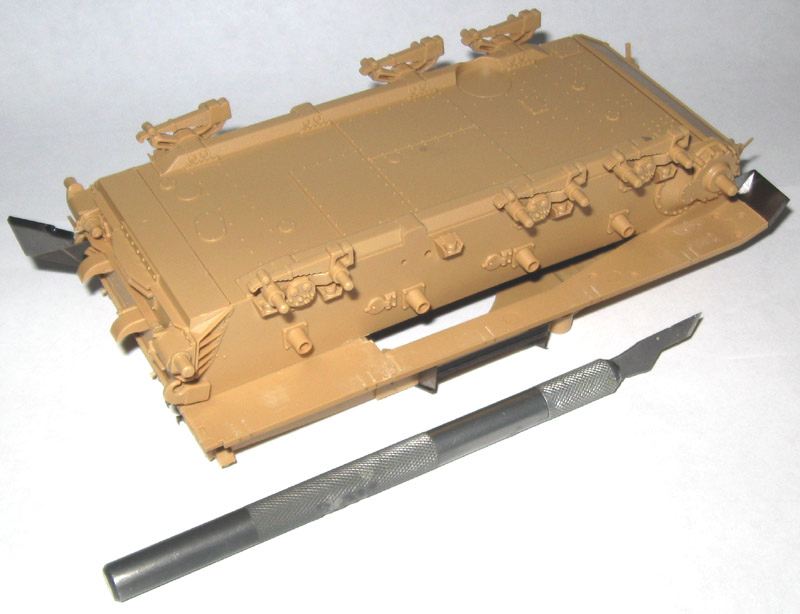
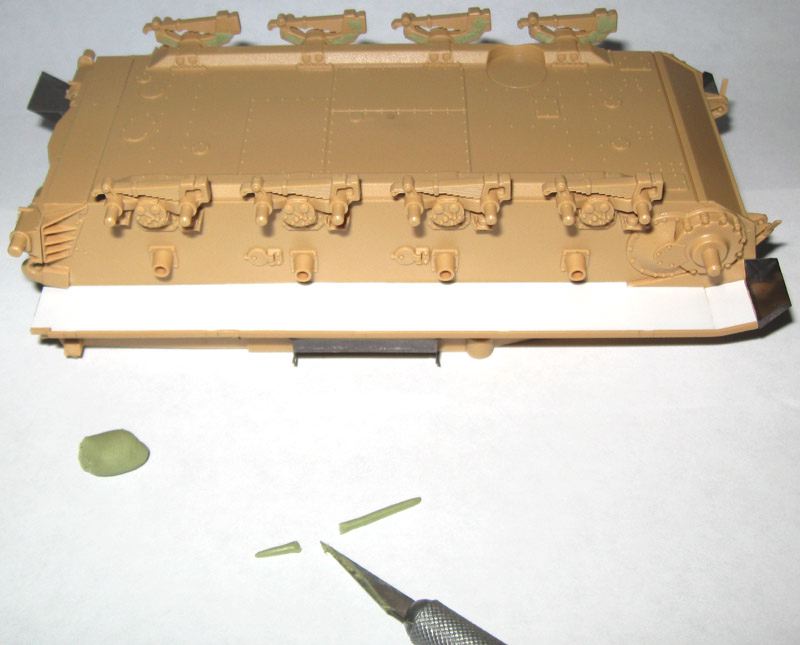
In preparation for the sponson fillers I shaved off all protrusions under the fenders. I did not bother filling the knockout pin marks or other trenches since the fillers will hide them. Before eliminating the skirt guides I used a pencil to mark their locations on the sides of the fenders.
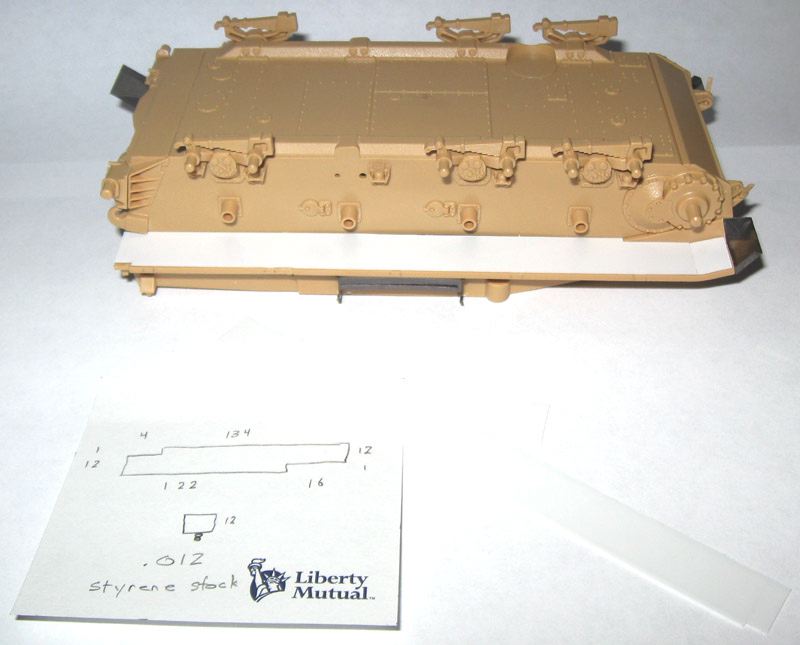
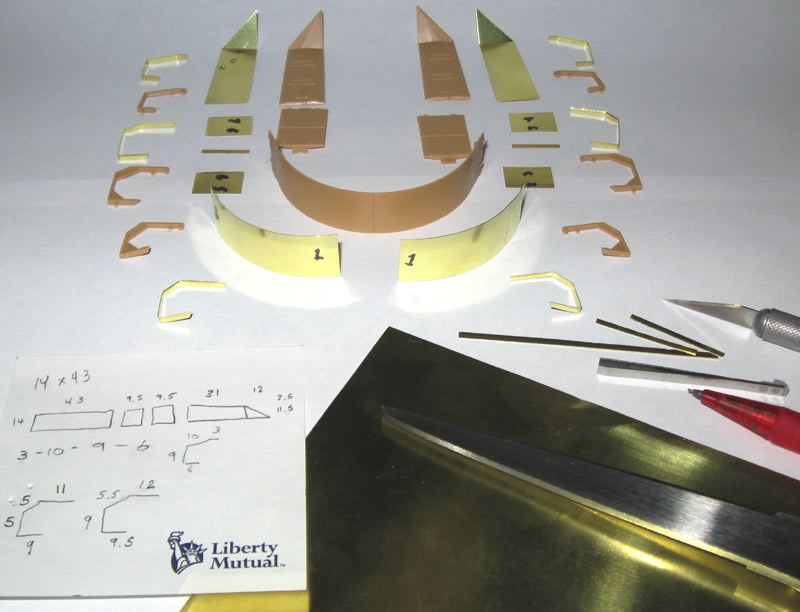
After taking some measurements I cut out the sponson fillers using 0.012" styrene sheet. Other measurements in millimeters. Each filler consists of two parts, with the short section filling the kinked area at the front of the fender. I would recommend making them a little wide and long, then shaving them back for an exact fit. When test fitting the fillers, I also discovered that the hull pan walls bow inward at the center.
Using a piece of thick sprue I made a spanner to stretch the hull walls. This required careful test fitting to make sure that the spanner did not push out the hull walls too little or too much. After gluing the spanner in place and securing the ends with some thick styrene wedges I installed the sponson floors. I used Testors liquid cement to glue around the perimeter of each filler. I did not use any glue down the center because I did not want the thin styrene to melt and sag into a knockout pin hole or trench. I finished off the job by putting thick styrene strips inside the hull where the sponson floor meets the hull wall.
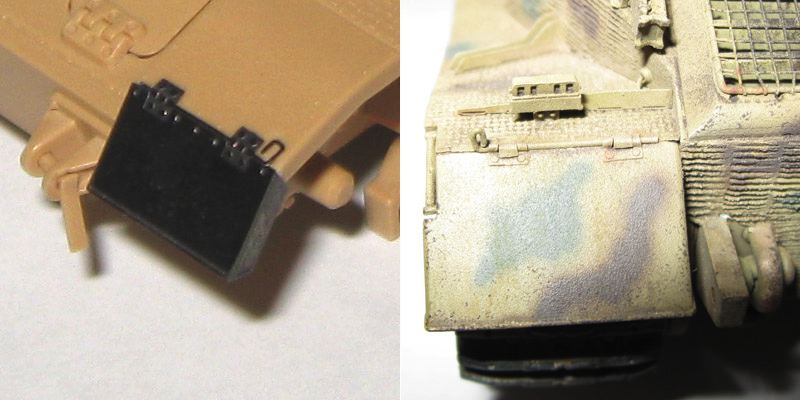
This build uses an old etch set from Eduard. Eduard tends to simplify parts for ease of build (Smart Etch?) as shown in the two pictures above. The left image shows the Eduard left front fender piece in place. The right image shows the left rear fender piece from DML's Premium Porsche Tiger. On the Eduard set the two hinges and hinge pin are flattened. I mention this because I will substitute some etch pieces for spares and scratch built items as I go. The tool clamps come immediately to mind.
That's it for now. I still need to pick a prototype to emulate so feel free to throw out some suggestions. I would love to try an urban winter scheme, with angular whitewash patches over three color camo. The question is, did any early Js (as depicted in this kit) survive that long, and if so, with what unit?
-Doug