
I'm back with step 2, shaky hands and all! You really should be sure the cement from the first step is really rock-hard before starting this step!
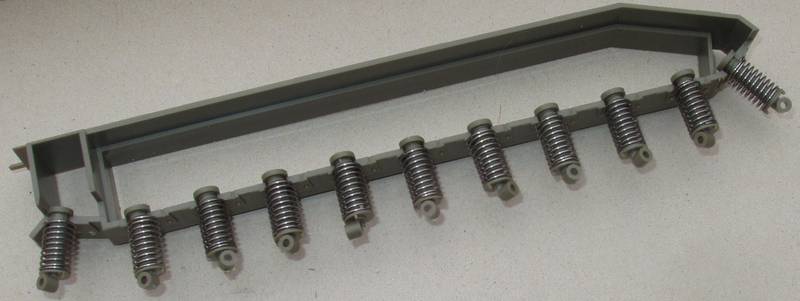
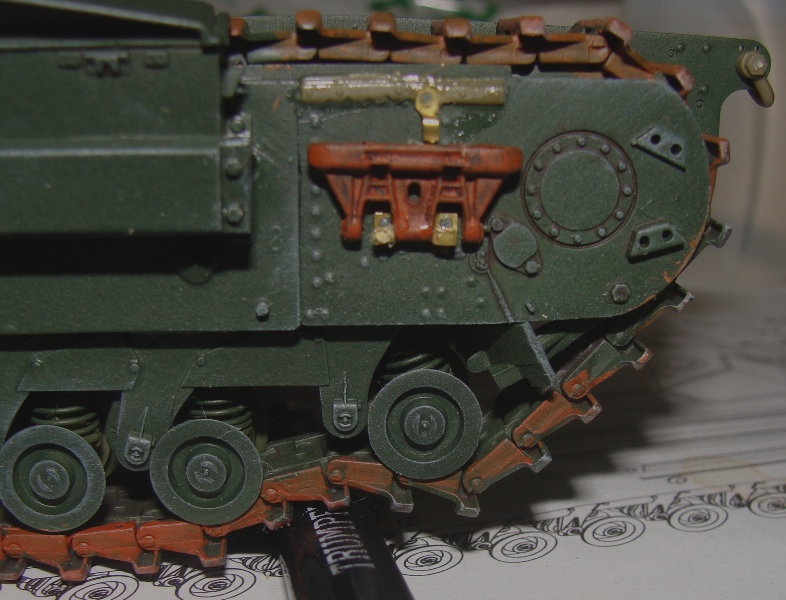
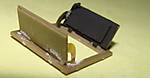
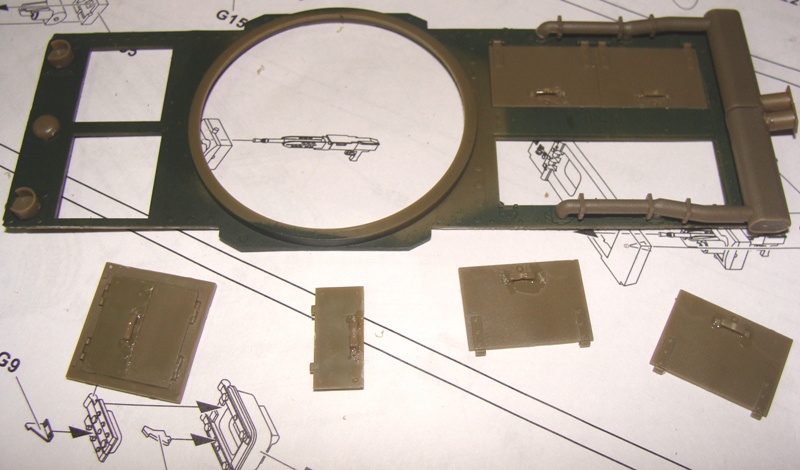
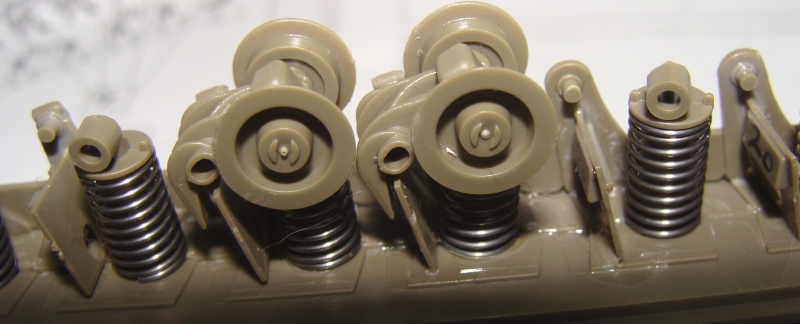
As you can see, I've numbered some similar-looking parts with a pen before I cut them from the sprues. Those numbered bits are the spacers w/rubber bump stops (parts D17, 18, 19, 20) that fit between each girder. The girders (parts D1, 2, 3, 4) are the long bits that will actually hold the whole assembly between them. The girders also have the pins on which the suspension arms hang. Even though some of those spacers are dissimilar, it doesn't matter if you get them mixed-up. Nobody will see them once everything is together!
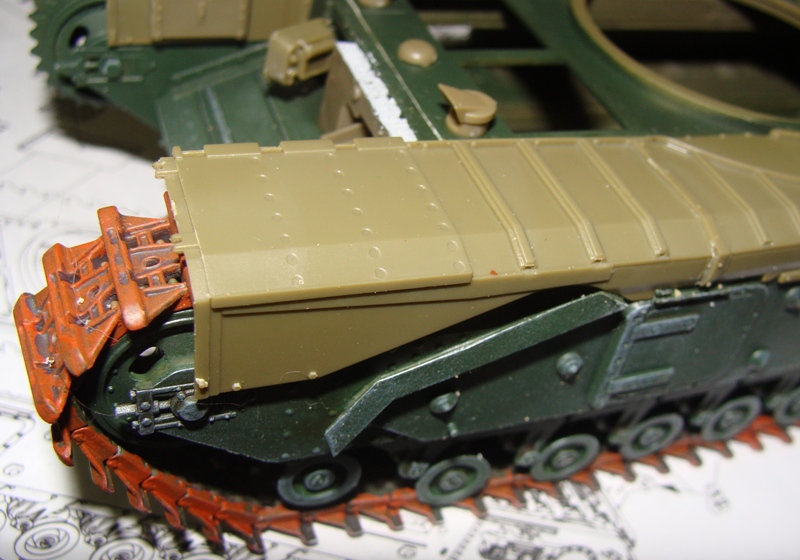
Cement ONE girder (parts D3, D2) and all those spacers to the hull pannier you assembled in Step 1. Make sure the spacers are straight and that the girder is straight. There are grooves and divets to help you line it up if you are completely drunk on caffeine at this point. Let all these bits dry (or use CA cement if you're impatient).
Now comes the REALLY tough part if you've had too much coffee...
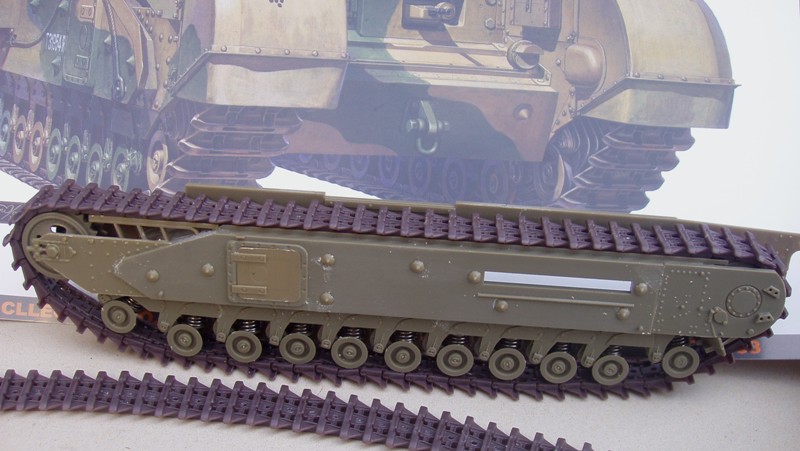
Hang all the suspension arms (parts D21,22,23) on their respective pins on that girder. How does one keep them all in place? The WHEELS keep them all in place.
Once you've inserted the wheel axles though the suspension arms and spring towers, it all stays together (unless you're attempting this build while driving cross-country).
The holes in the suspension arms are even elongated to allow more flexibility.
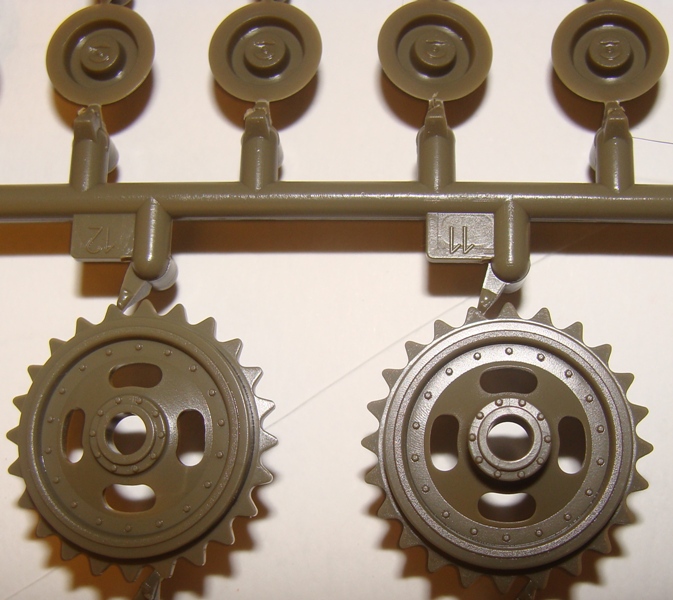
The only hard part is to carefully remove the wheel from the sprue without damaging the outer (sharp) edge of the wheels! Stay tuned for installation of separately-available individual track links, and the rest of the build.
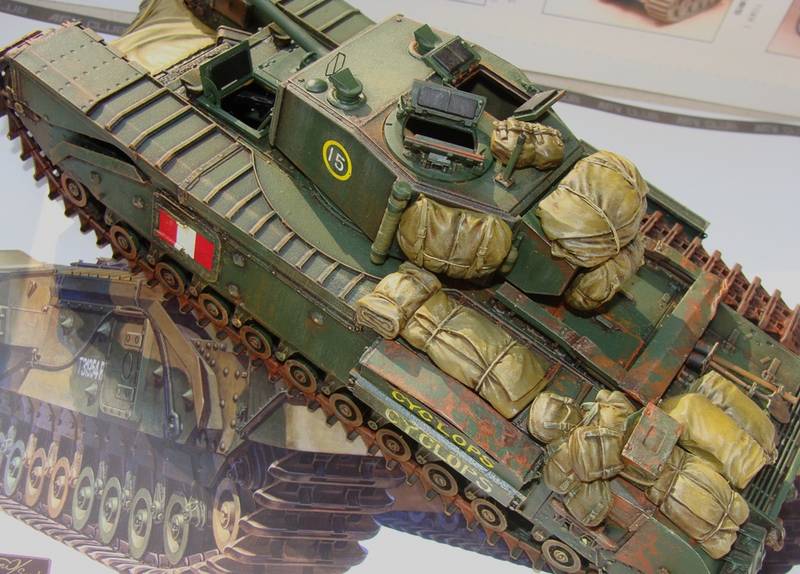
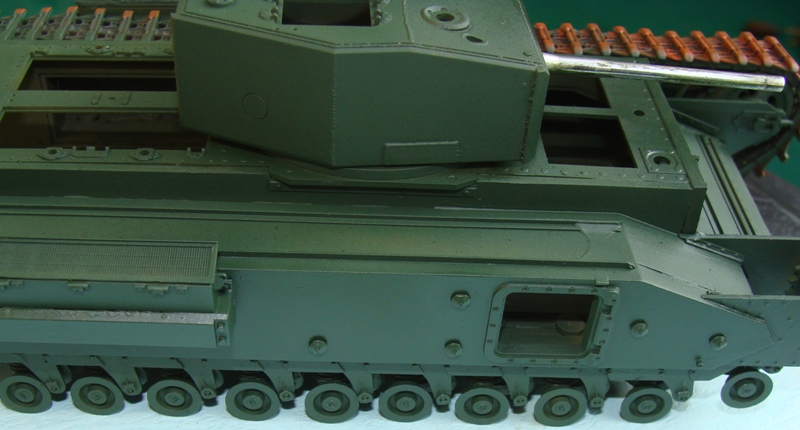
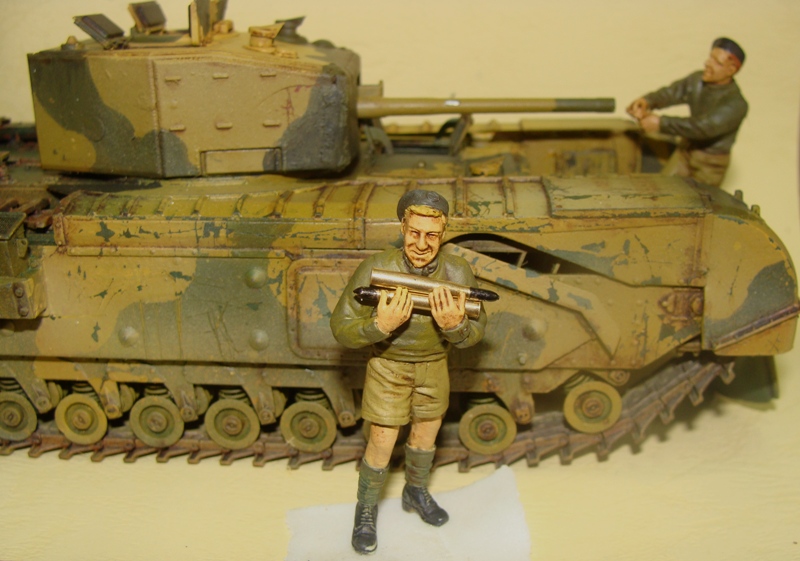
I'll be building both the Churchill Mk. 3 and Churchill AVRE in this forum. Ignore all other rubbish being shoveled to unsuspecting readers on the other websites and go out and buy one of these fine kits today!
To the editors of the "other" websites: Hope you get away from your keyboards long enough to actually build one of these -now that you see how easy it really is!