_GOTOBOTTOM
Dioramas: Buildings & Ruins
Ruined buildings and city scenes.
Hosted by Darren Baker
Miniart Farmhouse Dio with Base
silentsteel
Visit this Community
Kansas, United States
Joined: August 20, 2005
KitMaker: 153 posts
Armorama: 143 posts
Posted: Thursday, July 23, 2009 - 07:34 PM UTC
Well I just got my MiniArt Farmhouse Dio with base kit today in the mail. And can't wait to start it.

I will be making some changes to it........Like making it bigger......by making a mold of certain sections to make it wider. I need to do this because of a picture I'm using to base the diorama on......which I will post later....need to get the scanner to work.

I will keep everyone up to date and any ideas to help and criticism will be great appreciated.

But first on to all the scribing i will need to be doing.

Mike
silentsteel
Visit this Community
Kansas, United States
Joined: August 20, 2005
KitMaker: 153 posts
Armorama: 143 posts
Posted: Friday, July 24, 2009 - 06:09 AM UTC
As promised

Picture I planned my Diorama on:


You can see the wall in the back ground with a knocked Panzer IV up against.

I will have to make it a little longer and wider to get the effect I'm looking for

Enjoy.
Mike
silentsteel
Visit this Community
Kansas, United States
Joined: August 20, 2005
KitMaker: 153 posts
Armorama: 143 posts
Posted: Friday, July 24, 2009 - 04:54 PM UTC
Ok here are some tools and Materials I plan to use for the Diorama


Here is the two kits I'm using to build the Diorama. one is just the farm house and the other is the Farmhouse Dio with the wall section, along with the book I got the picture from as reference.


And what it looks like when I place a 1/35 Sherman on it to size things up.


If you have questions or concerns please let me know.

Thanks
Mike
Abn-modeller
Visit this Community
Stockholm, Sweden
Joined: July 05, 2009
KitMaker: 76 posts
Armorama: 75 posts
Posted: Friday, July 24, 2009 - 09:52 PM UTC
Hi, looks like it's gonna be a cool diorama! I've been thinking of making a dio based on that picture a couple of times too, it will look awesome
exer
Visit this Community
Dublin, Ireland
Joined: November 27, 2004
KitMaker: 6,048 posts
Armorama: 4,619 posts
Posted: Friday, July 24, 2009 - 10:40 PM UTC
Nice plan Mike. I like Miniart and I built the same kit a while ago. I rebuilt the broken wall and added a roof. I also added a layer to the bottom of the arch wall and a couples of layers of bricks as well as coping stone to the top. Not sure how I'm going to use it yet though.


Take your time and these kits go together really well.
silentsteel
Visit this Community
Kansas, United States
Joined: August 20, 2005
KitMaker: 153 posts
Armorama: 143 posts
Posted: Saturday, July 25, 2009 - 05:31 AM UTC
Hey Pat,

This looks good, I what to do the same thing with my building since I want to show an interior to it, How did you rebuild it, Was it hard to do and how long did it take???........Sorry for so many questions I just love the work put into it.

I will post some of my scribing work and techniques a little later.

Thanks for some good ideas Pat.

Mike
silentsteel
Visit this Community
Kansas, United States
Joined: August 20, 2005
KitMaker: 153 posts
Armorama: 143 posts
Posted: Saturday, July 25, 2009 - 06:17 AM UTC
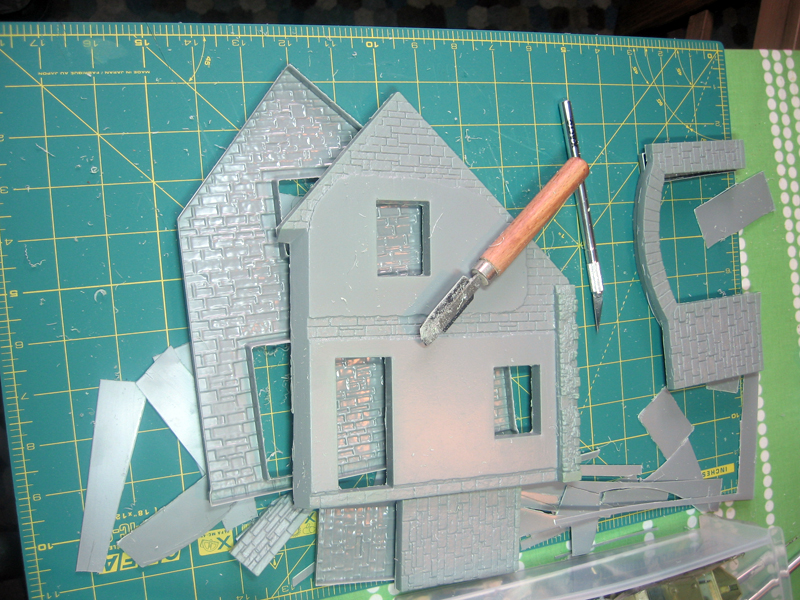
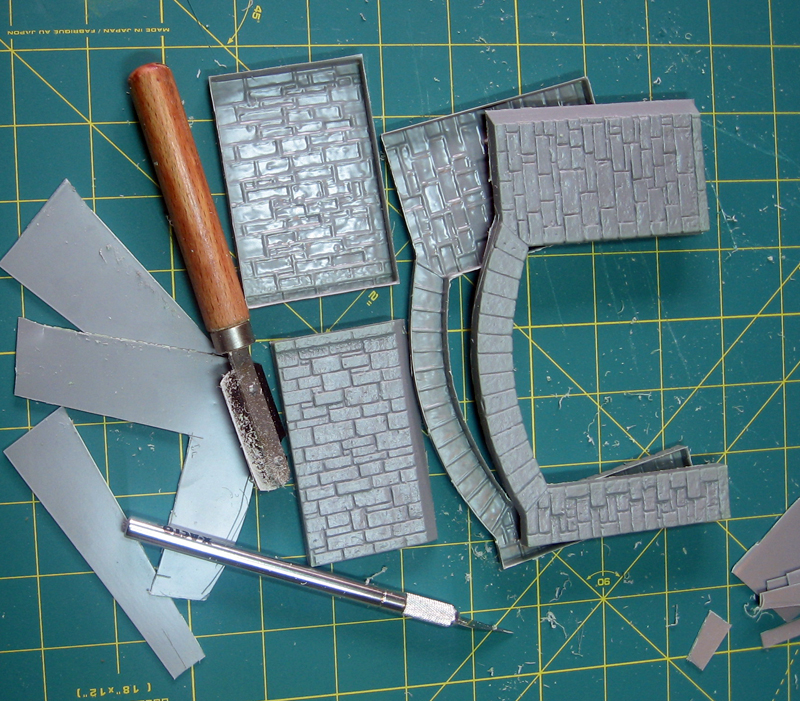
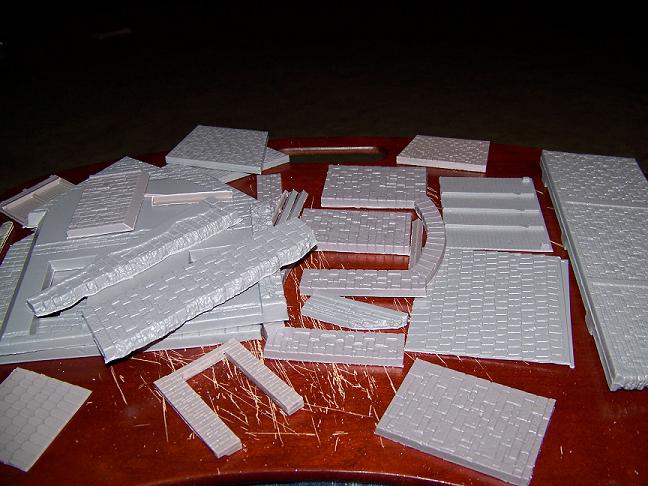
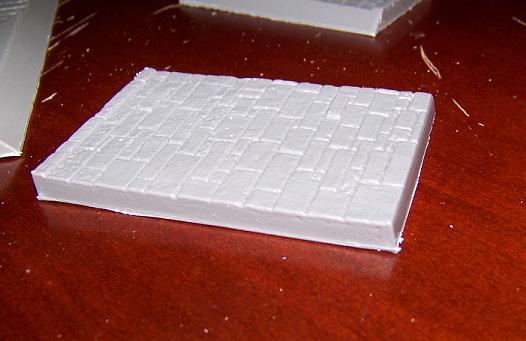
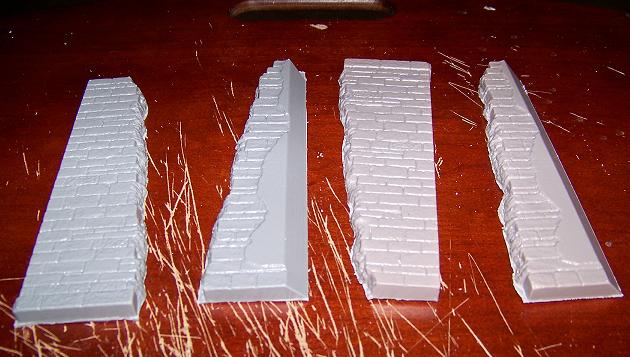
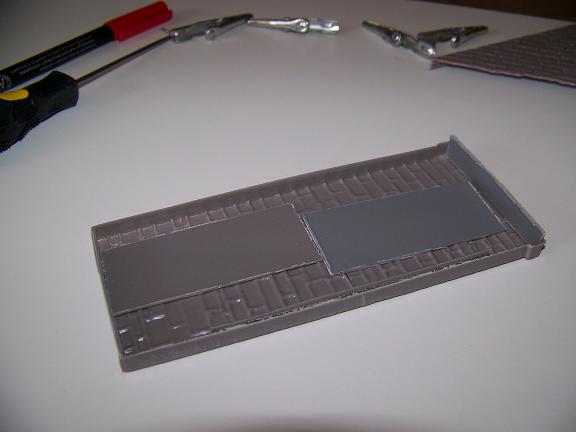
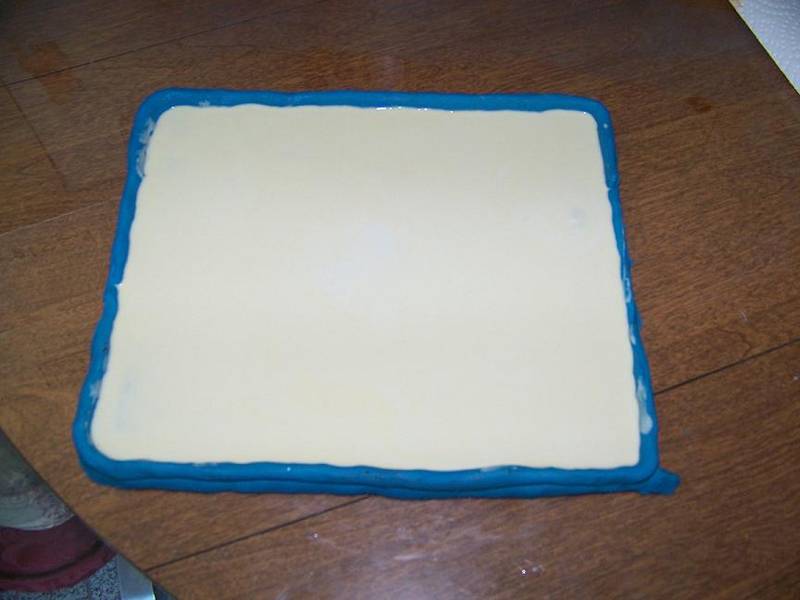
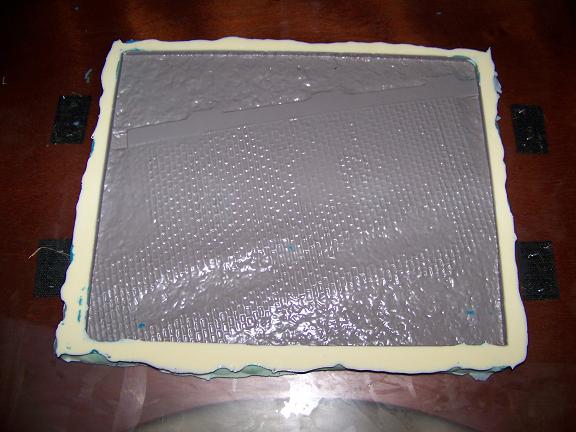
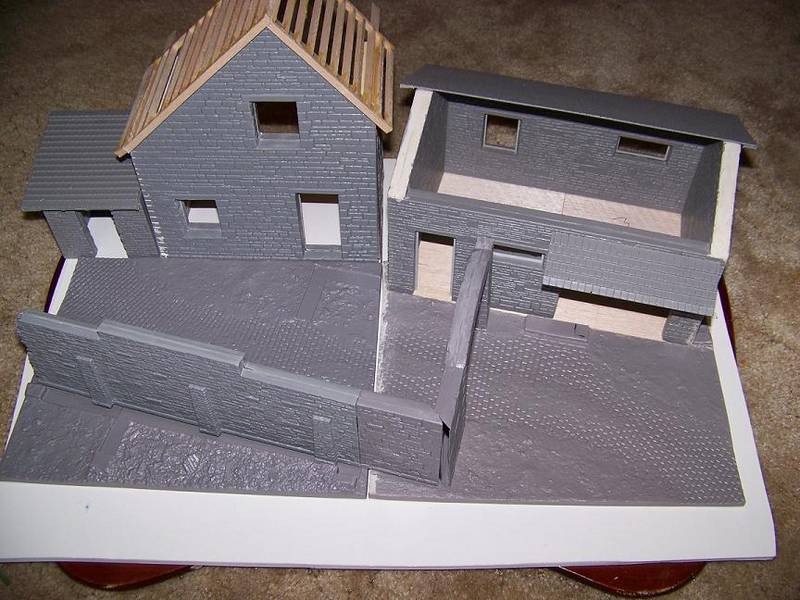
OK here are some of the techniques I use to scribe the parts off the sheets, so please bare with me:

First I just want to let everyone know I have no workspace where I work, no desk no fancy work booth, I work were I feel more comfortable, and that's working in my chair in my living room, I have a portable computer table I got from Stables that I work on and it works.

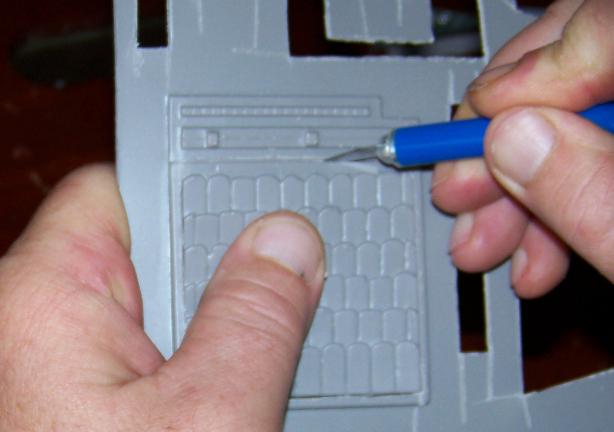
Anyway the first thing I do is make sure the part i want to scribe is firmly flat and held securely down on the table, I always start from the top to bottom of the scribe line that way I can the stroke straight.


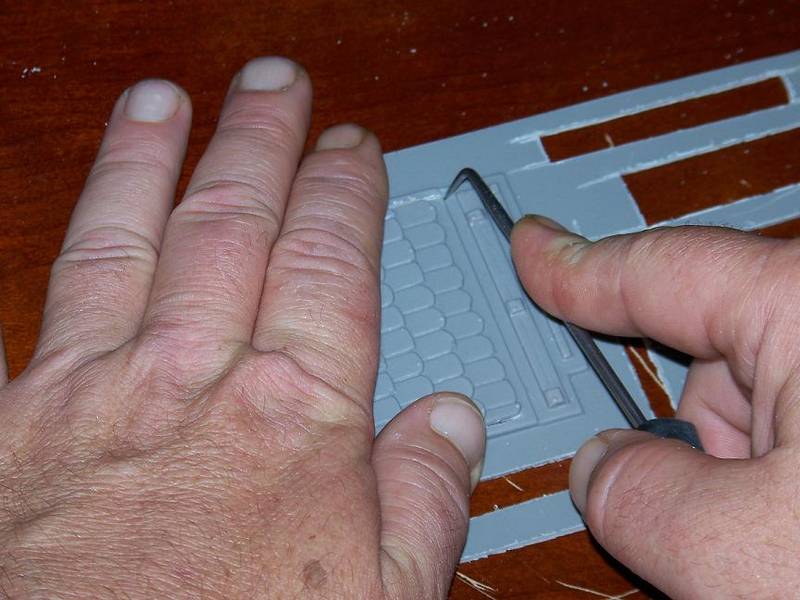
I follow the part down and scribe about three or four times to start until I can feel that the scriber is cutting through the plastic.


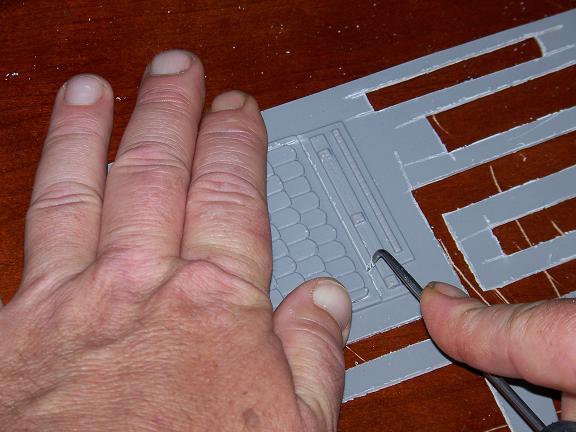
Once I know the cut is almost through the plastic (turn the sheet over and you should see a white line where you scribed). I use a #11 xacto cutting blade to start cutting and remove the part from the parts sheets.


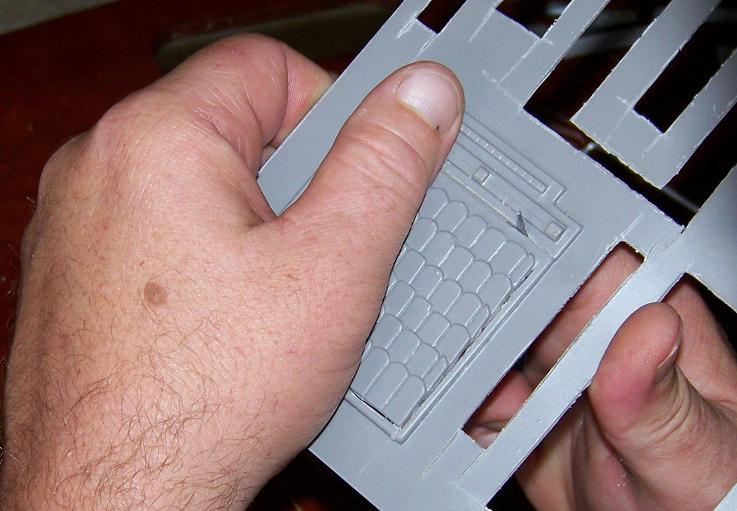
I use a #11 xacto cutting blade because it a little flexible and follow the line where I scribed to remove the part from the sheet. If you miss the scribe line no worries just tweak the blade a line until your back on track.


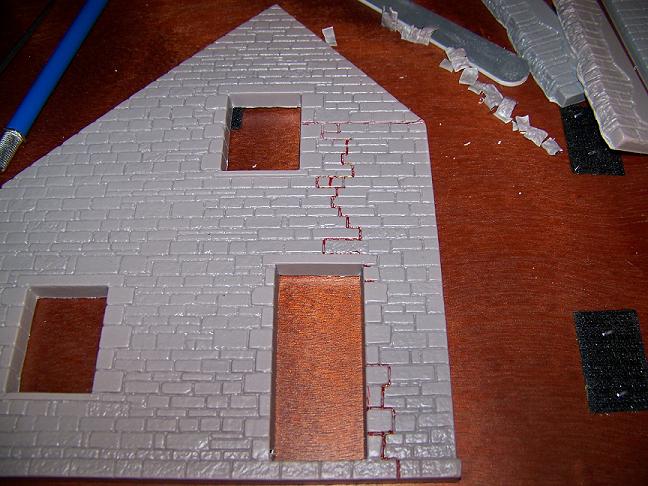
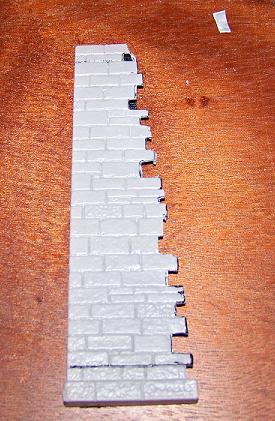
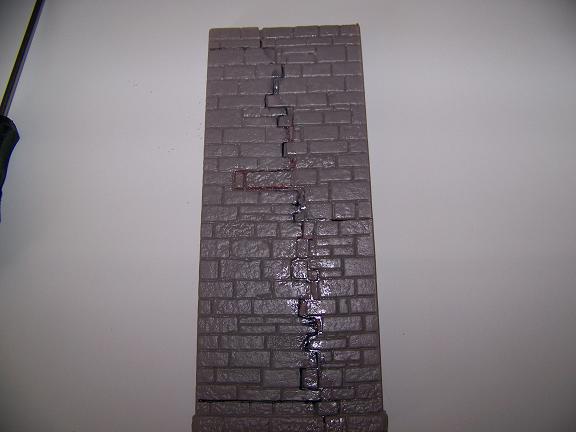
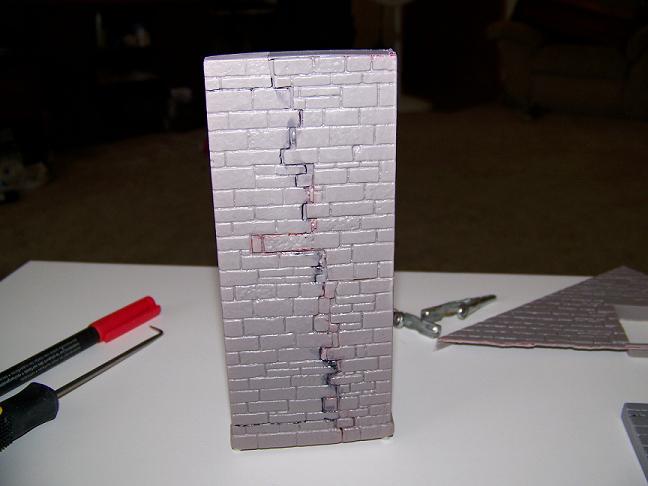
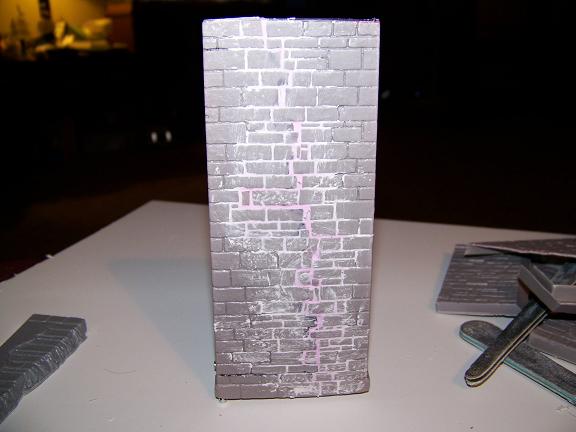
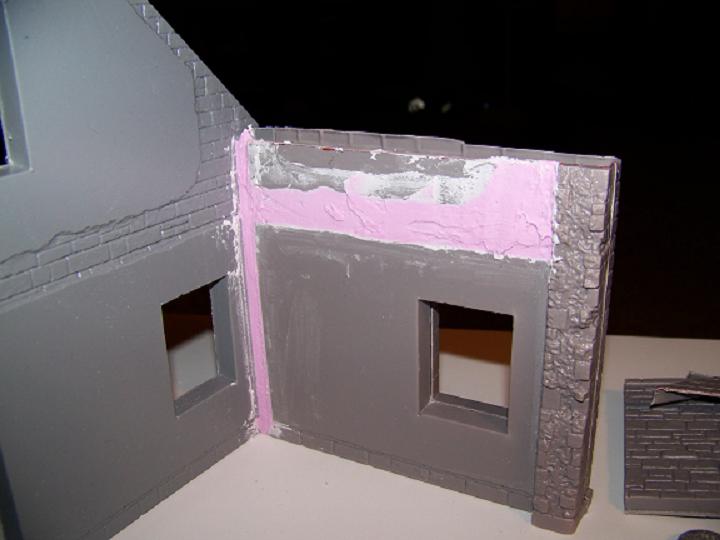
Now if you total cut into the parts while cutting it off the sheets no worries here also I will show how to fix these mistakes.

So I hope you like so far and enjoy.

Mike
exer
Visit this Community
Dublin, Ireland
Joined: November 27, 2004
KitMaker: 6,048 posts
Armorama: 4,619 posts
Posted: Saturday, July 25, 2009 - 11:55 AM UTC

Quoted Text

How did you rebuild it, Was it hard to do and how long did it take


I cut the end off the ruined wall and glued a sheet of plastic card to it the I cut bricks from left over plastic from the kit and some pieces of Cork. The roof I made from plastic card covered with plastic tiles-that was time consuming. No interior to mine-I'm going to blank it off.

I increased the height of the arch by adding a row of plaster bricks from a Hirst arts mould

http://www.hirstarts.com/molds/molds1.html

I added more bricks from plaster plastic and cork to the top and a row of thick plastic card coping stones. The upper layer is meant to look different as if added at a later date.


Looking at this pic made me nervous.


Didn't your dad ever tell you not to cut towards your self I foresee a scarred thumb in your future. I should know I have the scars to prove it.

I use a UM razor saw to do all my cutting or the back of a knife blade. I've found that using the blade to slice the plastic even if scored heavily can lead to damege parts and fingers


panzerIV
Visit this Community
England - North West, United Kingdom
Joined: January 02, 2007
KitMaker: 781 posts
Armorama: 676 posts
Posted: Saturday, July 25, 2009 - 12:15 PM UTC
this dio looks great

what kind of interior are you goin to be putting in??

i have two of miniarts buildings

'' french cafe '' and '' french street '' ive 80% finished the french cafe. just had trouble sticking it together but hey always learn with the first model and improve on the second.
and like pat says dont cut towards yourself theres scars to prove it. i can say the same thing ive taken to top off my finger at one point and got many cut scars all over my fingers so be careful.

i look forward to seeing this progess
what make sherman are you using dragon??

tony
silentsteel
Visit this Community
Kansas, United States
Joined: August 20, 2005
KitMaker: 153 posts
Armorama: 143 posts
Posted: Saturday, July 25, 2009 - 08:57 PM UTC
First I want to thank Pat and Tony for the concern they have for my fingers And yes I have learn My lessons with cutting towards myself.....Many scares and in the past,.........it just looks like I was cutting toward myself, but My girlfriend took the picture for me, Actually the knife was just sitting there, I just punch through the plastic to start the cut then remove the knife and finish it off following the line and going away from me, but thanks ,

OK, some more Pics. for everyone

Here is everything already scribed off the sheets and ready to be sanded and glued into place.


But since I'm doing some extra things to make it a little bigger, I will work on the extending the walls of the building first and sand and glue as I go.

I will almost use the same process that Pat used above but I will used the extra bulding I have with the second kit to fill in for extending the walls.

Ok everyone its late and I need some rest will post more tomorrow.
Have a good one

Mike


silentsteel
Visit this Community
Kansas, United States
Joined: August 20, 2005
KitMaker: 153 posts
Armorama: 143 posts
Posted: Sunday, July 26, 2009 - 05:37 AM UTC
Hey everyone,

As you can see from the previous photos all the parts are removed from the sheets and all the parts came off without a hitch, some with good straight cuts.


Now since I'm enlarge the building a little these are the first parts I plan to work on first, since it's part of the out side walls.


What I have done is mark out the outline of the wall I plan to keep and use, You can see where I have used a marker to map out the pattern.


And the corrasponing part from the second kit I have.


And how it looks after I have made all my cuts on the first part. by follow the pattern.


Now on to cutting out the second section and then dry fitting and glowing the part to make a complete wall.

Hope you enjoy.
Mike
silentsteel
Visit this Community
Kansas, United States
Joined: August 20, 2005
KitMaker: 153 posts
Armorama: 143 posts
Posted: Sunday, July 26, 2009 - 05:50 AM UTC

Quoted Text

this dio looks great

what kind of interior are you goin to be putting in??

i have two of miniarts buildings

'' french cafe '' and '' french street '' ive 80% finished the french cafe. just had trouble sticking it together but hey always learn with the first model and improve on the second.
and like pat says dont cut towards yourself theres scars to prove it. i can say the same thing ive taken to top off my finger at one point and got many cut scars all over my fingers so be careful.

i look forward to seeing this progess
what make sherman are you using dragon??

tony


Thanks Tony ........I do appreciate it.

Well I'm thinking since is a farmhouse the bottom floor will be a partial kitchen area and the upstairs will be a be bedroom area.

That's my next build (a French street) I have an idea about how to use it, but that's for later.
Do you have any pictures of your build???

And yes I will be using Dragons M4A1 75mm Early Version Sherman as one of the models.

Thanks
Mike
silentsteel
Visit this Community
Kansas, United States
Joined: August 20, 2005
KitMaker: 153 posts
Armorama: 143 posts
Posted: Sunday, July 26, 2009 - 09:27 AM UTC
OK some progress photos of the first wall I'm working on..........

Now this is the outside wall of the main building of the Farmhouse as I was piecing things together to make sure it was looking right.


This is the back side of the of the wall. I used the left over plastic sheets that I scribed off the part to use as supports to help keep things together.


And now its all glued and ready to be fill with a mortar (spackling) in between the cut areas,


I will fill in the areas after I work on the backside part of the wall. After I get both parts togather then I will fill in the areas with spackling and squadron white putty.

Have a good one everyone I will post again next week some times

Mike
CReading
#001
Visit this Community
California, United States
Joined: February 09, 2002
KitMaker: 1,726 posts
Armorama: 892 posts
Posted: Sunday, July 26, 2009 - 09:48 AM UTC
Looking good. I've built a couple of these kits and really like them. I've not yet added (like Pat) or surgically changed (like you) any of the kit parts although seeing the possibilities in your guys photos will make it a lot easier to do.
I've the same kit (farm w/base) and have all the parts assembled to a point (as long as they could still fit in the box for storage they were assembled) Still waiting for a dio to come to mind.
Cheers,
Charles
silentsteel
Visit this Community
Kansas, United States
Joined: August 20, 2005
KitMaker: 153 posts
Armorama: 143 posts
Posted: Monday, July 27, 2009 - 02:08 AM UTC
Just wanted to post a couple of pic of how it looks so far. I've started filling in with Spackling.


Please let me know what you think so far.
To my surprise Its going together easy, to easy and its starting to get me nervous. Is that normal?

Thanks
Mike
exer
Visit this Community
Dublin, Ireland
Joined: November 27, 2004
KitMaker: 6,048 posts
Armorama: 4,619 posts
Posted: Monday, July 27, 2009 - 08:06 AM UTC

Quoted Text

To my surprise Its going together easy, to easy and its starting to get me nervous. Is that normal?


Perfectly normal, if you take your time. These are well designed kits and the flaws in the earlier kits-thin areas etc are almost non existent now.

I like what you're doing - combining two kits, It's the way to go with Miniart to make them different.

We should have a Miniart dio campaign.
silentsteel
Visit this Community
Kansas, United States
Joined: August 20, 2005
KitMaker: 153 posts
Armorama: 143 posts
Posted: Monday, July 27, 2009 - 11:46 AM UTC

Quoted Text


We should have a Miniart dio campaign.


OK I understand that and thanks for the help Pat.

AND If some one would start a Miniart campaign like that............ I would be all over it, That would be fun................I'm thinking of a whole town scene now damn, Now I have other ideas.

Maybe we should start a post to see if it would be a good idea to start a MiniArt Campaign.

Mike
silentsteel
Visit this Community
Kansas, United States
Joined: August 20, 2005
KitMaker: 153 posts
Armorama: 143 posts
Posted: Thursday, July 30, 2009 - 02:32 PM UTC
OK................Just want to give everyone an update on the build,

There's a major changes in the plan for the Diorama...........I still plan to use the wall as the base for the diorama as shown in the picture I'm using, but will have to omit the building itself and the reason is I have three small kids and they just love to play ................well you can take it from there.

I'm still working on the wall and the bases and still make it a little bigger and will post Pictures soon.

Thanks
Mike
muldiantoro
Visit this Community
Jakarta Raya, Indonesia
Joined: November 19, 2007
KitMaker: 10 posts
Armorama: 9 posts
Posted: Thursday, July 30, 2009 - 02:56 PM UTC
It will be a very nice diorama Mike!
I'm a fan of miniart building/dio too, although I found them pretty hard to join and used so much putty.
Good tip using the Spackling . I'll be watching your build log.

Cheers,
Harmawan M.
Pavlovsdog
Visit this Community
Carlow, Ireland
Joined: June 05, 2006
KitMaker: 438 posts
Armorama: 352 posts
Posted: Friday, July 31, 2009 - 12:05 AM UTC
Mike ,

Fantastic bit of reworking there, looking forward to see your progress

Jerry
silentsteel
Visit this Community
Kansas, United States
Joined: August 20, 2005
KitMaker: 153 posts
Armorama: 143 posts
Posted: Friday, July 31, 2009 - 04:01 AM UTC
Thanks everyone,

I just had a revelation, I'm going to use a another building that I have........... its the workshop and will kit bash it into the diorama,

I'm in the process of making a mold of a base section now and will post pictures later,

Again thanks for the support.

Mike
silentsteel
Visit this Community
Kansas, United States
Joined: August 20, 2005
KitMaker: 153 posts
Armorama: 143 posts
Posted: Friday, July 31, 2009 - 02:33 PM UTC
Here are some pictures that I took today.

Making a mold of a base section.


Finished and drying out.


Now I will leave up to everyone about what lay out I should use I've taken several pictures of the basic scene and will number them, just pick the number you like the best.

1


2


I haven't decided want I want to do yet but will have the Panzer IV and Sherman in it. Which on do you think. just let me know

Thanks
Mike
Silantra
Visit this Community
Putrajaya, Malaysia
Joined: March 04, 2004
KitMaker: 2,511 posts
Armorama: 913 posts
Posted: Friday, July 31, 2009 - 07:49 PM UTC
Hey there Mike,

nice work so far...i could sense this gonna be a busy dio...

personally i like all of the setup..... any of them will sure gives a wonderful dio.. but if u still ask which of them is the best, i would vote for the number 2.. the uneven alignment of the two building maybe attracted me to vote for the setup..

good luck for the whole build....
calvin_ng
Visit this Community
United States
Joined: June 23, 2008
KitMaker: 1,024 posts
Armorama: 753 posts
Posted: Friday, July 31, 2009 - 09:49 PM UTC
hi mike, i like your dio so far, especially the mold for the base, but if you want a accurate sherman your going to have to modify or replace it im afraid. the photo your basing your dio on is after the normandy landings, the tank is part of the 2nd armored division most likely. the sherman in dragons kit has some glaring errors, i had to do a **** load of work to get it to be okay. heres a link to base your sherman on ,the one in the photo is a late production one. http://www.tasca-modellismo.com/seihin/m4a175/m4a175lp.html if you can, get yourself a tasca sherman, its the bet on the market, but if you decide to stick with the dragon one heres a list of improvements and corrects if you want a late sherman

http://www.usarmymodels.com/MANUFACTURERS/DML/dml6048.html
alanmac
Visit this Community
United Kingdom
Joined: February 25, 2007
KitMaker: 3,033 posts
Armorama: 2,953 posts
Posted: Friday, July 31, 2009 - 10:44 PM UTC
Hi

Great Build. Certainly getting to grips with building Miniart sets.

One point. I don't think your timber roof structure is quite correct. The large timbers you show would run vertically not across. Then much thinner timbers positioned horizontally to fix roof tiles to.

Alan
 _GOTOTOP