Quoted Text
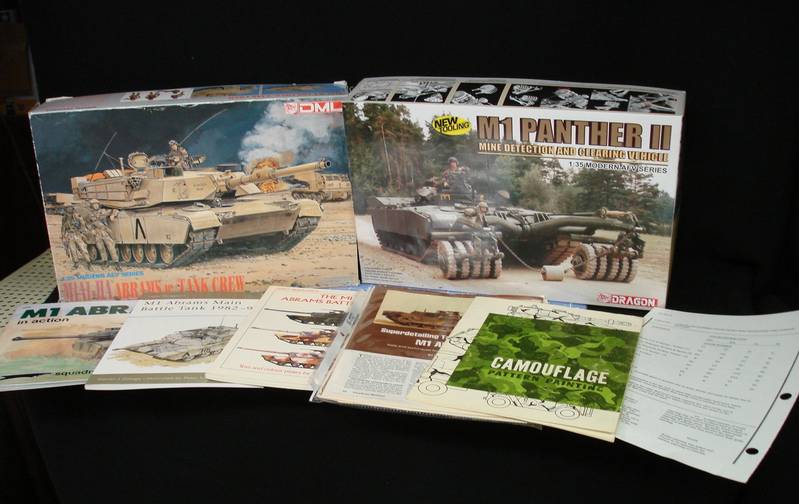
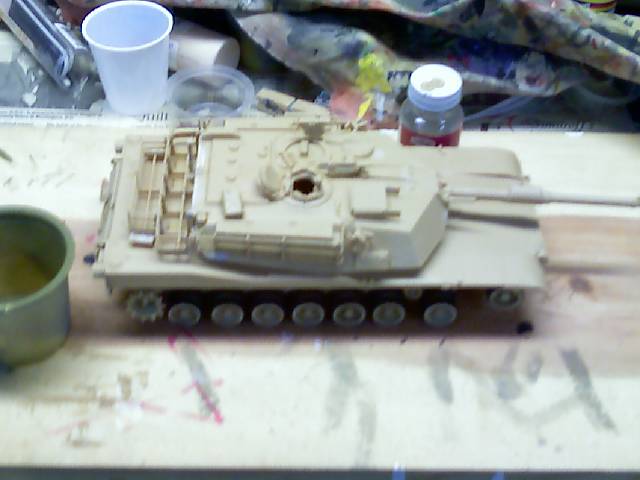
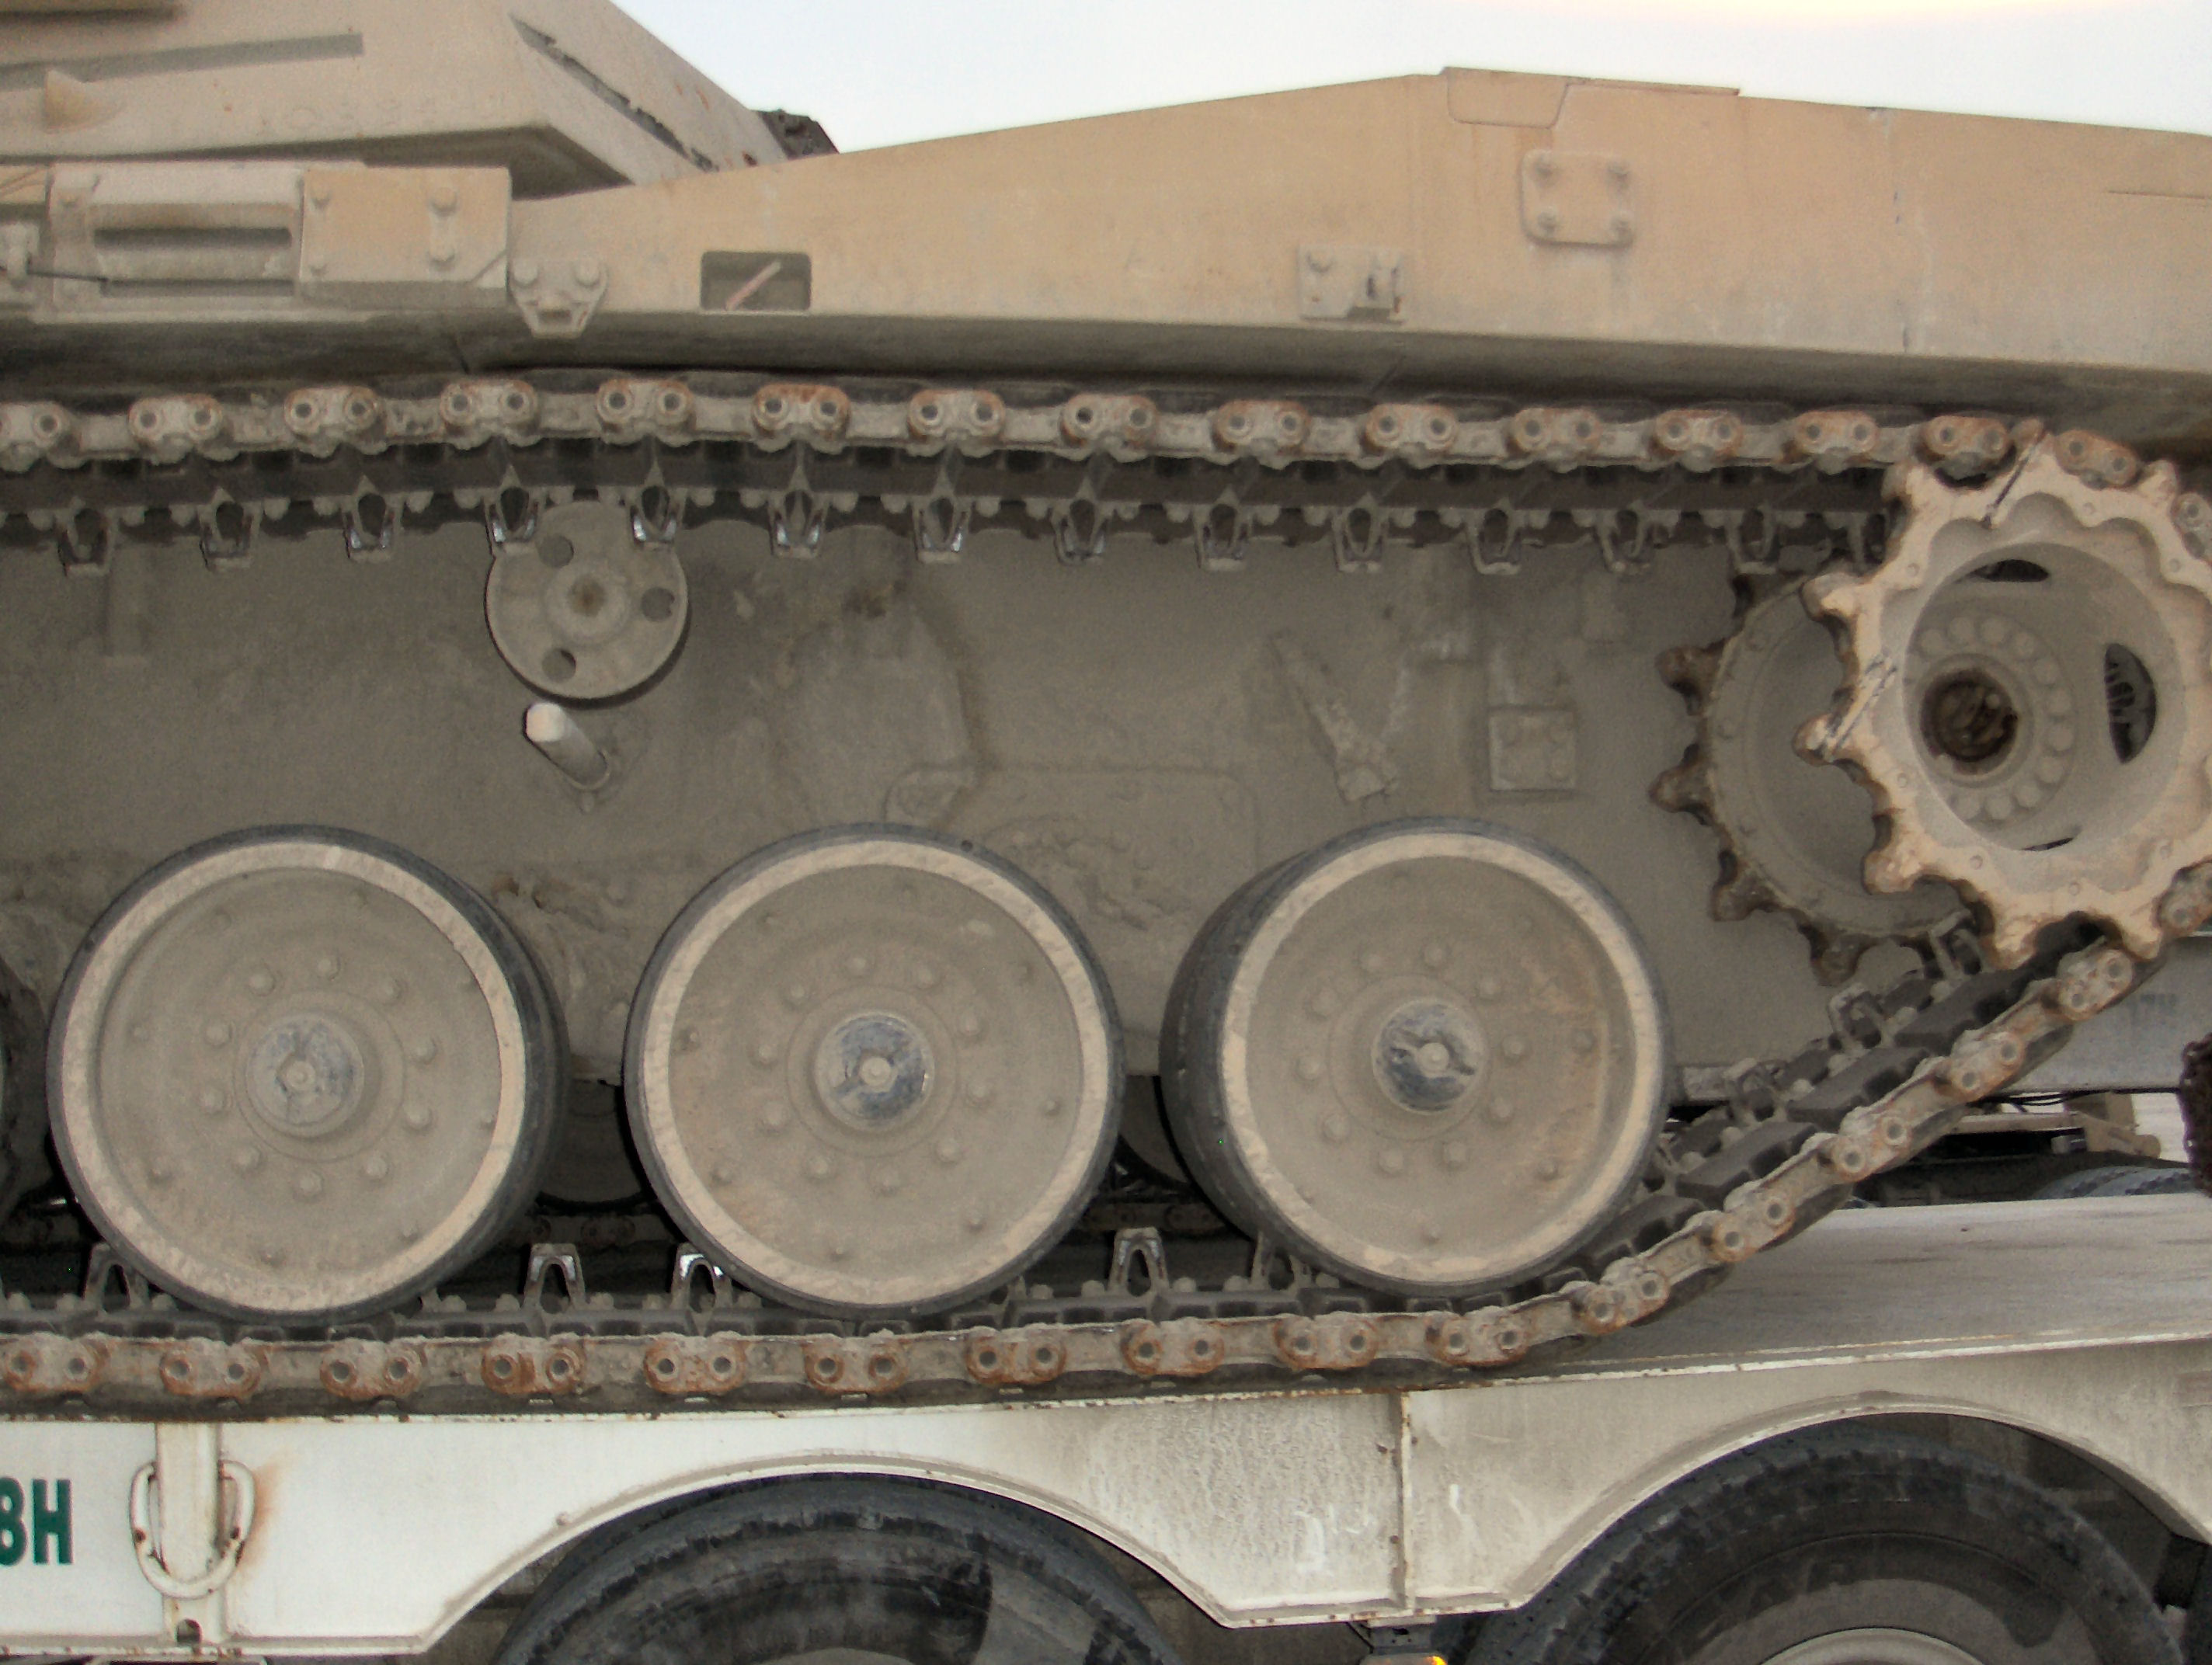
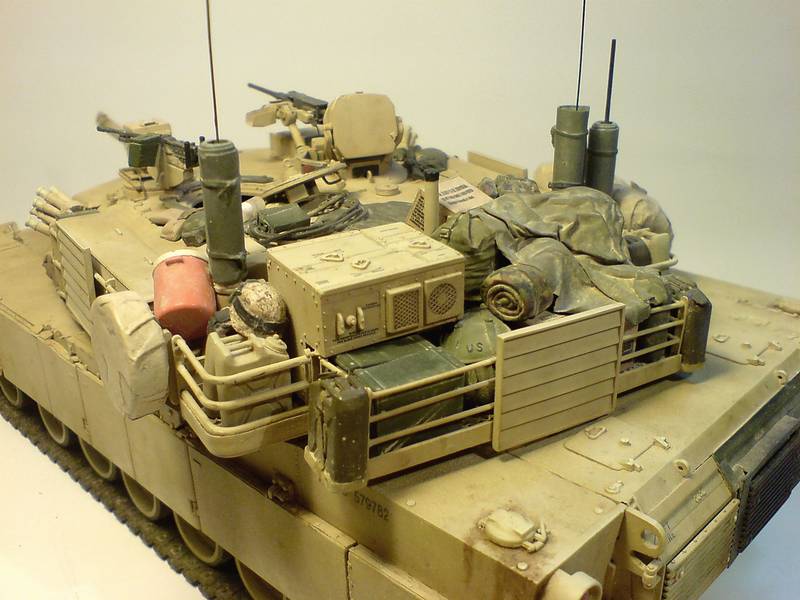
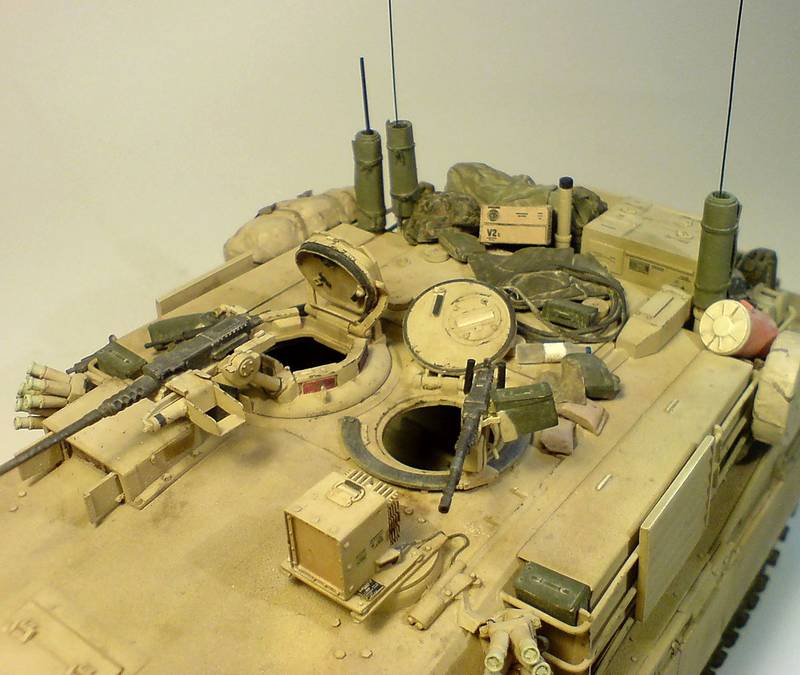
Ok, I have a pretty silly noob question regarding tracks: what is the proper color to paint the track links for an in-theatre OIF tank? I have a friend who was an Abrams crewman "between the wars" who said he recalls the links on INCONUS tanks being pretty much rust colored, but looking at OIF reference pics the links look to be a darker color to me ( under the dusty weathering of course ) , and I have seen where other modelers have mentioned using black, steel, and even olive drab. just wondering what is the best choice, and also if it really matters once it's covered in MIG Pigments Gulf War Sand anyway, LOL
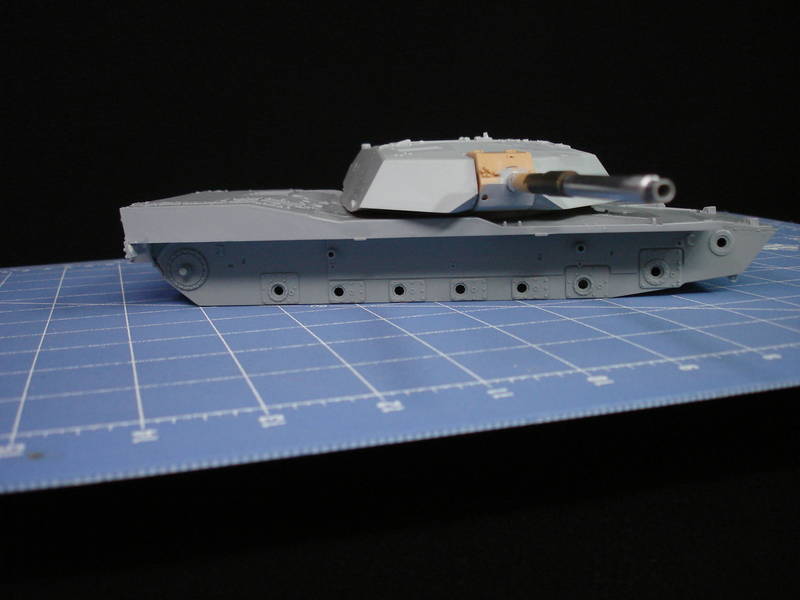
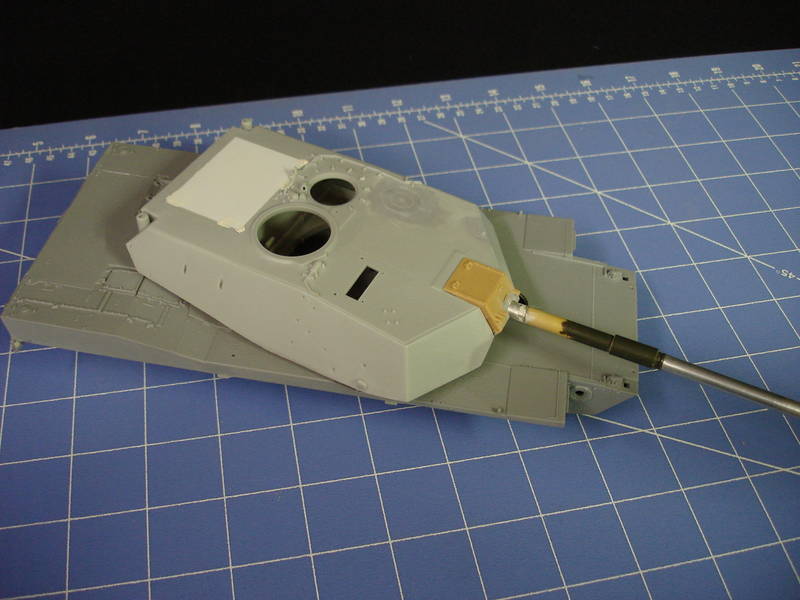
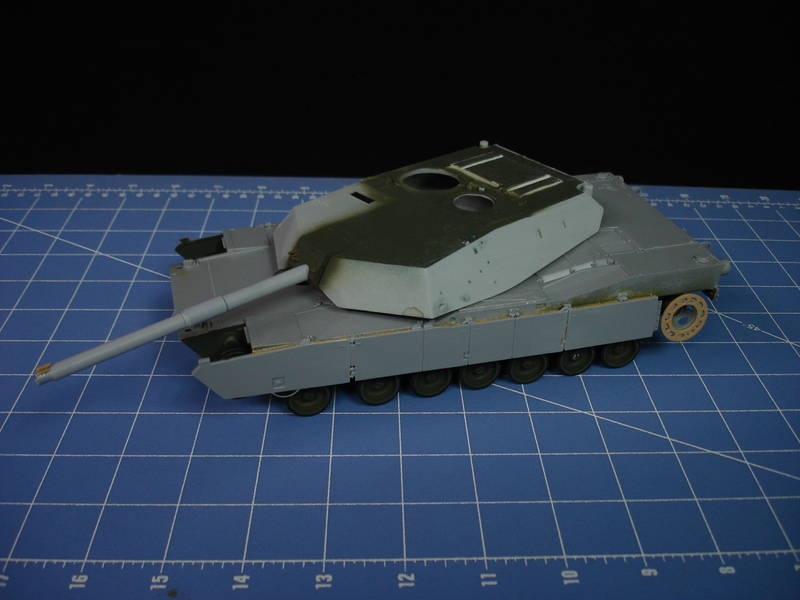
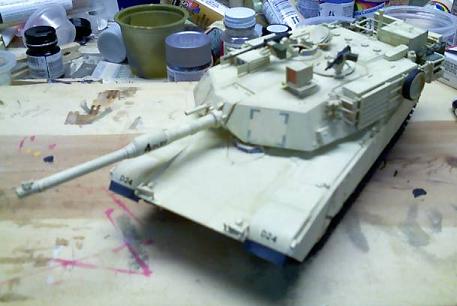
what I did with my model was just tamiya's flat black, mask the rubber parts, then DOA track color (or your favorite track color). after that. some DB of vallejo rubber.
hopes this helps