As the rules of the campaign specified that the kit had to be started within the campaign dates, this Panzerjager IV/L70 couldn't qualify, but now my Puma is done, I thought I'd finish this one off as a kind of bonus. There was a comment that we were lacking a few German vehicles, and no-one has previously entered this kit. So, I think the last bit of work was done on it in around 1979.
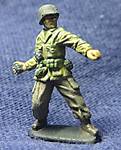
This was what came out of the box:

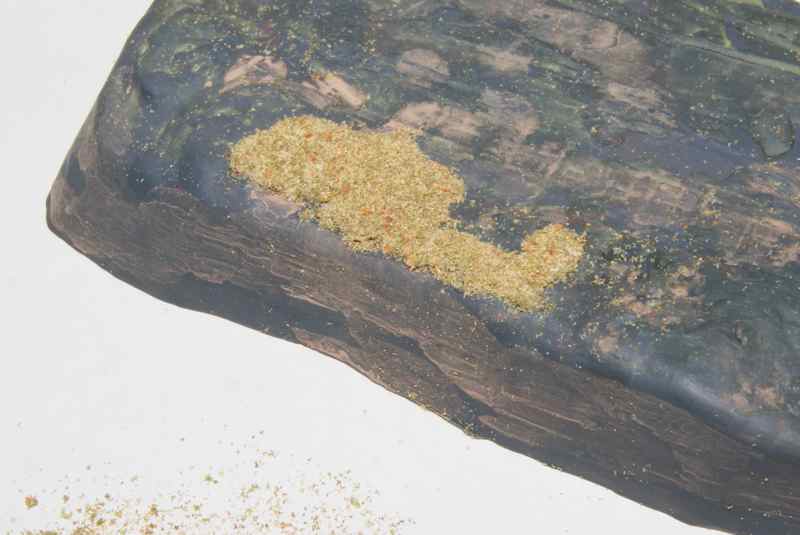
I had obviously got all enthused by the base.

Also note my prepainting on the sprue, now somewhat unfashionable. Then there's my misguided idea that a vehicle from '44 - '45 could be finished in grey - not helped by Matchbox's choice of plastic colour I suppose.
Incontrovertible evidence that this is a Matchbox original release, ah, the good old days, when you still saw this phrase on products!


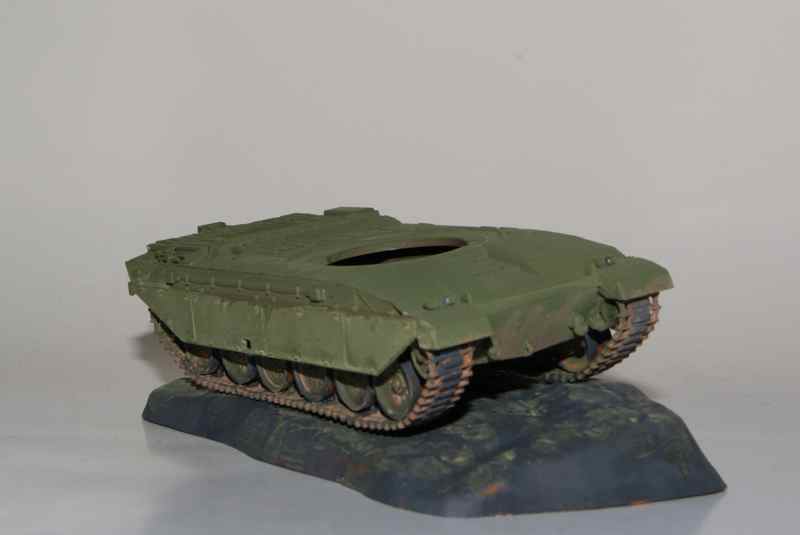
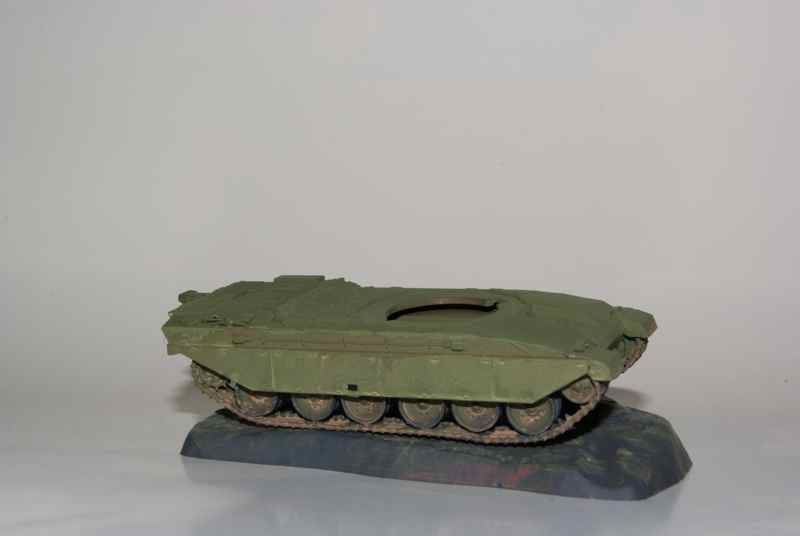
I'm quite pleased that I got all the boring wheels bit done when I was 14! I decided I had to remove the sprocket teeth where they mesh with the tracks, otherwise they were never going to bed on properly. Had to remove and re-attach the rh idler with a bit of rod. Now I have it to this state, looks quite cool with the rear armour plates on:


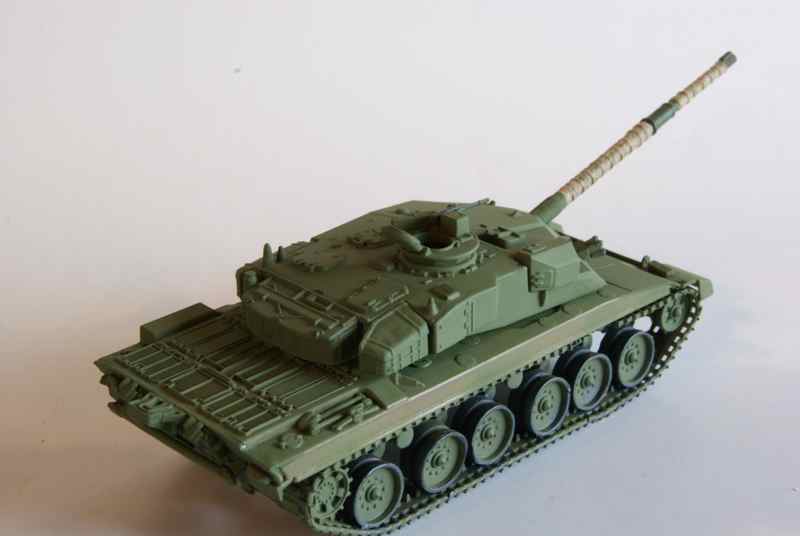
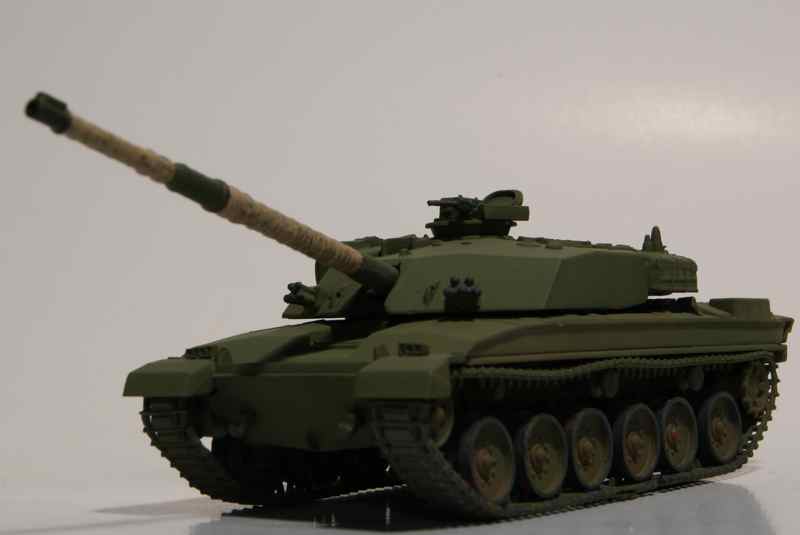
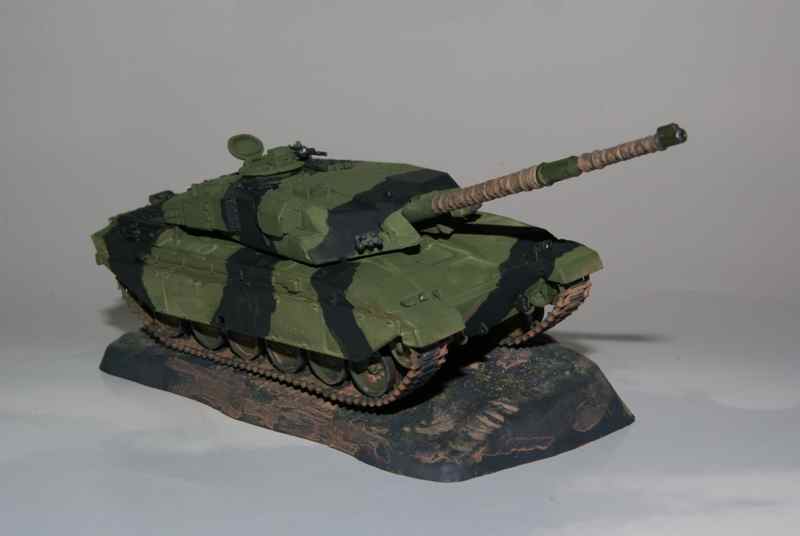
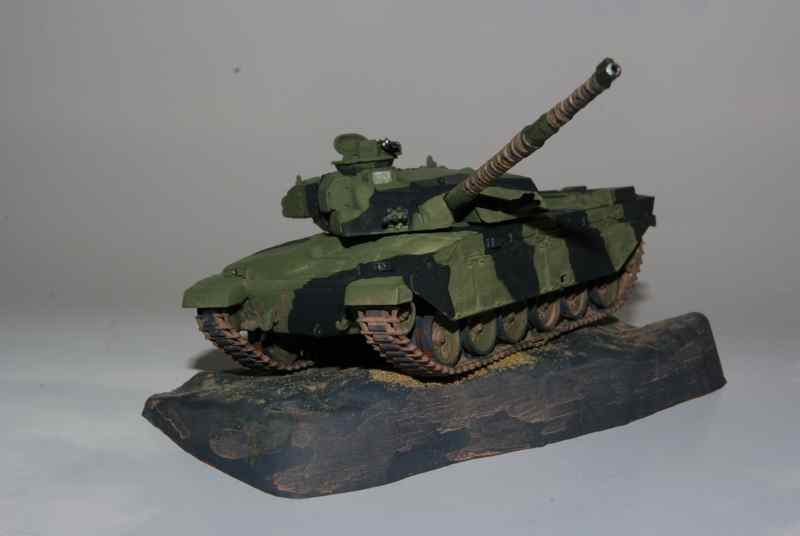
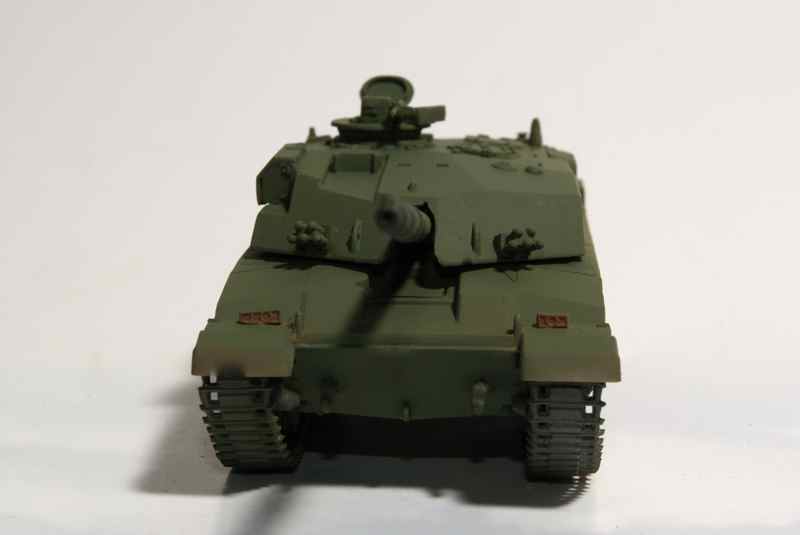
 The only small issue was that the axe head broke and took some delicate surgery to get it mounted properly. I did some preshading and then sprayed the tank with a lightened coat of NATO green to match the colour I've seen in Internet photos. Here are a few shots as it appears now.
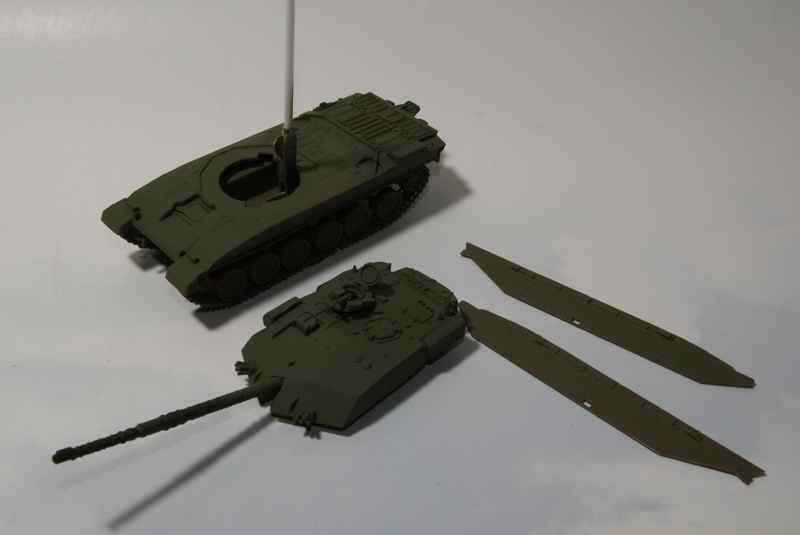
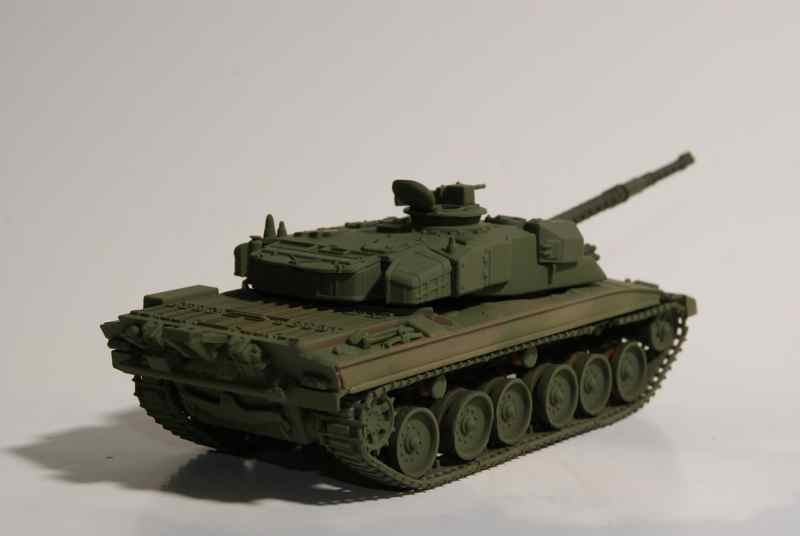
 It is with great relief that I say that I can see this thing finally nearing completion. The only small issue is that I can't remember where I put the decals.