

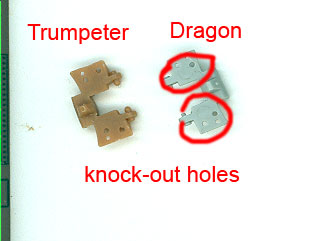
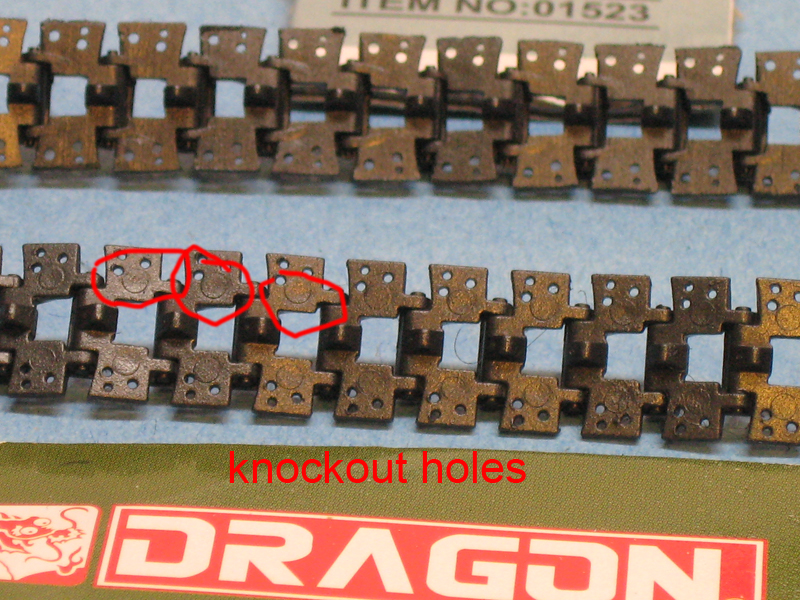
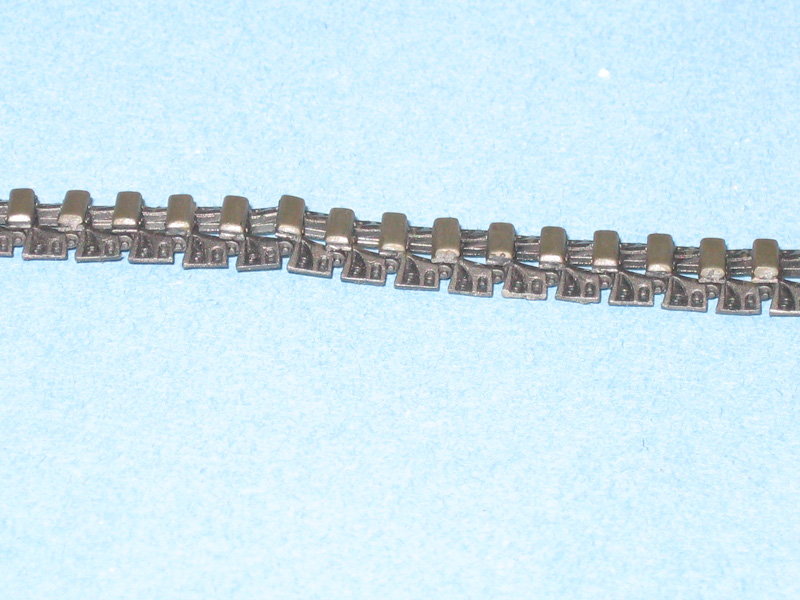
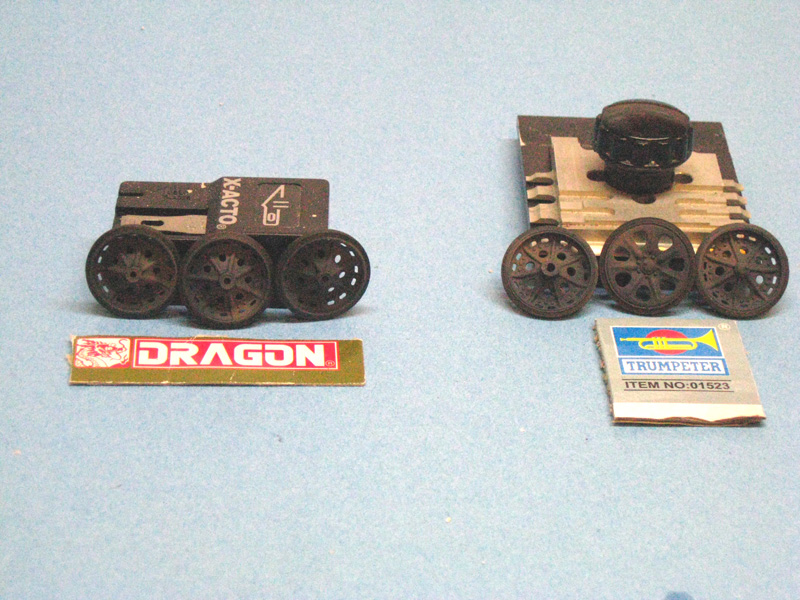
Bill could you tell me what technique you used to assemble the Dragon tracks.
I have mine in front of me and I am rather frustrated with their assembly.
Regards Les
Photos would help


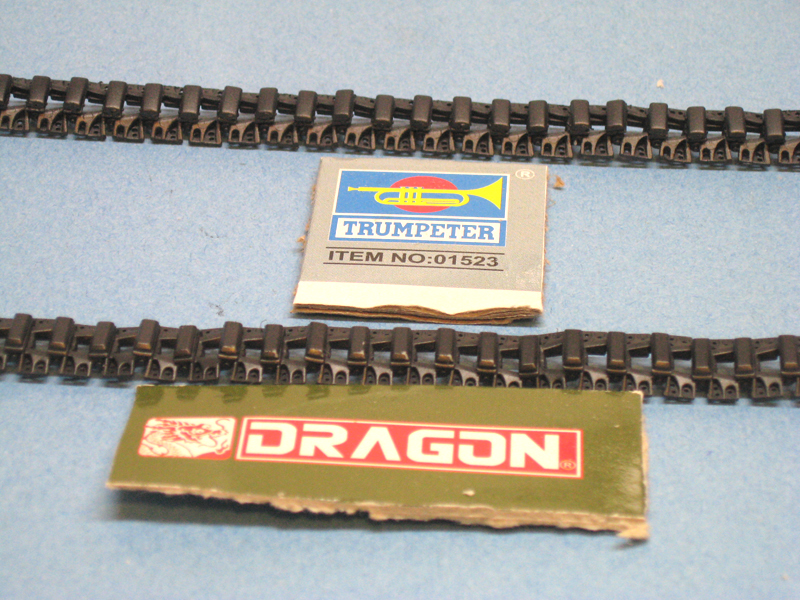
Bill could you tell me what technique you used to assemble the Dragon tracks.
I have mine in front of me and I am rather frustrated with their assembly.
Regards Les
Photos would help

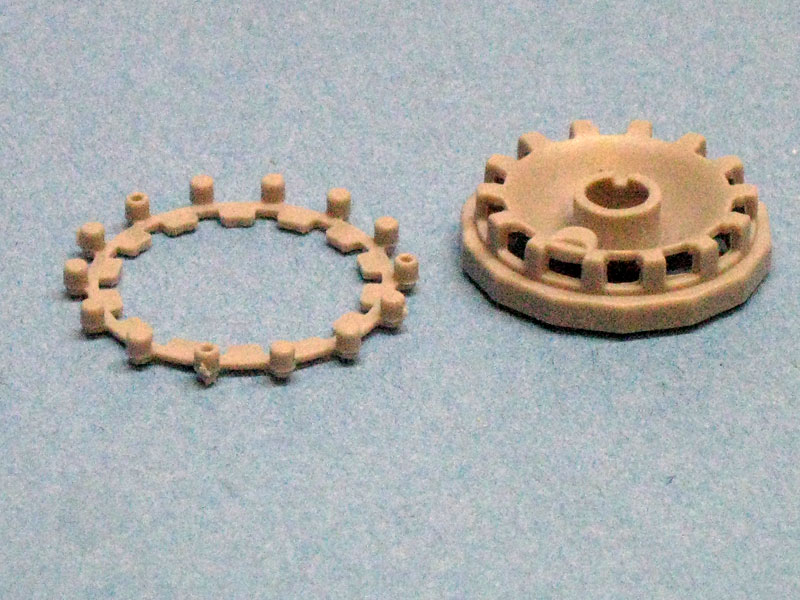


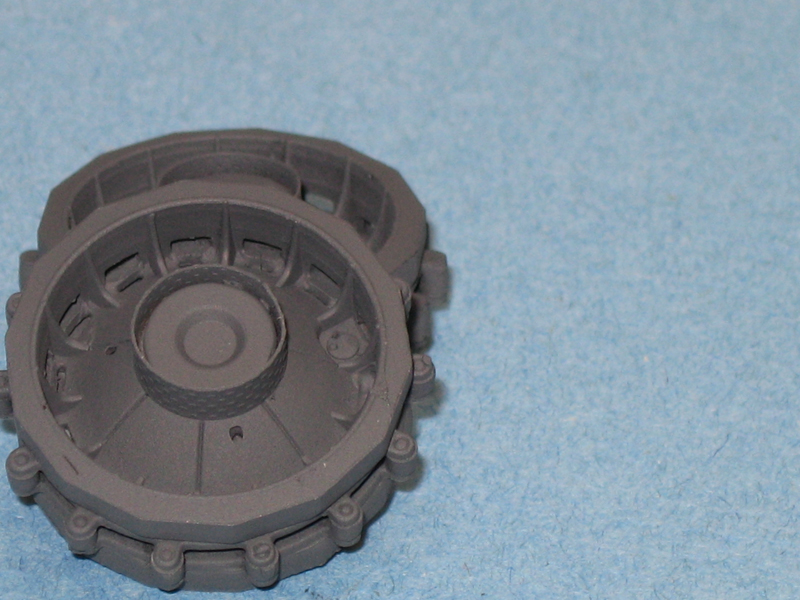
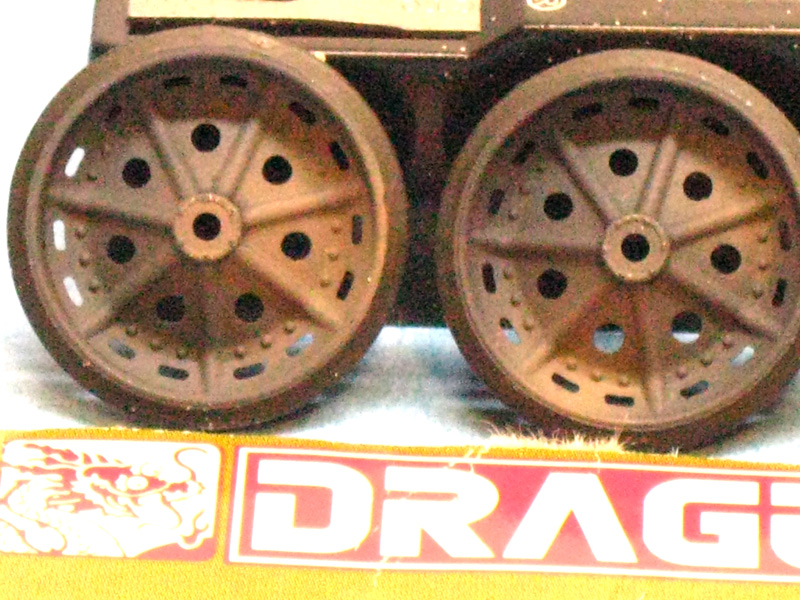
Hi Bill. Regarding the drive sprockets, I encountered the same problem when I built my Sdkfz 7 from Trumpeter, as I have red Terry's review who said the rollers weren't offset. Trying myself a solution to this problem, I started to search for photos of the sprockets and I found out that the rubber band covering them was almost circular, with no visible flat lines. As a consequence, I sanded the rollers until they became circular, and now the track sits flush on the sprocket. Maybe you should check the photos yourself, to see if that's one noticeable solution.


Hi Alan, I've seen the photos when I was building the Trumpeter kit. It seems there are some, let's say "flat" lines, but they are no way near as flat as depicted by Trumpeter. The ruber band looks more like circular, especially in 1/35. There are also some indentations on the sprocket seen on the restored vehicle, and in the kit they are too obvious to seem real, the same as the rubber band. Of course, I have puttyed them, the same way as I sanded down the rubber band, to obtain a more realistic look.
Cheers, Marius.

Well,that just shows you need PERIODTIME pictures as opposed to museum and/or restoration pictures.
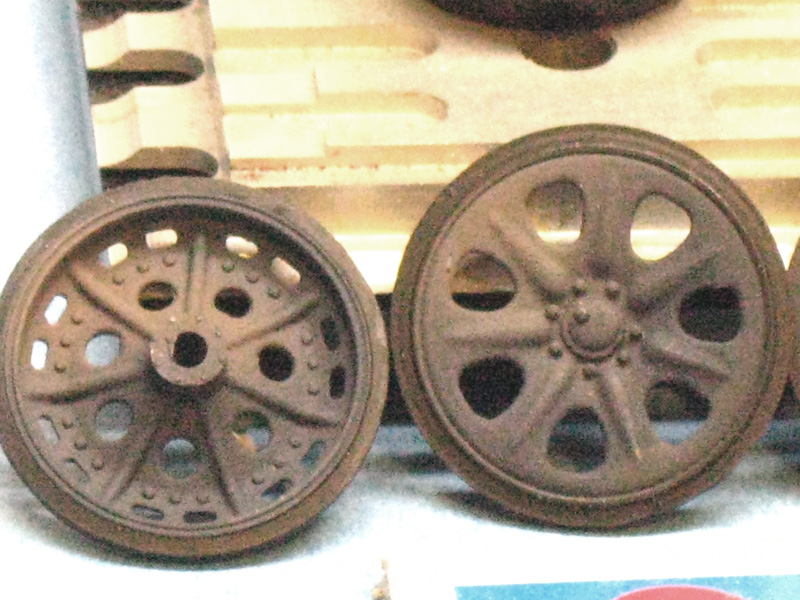
While this vehicle is an SfKfz 8, the sprocket is build up the same as on the SdKfz 7 and SdKfz 9:
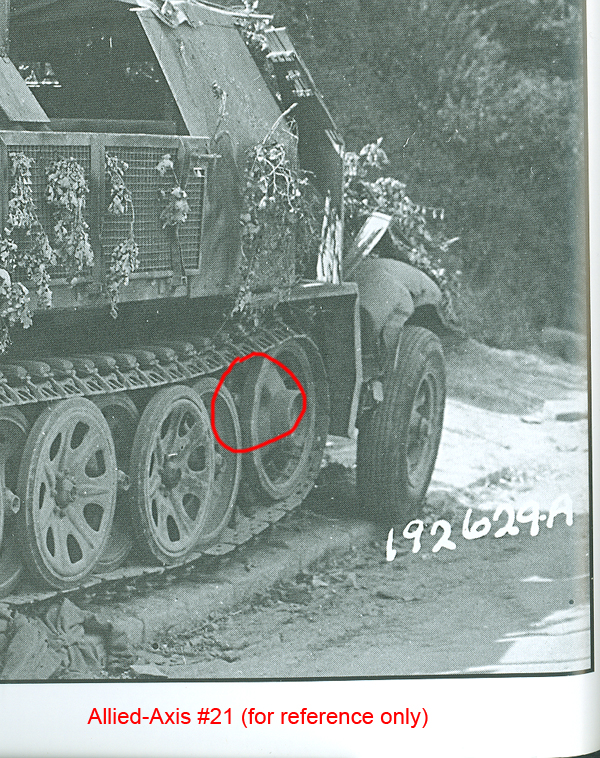
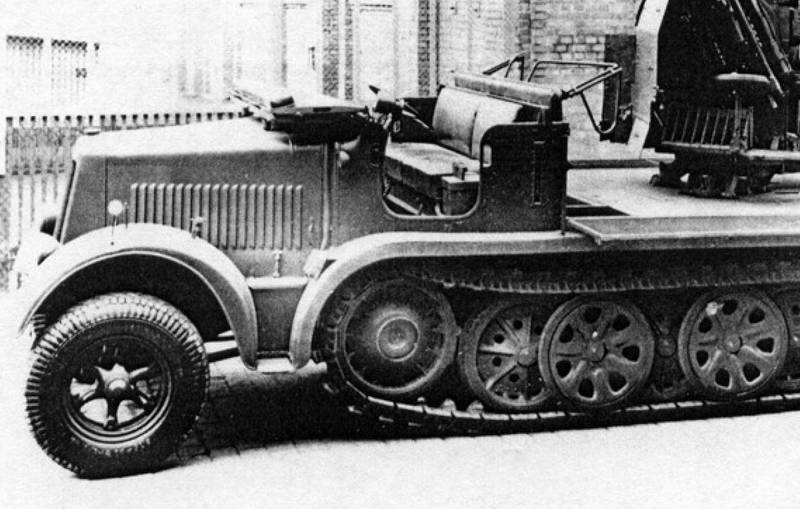 The source is Panzer Tracts No. 12.
Hi all. I also believe the dimples existed in fact on, if not all, at least the majority of the Sdkfz 7's, but what I wanted to say is that they were not as obvious as Trumpeter represented them. I found another photographic example of the sprocket which shows the dimples existed.
The most likely situation is, as Bill said, that they wore down over the time and that I think it's why they look circular. That's also why I made the choice to sand them down, to give them the worn look, which helped too to the fitting of the track.

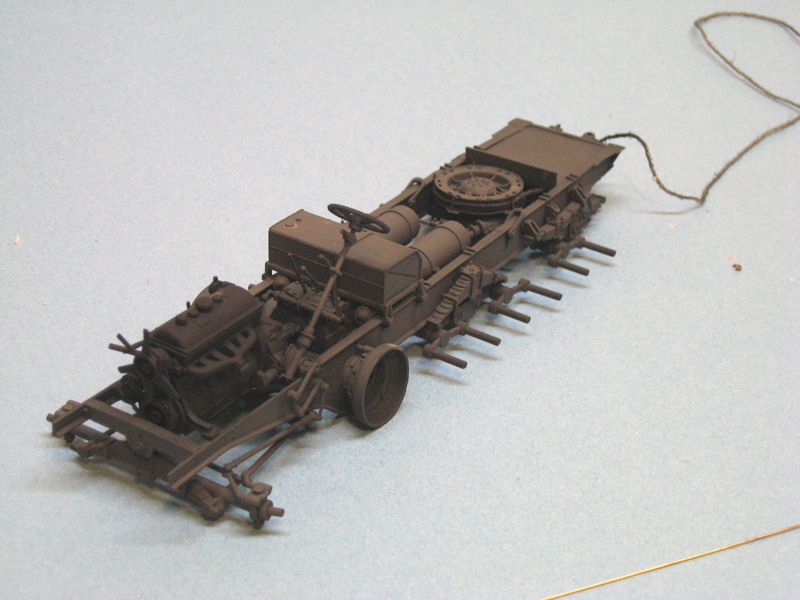

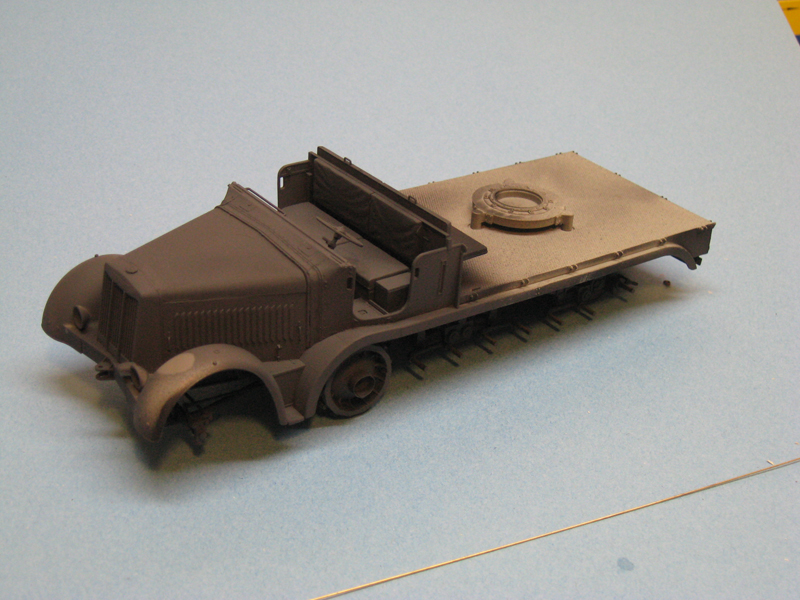
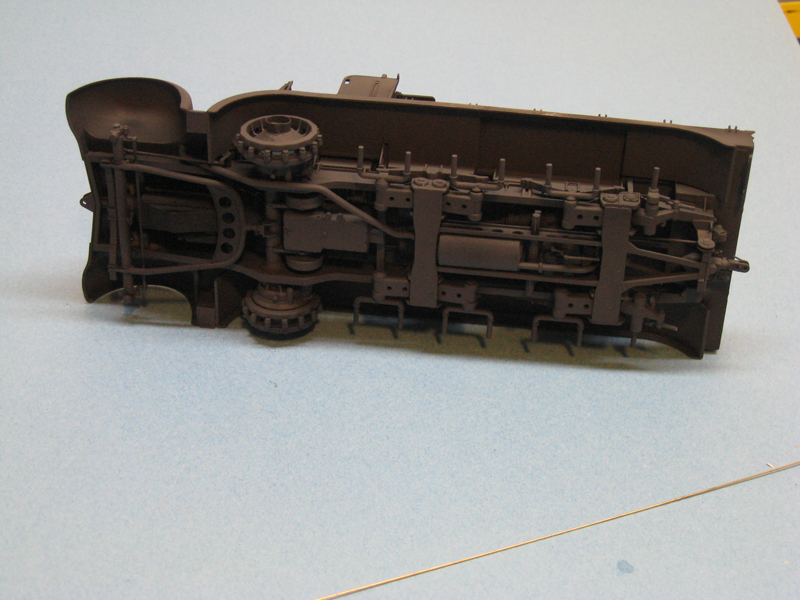
Just HOW smart is the DML kit? Is it a case of indeed, very clever molding and no lack of detail?
I've got 2 88mm FlaK guns, maybe one in firing position and the other being towed, and I wouldn't know exactly what would be the best option, Trumpeter or Dragon.


 |


