

Great job on the lower hull and my hat is off to you adding all those rivets ..(even where they won't be seen) Two thumbs up!!


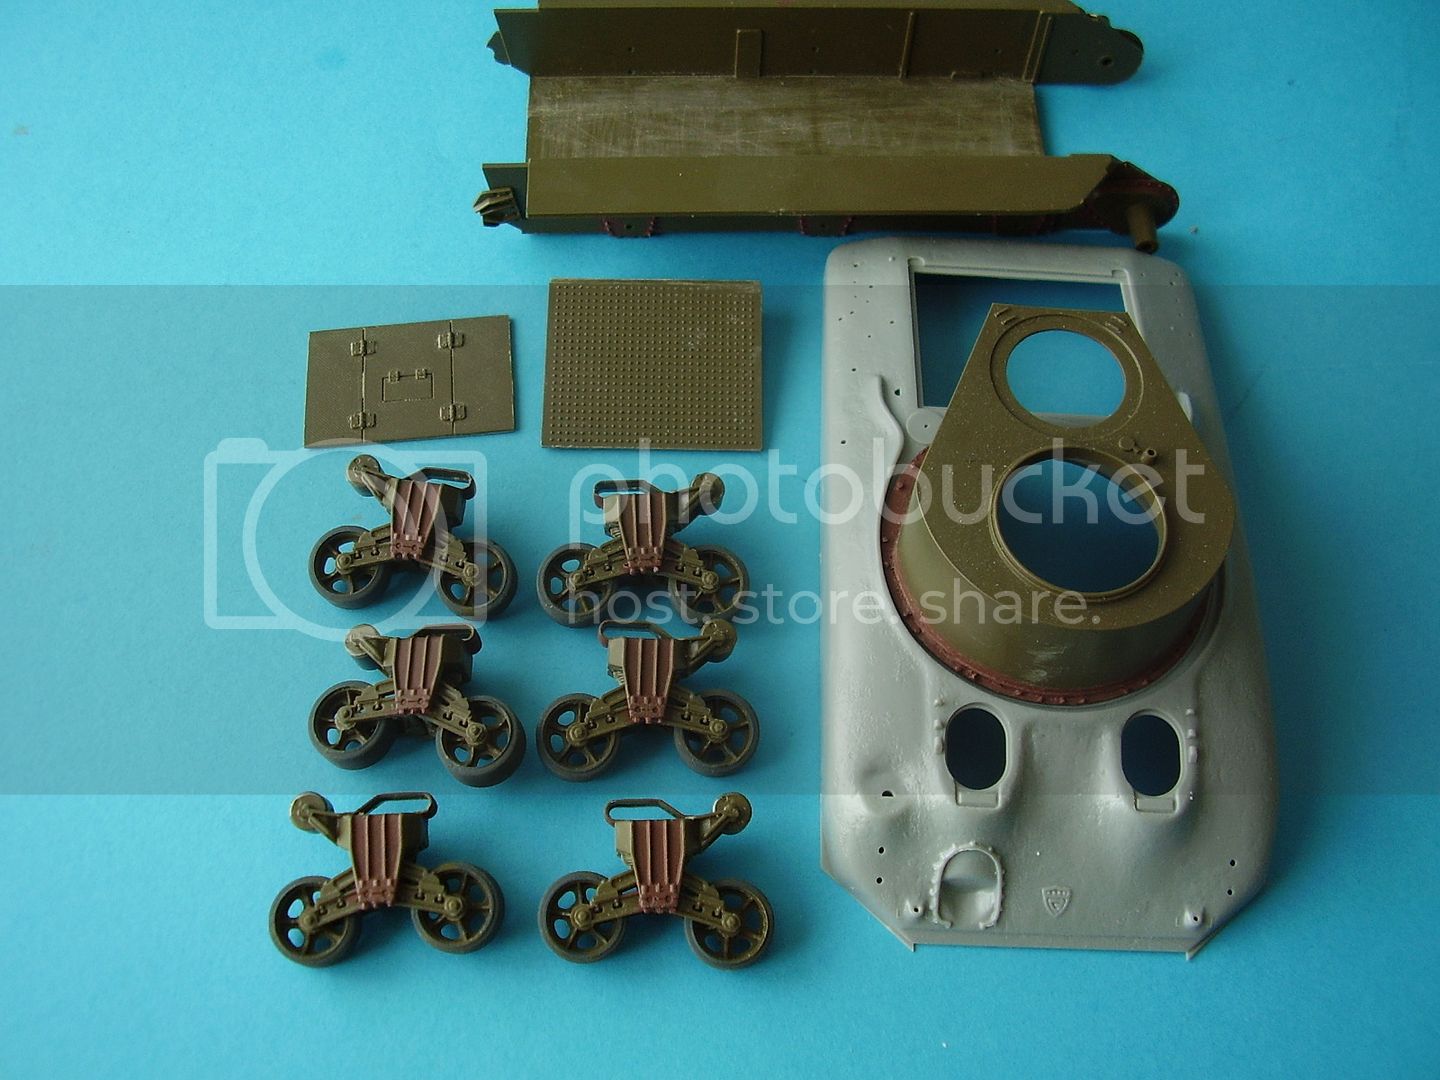
 The first prototype was a failure. But thanks to ALANL's review of the Resicast M4A4 Interior set,
  I soon had things falling into place.
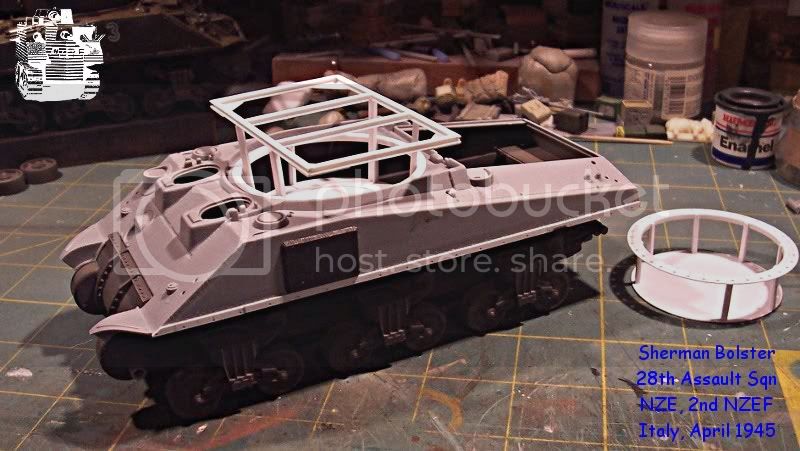
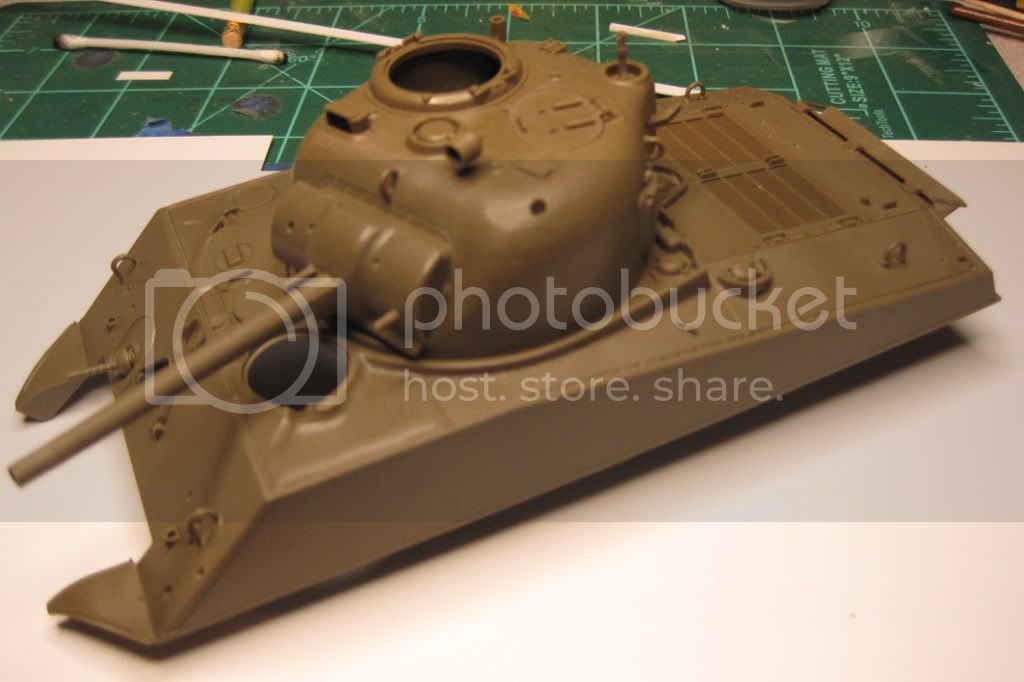
 But it does make for a handy stand to place turrets on when working on them.


I'm unexpectedly spending a couple of nights in the hospital with my 6-month old daughter (not sure what's wrong yet!


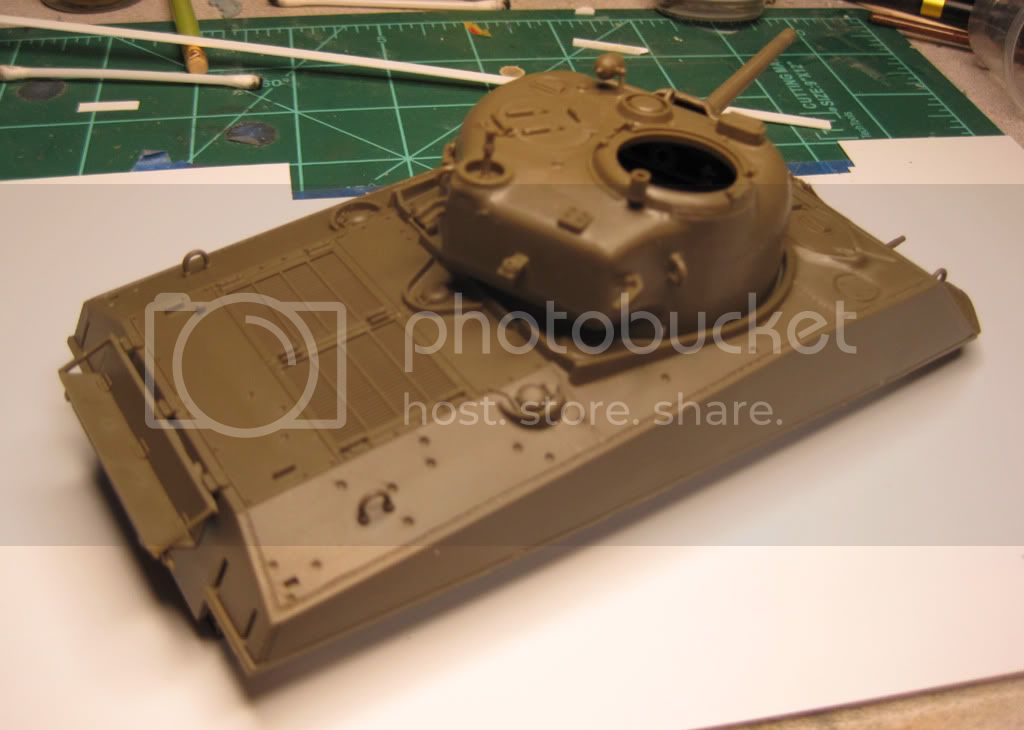
Another thing to add is the supports for the rear deck engine doors which are not included or indicated.
I'll try and find a photo as even I can't understand what I've just typed

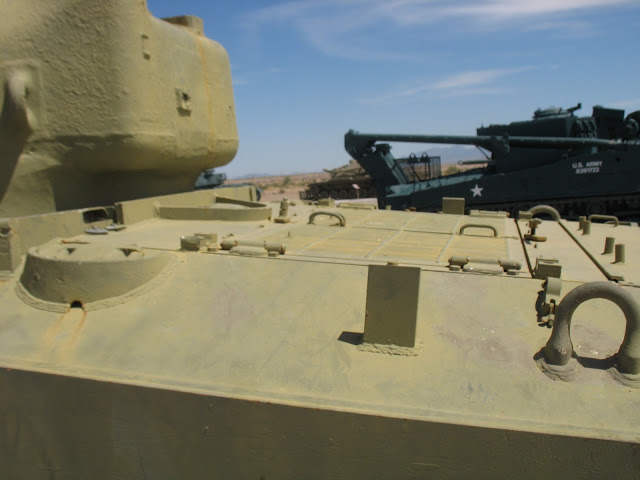


Do y'all think that it's necessary to roughen up most of the sections on the Tamiya Sherman? I know that only some of the sections were cast-- these would be the rough spots, right? Is there a website with a lot of Sherman info on it? If I'm gonna be building one, I might as well learn a bit more about them (and armor in general!)
but checking out the other info on the site is VERY worthwhile. ..Good stuff ..I stole two covers from an old Italeri sherman to beef up the front of my M4 that needs a sharp nose .. Don't forget to add the bolts on the hull sides where the transmission cover is attached ..
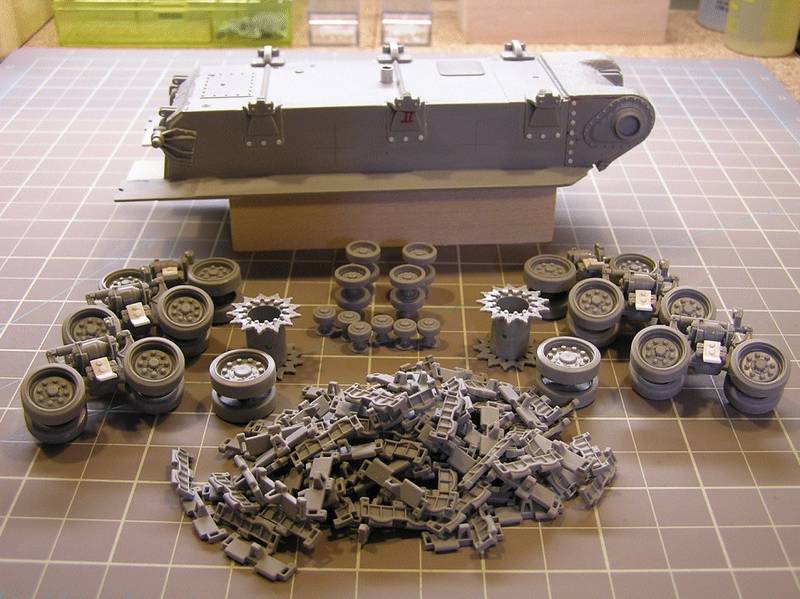
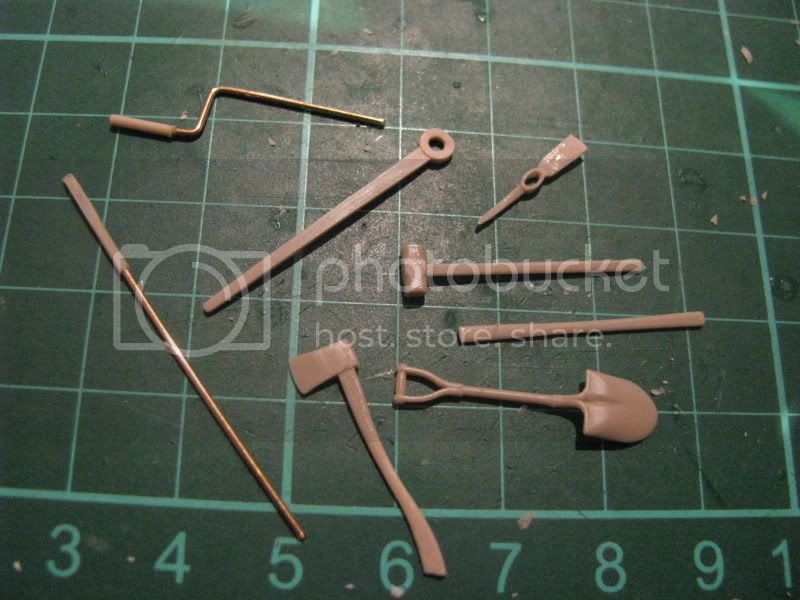
If I might make one suggestion that is really a quick and easy fix, it would be to change out all those blobs Tamiya made to represent handles for new ones made from wire..


 )I'll get pictures of them sometime this week ..
  |


