California, United States
Joined: April 27, 2011
KitMaker: 255 posts
Armorama: 250 posts
Posted: Wednesday, June 08, 2011 - 03:26 AM UTC
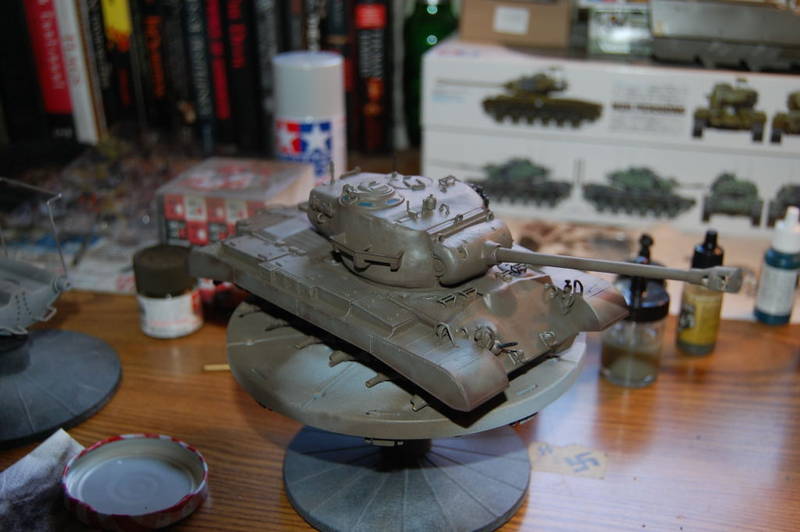
Second tank that i have put together.the tracks were fun

more photos soon.

Lisboa, Portugal
Joined: March 04, 2008
KitMaker: 5,386 posts
Armorama: 4,727 posts
Posted: Thursday, June 09, 2011 - 05:11 AM UTC
Are you going to paint it ?
Active Builds: 0
Active Campaigns: 0
Texas, United States
Joined: June 12, 2007
KitMaker: 1,866 posts
Armorama: 1,696 posts
Posted: Thursday, June 09, 2011 - 07:34 AM UTC
Gotta love the Friuls.......
California, United States
Joined: April 27, 2011
KitMaker: 255 posts
Armorama: 250 posts
Posted: Thursday, June 09, 2011 - 12:37 PM UTC
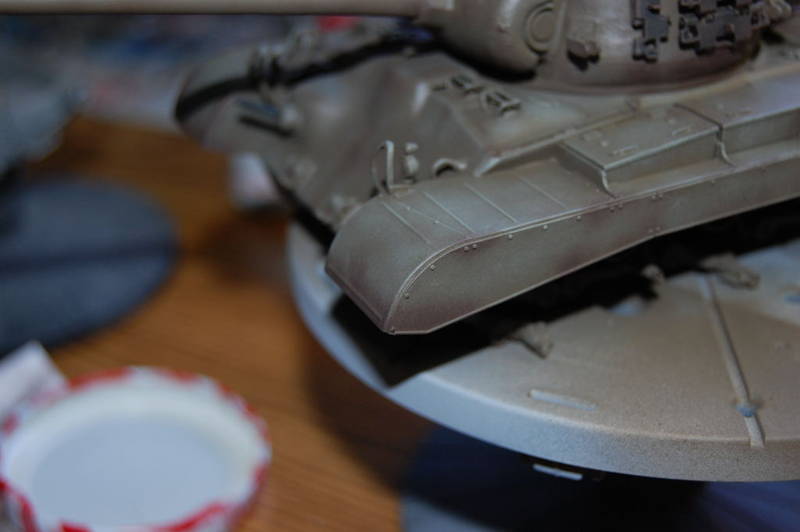
paint starts this weekend not sure what green its going to be yet and or markings.i have a love hate relationship with tracks.....the next set will i hoping will go a bit better.i had to go back a fix a bunch of the links.

Nevada, United States
Joined: December 21, 2008
KitMaker: 1,109 posts
Armorama: 1,095 posts
Posted: Thursday, June 09, 2011 - 02:25 PM UTC
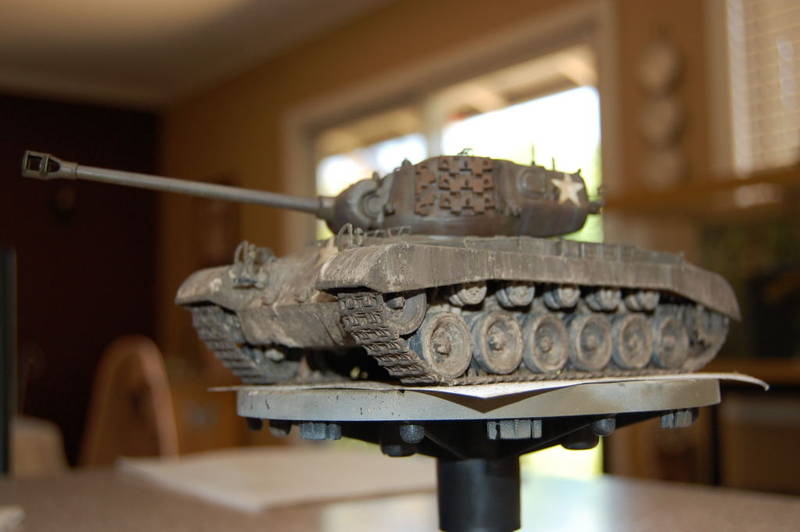
Well you have two choices of color. Olive Drab for all US Army Pershings, and Marine Green for Korean war USMC Pershings.
Tamiya XF 62, OD is good for Army, Tamiya XF 74 JGSDF OD is good for Marine Green.
G
Lasci la pistola. Porti le cannoli.
California, United States
Joined: April 27, 2011
KitMaker: 255 posts
Armorama: 250 posts
Posted: Saturday, June 18, 2011 - 08:19 AM UTC

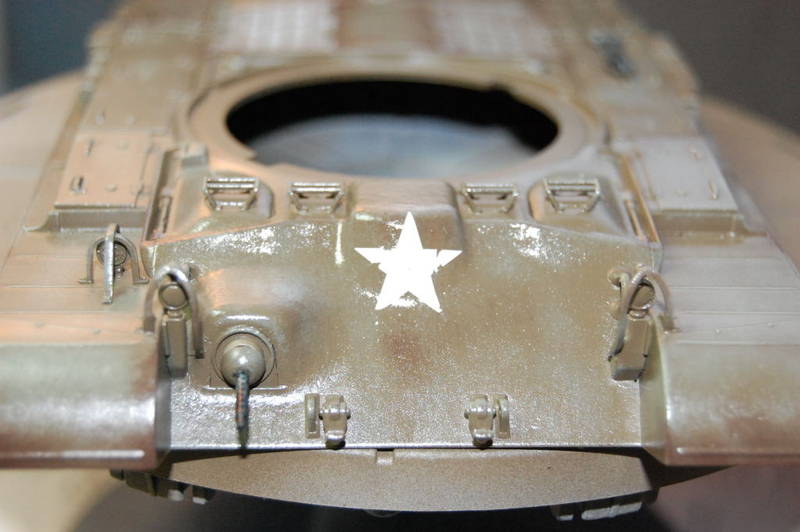
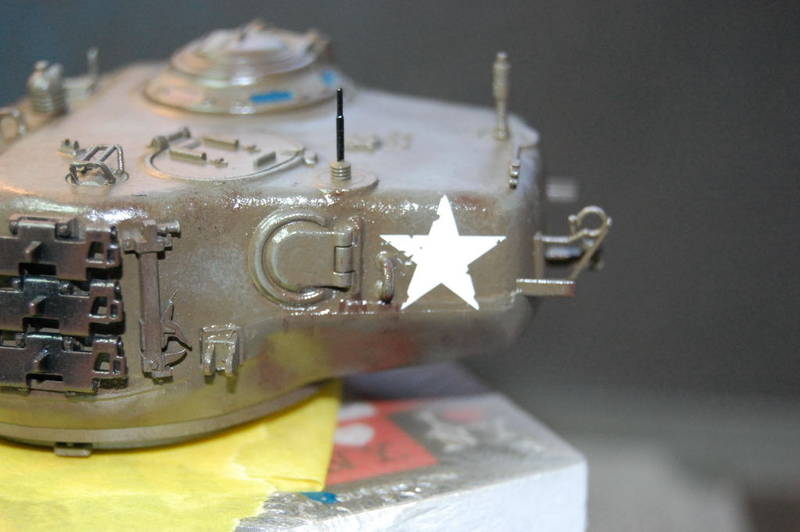
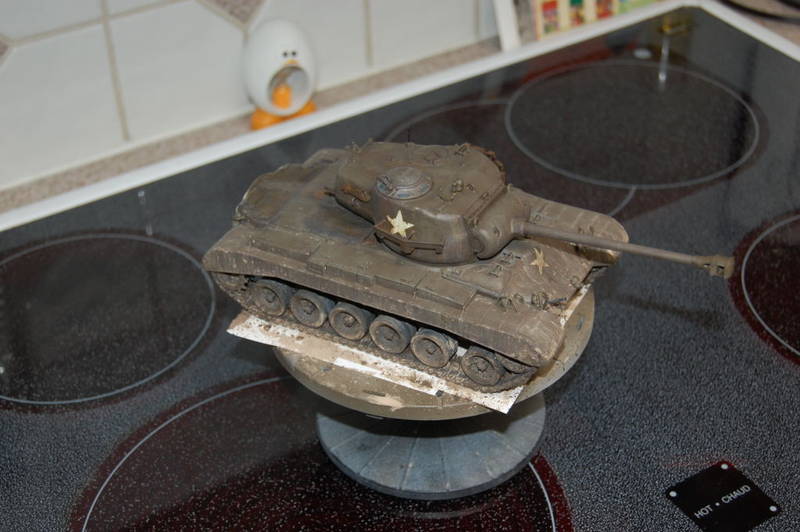
done this am with vallejo model air olive drab.i have some transfers form archer in the mail.
Removed by original poster on 06/28/11 - 01:38:37 (GMT).
Removed by original poster on 06/28/11 - 01:44:48 (GMT).
California, United States
Joined: April 27, 2011
KitMaker: 255 posts
Armorama: 250 posts
Posted: Monday, June 27, 2011 - 06:06 PM UTC
California, United States
Joined: April 27, 2011
KitMaker: 255 posts
Armorama: 250 posts
Posted: Saturday, July 02, 2011 - 02:45 PM UTC
Joel_W
 Associate Editor
New York, United States
Joined: December 04, 2010
KitMaker: 11,666 posts
Armorama: 1,143 posts
Posted: Friday, July 15, 2011 - 11:06 AM UTC
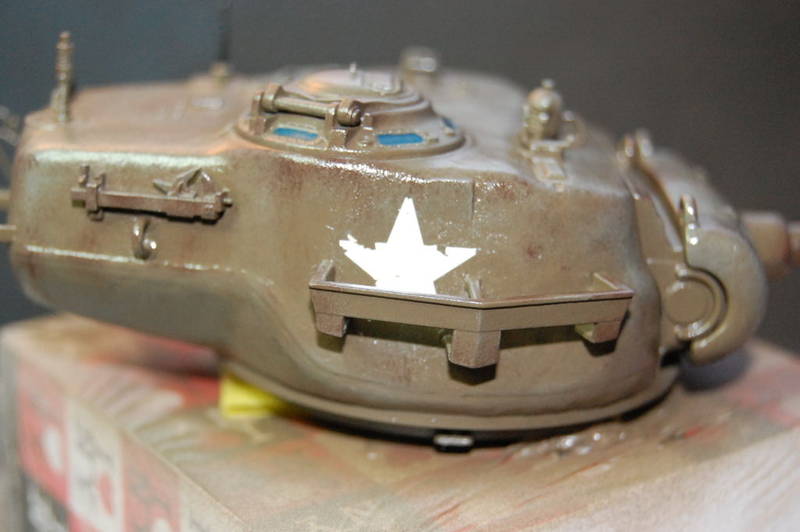
I'm a little confused with your description. You applied the pledge to the shell, and then the dry transfers. Then sealed with more Pledge? When did the dry transfers start to come apart?
On my Workbench:
Monogram 1/24 scale 427 Shelby Cobra
Just Completed:
Beemax 1/24 scale BMW M3 E30 1992 Evolution II
California, United States
Joined: April 27, 2011
KitMaker: 255 posts
Armorama: 250 posts
Posted: Friday, July 15, 2011 - 01:06 PM UTC
i did that to the transfers before i sealed them.they never came apart worked great a few stars later .
California, United States
Joined: April 27, 2011
KitMaker: 255 posts
Armorama: 250 posts
Posted: Sunday, July 31, 2011 - 10:16 AM UTC