The next step was to tackle the camoflauge scheme. It was out of the question to free hand the airbrushed camo pattern as my air brushing skills are saddly lacking. As such some sort of mask was needed, but first I had to figure out what the pattern was supposed to be. So I scouered the internet as well as many books on the subject and came up with a plan!
A couple of pictures showing this style of camo on late war Panthers


Based on pictures a logical and possible pattern was drawn onto scale line drawings of the Panther.


THis was done for all 4 sides as well as the top, though at the end I am not sure exactly how closely I actually followed the game plan, but it was quite essential to at least have some sort of a guide to go by.
With the pattern established, the question re the masking had to be answered. In this case I ended up using Blue Tack and it seemed to work very well.

The tank was done in the following order: Yellow-Green-Brown


Now that the basic parttern was laid in, the real fun began!
Each color was painted over with various shades of oil colors, closely matching the original Tamiya colors that were airbrushed on. This was a very time consuming and tedious task. But the colors faded real well and I was pleased with the results. It works real nice as you can adjust the amount of fade and you can control the light source fairly well. I emphasized on making the top surcases lighter and the shadow areas darker. This was then left to dry for a few days. Also I think some point before these pictures I had 'out lined' the tanks deeper areas. It is my version of doing washes. I felt I had more control over the placement by actually painting all the recesses rather then just flowing paint down the crevises.

Here the weathering has started, some paint chips, scrapes and nicks has been added all around the tank. This is all done with acrylics.


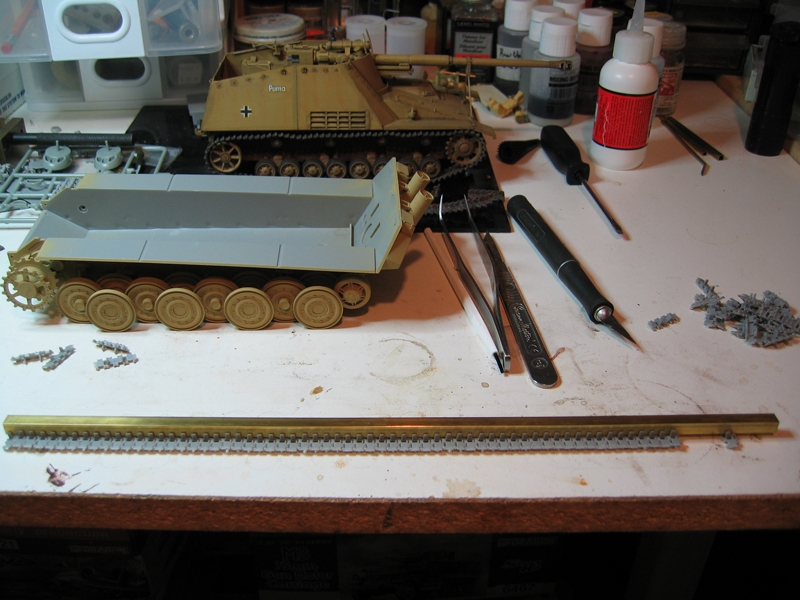
The tracks were primed in the same gray color, then were airbrushed with a mix of Tamiya black and earth colors. They then recieved a 'wash/coat' of various pigments, then lightly rubbed to show the darker areas, and keep the dusty, dirty stuff in the recesses.


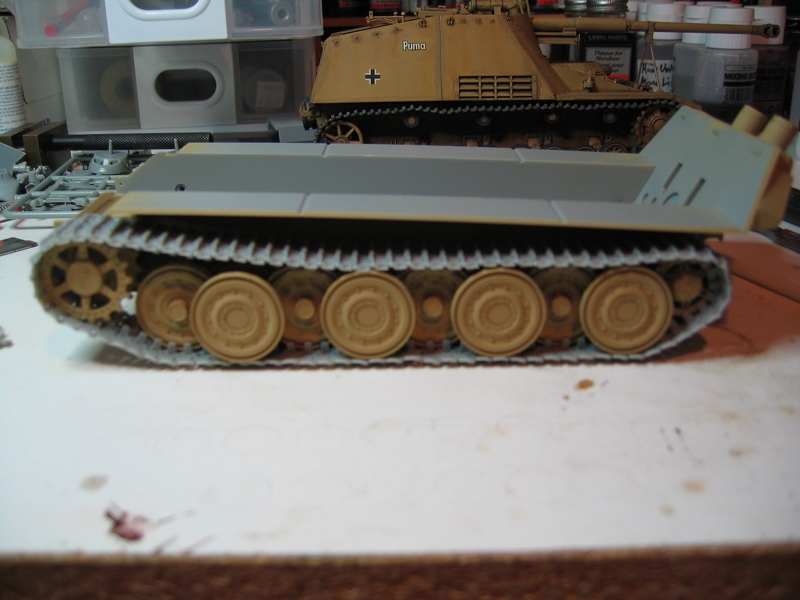
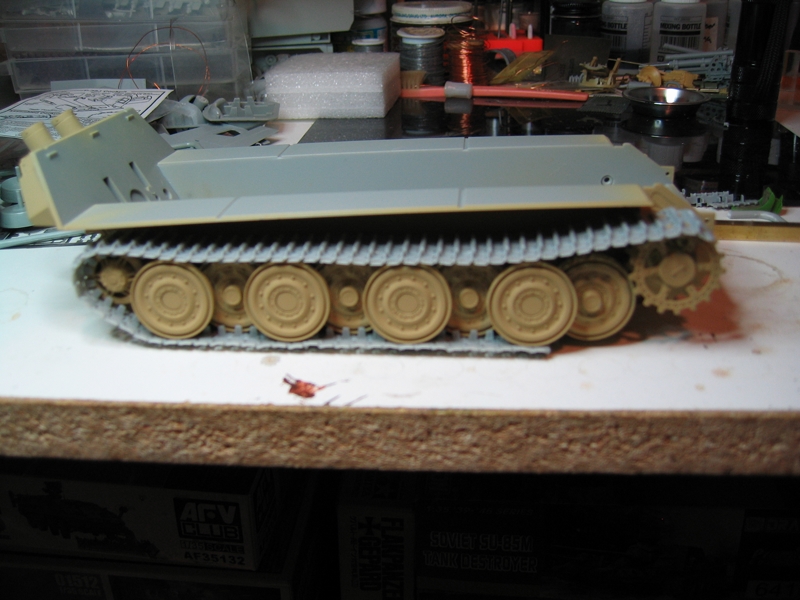
The tracks added to the model, as well as the road wheels attached, and the figures have been placed to study the composition

A close up of the tracks


And some mud added to the wheels. I am just experimenting with various ways of doing this. This specific effect was acheived by having wet pigments/acrylics on a splayed out brush, and blowing on the bristles causing the paint/pigments to splash onto the wheels. Pretty cool effect!

Here is a bit of a teaser of the work of further weathering the tank is evident. Some oils were used as well as acrylics. More to come soon!


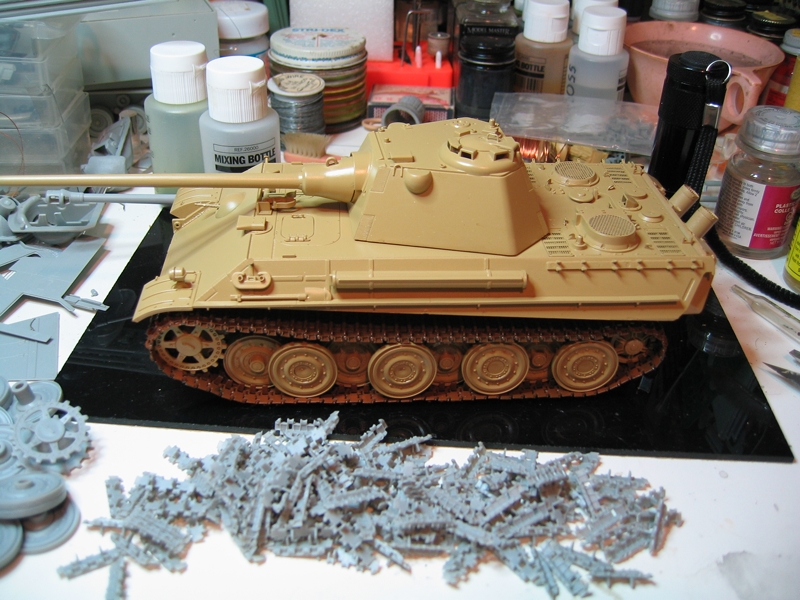
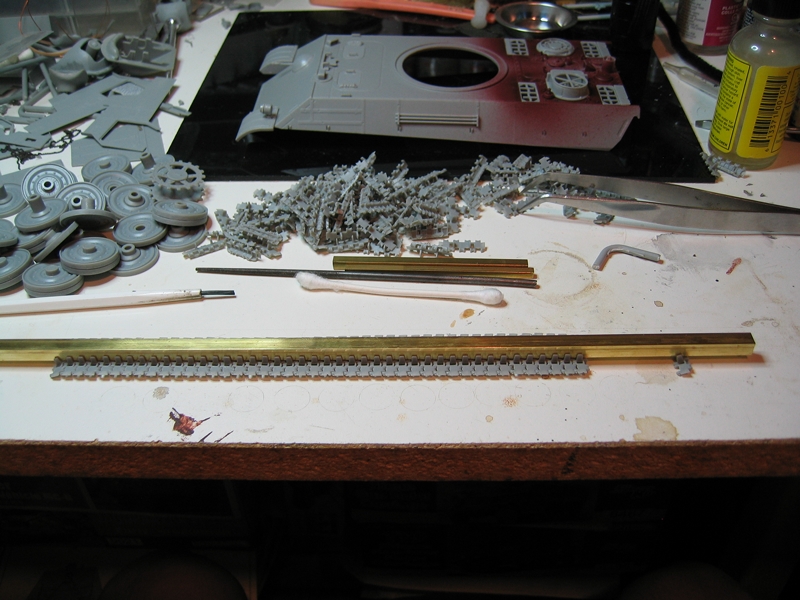
 and got a bag of almost magic tracks.
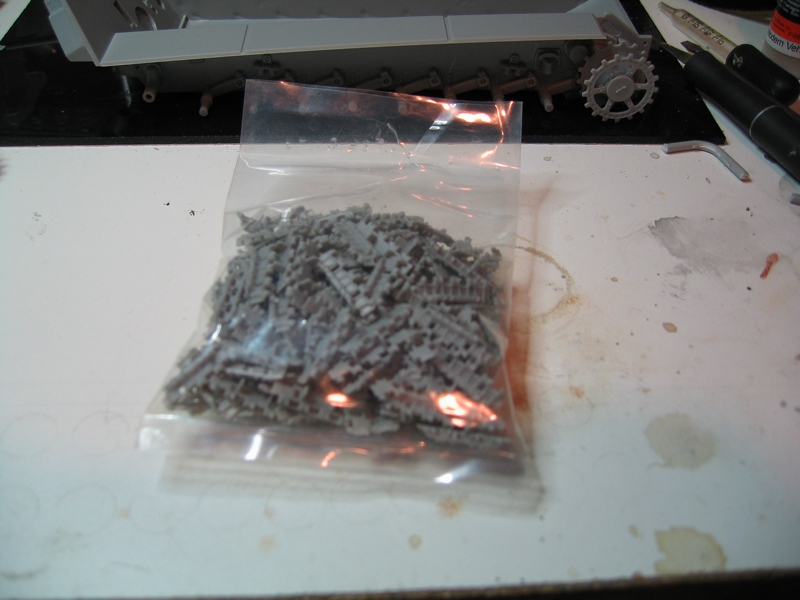


 Dragon 1/72 PzBeobWg V Ausf.G...