Hey all,
Sorry for no update in a while.
Anyways, this post is going to be filled with so much fail, we might as well get on the fail train now:

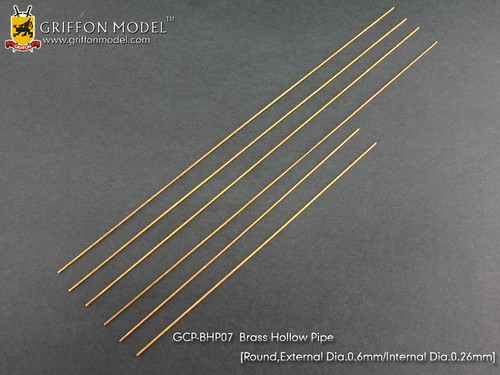
I will attempt to make these. Long story short, go buy a lot. Now. In every size. Twice.
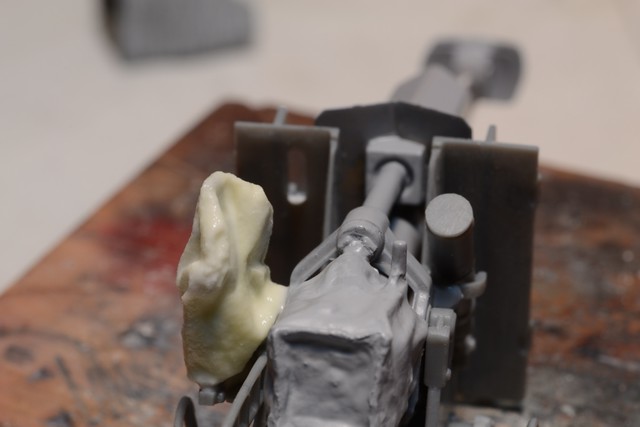
I attempt to recreate the little tarpine holders.
FAIL ATTEMPT #1:
Drill plastics rod.
ermmm..... a little goofy looking
Attempts to hollow out.

Toot toot. Here comes the fail train.
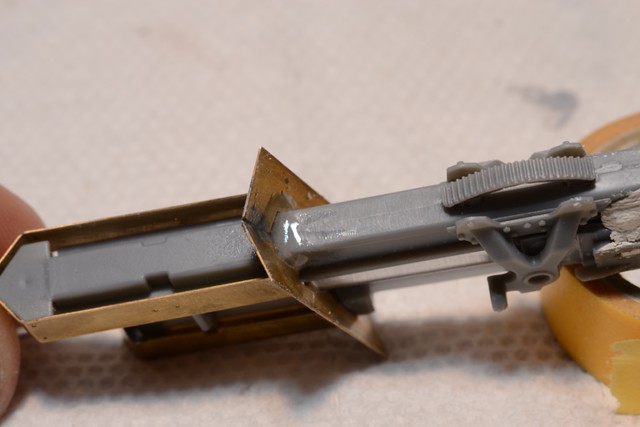
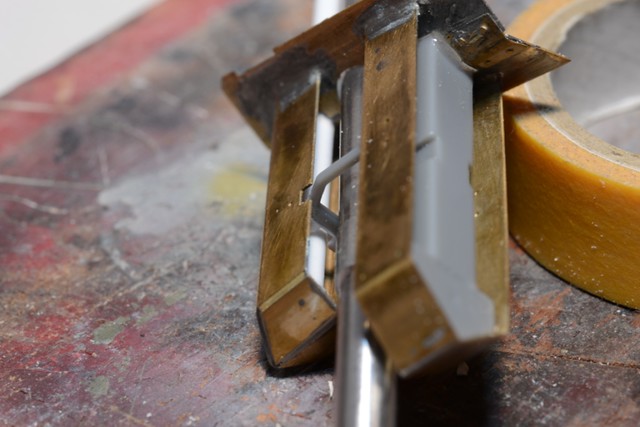
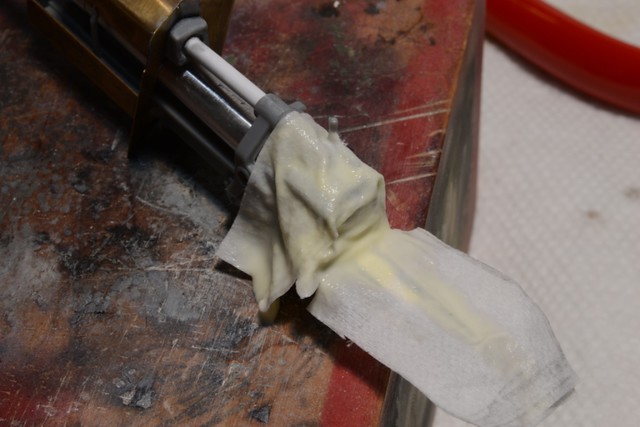
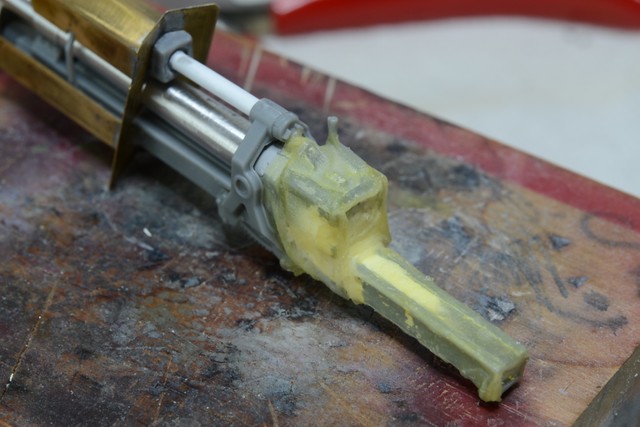
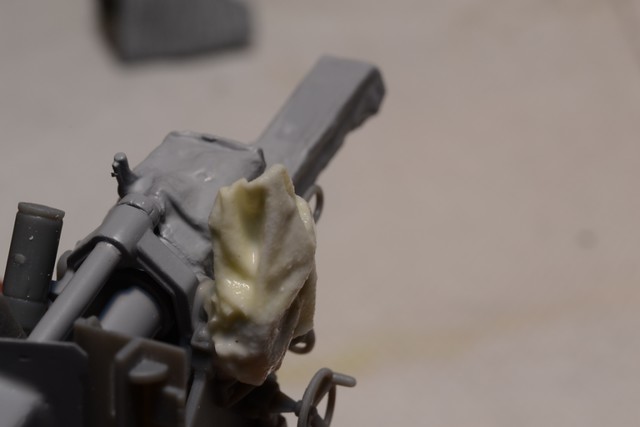
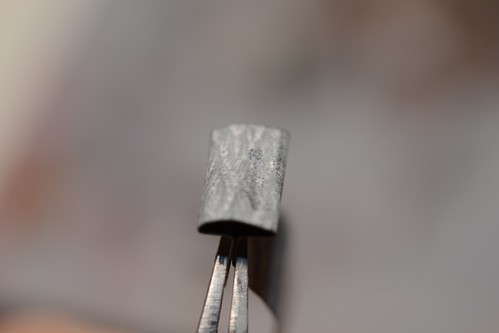
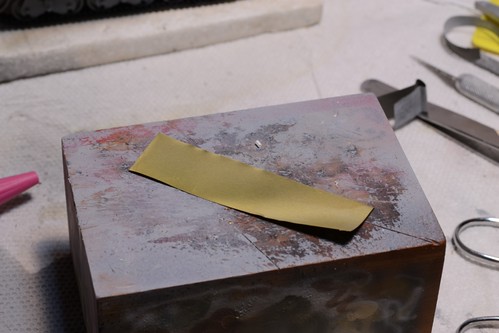
FAIL ATTEMPT #2:
Create brass tubing.
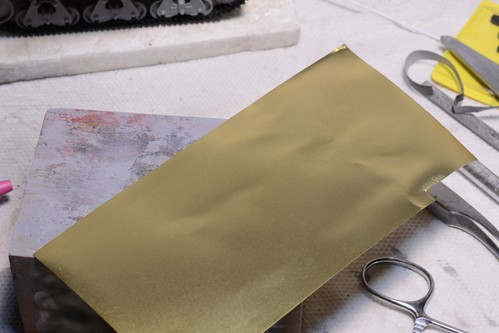
Ermmm..... it looks like we are headed to failville....
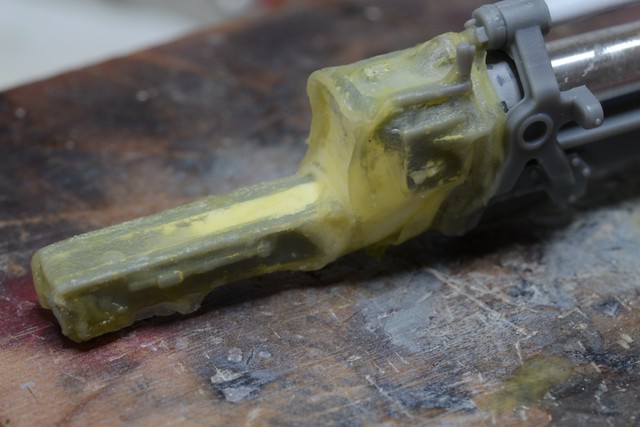
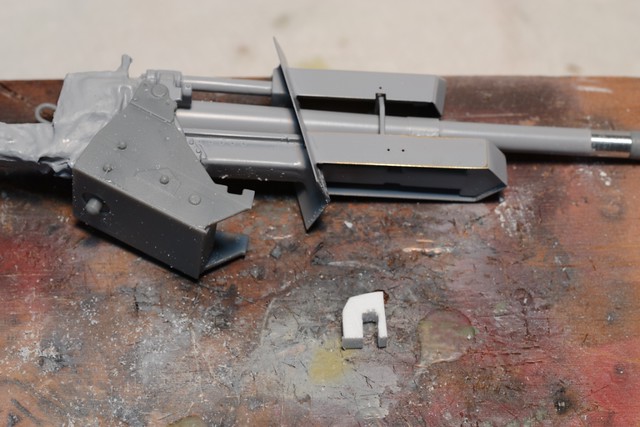
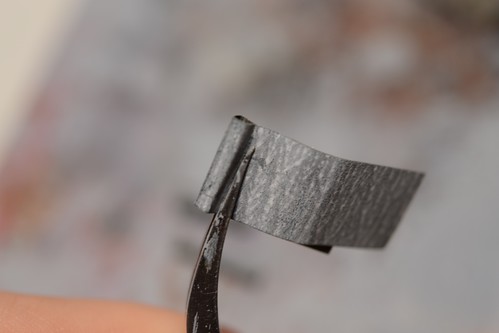
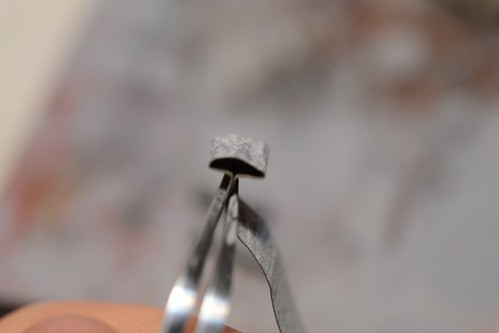
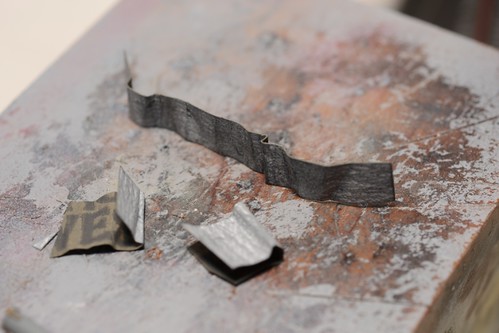
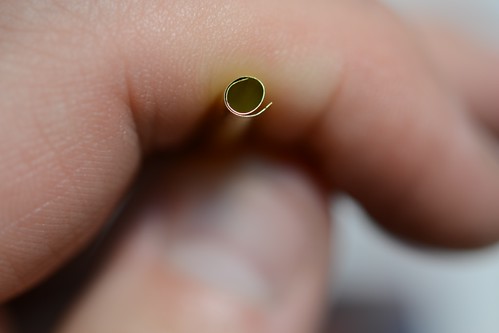
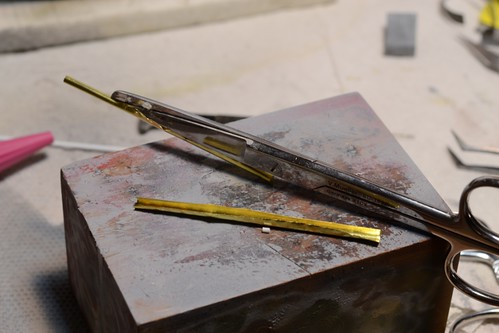
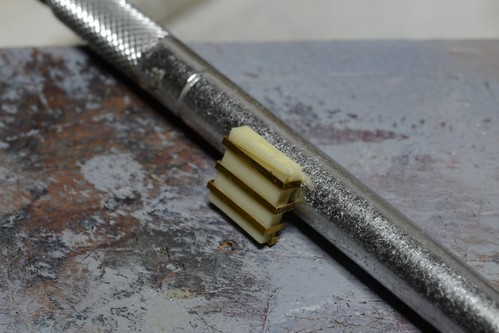
Trimming the excess.
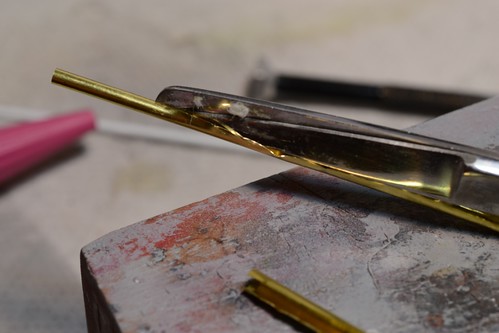
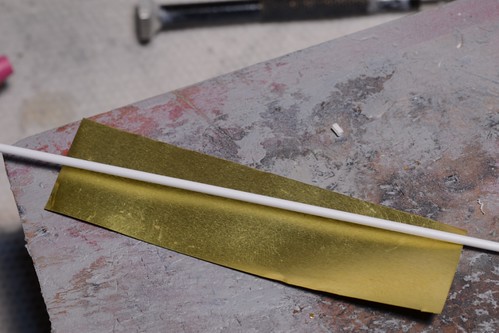
The top wrapping around the rod was the semi finished target. Ignore the trimmings. I couldn't roll it small enought. For bigger sections of custom piping, this method would be fine. A little solder and sanding would give a nice custom rod.

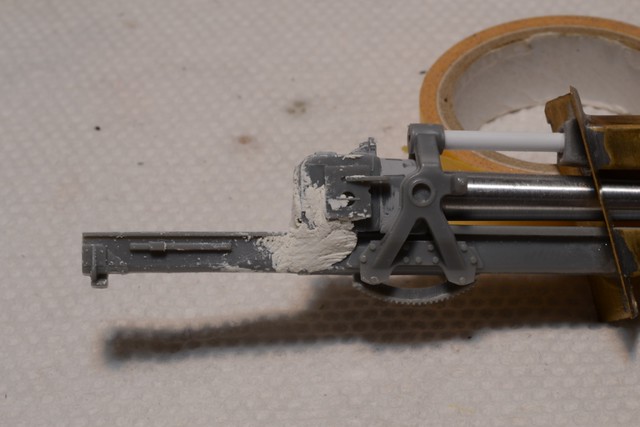
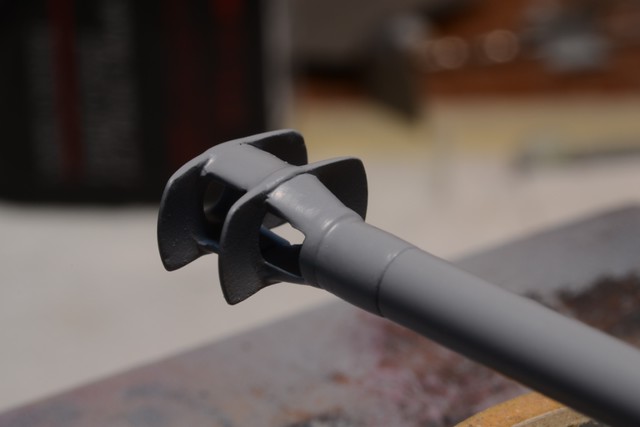
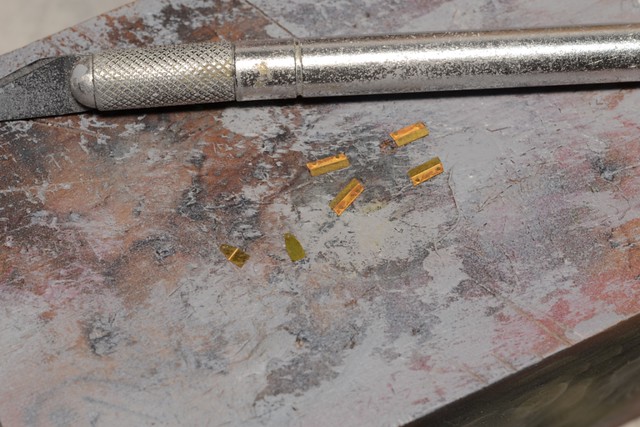
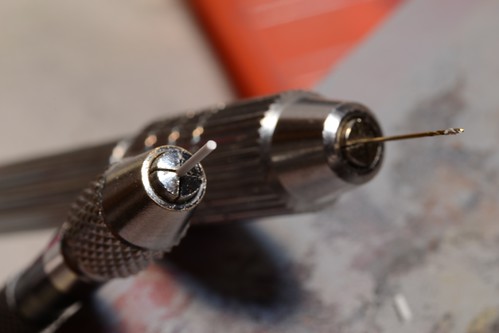
REVISITING METHOD #1 WITH PRECISION:
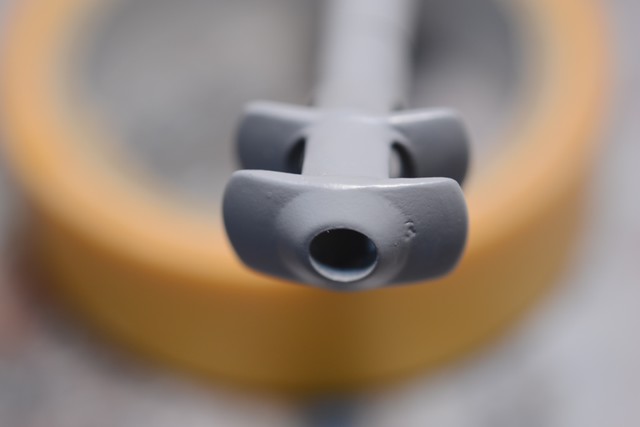
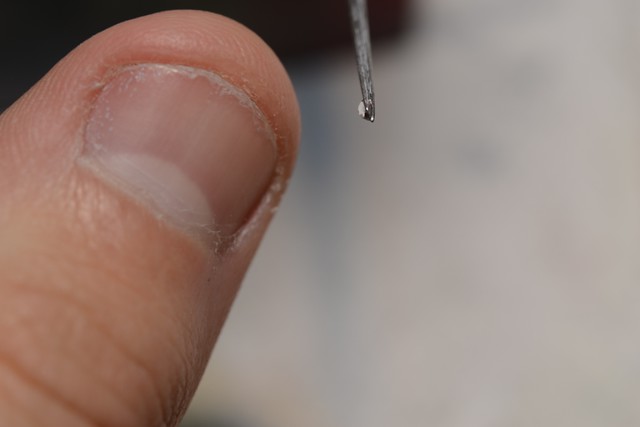
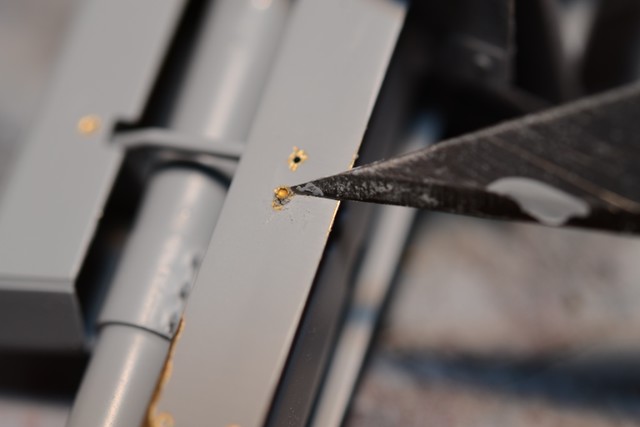
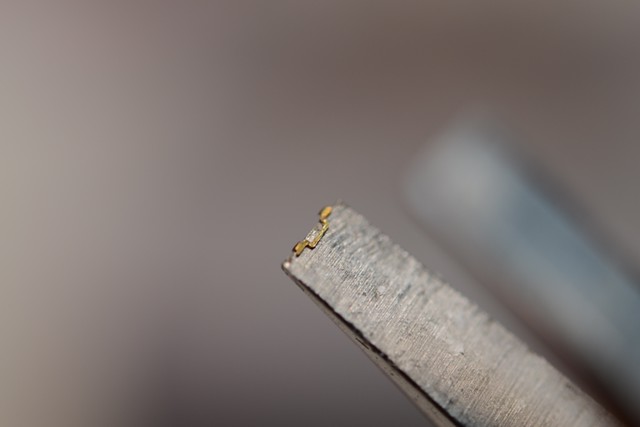
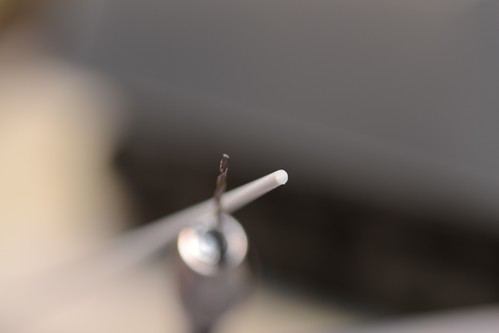
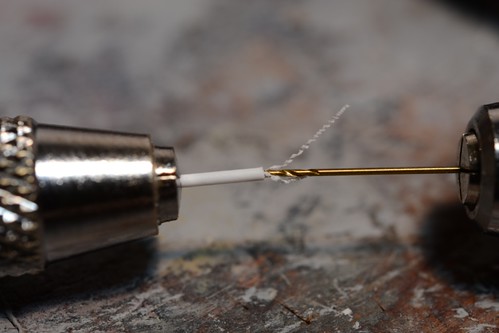
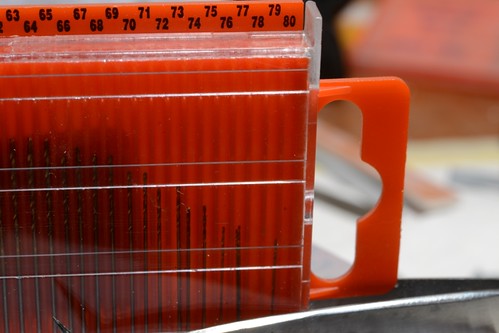
I retried method 1, using another pin vise to hold the rod stready. A fresh #80 drill bit was called upon as well.
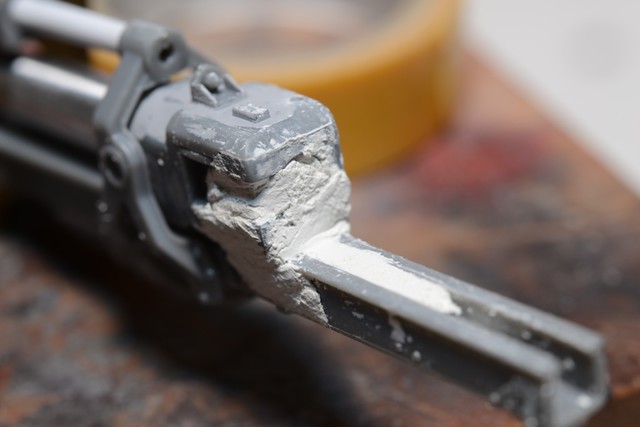
CAREFULL JOHNSON! CAREFUL!
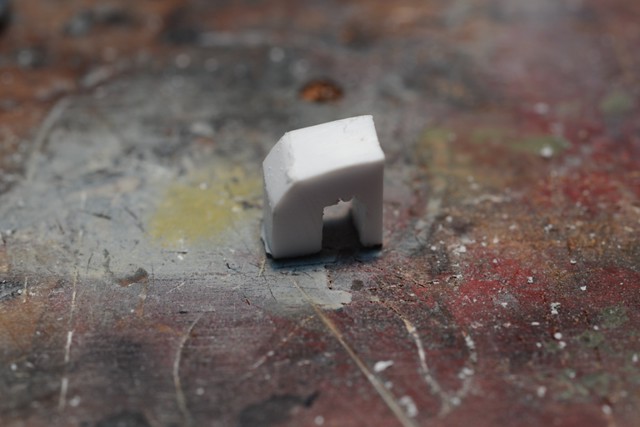
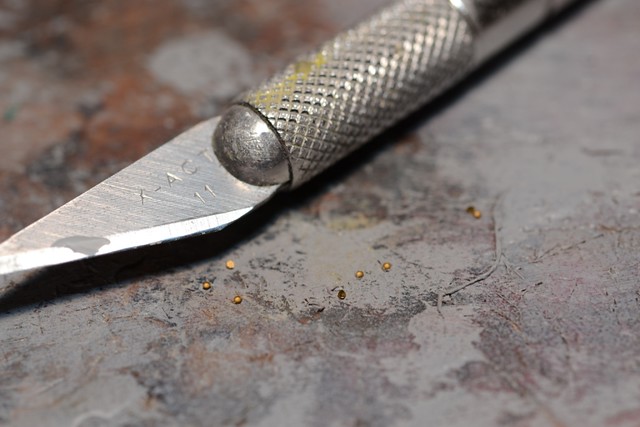
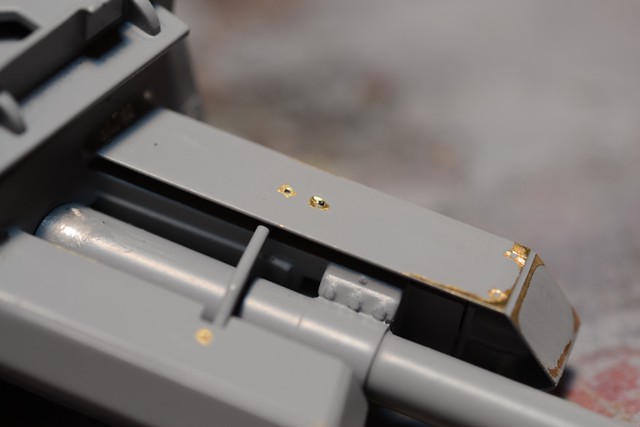
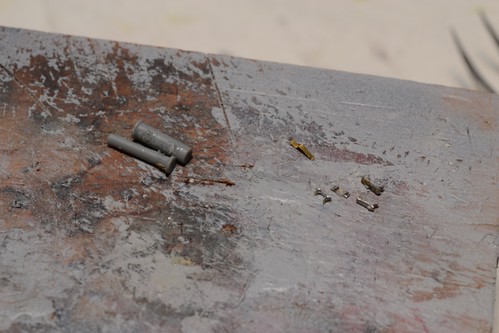
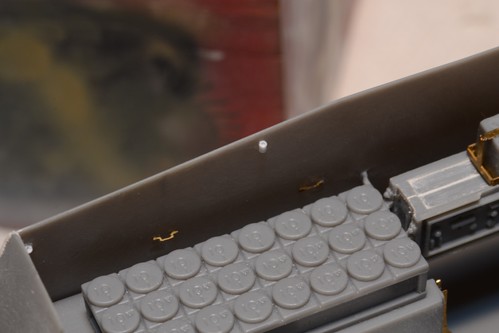
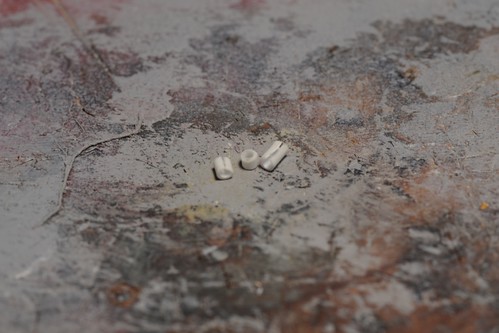
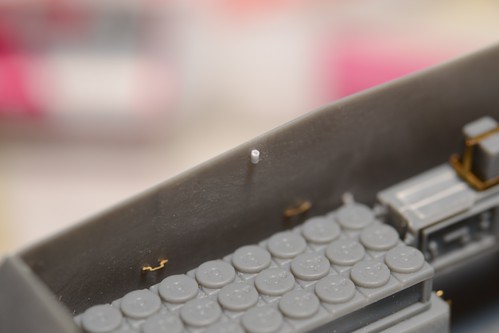
Some first samples. A little offcenter, the later ones get better. Hey man, gimme a break, these buggers are about the same size as the rivets I was working with!!!
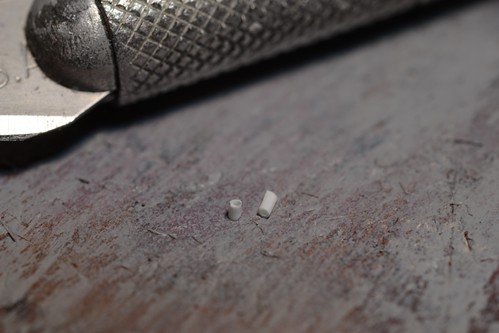
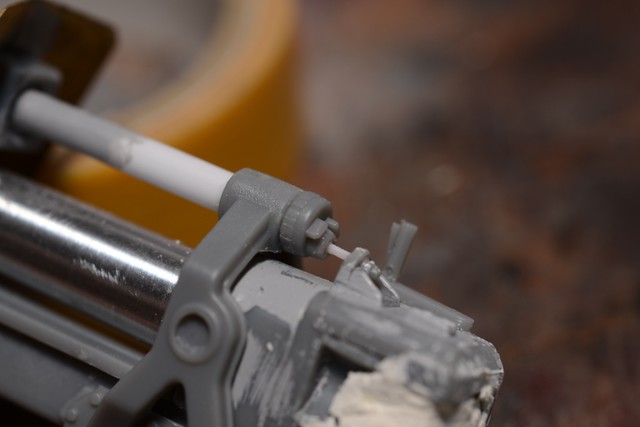
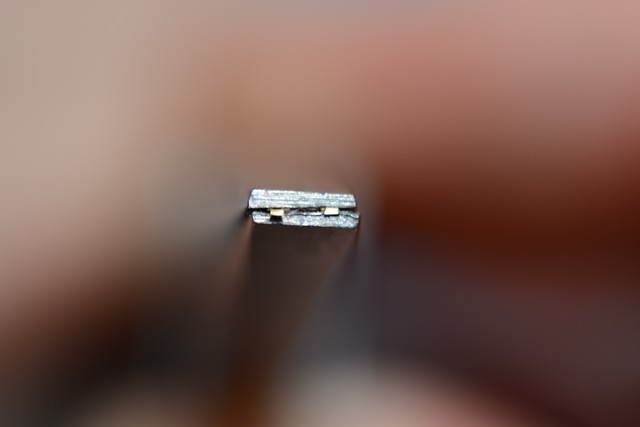
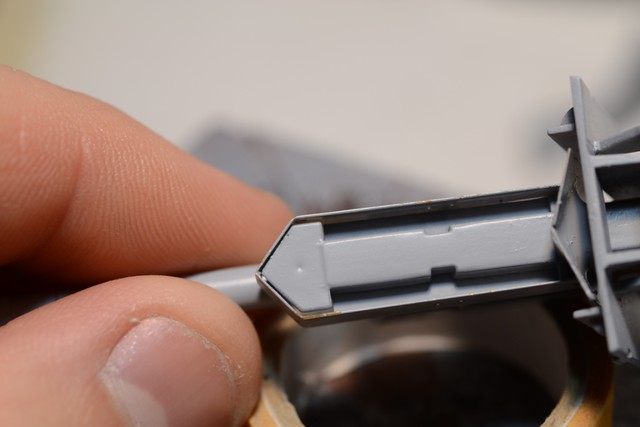
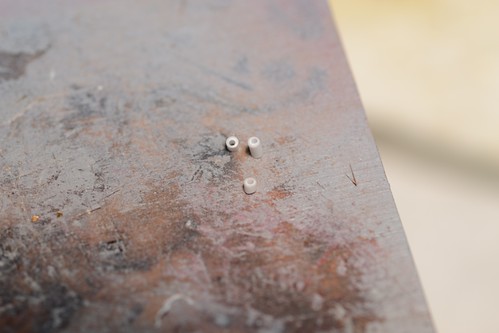
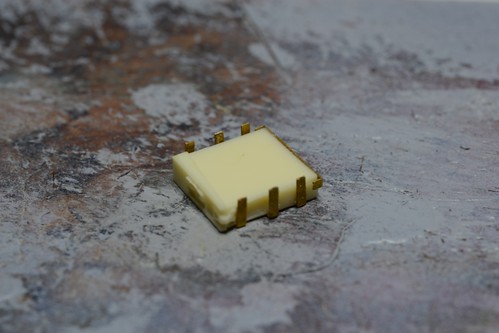
Once I had the hole drilled, I cut the section out. Note, it is not hollow all the way through, but this won'y be visible (especially with black washes).
Oh yea, the fallout of this process is 0%. No little peices were lost. Pigs can also fly. Ok in seriousness, it is faster than you would think to drill the rod, so if it is off center or the carpet monster is hungry, it is pretty fast to do this method.
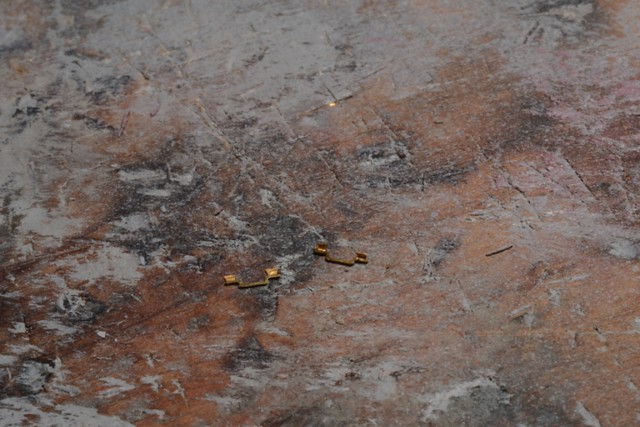
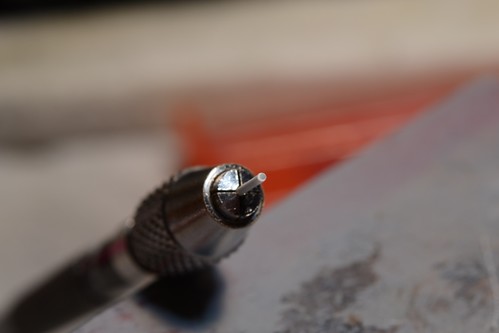
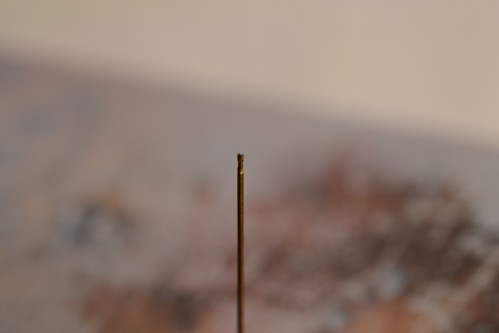
Number 80 is happy to be back in his home. Its a dangerous world out there for these little guys.
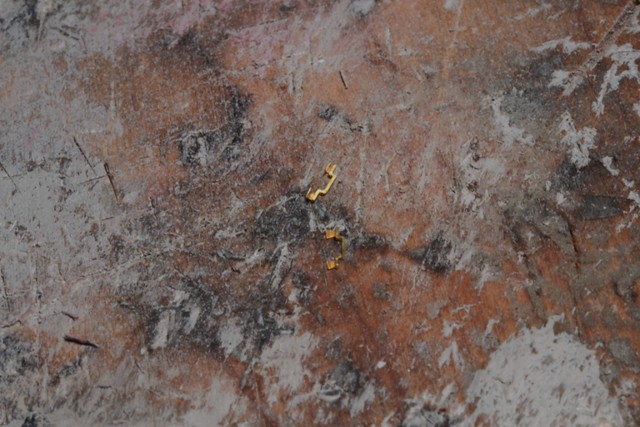
I can't say his friend made it safely.
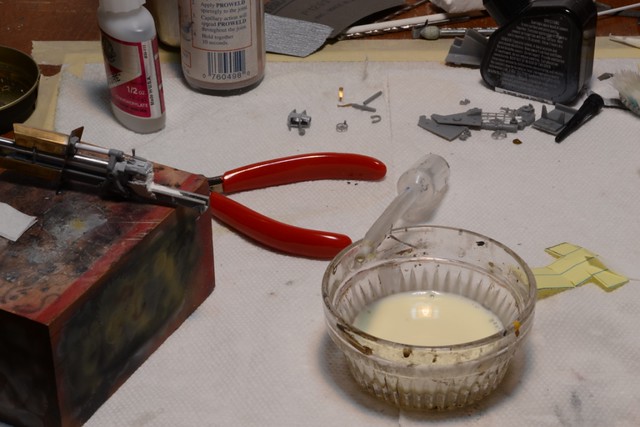
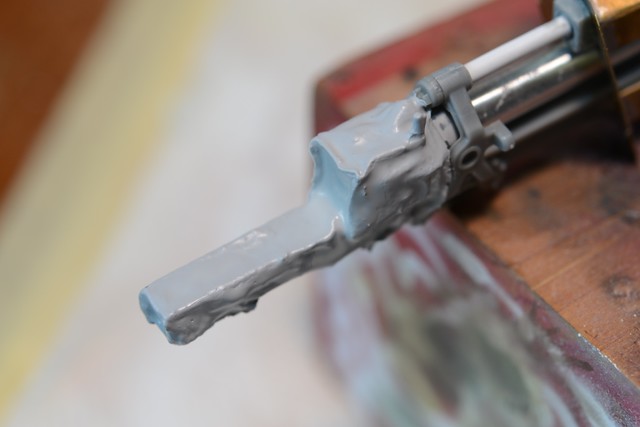
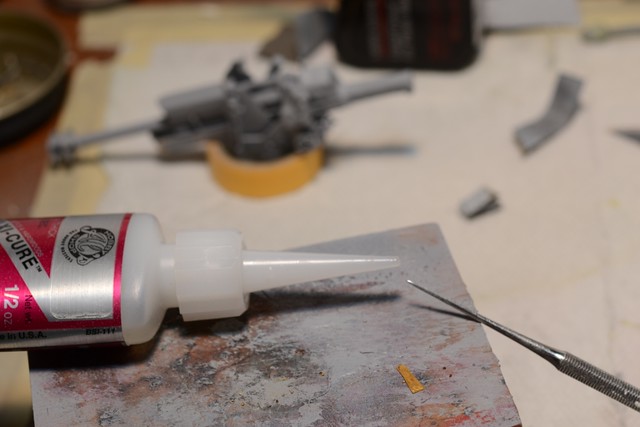
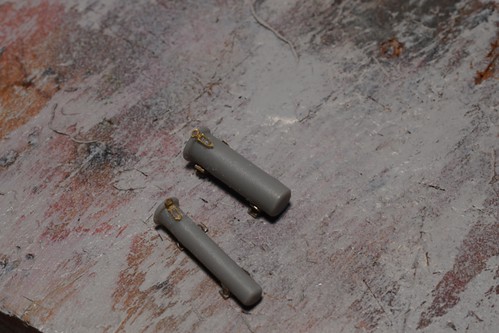
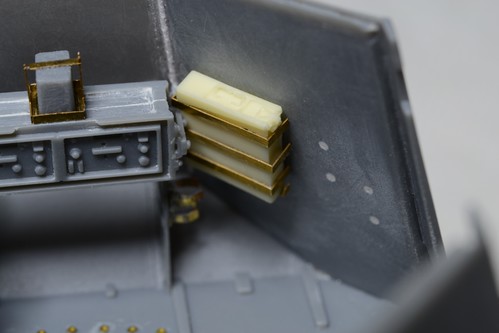
Ok, so the glue is drying and I can't clean the marks yet as they are still wet, so please ignore the marks.
For something not looking half bad, these things don't look half bad. Did I mention buy some of that Griffon tube now? Twice. At all sizes. Now. With some extra.
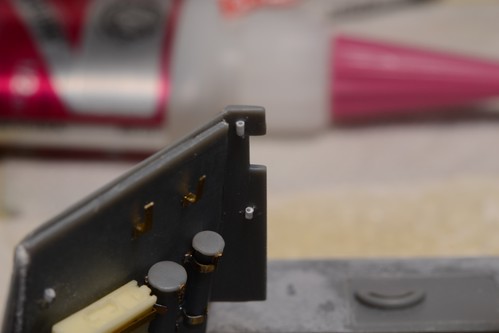
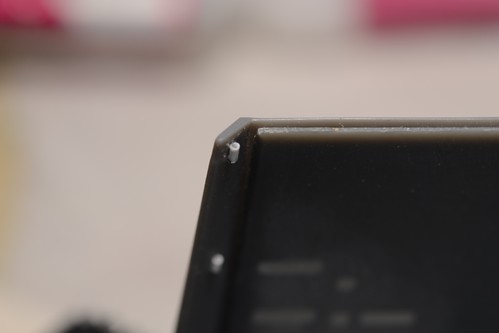
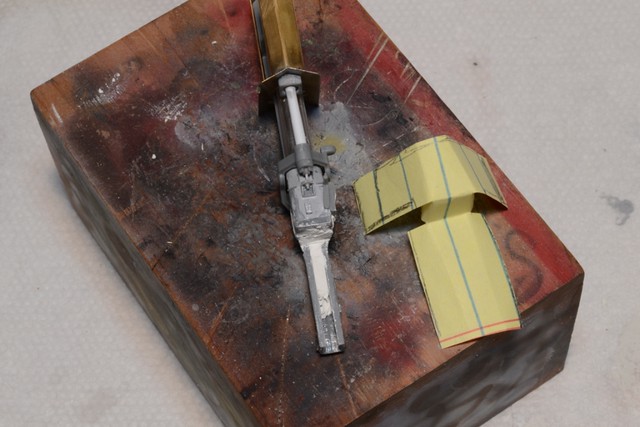
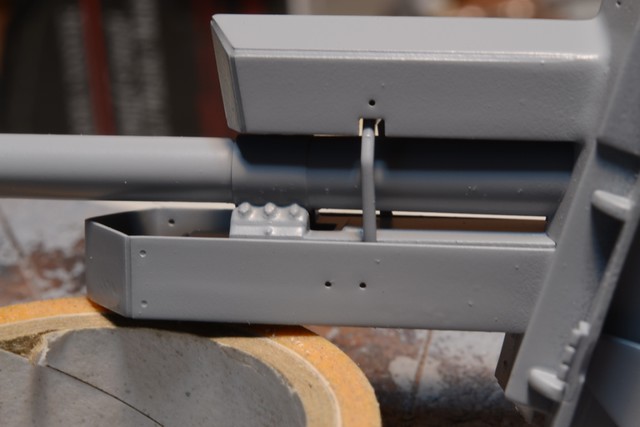
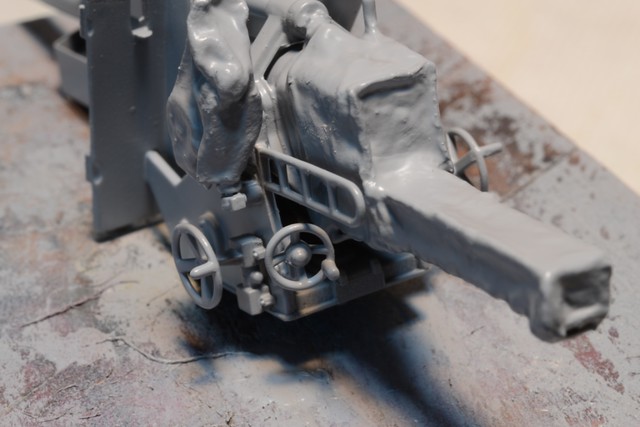
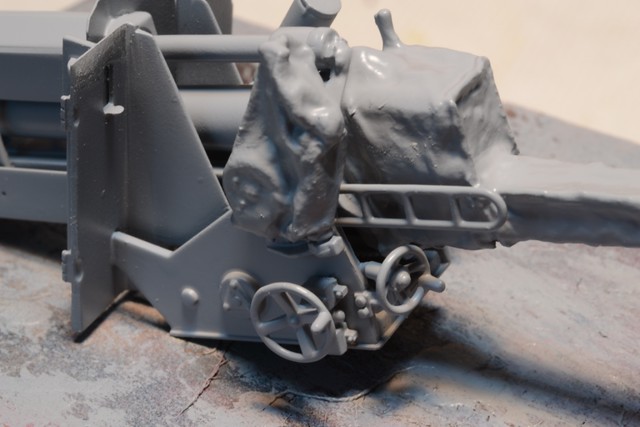
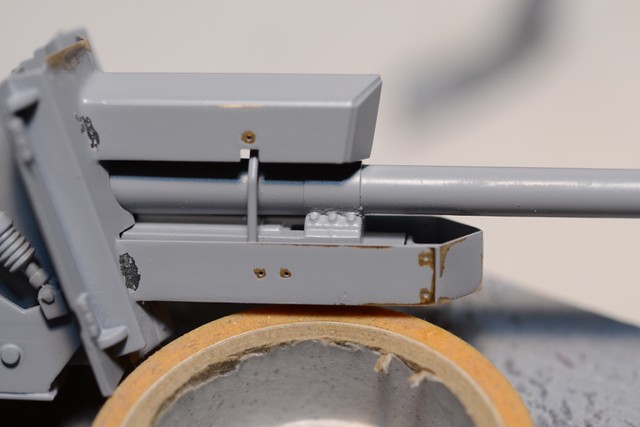
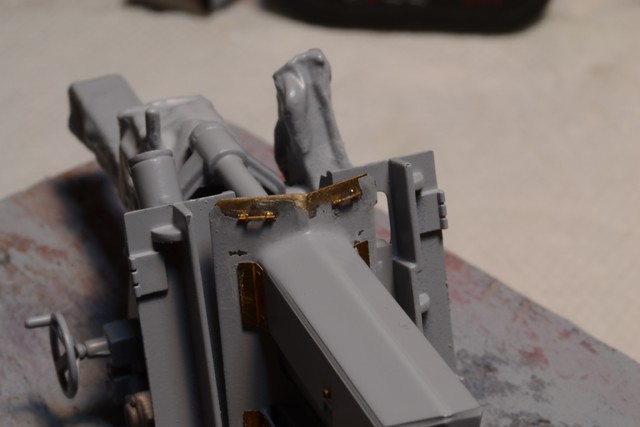
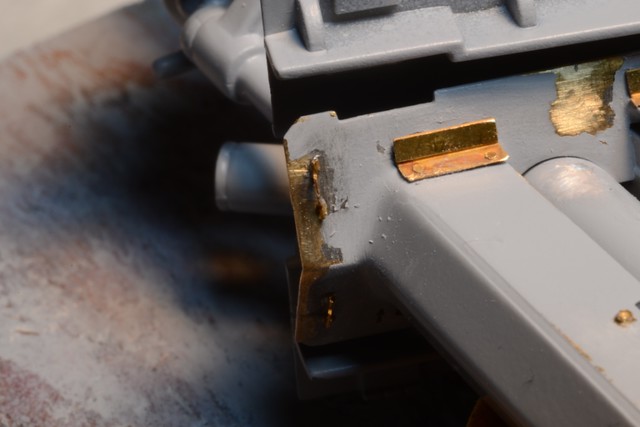
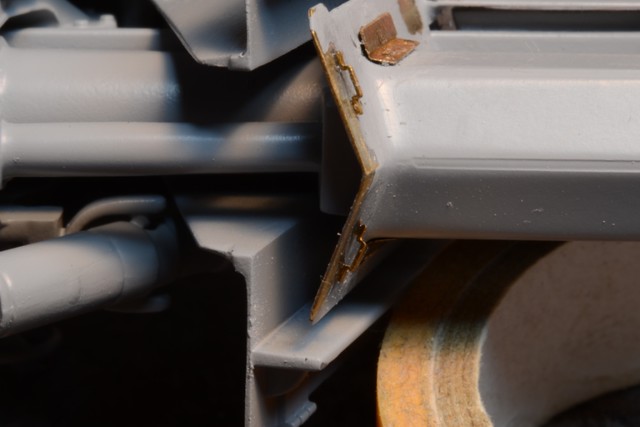
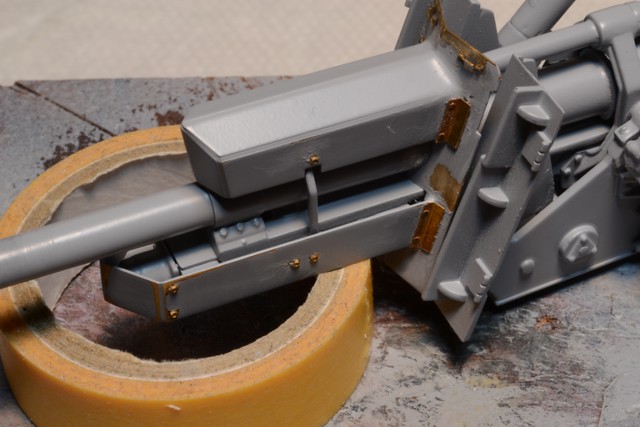
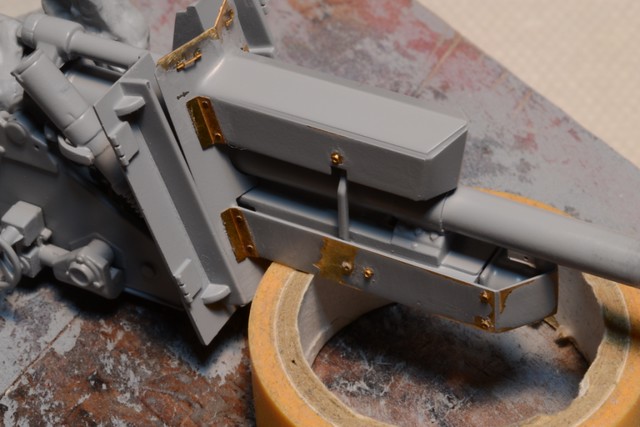
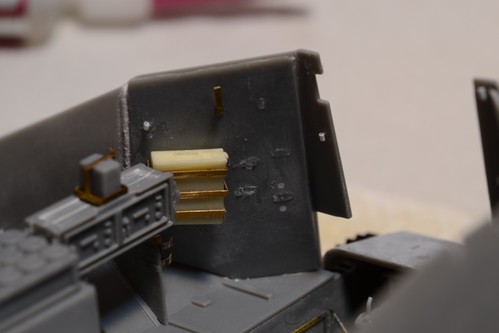
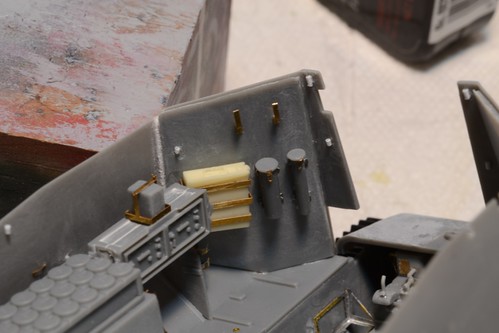
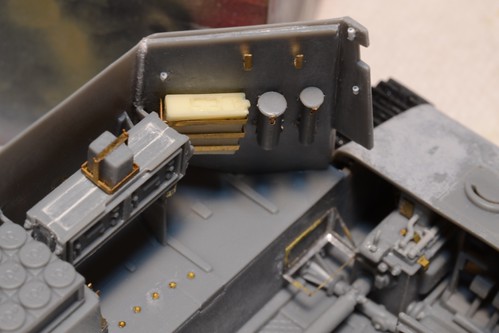
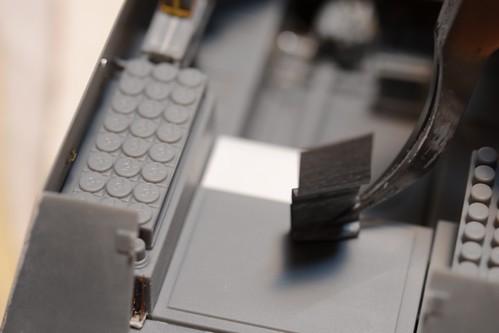
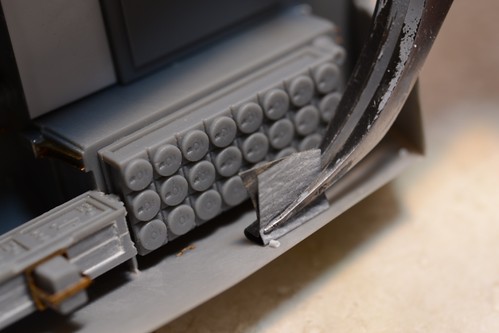
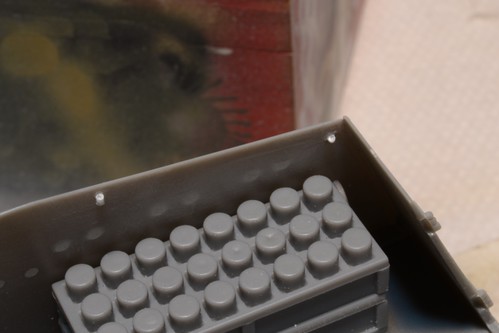
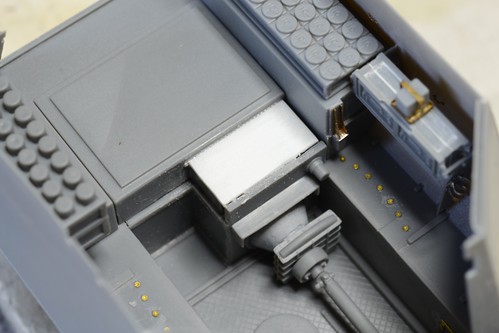
So I did some other work on the port side details. I know the holders on the right canister stick out too far. Oh well, there is always beer to correct that. The aftermarket came that way, and I didn't think to trim. Did I mention there was beer to correct that. Good.
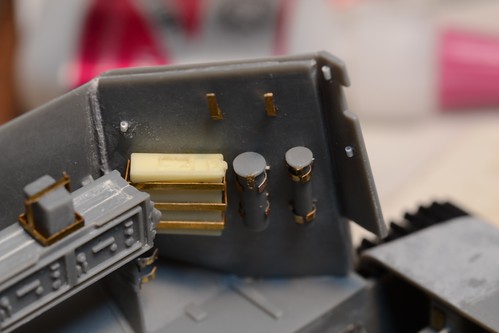
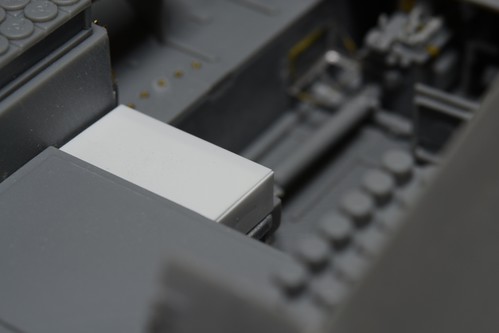
I hid a piece of styrene on the back to help attach the part. It also gives it spacing from the hull.

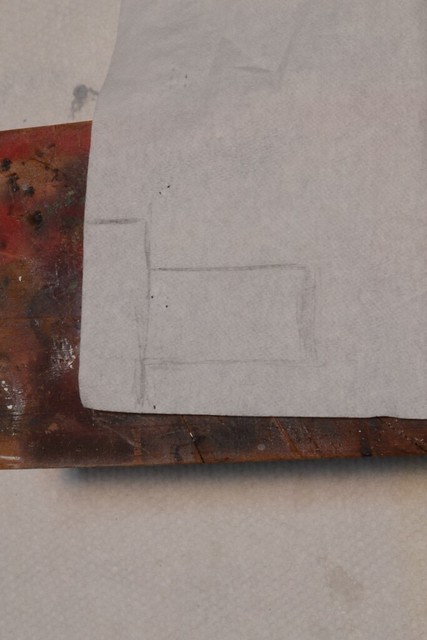
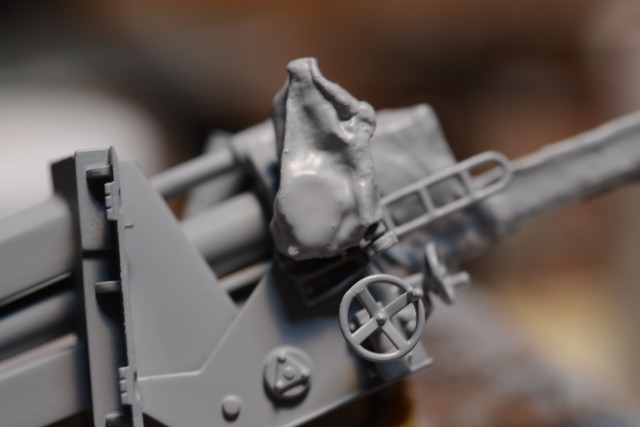
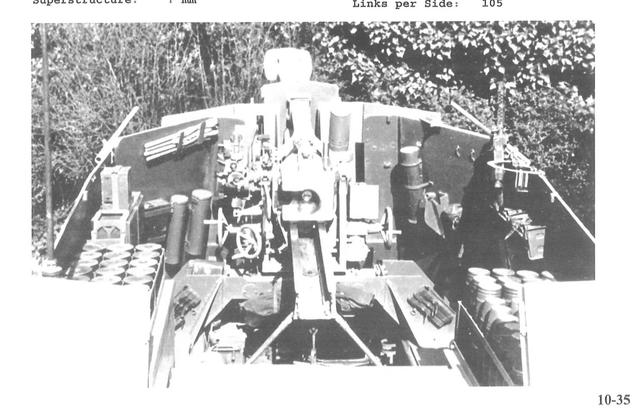
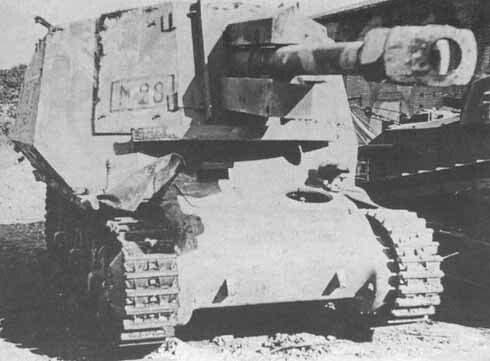
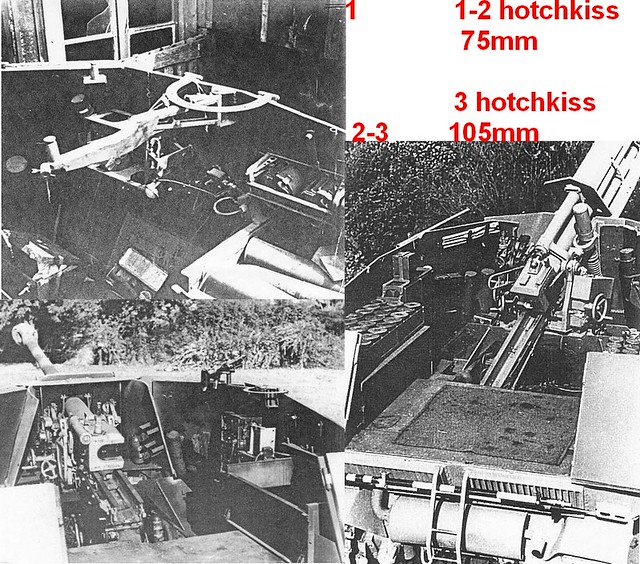
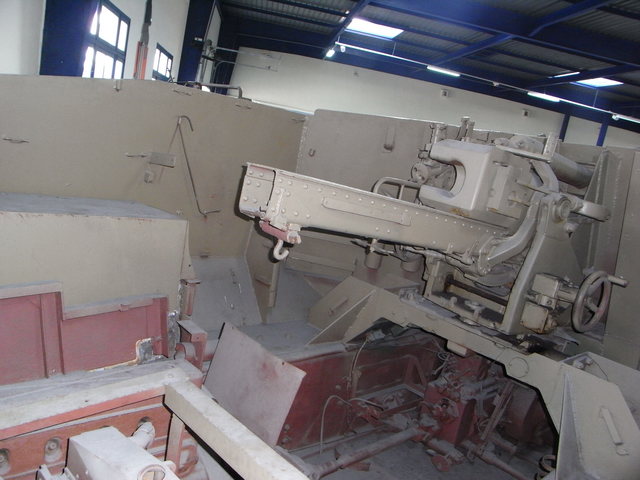
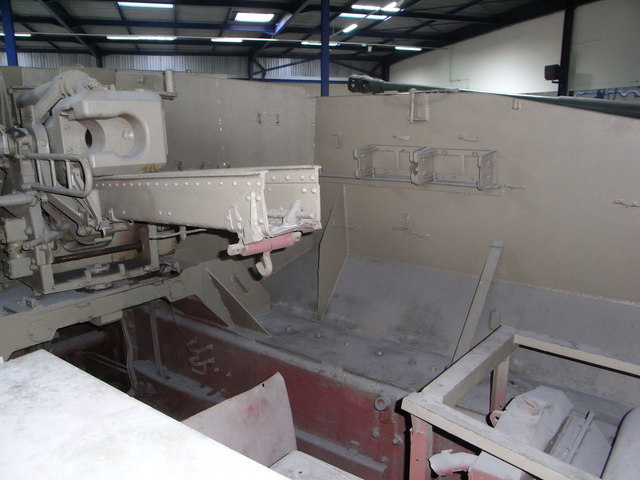
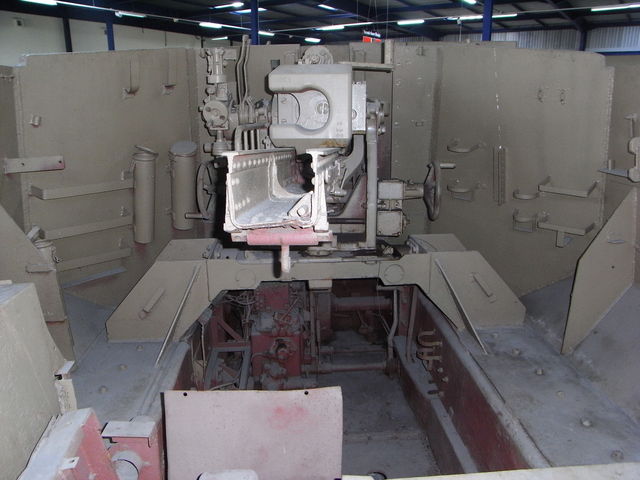
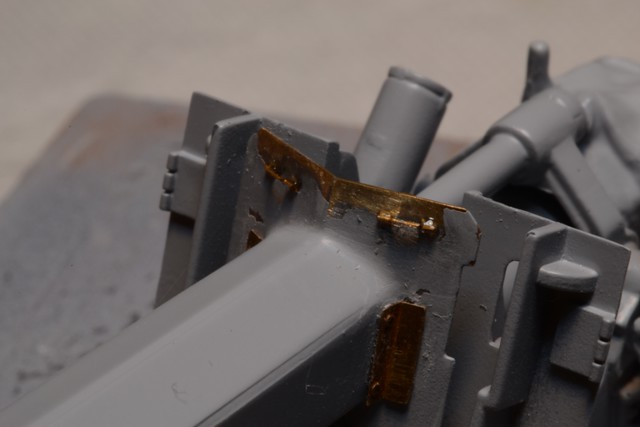
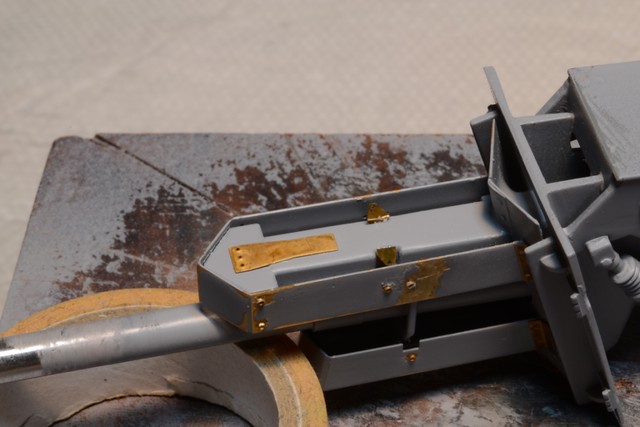
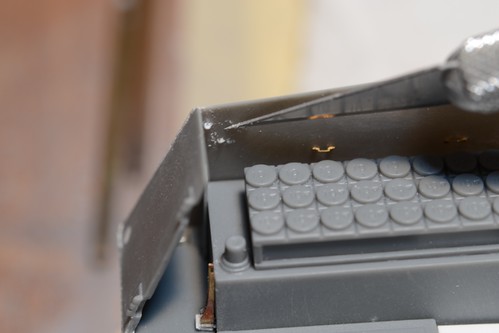
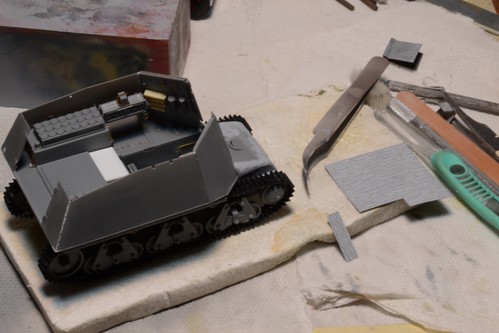
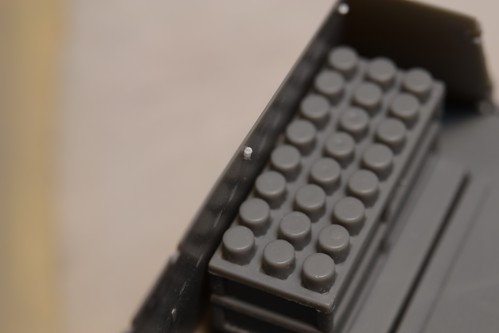
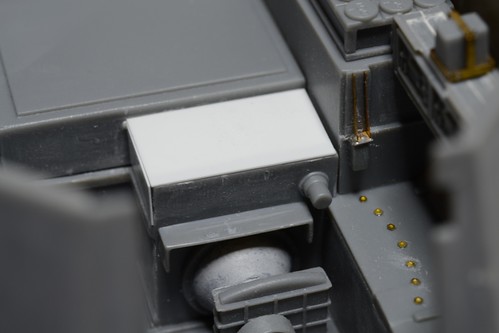
As I did more research, I found by diamond plate tread really wasn't accurate. I had a hard time finding photos, and I tried to share all that I find with you. That said, I tried to correct the area as best I could. I still don't have the best photographs, but its the best I could do.
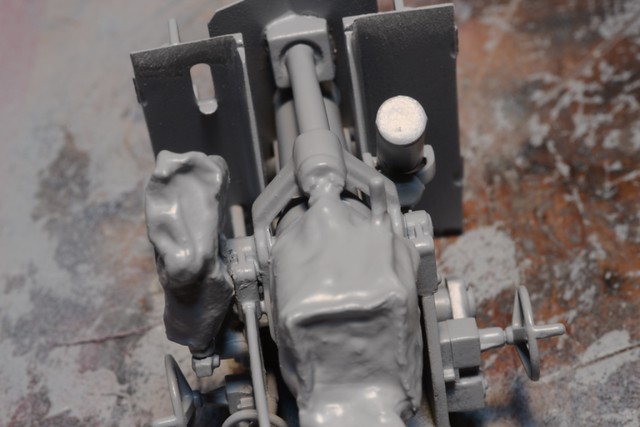
After ripping off the treadplate.
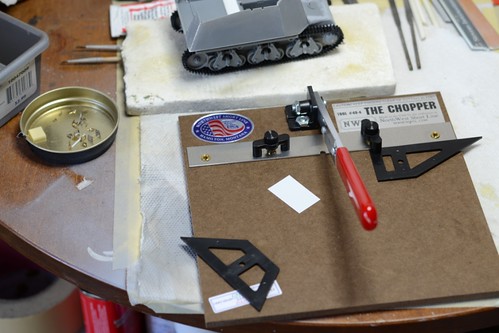
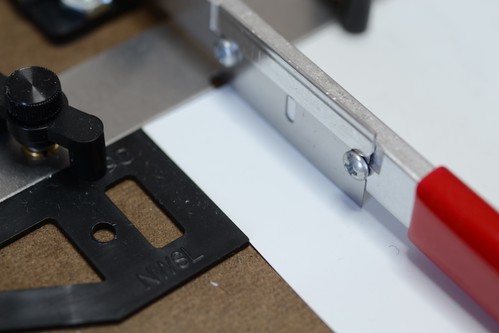
I bought this for ~$20. I didn't know what the hell I would do with it. The handle is a little crooked (and so are the cuts). Given that it is actually pretty fast and accurate at making quick sections of styrene. I should bend that handle so I can use the guide. But hey, its made in the USA. Go economy. Sorry international members. I guess go world!
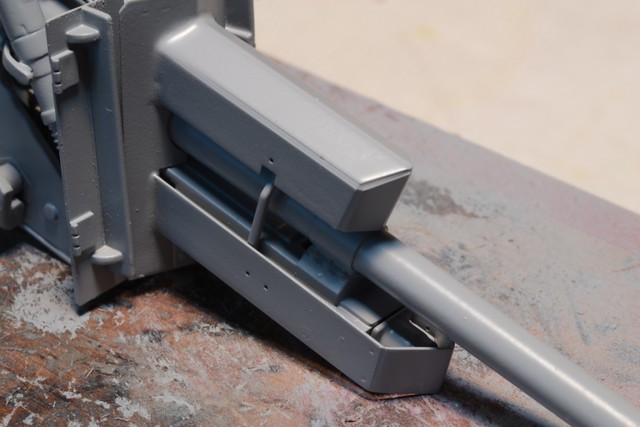
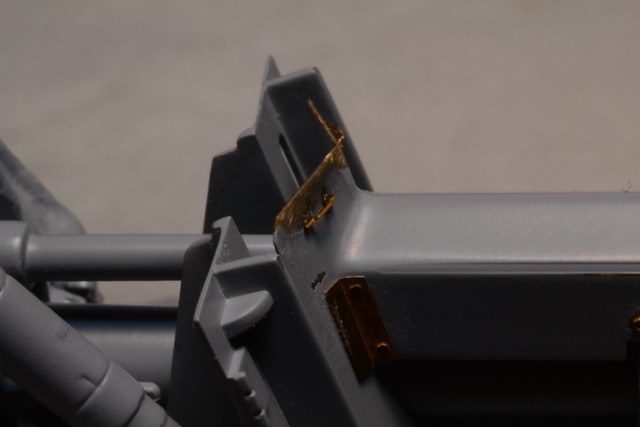
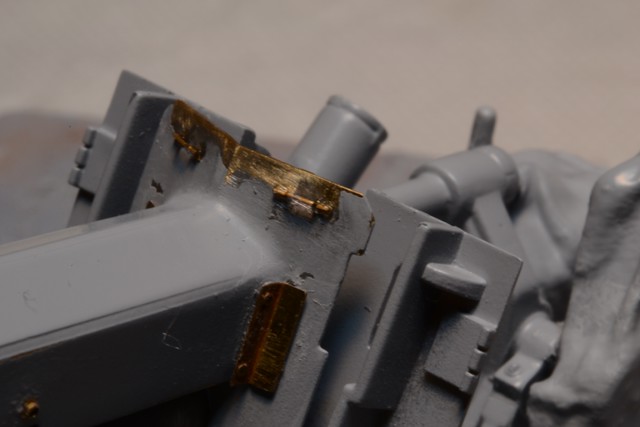
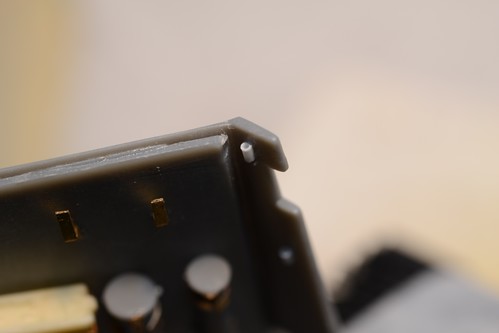
Some overlapping peices fitted and glued. I want the gaps visible as to my knowledge, it looks like sheet metal was bolted to a structure (See my previoud museum photos for the remains of that structure).
~~~~~~~~~~~~~~~~~~~~~~~~~~~~~~~~~`
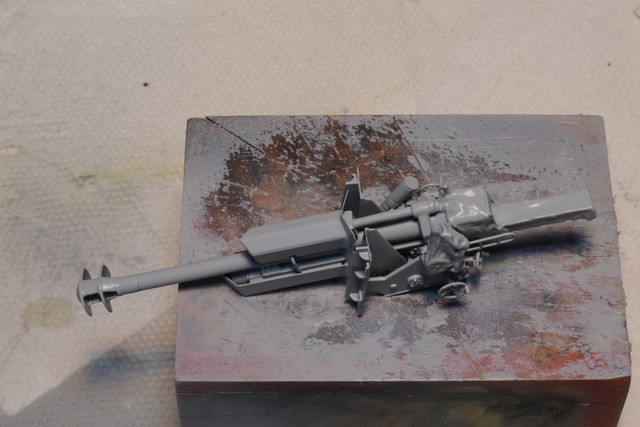
So those camo loop holders look ok. But really I gotta get some rod stock (and the Griffon ones look pretty good). Also, I don't like getting period photos as I go, but I am finding these little nuggets at like 3am on some weird french forum. Oh well, I think I will build a tiger next where I have a bazillion photos so I don't have to rebuild / guess.
As a side note, I hope you are all enjoying this log. I hope the photos are ok. I like to show my thought process as well as my mistakes. I think it is fun to watch how others think and build, and I try to give you the same. I am not superman, stuff will happen. Stuff will get real. I hope you can follow me throught the bad and learn.