Its been a while since I have built anything, life and buying a house has kinda got in the way!
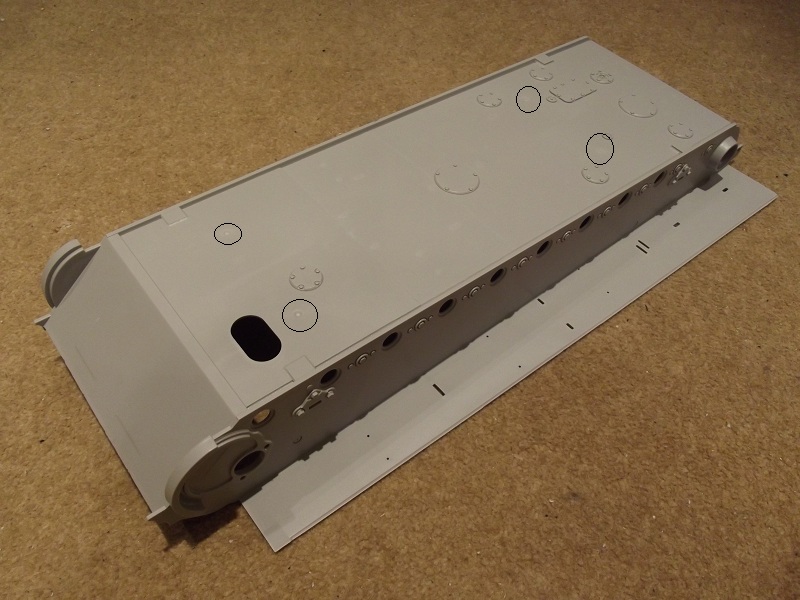
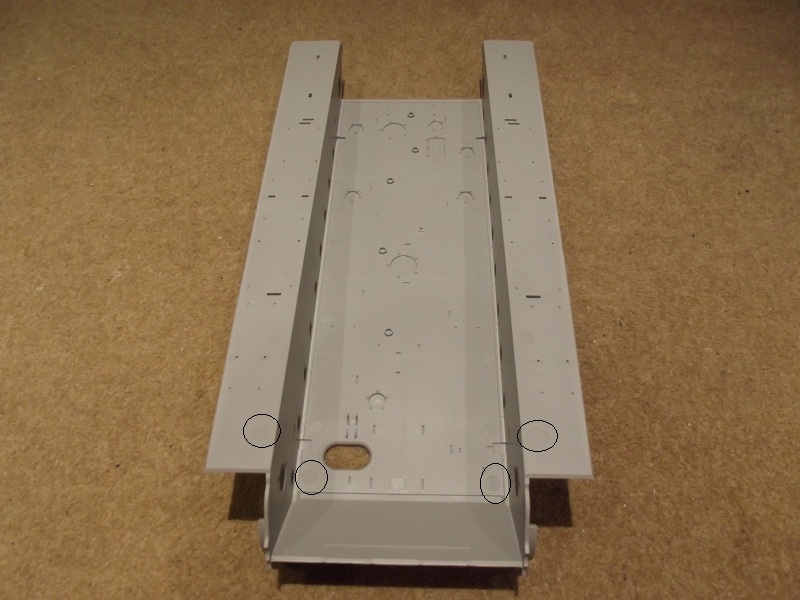
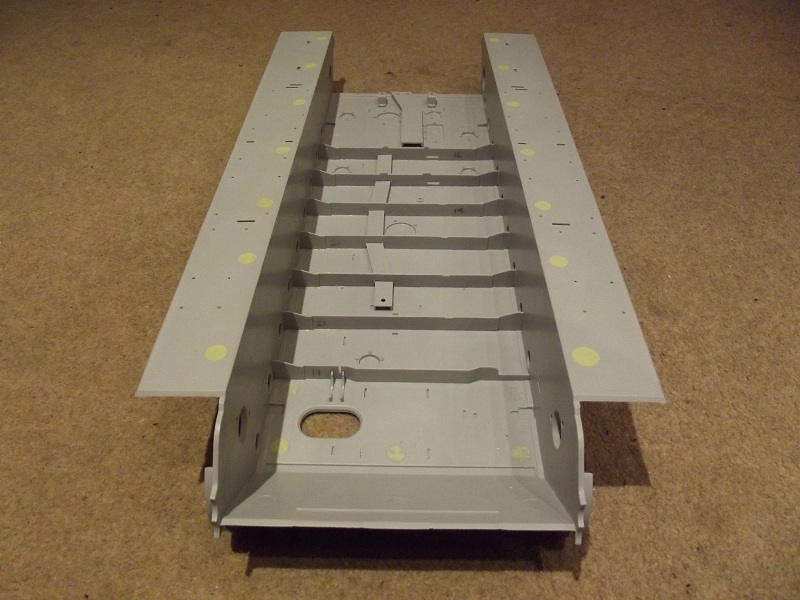
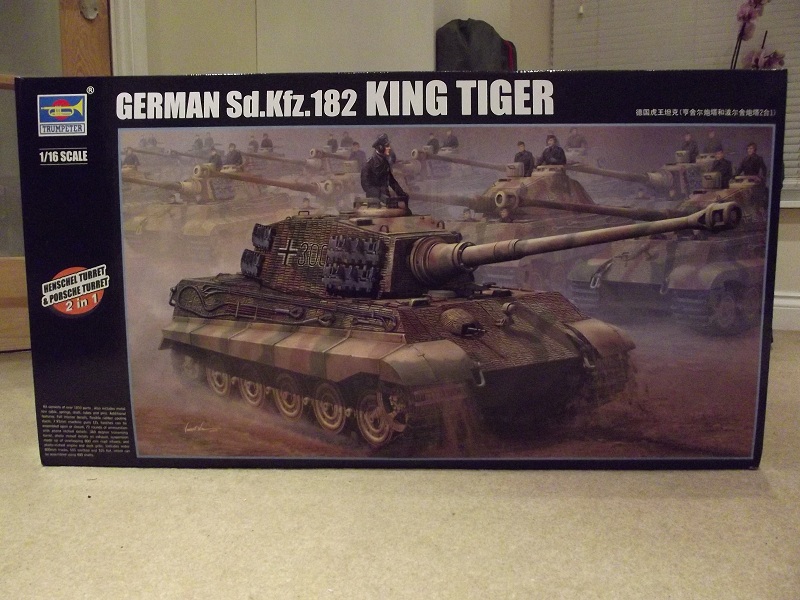
So, as my first (and only!) build of the year I will be tackling the Trumpeter 1/16 King Tiger once again. Some of you may remember the last time I built this kit ( here). Last time my focus was on the exterior but this time I will be focusing on the interior and hopefully correcting most of those numerous errors by Trumpeter. I plan to build it with the sides and roof cut out to show it all.
Before I begin I will just give a quick overview of the kit
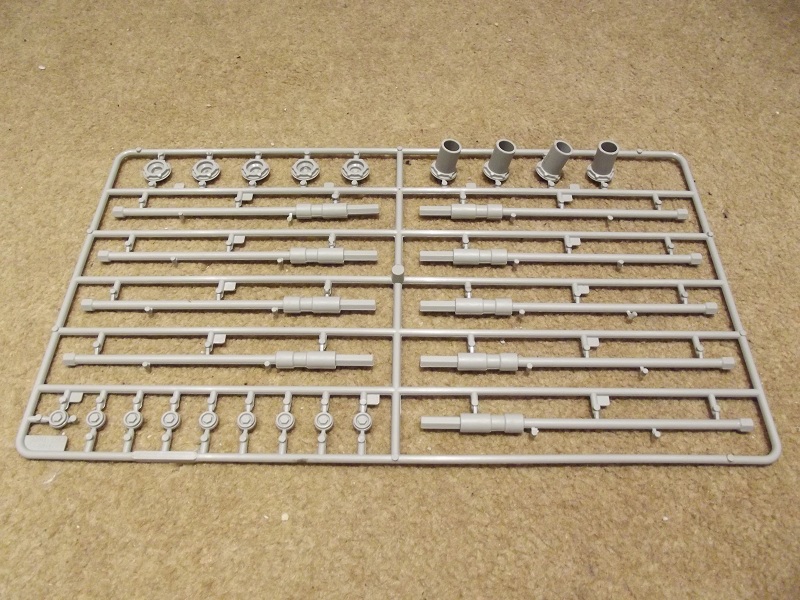
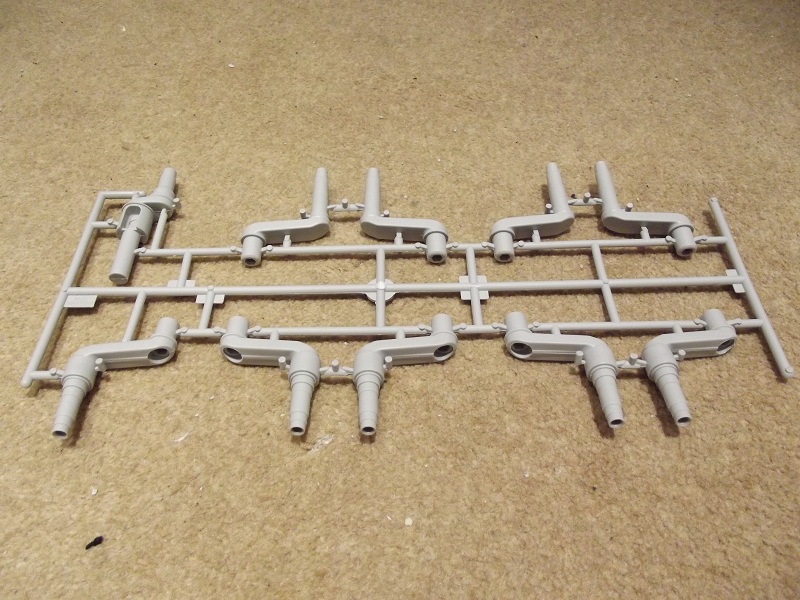
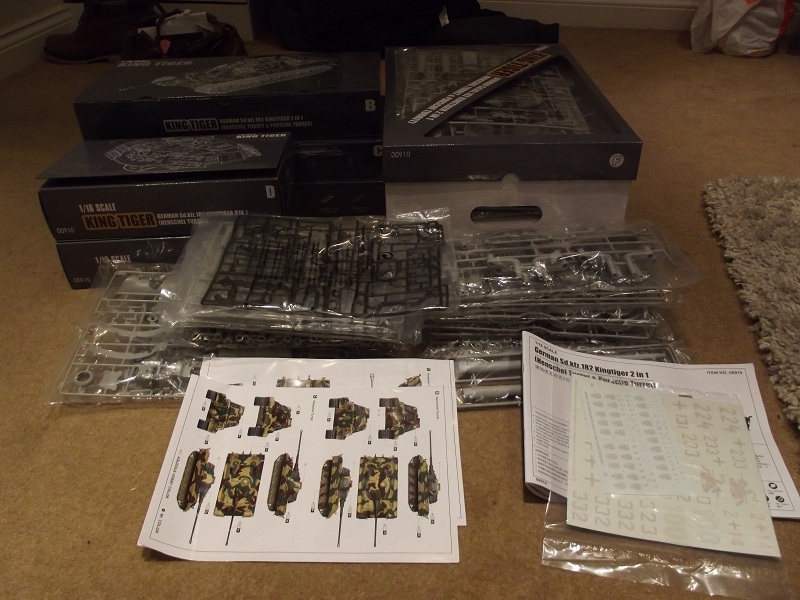
Inside the large box you will find a tonne of parts (approx 1800) all packed very well.
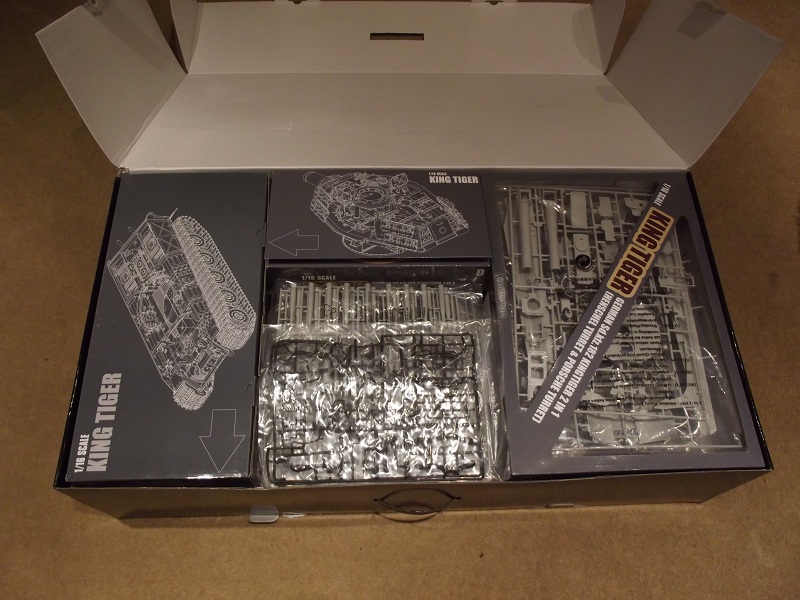
So you get:
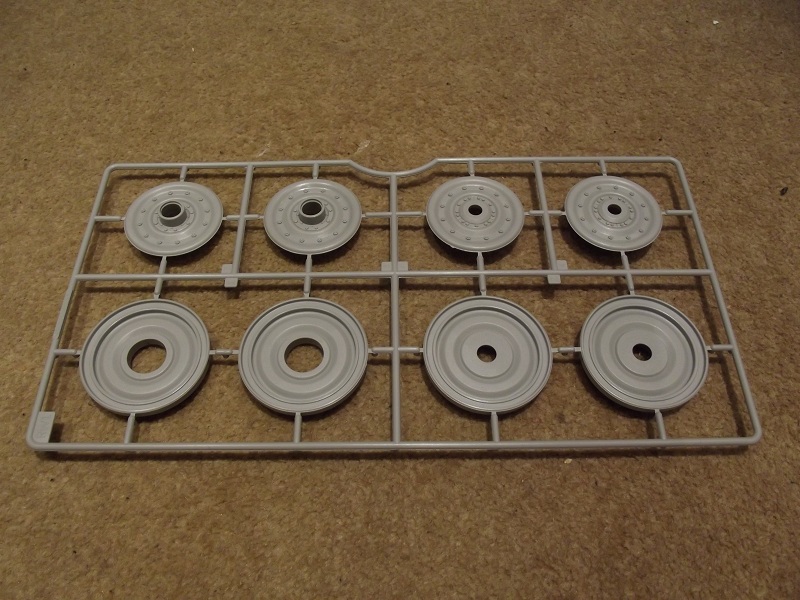
46 plastic spurs
2 rubber spurs
4 bags of individual track links
2 seperately boxed turrets
1 seperately boxed upper hull
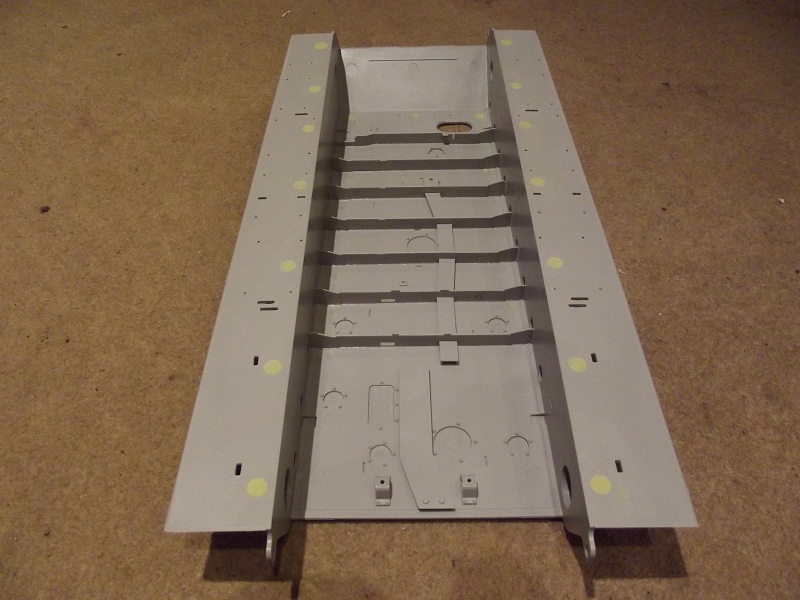
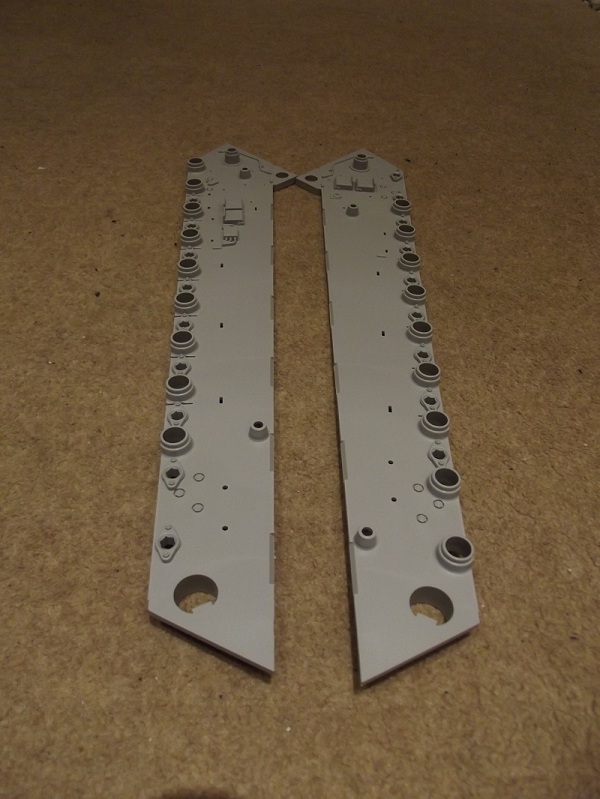
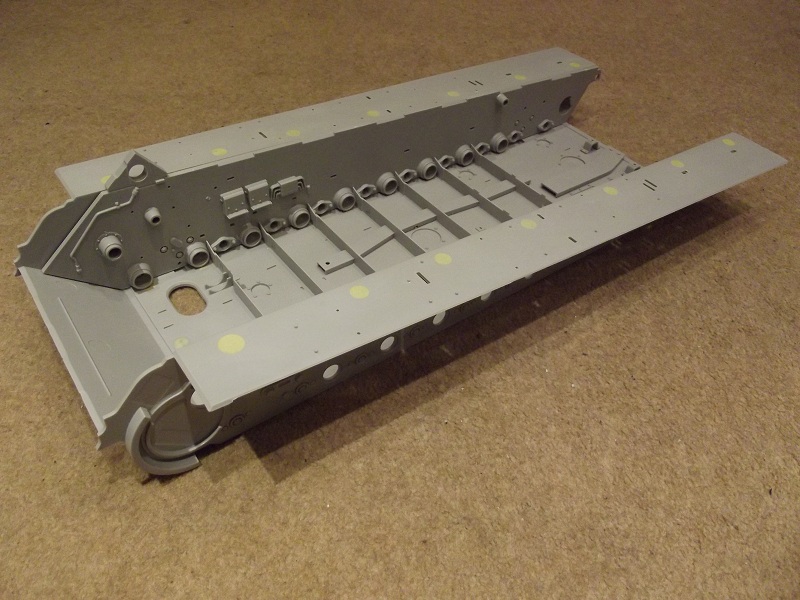
1 seperately boxed lower hull
5 PE spurs
3 springs
1 bag of metal track pins
Zimmerit tools
Instructions and markings for 10 tanks
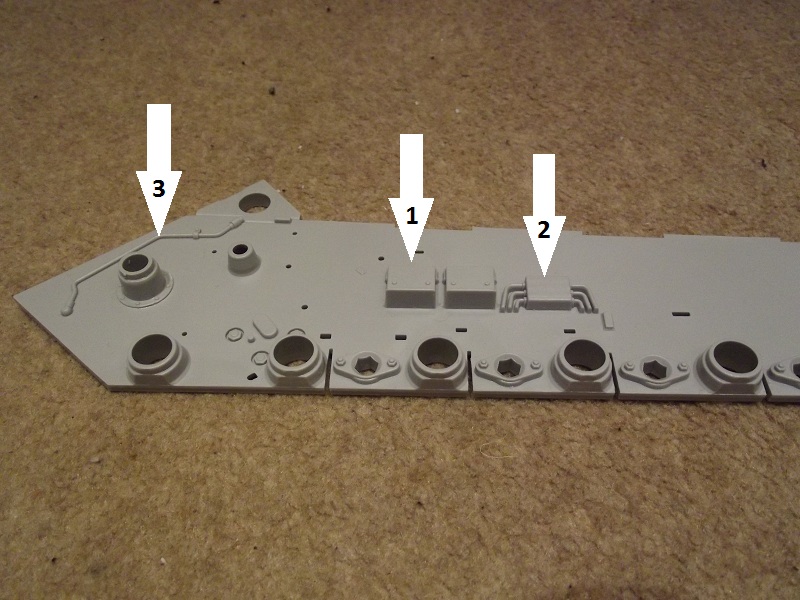
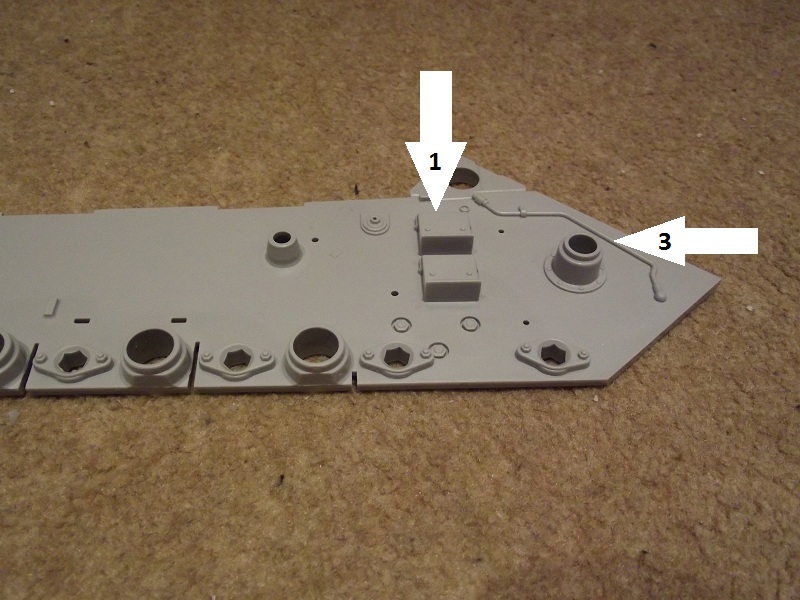
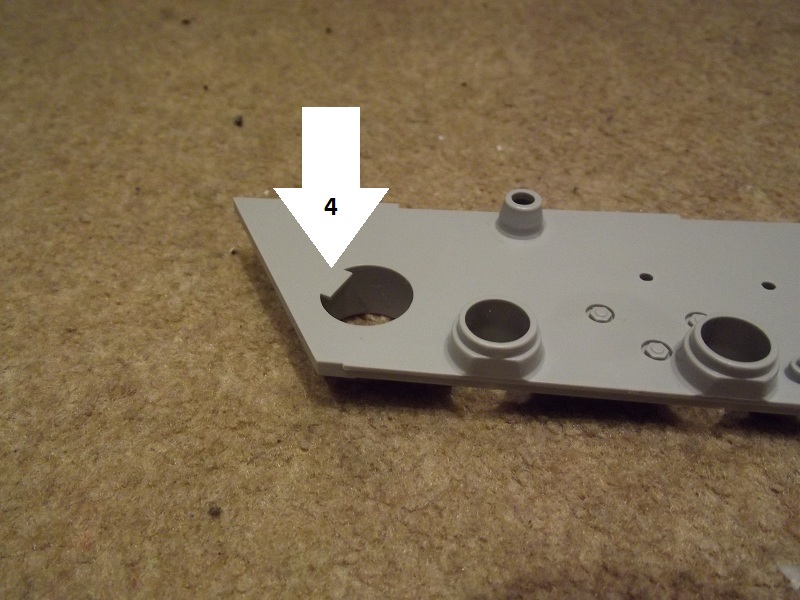
Having built this kit before I am well aware of this kits issues and errors so I know what to expect. This time I will do my best to make the corrections instead of avoiding them.
So, I look forward to getting started on this kit, and hopefully doing it the justice it deserves this time.
I hope you will all find this interesting and step 1 will be coming soon.
Cheers for now
Matt