Meanwhile, all assemblies were completed and it was time to priming.
For this I took Mr Hobby Color Color iron-black and black-brown.
The turret interior, the ammunition rack, the gun, the MG's were treated.
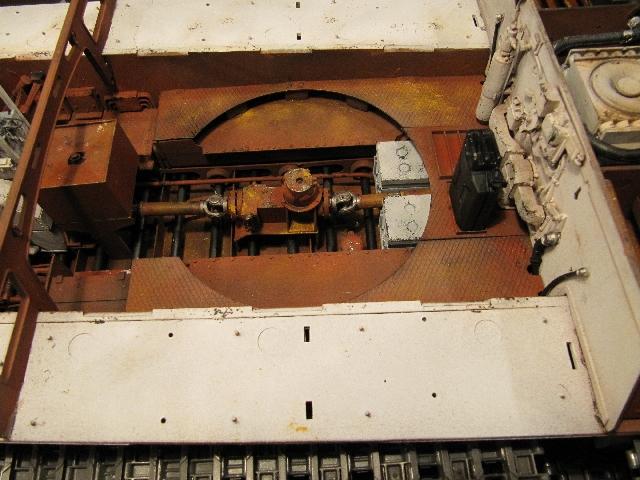
Then the fighting compartment was airbrushed reddish brown.
The color was partial removed with a knife and a hard bristle brush to simulate scratches and scraped color.
The floor in front of their seats was shown particulary strained.
Then followed a treatment with Mig Europe Dust pigments.
Here are the pictures ..... a detailed painting followed later.


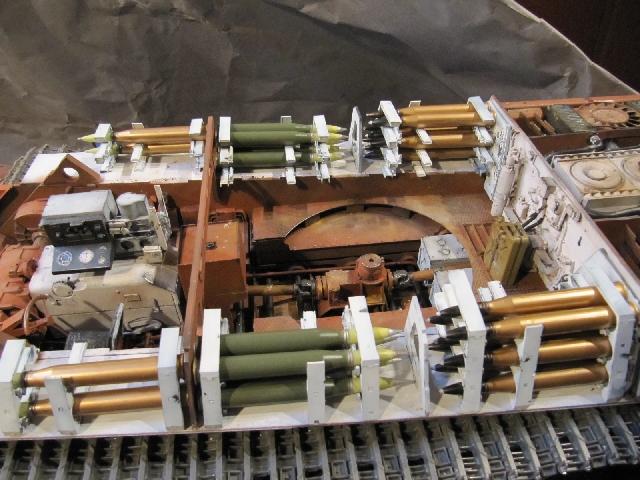
Today the turret interior, the gun and the ammunition racks were painted.
At first I dabbed mustard on the surfaces, which are painted in Mr. color black iron or dark brown. With this method I mask the ground color.
The parts were airbrushed with white color.
Then I removed the mustard with my "special tool".
The tool I made from a bristle brush . The wooden handle was removed. The metal was squeezed with a pliers.
With this tool I removed the mustard under pressure or by scratching.
In this way I imitated scratches and paintless.
The tip with the mustard is not from me. I read this in the context of a weathered winter camouflage in a forum. This is used for chipping, since mustard can apply controlled than salt and hairspray. The effect is the same.
The details still need to be painted.
Here are the pictures:


My "special tool"


 Dave
Dave