_GOTOBOTTOM
Armor/AFV: Allied - WWII
Armor and ground forces of the Allied forces during World War II.
Hosted by Darren Baker
Let's build a Staghound (Bronco)
SgtRam
Staff MemberContributing Writer
AEROSCALE
#197
Visit this Community
Ontario, Canada
Joined: March 06, 2011
KitMaker: 3,971 posts
Armorama: 2,859 posts
Posted: Sunday, October 14, 2012 - 01:57 PM UTC
Alright, time for another Build Blog, this time around the Bronco T17E1 Staghound. I am a sucker for Canadian Armor, so here I go.

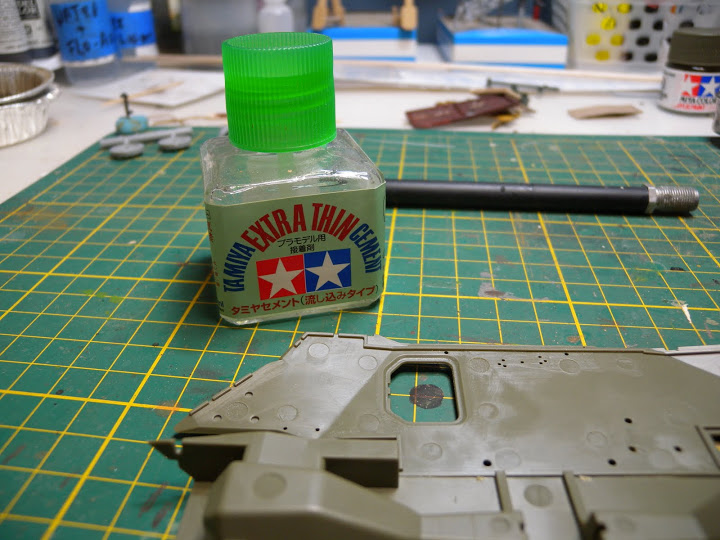
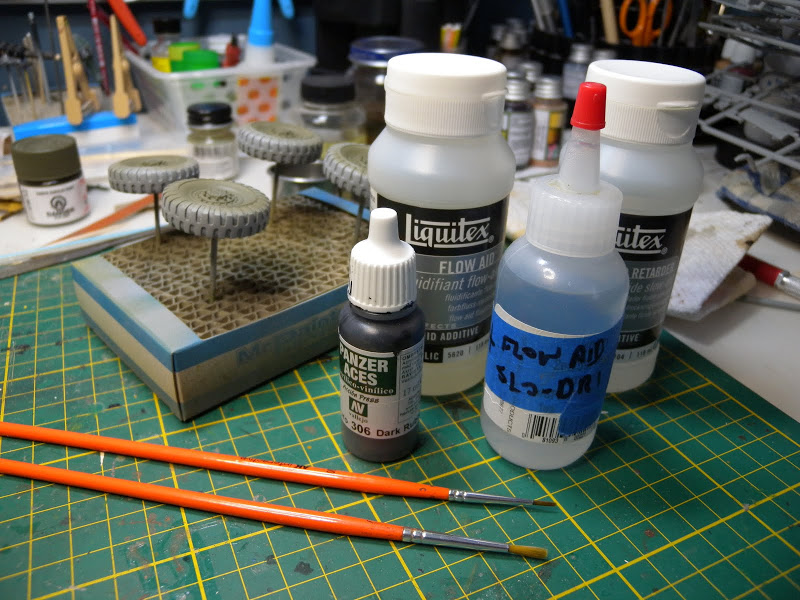
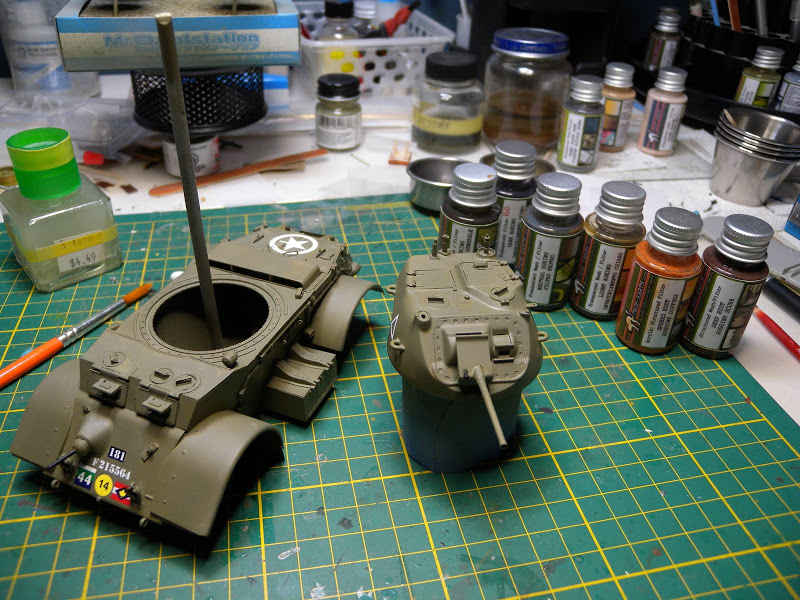
I was thinking about doing this one a little different. We seem to get a few people on the site with basic to novice experience with model building, so I thought I would show some of the basics and tools that I use to build a model. I am going to build this kit out of the box, no aftermarket parts. But I must say, that with some Bronco, you really don't need the AM parts, especially with this kit, as it comes with some photo etched and a metal barrel.

So lets get building.


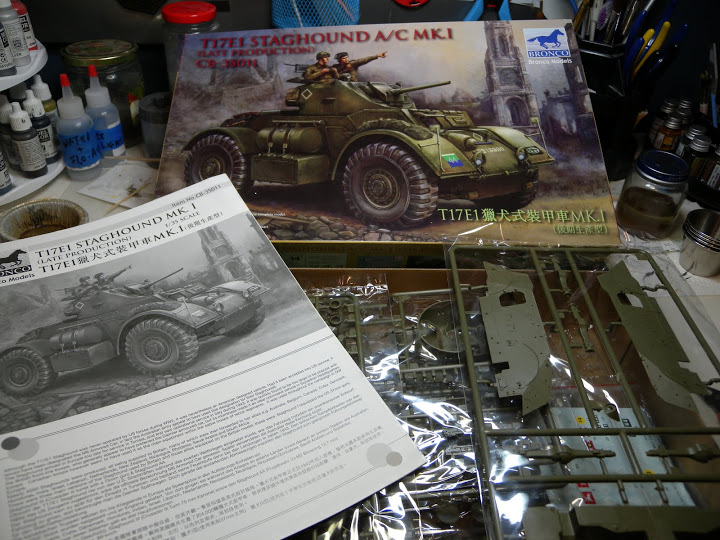
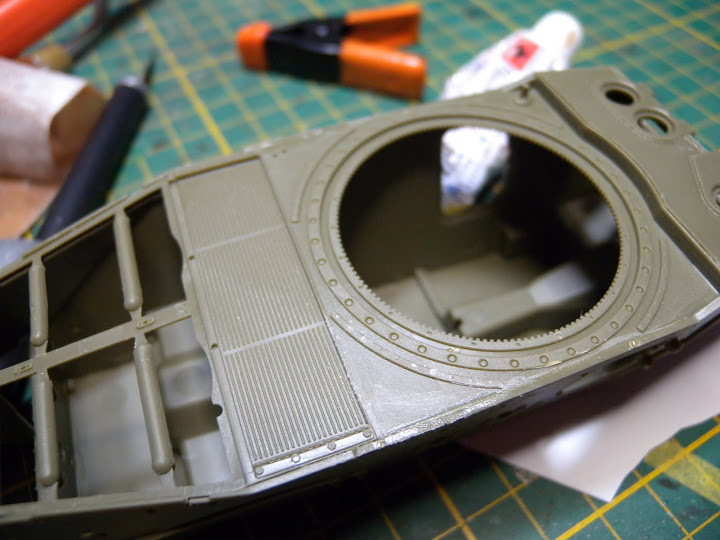
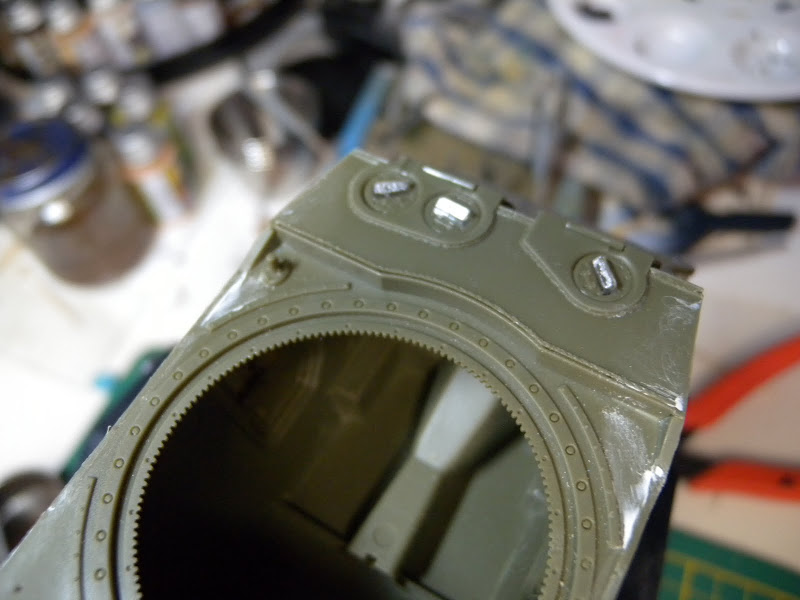
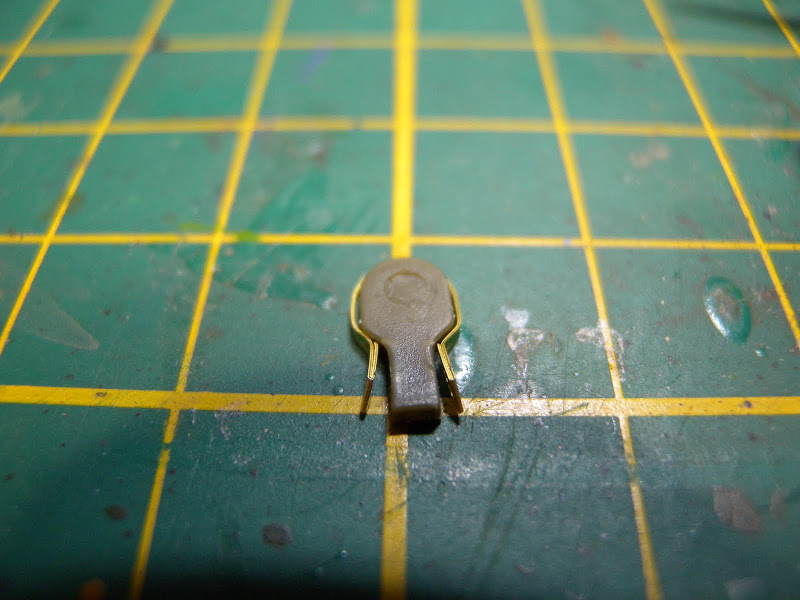
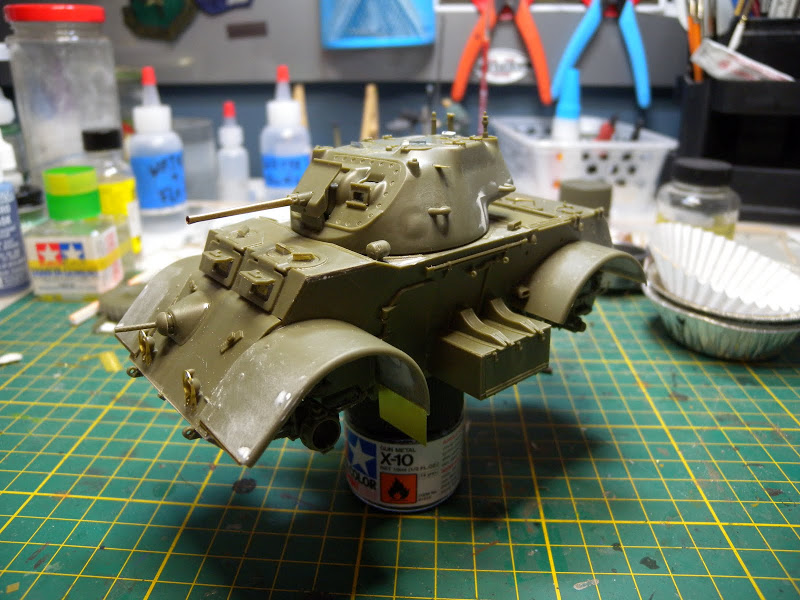
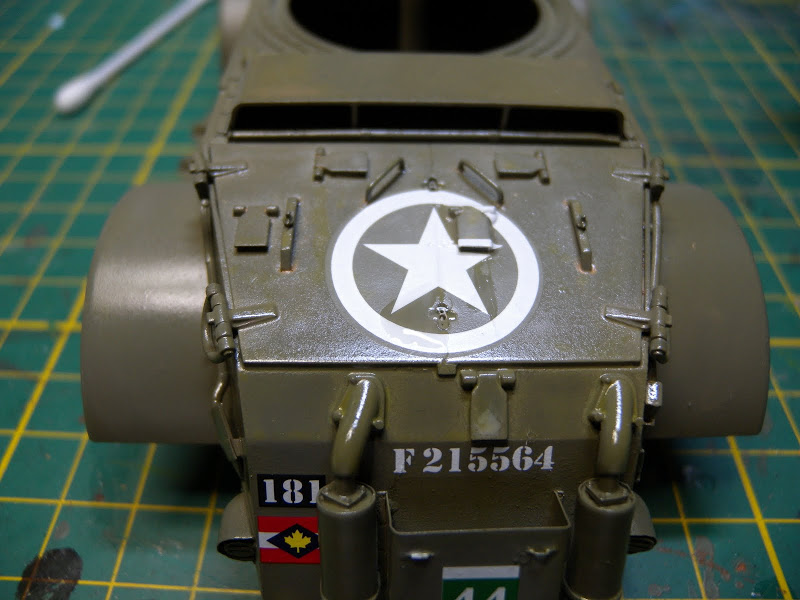
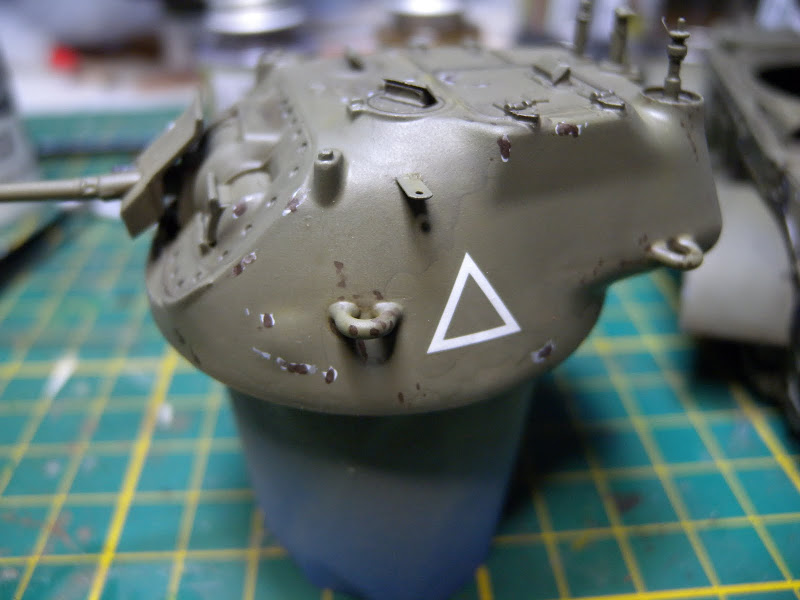
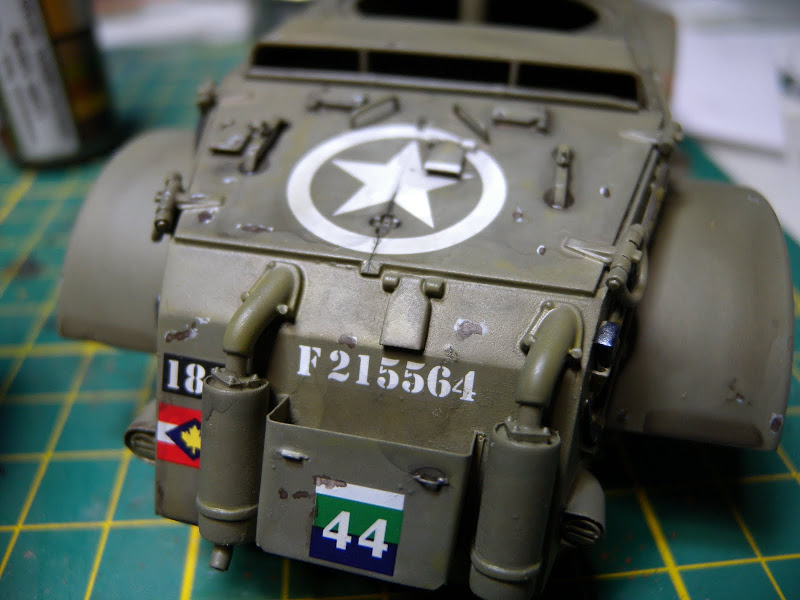
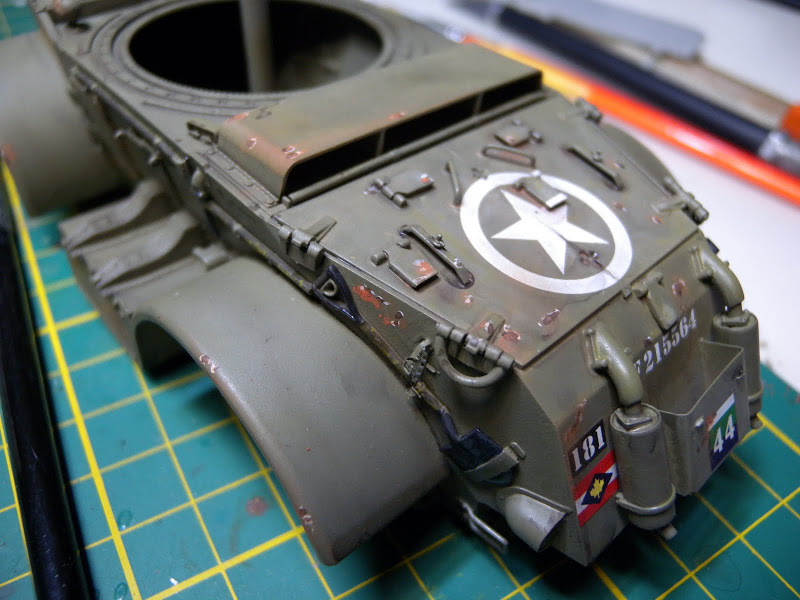
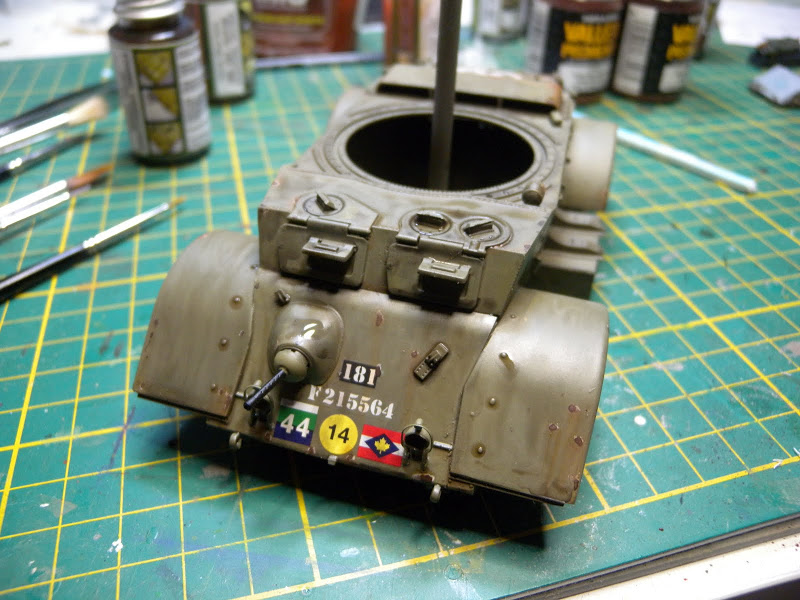
The Bronco Staghound is a real nice kit, well molded, very little flash, and as I mentioned above, comes with a few extra detail bits. I am not going to get into the actual accuracies of the kit versus an actual Canadian Staghound, I am building for the fun.

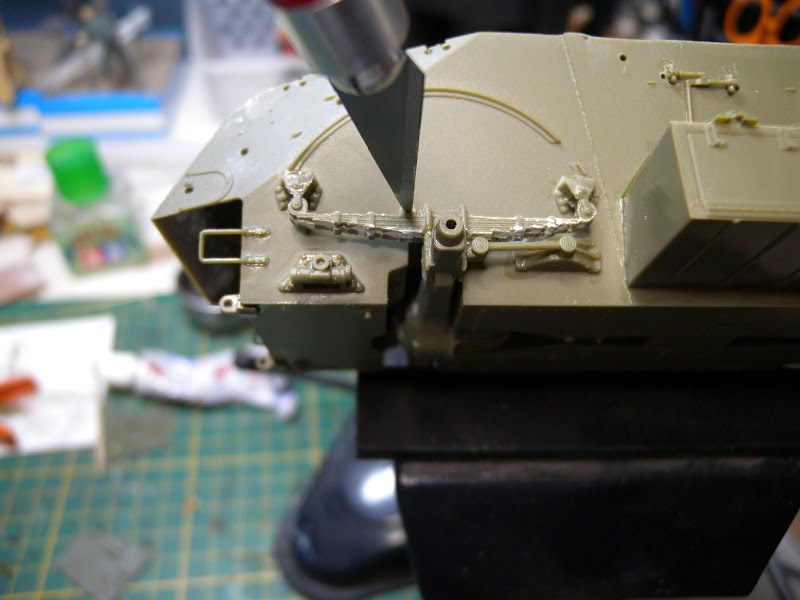
So first task is to study the instructions, get an idea of the steps required to build the kit. First thing I notice with the steps for this kit is the adding of detail to the sides before building the hull. For me, I am not a big fan of this approach, as I like to build the basic hull first. So I am going to deviate from the instructions a little.

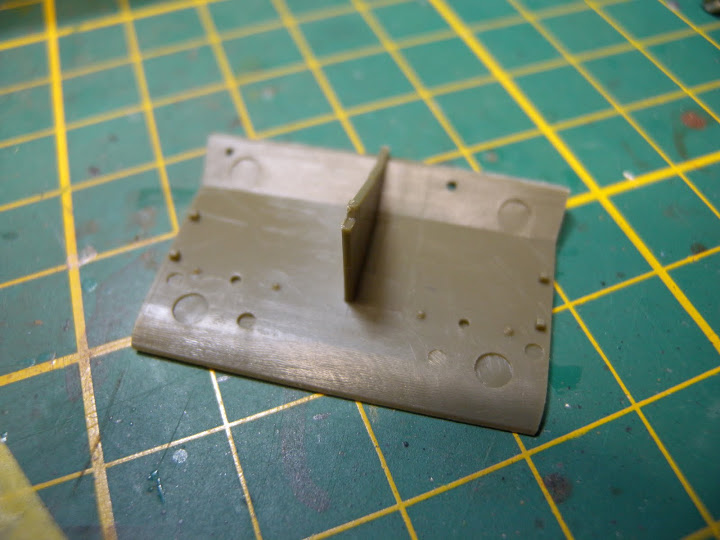
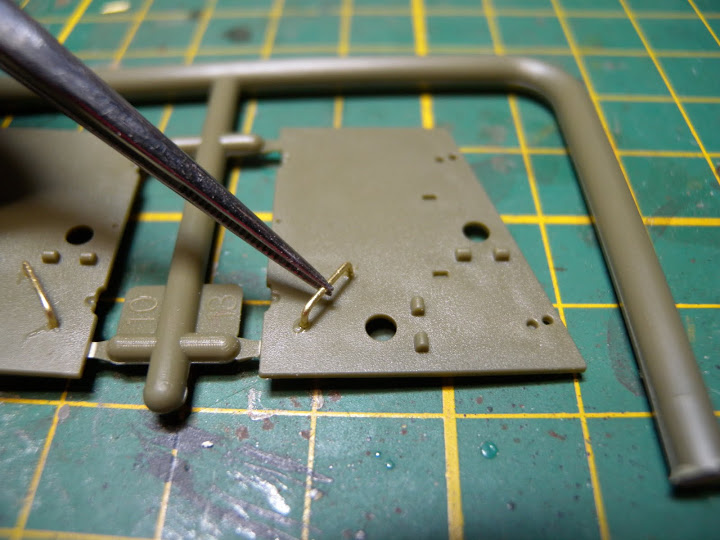
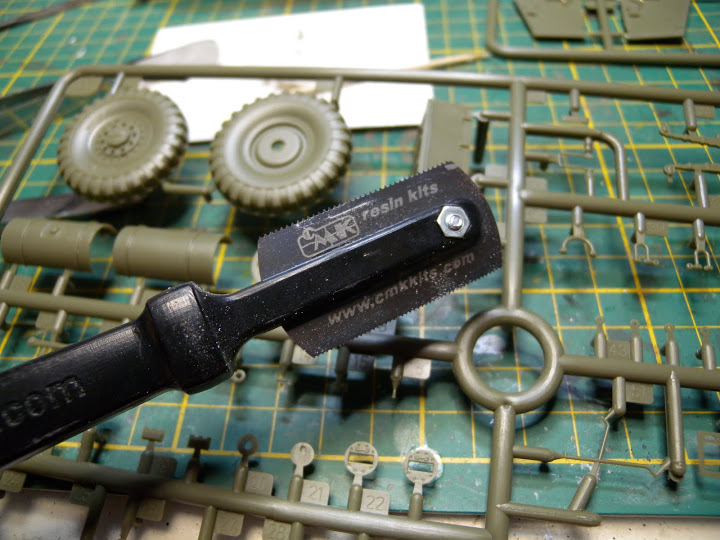
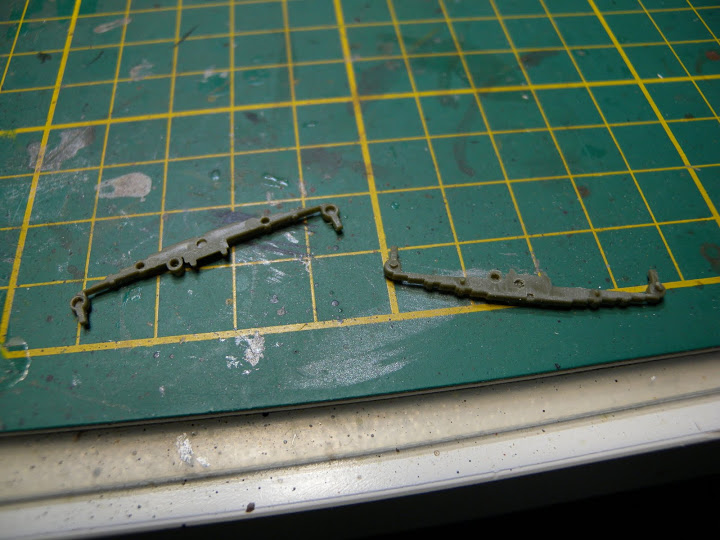
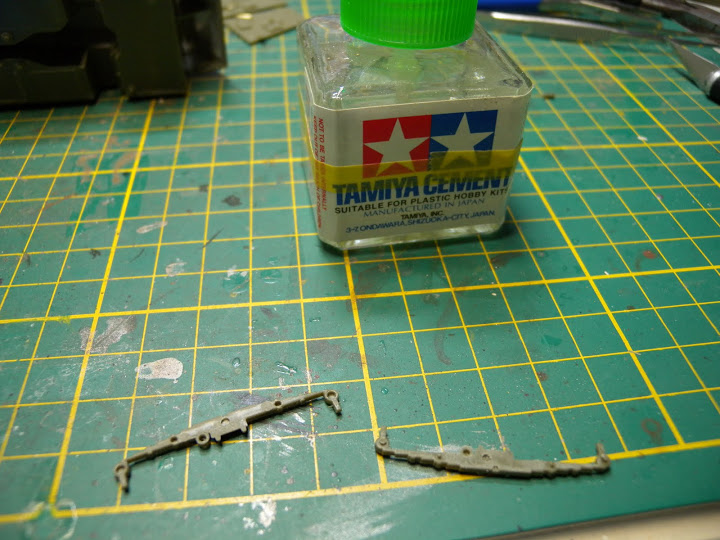
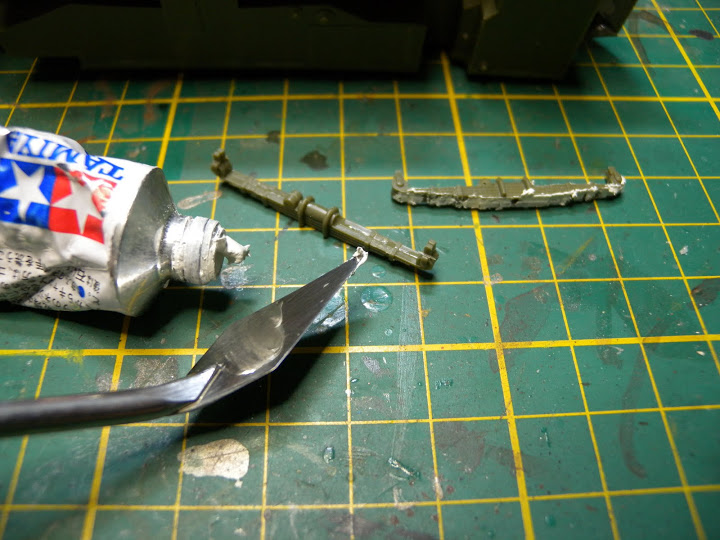
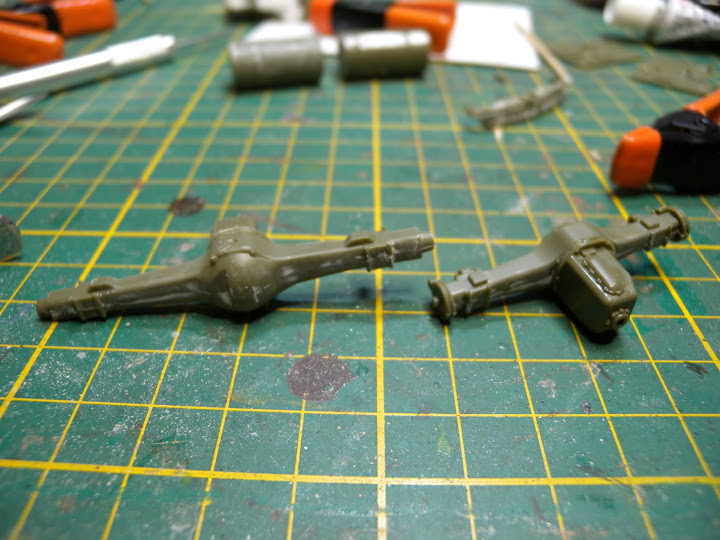
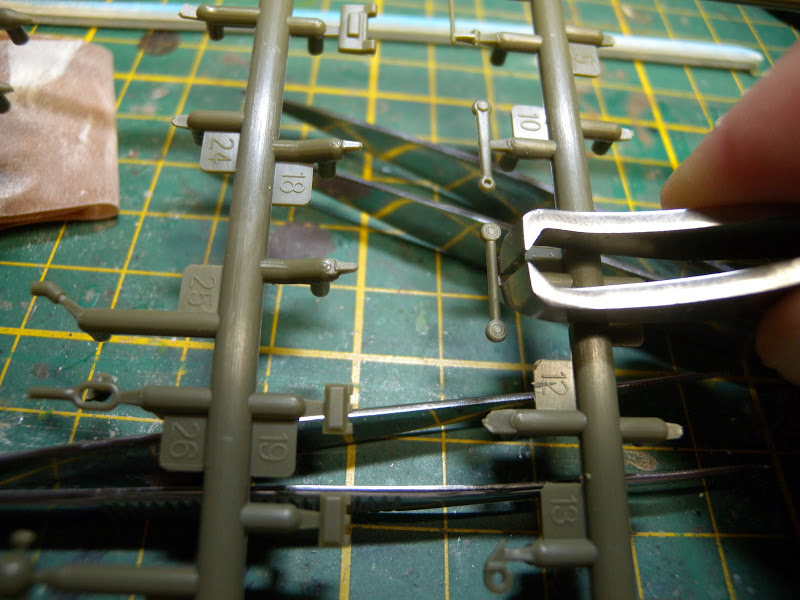
So lets get the parts of the sprues. For the bigger parts I use a set of the smaller Xuron flush snips. I like the way they work, usually providing a clean cut with little left to sand.


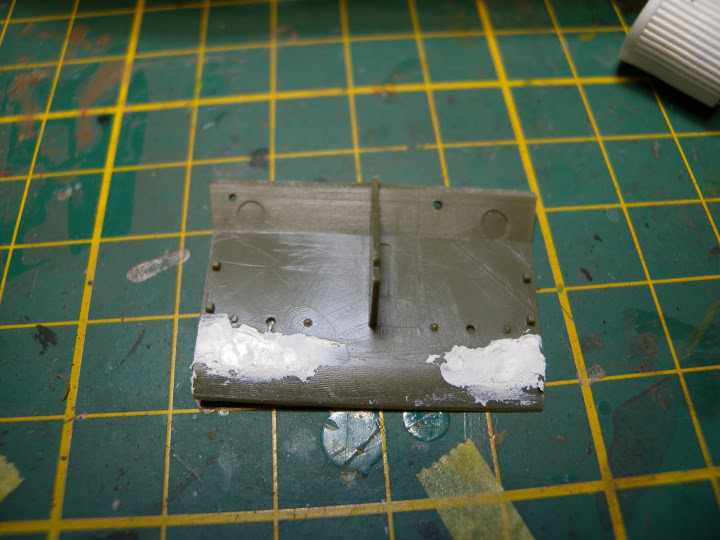
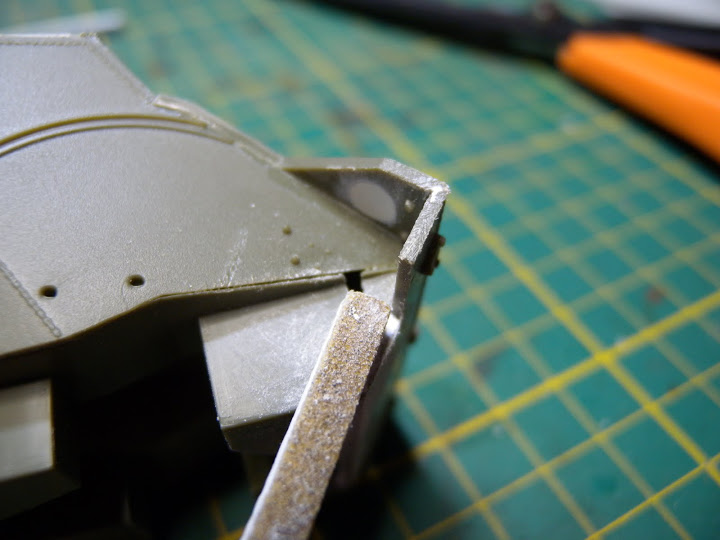
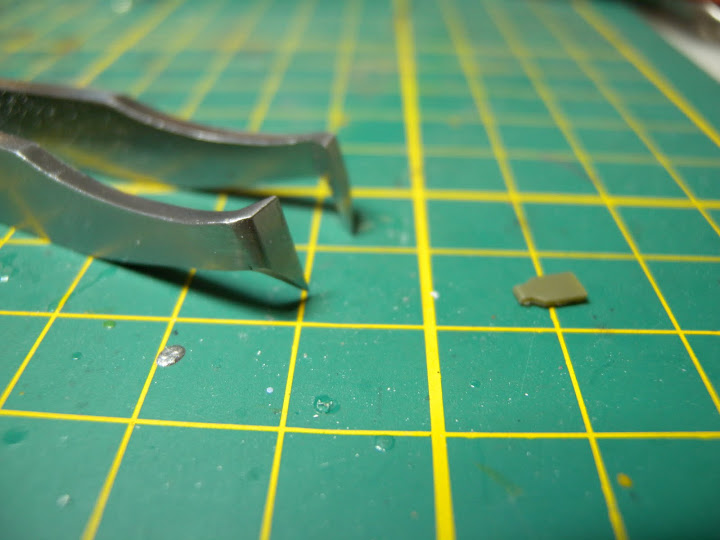
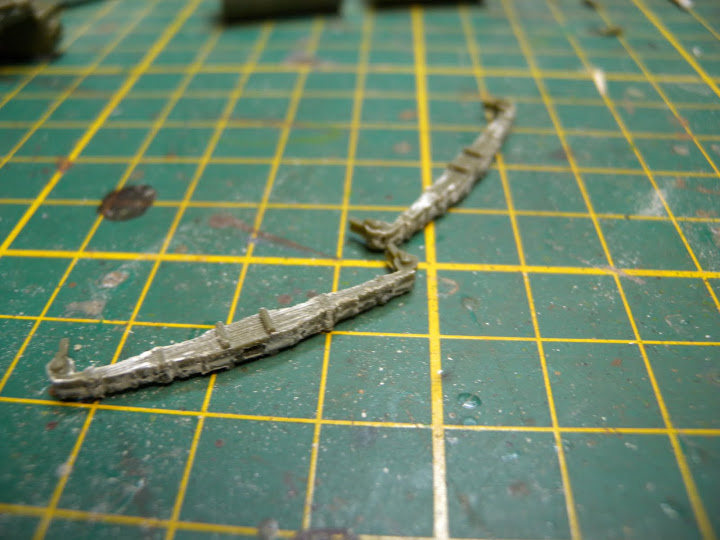
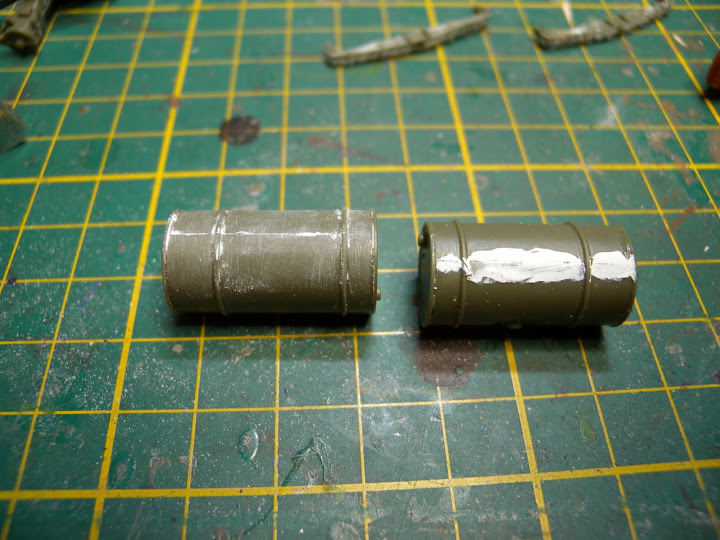
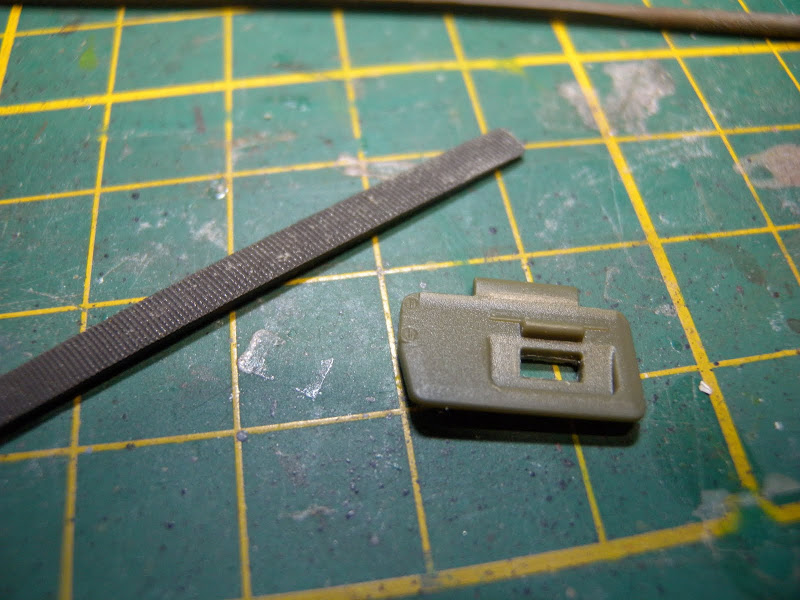
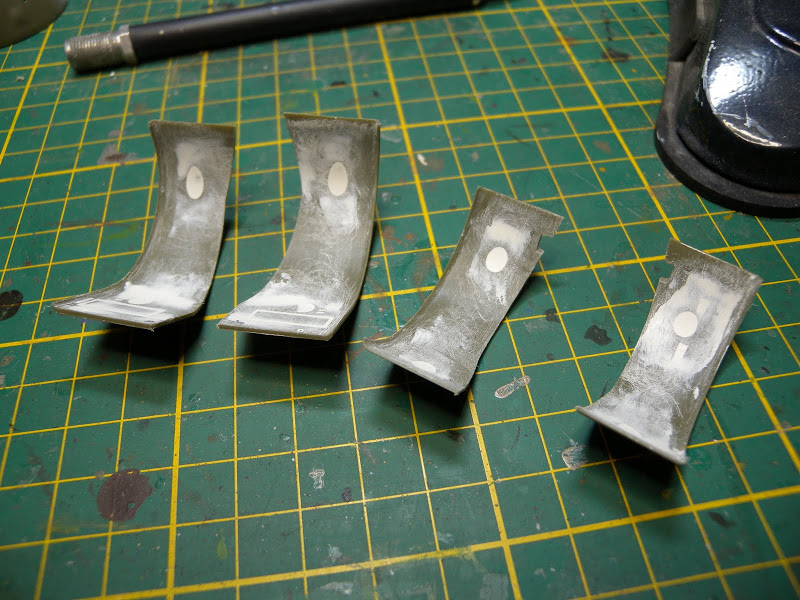
Once the parts are off, time to clean up the cuts and any flash. I use a two sided sanding stick that I got at my local hobby shop, one side is rought 200 grit and the other 400 grit. Now for me, I tend to use them till there is almost nothing left, saves a little money. As you can see in the picture, the difference between one I have been using for some time and a new one.


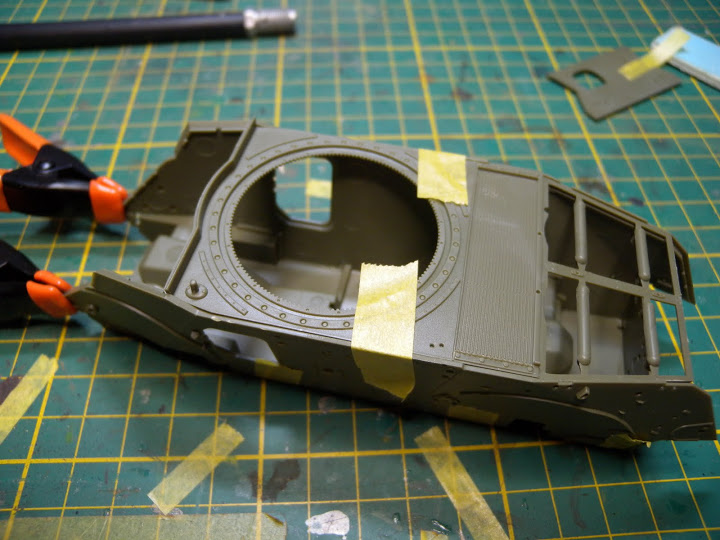
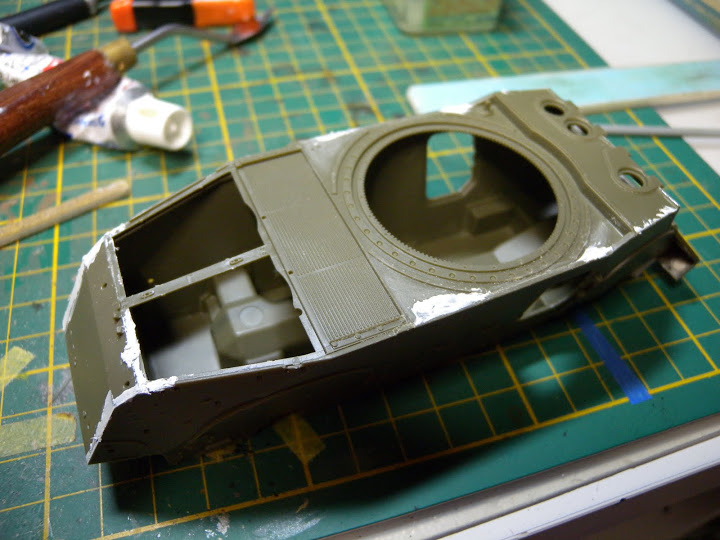
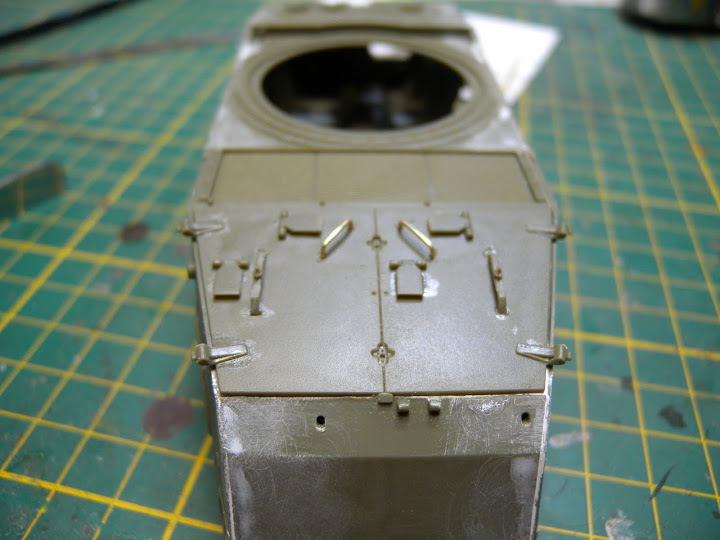
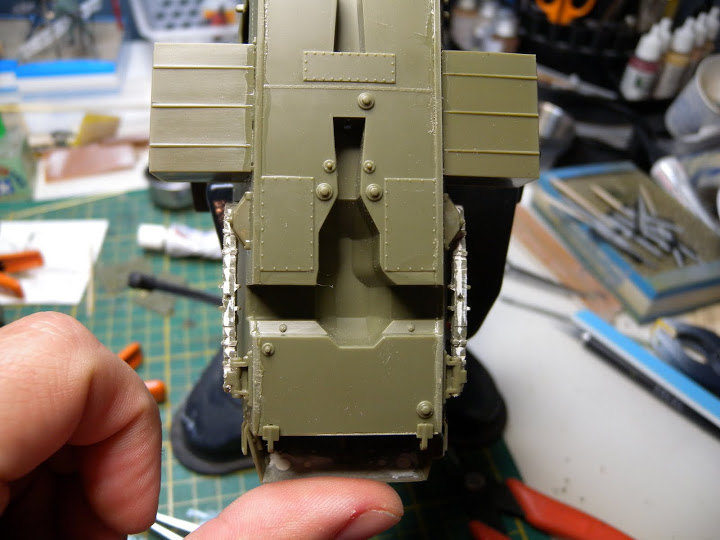
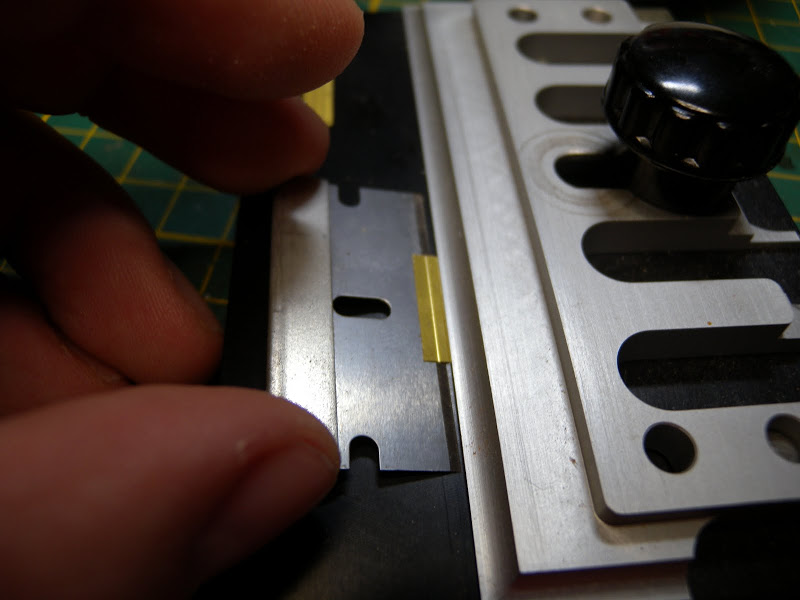
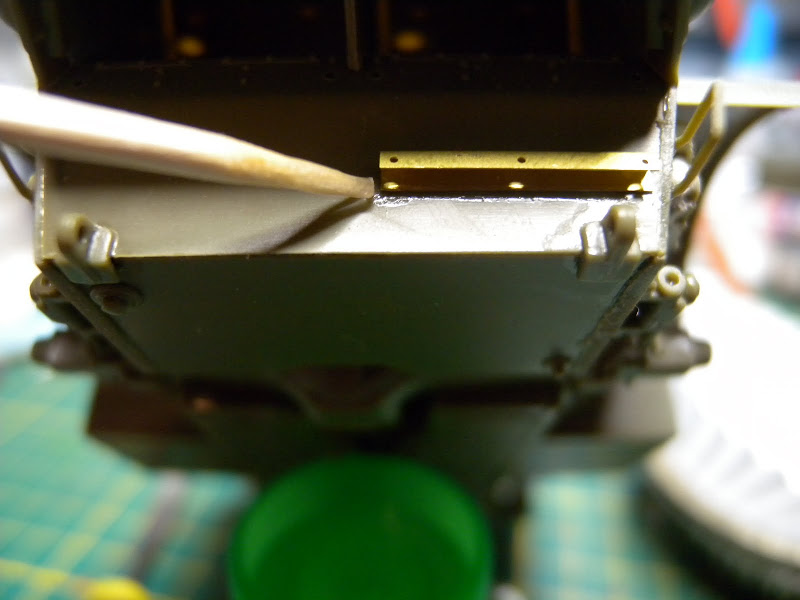
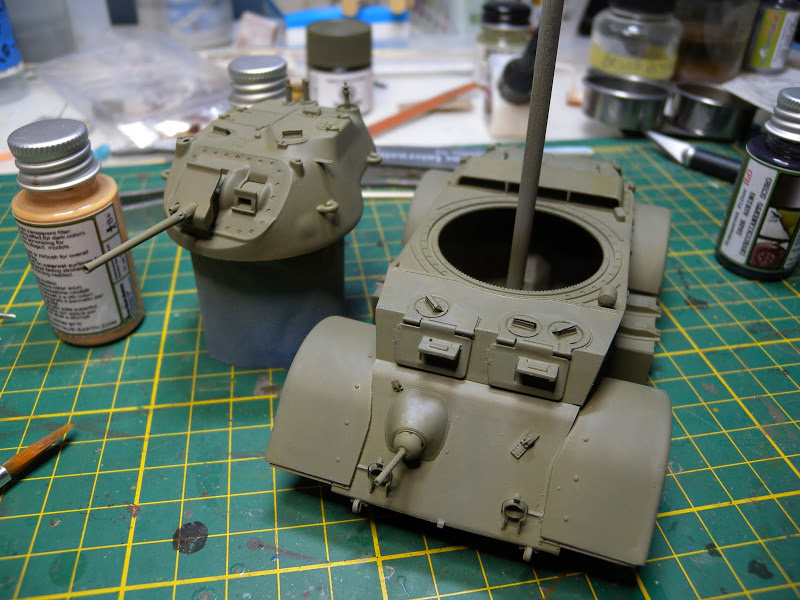
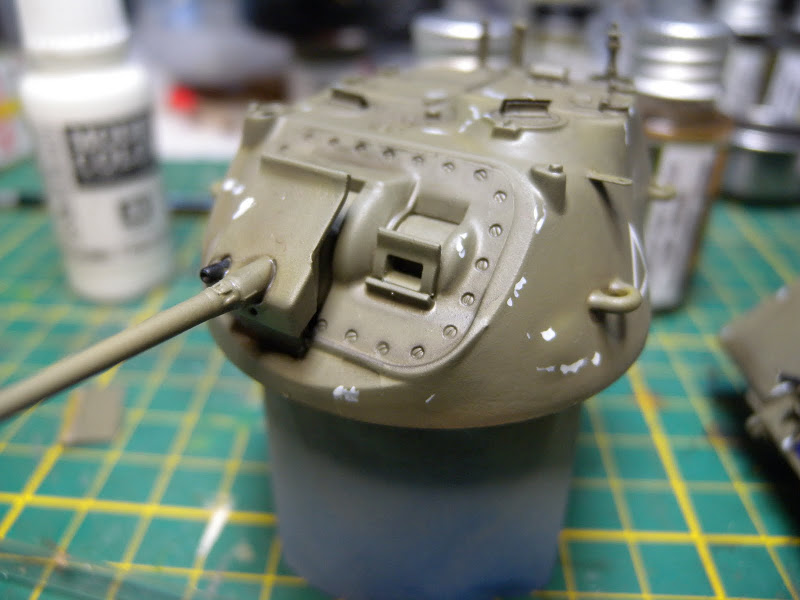
Once I have the basic parts I need off, I dry fit the pieces to ensure they fit well and identify any areas that may be troublesome. I use a couple pieces of Tamiya tape to hold it together as I fit the pieces.


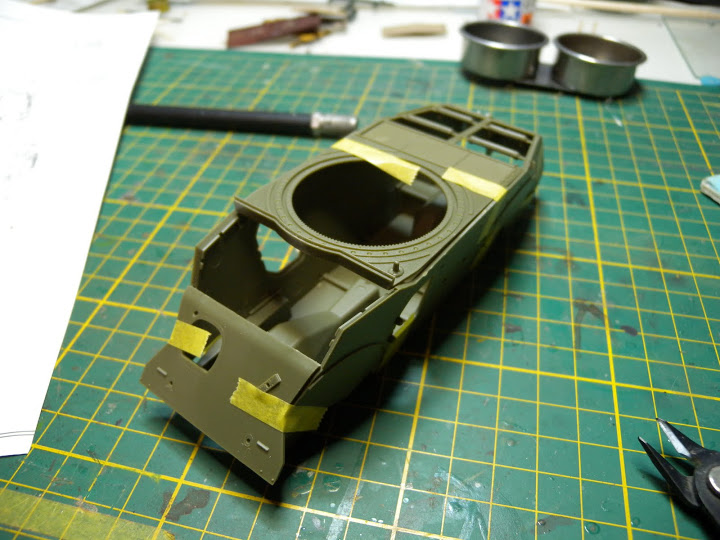
So there does not seem to be any major fit issues in the basic hull, so looks like I am ready to glue. But before I glue I will check the instructions again to ensure that I am not missing any parts that may require attention before these go together.

Next update, I will get into gluing the parts together. If you have any questions or comments, please let me know.
exer
Visit this Community
Dublin, Ireland
Joined: November 27, 2004
KitMaker: 6,048 posts
Armorama: 4,619 posts
Posted: Sunday, October 14, 2012 - 09:00 PM UTC
Good choice for a build log Kevin look forward to seeeing more
SgtRam
Staff MemberContributing Writer
AEROSCALE
#197
Visit this Community
Ontario, Canada
Joined: March 06, 2011
KitMaker: 3,971 posts
Armorama: 2,859 posts
Posted: Monday, October 15, 2012 - 11:02 AM UTC
Ok, now that we have done the test fitting, lets apply some glue. I use Testors Extra Thin for gluing.


Using the small brush in the bottle, I hold the pieces together, and apply the glue. The capillary action of the thin glue will travel into the joints.


Using the same Tamiya tape, I hold the sections together for the glue to dry. Sometimes it is handy to have a couple of clamps laying around. I got these little spring clamps at Home Depot.


I even dry fit pieces back on to hold the shape while the glue dries.


One thing to watch out for is ejector marks that may be seen after construction, as seen on the rear plate interior.


So out come the Tamiya Putty, which I like for the ease of application, and it dries pretty quick. I use a little spade like tool that I picked up at a local art supply store.


Once applied, even though it dries relatively quickly, I will leave it a few hours, or even overnight to dry before sanding it.


So I will continue to glue the main hull together using the same methods as described above. Next update, we will examine the main hull assembly and continue on.

SgtRam
Staff MemberContributing Writer
AEROSCALE
#197
Visit this Community
Ontario, Canada
Joined: March 06, 2011
KitMaker: 3,971 posts
Armorama: 2,859 posts
Posted: Tuesday, October 16, 2012 - 12:02 PM UTC
So back again, hope you are finding this somewhat helpful so far. With the ejector marks filled, time to pull out another sanding stick and sand. Again a two sided, coarse and fine.


Now with most of the hull built it was time for a little inspection. First I noticed a couple of gaps that did not show in the dry fit, this can happen as when you glue the model pieces fit a little tighter than the dry fit and it will show a few imperfections. Nothing to worry about, for the gap at the front, nothing a little sheet styrene, in this case real thin, can't fix.


The styrene is fixed in place with a little Testor Exra Thin glue.

So further inspection showed a few more areas I will have to deal with.


Nothing a little sanding and putty won't fix. I always seem to have a variety of sanding stick on hand. Don't ask brand, it does not really matter, I just pick them up on trips to the local hobby store, and tend to have more then I will ever use.


So with putty applied, time to set it aside for a bit and let it dry, then I will sand smooth and be ready to start adding some of the details.
terrybarrett
Visit this Community
North Carolina, United States
Joined: November 20, 2010
KitMaker: 195 posts
Armorama: 180 posts
Posted: Tuesday, October 16, 2012 - 03:54 PM UTC
Enjoying the build Kevin. I'll subscribe and follow it through!

Terry
Raleigh, NC
bat-213
Visit this Community
Canada
Joined: December 30, 2011
KitMaker: 902 posts
Armorama: 788 posts
Posted: Tuesday, October 16, 2012 - 04:56 PM UTC
Kevin love the build,you are a great teacher as well
SgtRam
Staff MemberContributing Writer
AEROSCALE
#197
Visit this Community
Ontario, Canada
Joined: March 06, 2011
KitMaker: 3,971 posts
Armorama: 2,859 posts
Posted: Saturday, October 20, 2012 - 07:46 AM UTC
Alrighty then, hull together, gaps have putty applied and dry. So time a little sanding. Again with my assortment of sanding sticks, I begin to smooth out the dried putty. I normally start with a coarse grit and work my way down.


And the small sanding stick come in handy for tighter spots.


And if you have to get into some tight corners or recesses, that is where a small file comes in handy. For my small files, I don't go expensive, I usually wait till I see a sale somewhere, like a local hardware store and pick up a set.


With the body sanded, I decided to move on the the rear deck detail. So I found the grab handles for the rear door very flimsy and I tend to break them even after they are on the model, so out comes a little brass wire from my stash. I use a small set of needle nose pliers to bend to shape.


With the new handles formed time to glue on, now plastic glue won't work with the brass wire, so time for a little CA (super glue). For this type of application, recesses are already in the receiving part, so just a dab on the ends will do, and I prefer Gorilla Glue for this. It is a thicker CA, and gives you a little more working time. I use a tooth pick, dab it on the ends, and with tweezers put in place.


Now onto the smaller plastic pieces, and you have to be careful getting these off the sprue. I use a set of micro snips I picked up at a local hobby store, they are great for fine pieces.


To clean up small pieces a good set of opposing force tweezers are good for holding the part. And for sanding, I personally find it easier to use the coarser side of the sanding stick and go real light.


And to attach the parts, this is where I like to use Tenax 7R, I find it dries a little quicker and holds smaller parts better. I applied it with a small brush and let the capillary action to the rest.


Now some fine pieces are difficult to snip off with out breaking, this is where a good razor saw comes to the aid. You have to be patient and go slow, let the saw to the work.


A few more dabs of glue, and the rear deck doors are done.


Next update I will start the suspension.

SgtRam
Staff MemberContributing Writer
AEROSCALE
#197
Visit this Community
Ontario, Canada
Joined: March 06, 2011
KitMaker: 3,971 posts
Armorama: 2,859 posts
Posted: Monday, October 22, 2012 - 10:56 AM UTC
Well found sometime again to get a little work done, and moved on to the suspension. With this kit, the leaf springs come in two halves, not a big fan of this type of molding, but we have to deal with it sometimes.

So with the parts removed from sprue, I sanded the interiors to ensure removed any ejector marks and improve fit.


For gluing together, this is where my special glue mix comes in, well not really special, just a mix of Tamiya Extra Thin and Tamiya Liquid Cement(the thick stuff)(50/50 mix). I like this because it stays where you put it, and it gives you a little working time. I always use the small brush from the Extra Thin bottles.


With the parts glued, and clamped, I set them aside to dry. Once dry, time for some putty.


Don't worry if this looks a little messy, sanding will fix it up.


I small file here is good to "re-shape" the brackets and leaves. And if you file gets clogged, a old tooth brush will clean it right out.


There we go, leaf springs added.


While the putty on the springs was drying, I took advantage and did the axles and tanks too, using the same process I have used in the past.


Just a note when sanding, I start with a coarse stick and work down to finer grit, as I move to the finer grit, I tend to sand in circler motion.

So there we are so far. And as you might notice I am not really following the order in the instructions, as I like to work from the bottom to the top, that way I don't have to sit the model on the more delicate top while working on the bottom.

So next issue I will continue with the suspension and steering.

Hangelafette
Visit this Community
Pennsylvania, United States
Joined: April 22, 2012
KitMaker: 344 posts
Armorama: 315 posts
Posted: Monday, October 22, 2012 - 12:39 PM UTC
Kevin,

Great build. As a newbie, I really appreciate the step by step illustrations of your techniques. Thanks!

Nate
thebear
Visit this Community
Quebec, Canada
Joined: November 15, 2002
KitMaker: 3,960 posts
Armorama: 3,579 posts
Posted: Monday, October 22, 2012 - 06:50 PM UTC
Hi Kevin..Great start ..I remember building that kit and I remember using quite a bit of putty myself.. , Just wondering if your doing your Staghound as a Canadian vehicle ,don't bother with the external tanks ..They never used them.

Rick
SgtRam
Staff MemberContributing Writer
AEROSCALE
#197
Visit this Community
Ontario, Canada
Joined: March 06, 2011
KitMaker: 3,971 posts
Armorama: 2,859 posts
Posted: Wednesday, October 24, 2012 - 10:38 AM UTC
So continuing with the underneath, time to add a little detail to the axles.

To add the plates on the brake drum, I used my 50/50 mix of Tamiya Extra Thin and the regular Tamiya Liquid cement, again to give the small piece a little adhesion when putting in place and a little working time to ensure proper placement.


When removing longer delicate pieces from the sprues it is best to start at one end, NOT in the middle, as there is a lot less chance to snap the piece, and again using my fine sprue snippers to remove.


When removing the flash(mold line) from delicate pieces, I find it easier to use the edge of an hobby knife to scrape the flash off. This is done with little pressure to take care of the delicate parts.


The front axle is now ready for assembly.


And this where a small bar like clamp comes in handy to hold the parts together while they dry, and also to help keep the drum lined up correctly.


Next update we will complete the detail.
SgtRam
Staff MemberContributing Writer
AEROSCALE
#197
Visit this Community
Ontario, Canada
Joined: March 06, 2011
KitMaker: 3,971 posts
Armorama: 2,859 posts
Posted: Friday, October 26, 2012 - 01:42 AM UTC
Back again, so now the axles are mounted. Time to add the little bits of detail. Ensure you have your tweezers at hand and take care in removing the parts.


Sometime a little flash blocks the hole, this can be cured with the tips of a hobby knife.


Now with everything take care of underneath, time to start on the top. I start by adding the bigger detail first, to ensure you don't damage the finer detail while I am working. So the front driver view ports, these contain clear plastic, and I like to use Testor Clear Part Cement, as it won't cause any "smoking" of the clear plastic.


To clear out the ports to receive the clear parts, I had to pull out the mini file set, these are always handy to have.


Now since the view ports are being installed prior to painting, they will need to be masked, and I find it easier to mask prior to mounting on the model, due to size. A fine burnisher come in handy for this task, I picked my up at Walmart in the craft section for cheap.


And when it comes to trimming the tape, ensure you have a SHARP blade on your knife.


With the parts in place, there is one extra think I like to do and that is paint the back of the periscopes silver before putting the protective covers and painting, I find it give is a better look for the clear parts once done.


While doing the fender, I noticed a few ejector marks and some recessed area underneath, so they were puttied and sanded before attaching.


Things will start to move a little quicker now, but next issue we will start to tackle some photo-etched detail.
SgtRam
Staff MemberContributing Writer
AEROSCALE
#197
Visit this Community
Ontario, Canada
Joined: March 06, 2011
KitMaker: 3,971 posts
Armorama: 2,859 posts
Posted: Monday, October 29, 2012 - 10:15 AM UTC
Time for the photo-etched. To start with having the right tools when it comes to working with PE helps. I have a pair of Xuron PE snips, that come in real handy to getting the parts of the fret.


And for applying CA, I use a toothpick, with a little slot cut in it. The slot helps pick up the glue. And to hold the glue, I use paper muffin cups, as they are cheap.


Once I have the part off, I use a wide flat set of pliers to hold the piece to sand the edges.


To fold parts, I have a 4" Small Shop Hold'n'Fold. It works great for straight folds.


I hold the parts in place, and use small amounts of CA applied with the toothpick.


Sometimes, parts are too small to use snips, so a SHARP blade comes in handy.


And some parts are a little awkward for the hold n fold, so I use a small set of flat pliers.


Once nice feature about this Bronco kits, is they provide the template for the headlight guards.


So with the construction done, we will be heading to the paint shop next.


Ready for primer.
SgtRam
Staff MemberContributing Writer
AEROSCALE
#197
Visit this Community
Ontario, Canada
Joined: March 06, 2011
KitMaker: 3,971 posts
Armorama: 2,859 posts
Posted: Wednesday, October 31, 2012 - 08:04 AM UTC
Here we go again.

Painting, well primer first. I used Tamiya Primer, in the can, sprayed on.


Other then prep-ing the model for paint, primer can help identify any areas of imperfection. So happy with everything, lets go down to the paint shop, and get everything set up for painting.


Having a good carousel is a great item to have, the one I have is the Tamiya one, under all those coats of paint. It has holes and clips that allow holding of items.

So paint, for this model, I will be using Model Masters Acrylic Olive Drab, I like this color for late war Allied vehicles. I use the Testors thinner for MM Acrylics, find for me it works best. For mixing, I always have a sleeve of the small Dixie cups on hand, I pick them up at the Dollar Store. For light coats, I usually mix about 60% paint to 40% thinner for the MM Acrylics.


And for this job, I will use my Paasche VL at about 18 psi. I like my Paasche for over all jobs, and use my Iwata Eclipse for fine detail and camouflage painting. I did the Staghound with two light coats.


I also did a little color variation by adding a little Light Grey at the end, and hitting some of the high spots.

So when the paint dried, I coated with Testor Flat clear from the can, this is to get ready for more color modulation using True Earth. That will be next time.

CMOT
Staff MemberEditor-in-Chief
ARMORAMA
Visit this Community
England - South West, United Kingdom
Joined: May 14, 2006
KitMaker: 10,954 posts
Armorama: 8,571 posts
Posted: Wednesday, October 31, 2012 - 09:20 AM UTC
I am enjoying following this build Kev and nice work in presenting it in a step by step format.
SgtRam
Staff MemberContributing Writer
AEROSCALE
#197
Visit this Community
Ontario, Canada
Joined: March 06, 2011
KitMaker: 3,971 posts
Armorama: 2,859 posts
Posted: Saturday, November 03, 2012 - 08:38 AM UTC
Next up, little color modulation with True Earth.

Prior to putting the decal on, I like to get a little color modulation done, and sometimes I use a dot wash, but this time, thought I would go with just True Earth. These are great products.


So to start the process, it is real easy, by wetting the model, I use water with a drop of dish soap. With the model wet. You can just apply the True Earth where you want to. For this model, I am using the Paint Fading 1, Paint Fading 2, and Acid Filter.


And you see you can get a nice subtle color variation. I will let this dry completely, and then coat with a couple coats of Future for decals.

While waiting for this to dry, I tackled the tires. I hand brush and use Vallejo Dark Rubber. To start the process, I have a couple of mixtures I keep on hand, one water mixed with Flo-Aid and another is water mixed with Flo-Aid and Slo-Dri. For painting wheels I like to use a couple drops of the Flo-Aid/Slo-Dri mix with the paint, gives me more working time.


And for mixing my paint I use the cheap plastic palettes from a local art store, I like these in that you can let the paint dry in it and it just peels out.


So I will paint the tires and be back with you.
Dragon164
#226
Visit this Community
British Columbia, Canada
Joined: February 20, 2012
KitMaker: 1,909 posts
Armorama: 1,066 posts
Posted: Saturday, November 03, 2012 - 10:33 AM UTC
Kevin,
Thanks for doing this thread! I have been interested in seeing how the Bronco Staghounds went together. My Dad drove a MKIII and was always talking about the Crusader tank turret. In early 1999 I found an article on the Accurate Armour Staghound kit and promptly ordered it from Squadron. I got it put together and gave it to my Dad on his birthday we were both really happy with it and the timing was lucky as we lost him before his next birthday. It's one of those glad you got a chance moments.

Cheers Rob.
exer
Visit this Community
Dublin, Ireland
Joined: November 27, 2004
KitMaker: 6,048 posts
Armorama: 4,619 posts
Posted: Sunday, November 04, 2012 - 04:26 AM UTC
Really great SBS Kevin, I will bookmark it for when I eventually build the Staghound in my stash
Joel_W
Staff MemberAssociate Editor
AUTOMODELER
Visit this Community
New York, United States
Joined: December 04, 2010
KitMaker: 11,666 posts
Armorama: 1,143 posts
Posted: Friday, November 09, 2012 - 05:19 AM UTC
Kevin, Been following your build, and even this old timer whose been building models on and off for more then 50 years, learned a few things. For starters I need to find a pair of those fine part nippers.Great tip.

Like you, I use Tamiya Extra Thin for the vast majority of my gluing applications, but use Model Master Liquid glue for what your mix is used for. Will be buying a bottle of Tenax XR-7, as it solves some problems for me.

Will be subscribing to your thread so I follow it to its conclusion.

Joel
SgtRam
Staff MemberContributing Writer
AEROSCALE
#197
Visit this Community
Ontario, Canada
Joined: March 06, 2011
KitMaker: 3,971 posts
Armorama: 2,859 posts
Posted: Sunday, November 11, 2012 - 02:48 AM UTC
Ok, decal time. With the Staghound dry after two coats of Future, I am ready for the decals.


I keeps a small plastic container in my desk with water, for use anytime I need to put a decal on. For this model, with mostly flat surfaces, I use Micro Set and Tamiya Mark Fit. I like the Mark Fit, as is puts down decals real well on flat surfaces.

I cut the decals out with a sharp hobby knife, if they were larger I would use a small pair of scissors.


After the decal sits in the water for about 20-30 seconds, I place on a piece of paper towel. To prep the model, I use a little Micro set where I will be placing the decal.


Then holding the backing paper with tweezers I use a wet Q-tip to slide the decal onto the model, the q-tip can then be used to slide the decal into place.


With the decals in place, a light coat of Mark Fit to ensure they snug down, and eliminate any silvering.


Now some decals will need extra help going down, especially over raised or uneven surfaces, this is where SolvaSet comes in.


Don't worry if the decal does not sit down all the way with one application of SolvaSet, sometimes take a few applications. In this case where there is a little access hatch, I cut the decal with a SHARP hobby knife before the second application.


With the decals on, I will give them a day or two to fully dry, at which time I will apply another coat of Future before continuing the weathering process.
SgtRam
Staff MemberContributing Writer
AEROSCALE
#197
Visit this Community
Ontario, Canada
Joined: March 06, 2011
KitMaker: 3,971 posts
Armorama: 2,859 posts
Posted: Saturday, November 17, 2012 - 02:57 AM UTC
Alright decals one, another coat of Future, and then a coat of Testor Flat Clear (spray Can).


We can now start the weathering process. I am big fan of True Earth, I think I mentioned that already. So the first think will be to apply a wash of the Dark Ageing. So again, I wet the model with some Water/Flo-Aid mixture, then start applying the Dark Ageing around detail and in crevices.


I will give this about 24 hours to dry. Using Vallejo paints I start picking out the detail, shovel, axe, and so forth. These will get a seperate coat of weathering.

Now to start the chipping process. This is done by mixing Vallejo Off White with a drop of Olive Drab, just want to change the shade of the white.


With the first step dry, I go back at the chips with True Earth Dark Chipping, this is a dark rust color. Remembering to allow some of the light color to show.


Not giving much time to dry, I will apply a rust pigment, using a wet brush to the spots.


I will let this dry for about an hour, then I will use a stiff brush and my finger to start removing some of the pigment. If it still looks to much, I will also use a wet cotton swap.


I have also started the exhausts with a coat of Vallejo Orange Brown. Don't worry about it looking even, actually better if is doesn't.


The other thing I start at this time, it finding stowage from y spares box, and fitting it, I will paint the items separately as I go.


Next update, I will complete the exhaust and continue the weathering process.

SgtRam
Staff MemberContributing Writer
AEROSCALE
#197
Visit this Community
Ontario, Canada
Joined: March 06, 2011
KitMaker: 3,971 posts
Armorama: 2,859 posts
Posted: Sunday, November 18, 2012 - 01:16 PM UTC
So, lets continue with the weathering. So now that the chipping and a little bit of rust is applied, time for another wash, this time using True Earth General Ageing.


While that sits to dry, time to take care of the wheels. I start by mixing earth pigment with water till it is a paste.


This is now liberally applied to the wheel.


Put these aside to dry, then I apply the same mix inside of the wheel wells.


Once this dry completely.


Time to start taking is off. I use my fingers, stiff brush, and if you wish to take more off, you can wet your finger and/or brush. This is messy, so be careful you don't end up with mud and dust everywhere.


Once I have the desired amount off, time for a little dusting. I will do this with multiple colors off pigments. In this case I used Natural Sienna, Light Ochre, and Green Earth.


This is applied with soft brush and worked in a little. Once I am satisfied, I take a wide soft brush and sweep light to remove any unwanted build ups. Here is where you need to start watching how you handle the model, as this will be the time those finger prints will end up under the clear coat if you are not careful.

Now time for a little streaking. Here I break away from my usual, and use Mig Rainmarks, this stuff is great.


I dap this along the top edges and with a brush that has seen better days, I pull this down. The pigment underneath mixes in to look like dirt being washed off in the rain. A stiff brissle brush works great here too.


And remember that rust pigment we added early, well it will pull some if down too, for a great effect.

So now the model is back into the paint shop for a clear coat of flat to seal all this before I continue the weathering process.

Joel_W
Staff MemberAssociate Editor
AUTOMODELER
Visit this Community
New York, United States
Joined: December 04, 2010
KitMaker: 11,666 posts
Armorama: 1,143 posts
Posted: Monday, November 19, 2012 - 08:28 AM UTC
Simply an outstanding tutorial, especially your weathering.

Joel
AlanL
Visit this Community
England - East Anglia, United Kingdom
Joined: August 12, 2005
KitMaker: 14,499 posts
Armorama: 11,675 posts
Posted: Monday, November 19, 2012 - 08:58 AM UTC
Hi Kevin,

Just came across this one, terrific build bog which should prove most useful.

Staghound is looking great.

Al
SgtRam
Staff MemberContributing Writer
AEROSCALE
#197
Visit this Community
Ontario, Canada
Joined: March 06, 2011
KitMaker: 3,971 posts
Armorama: 2,859 posts
Posted: Sunday, November 25, 2012 - 01:37 PM UTC
So almost done. After the last stage of weathering, down to the paint shop for a coat of clear flat. While that was trying, I started on the stowage, all painted with Vallejo Paints, and weathered with True Earth General Ageing.


The rope is string that I had dyed brown using thinned Vallejo Paint.

I also took the time to add a little grease and fuel stains using Abteilung oil. I have tried a lot of others, but the Abteilung is the best, in my opinion.


Once the clear coat was dry, time for some splattering, using the same mix I used for the dry mud, I loaded up a paint brush and blew it onto the Staghound with an empty airbrush.


You will notice that I did this after adding the stowage, once it dries, I will use my finger to blot the stowage a bit to soften the effect.

To finish the weathering, I use a fine mist of True Earth Dusty Road through my airbrush on low pressure. This adds the settled dust.

Here it is finished, with the wheels on, and just before the final coat of Aztek Flat which I will apply with my airbrush.


And there you have it, my Staghound. I hope you enjoyed this series, and for those aircraft buffs, maybe I will do one of those soon.

 _GOTOTOP