HB Pz II ausf J WIP continues...
More fender fiddle on 29 NOV. I scratched in a couple of conduits for those rear lamps and fixed the head and Notek lamps to get where I wanted them. The Notek lamp is, alas, both pretty finely molded and attached to its sprue right at that rim...

NOT the easiest thing to clean up while still keeping that characteristic lip around the edge of the lamp.
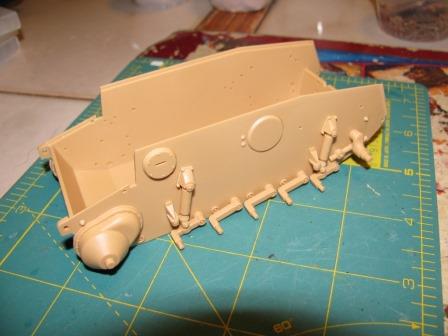
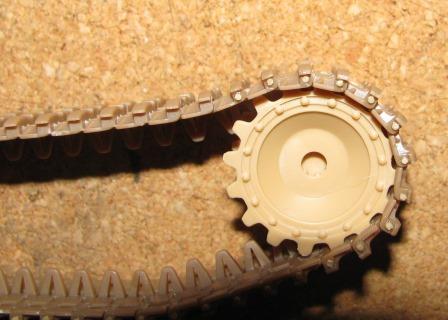
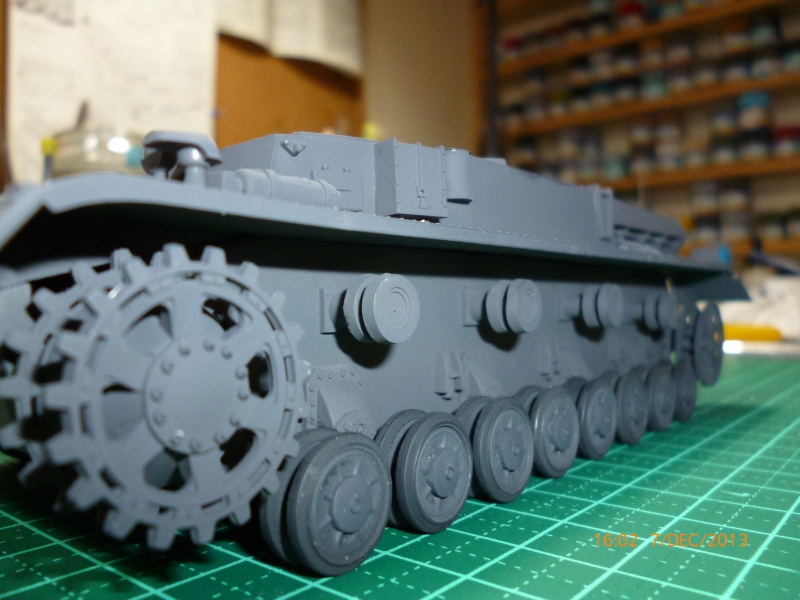
Come 30 NOV, I pretty much completed the fenders and their hull-side braces underneath, and tweaked a few details. As this lasted from about 10 pm to perhaps 2 AM, I'll claim that I actually pretty much completed all the styrene and PE build just in time to roll in DEC.
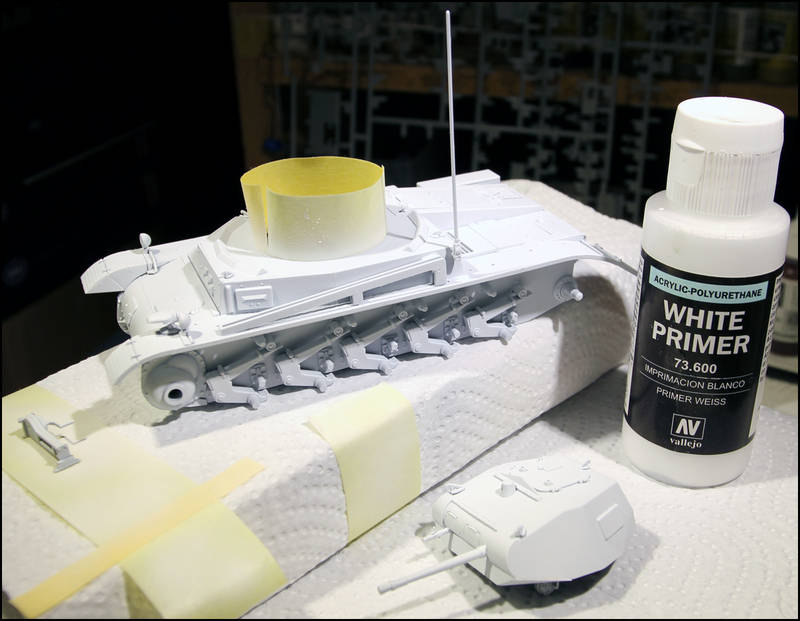
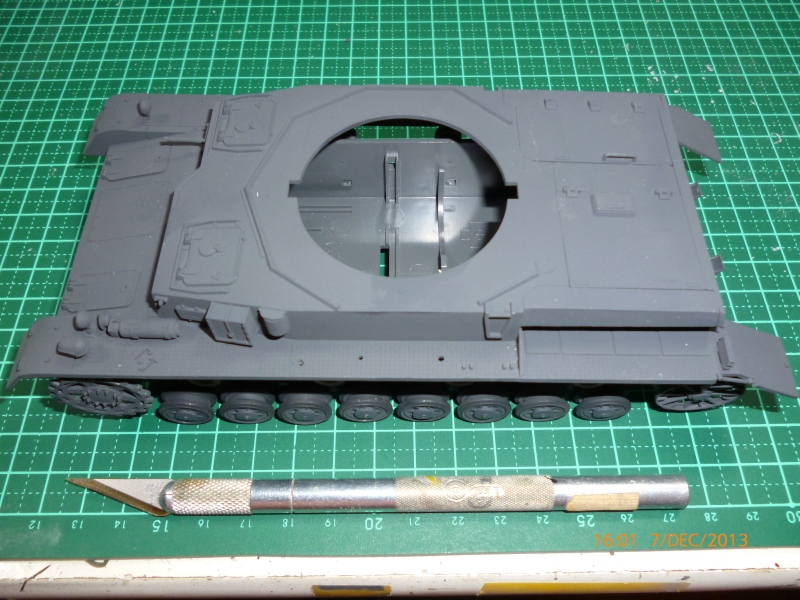
I dry-fitted all fenders and cleaned up the tiny stuff hanging out here and there. At this point, the plastic panzer is ready to head for the paint shop - painting will take wheels, tracks, fenders, turret, and hull as separate items, followed by assembly and weathering on the whole thing.
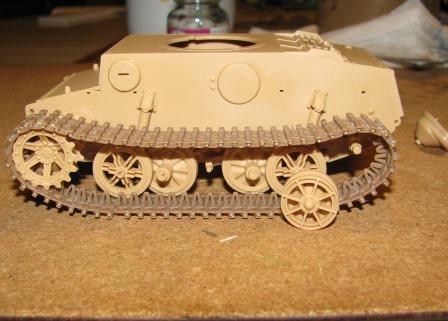
As seen from the front:
Note the white bits are those detail scratch items I added from styrene sheet as noted above.
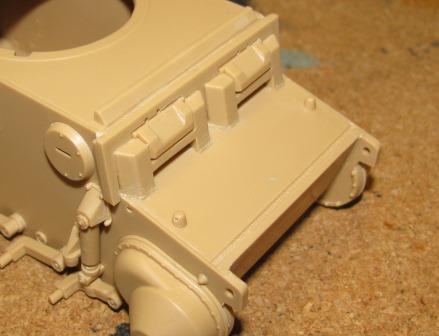
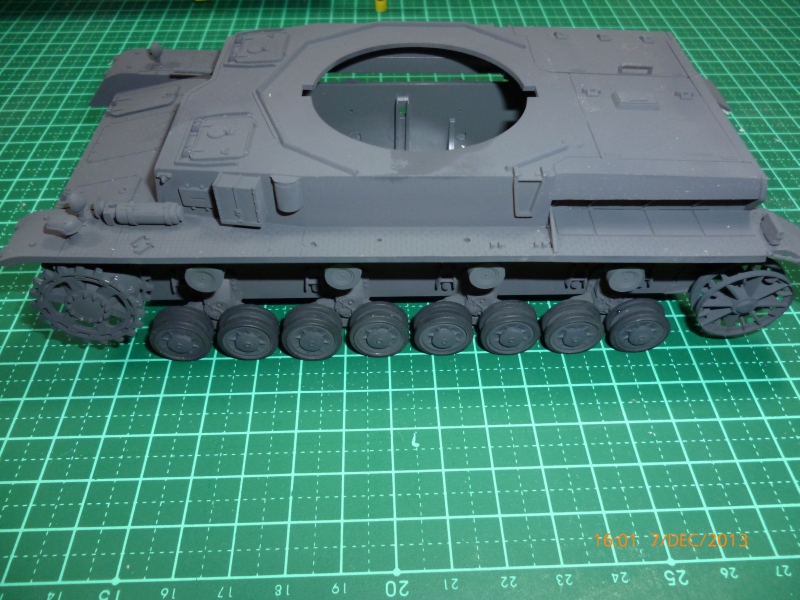
As seen from the rear...
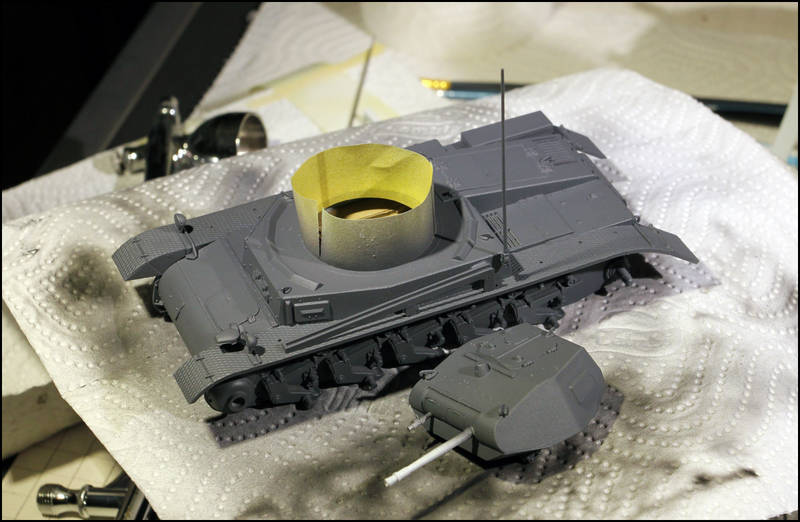
Note that the PE screens over the cooling vents on the rear deck are not there... these get put on after louvers get painted. Also, spare track links are not mounted, nor are the tow-cables. The kit supplies a string and some nice cable-eyes for to make cables. Twisted copper lamp wire would do much better for these cables, I think. Leastwise, that is what will happen (at least until things go all cocked-hat and stuff

). The cables and the spare links add on after some paint happens.
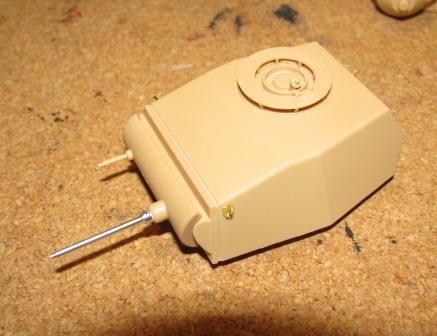
From the top...
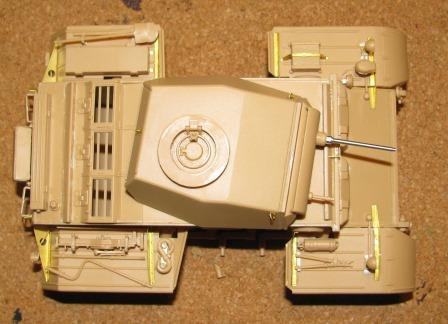
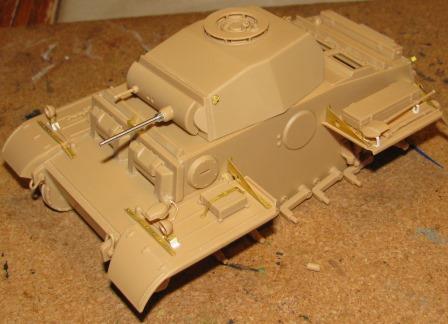
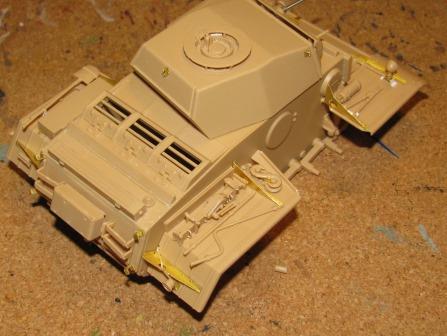
It's a boxy little wide-body panzer indeed. The paint scheme is likely to be a dunkelgrau base over a dark primer coat, with some mottle or striping with a tan or sand color (we should really avoid using "actual" "dunkelgelb" for this, if we are seeking to depict a German tank operating west of Kursk in late 1942 or early 1943, as dunkelgelb was not yet in the inventory and on the field...) as often seen on panzers in Russia later in 1942 and into 1943. As the Pz. II J moved into action in the Kursk area in very early 1943, probably it did not appear at that point wearing any tricolor scheme. Kursk survivors were very likely repainted and continued to serve in units in that area - mostly in rear areas as security vehicles, etc.
We will see after this weekend!
Build and kit summary:
This is one pretty nice kit. It is well-molded, seemingly pretty well engineered, no sags and pot-holes and other blems to be filled. It goes together easily and cleanly, and is a fun little build with little frustration built in (other than the bits mentioned above). I cannot vouch for true measured accuracy, but it looks to compare very well in most details and form with available photos. If you are looking for a nice, clean, no-big-fights type of modeling experience leading to a pretty sharp-looking thing OOTB, I would heartily recommend this one as a possible subject for your attention.
Oh. Right. The camera cable... Yeah. It emerged. And no, the cats - cuddly little innocents that they purrr-port to be - actually had nada to do with the whole thing. It was my evil twin. Somehow, the cable ended up inside a work boot which ended up going out onto the porch. I found it by... putting on that boot for to do some big yard work on the weekend.
Bob