1.I got a Dragon Leopold K-5e Railway gun. I am a retired Artilleryman so I have built a bunch of US SP and Towed guns,I got to play with. Now I have a 1/35 54cm Loki Morser and the Leopold. I have ordered Verlinden Ammo, Eduard photo etc,Archer decals for Gun and crew.,Trumpeter K-5 crew plus the Dragon crew(supplied with gun). I plan on painting it the Dunklegelb and Rottbrun color scheme.
I will try to post photos as I build.I have never done a model this large. I will keep you all posted!
2 Re this project. I am at the research stage. I have the 6 crew figures that came with the kit.I have purchased the Trumpeter Leopold crew(6 figures). So my gun will have a 12 man crew. I have purchased and am waiting on the the following:
1. Resin barrel from Azimut
2. Resin Dragon detail kit from Azimut(mainly rail trucks/wheels assy)
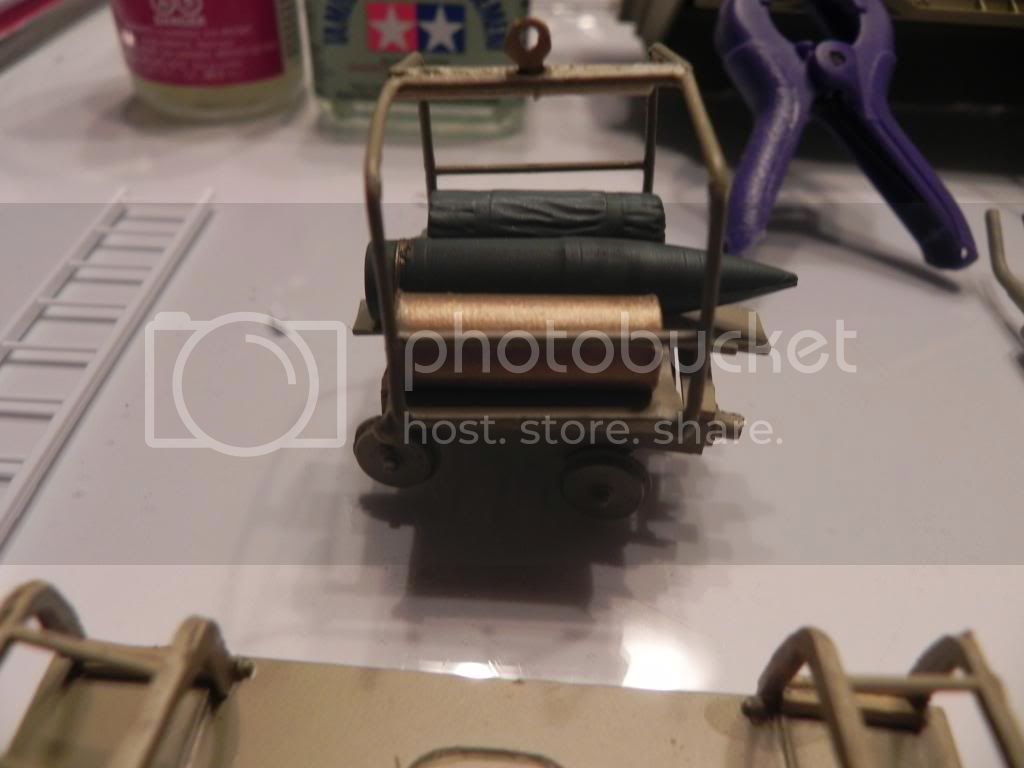
3. 28cm projo markings from a German co
4.28 cm Grenates(rounds) from Roll models
5. From Archer helmet,uniform patches and shoulder boards(3 different sheets.) Leopold decal set.
6. An extra Heers uniform sheet because I have 12 figures.
I just love E bay
I hope to get started as soon as everything arrives.
Thank you for your help in locating the bits and pieces. I was going to get a turned metal barrel but T $ 86+ TOO EXPENSIVE.
Moderator might I recommend a website?
You have to register(free) it is militaryzone.info It is full of books and model info. To Access the model info you have to donate $12 but you get four weeks of downloading.
I will keep all posted.
By the way, I commanded/served is 105 mm ,155 Towed,155 sp,8in sp , M 107 175 mm sp gun units.
ARTILLERY THE KING OF BATTLE!!!
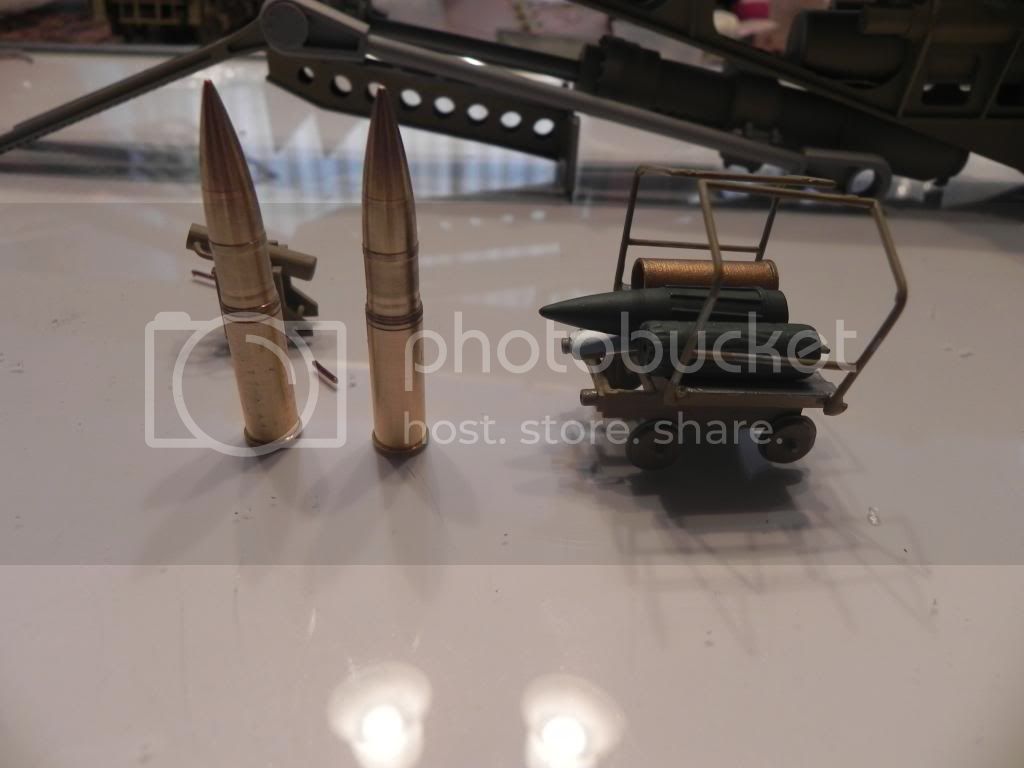
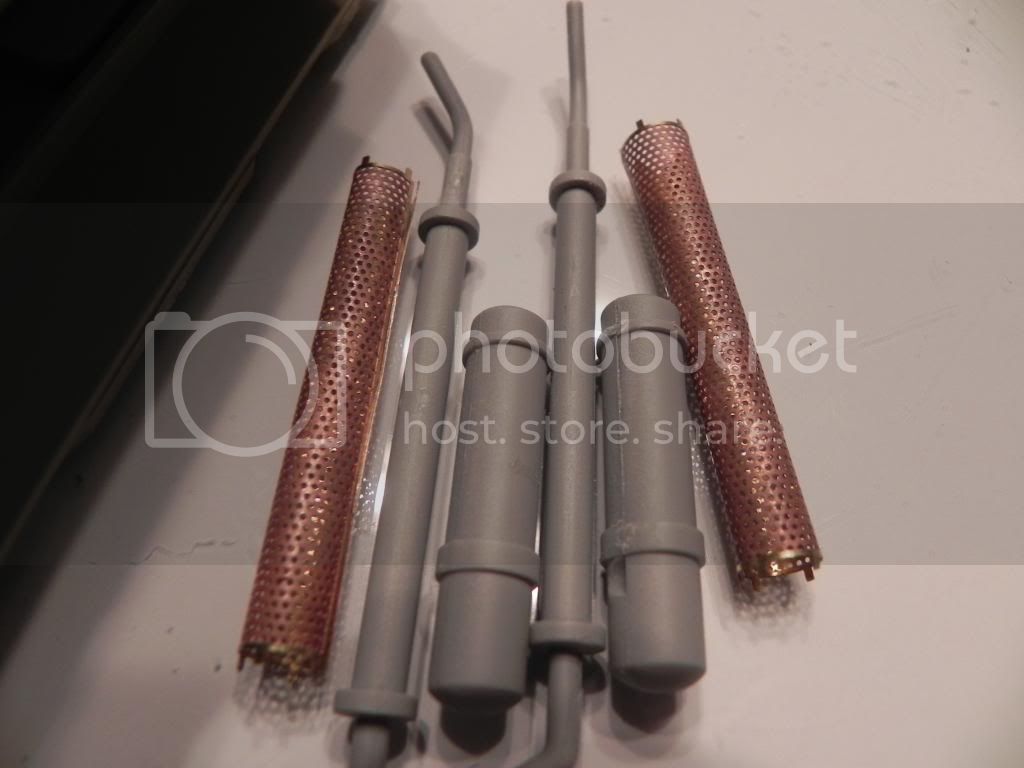
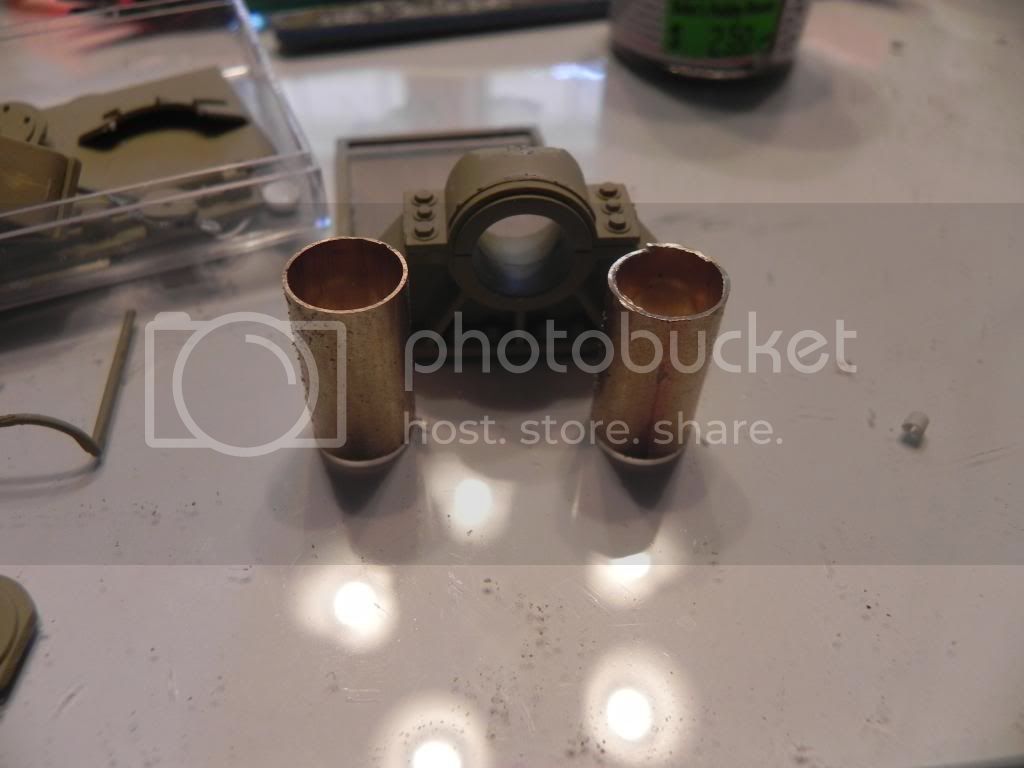
3 I bought some brass shell casings and a barrel form SCHATTON MODELLBAU
They are great!!
Thanks
http://www.modellbau-schatton.privat.t-online.de/index.html.
E mail modellbau.schatton @ t-online.de
The specialist in brass and aluminum turning, drilling,
Milling and Modelparts
Epoxy Resin complete construction.
Scales 1/35, 1/48, 1/72, 1/76, 1/87 and 1/700 ship gun barrels
Worldwide, direct shipping
I send worldwide to all directly
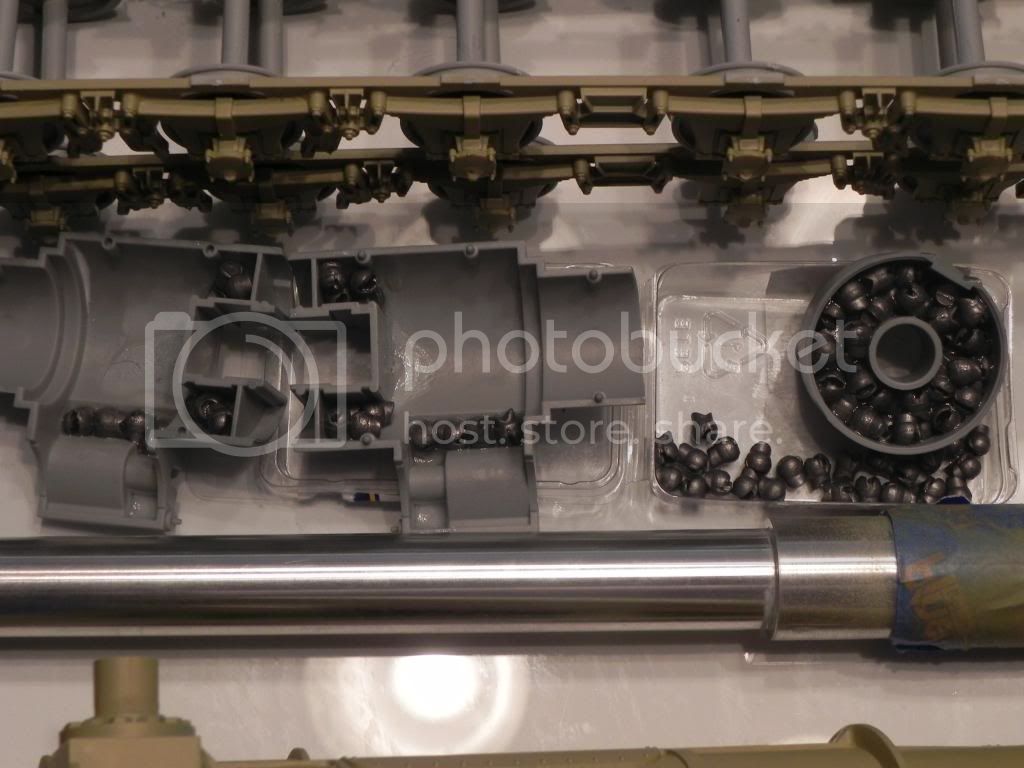
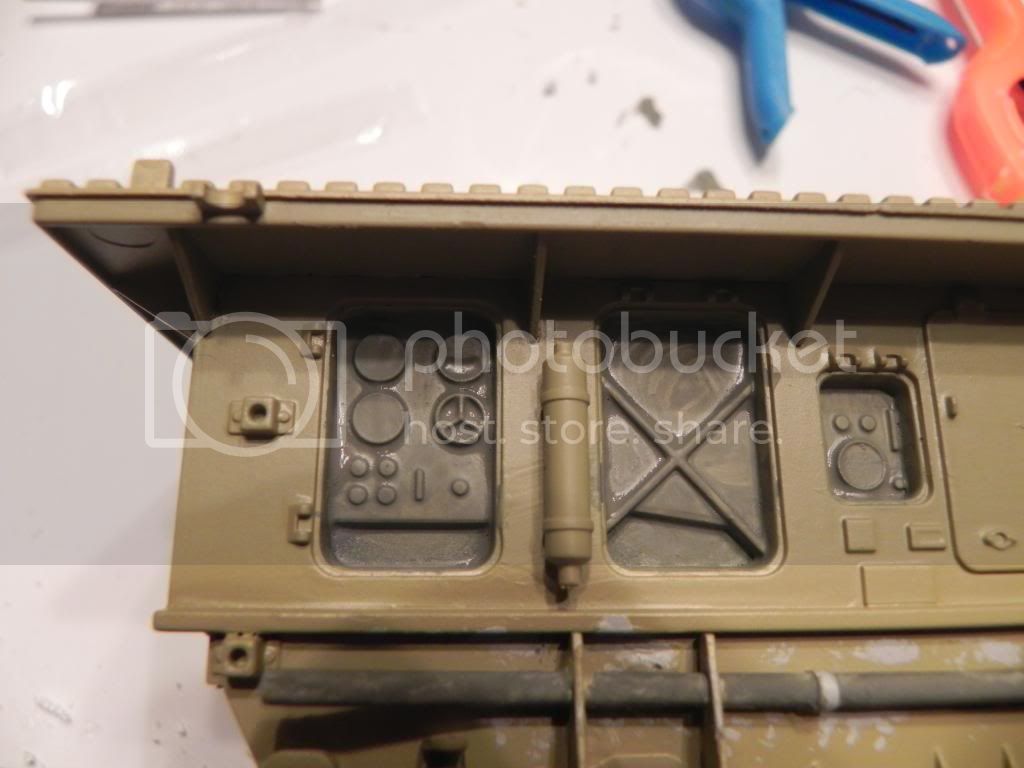
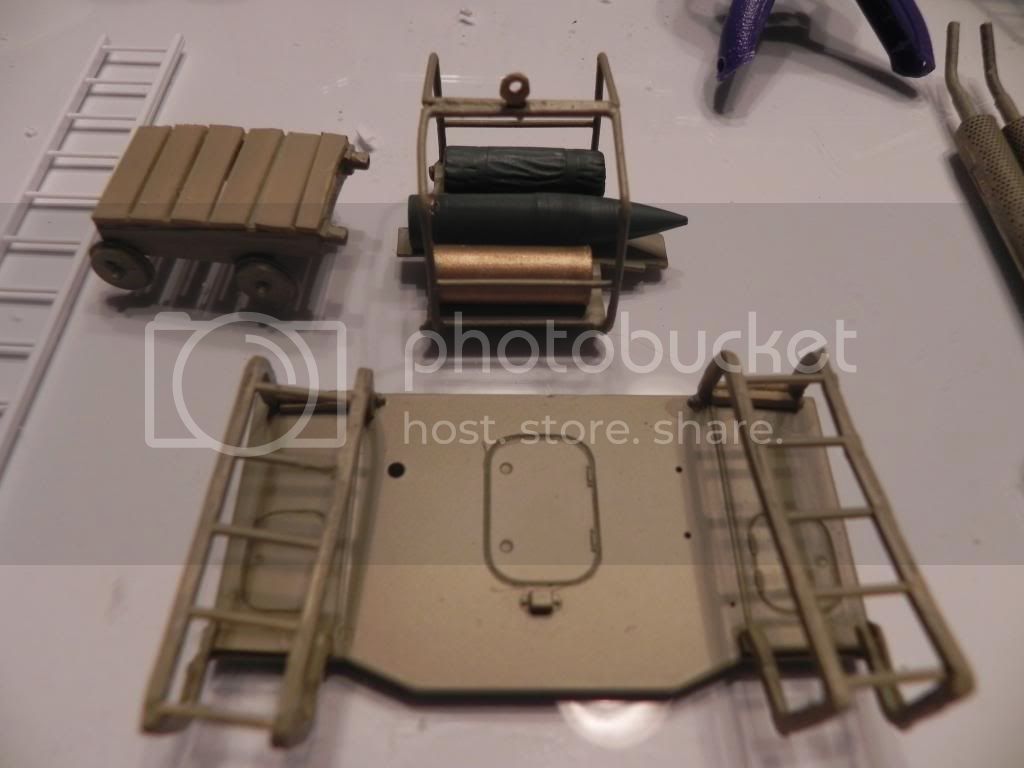
4 Finally everything is here. Photo etch from Eduard,Decals from Archer,Also ammo from Verlinden(out of scale), Paint Vallejo acrylic and a beautiful turned barrel from Stratton Modelbau(see reference website etc above) This man sent the barrel and ammo to me $72 without pre payment!!!!!!!! he sent is on my promise to pay. I am flabbergasted. Of course I have paid him with paypal. I still cannot believe it.
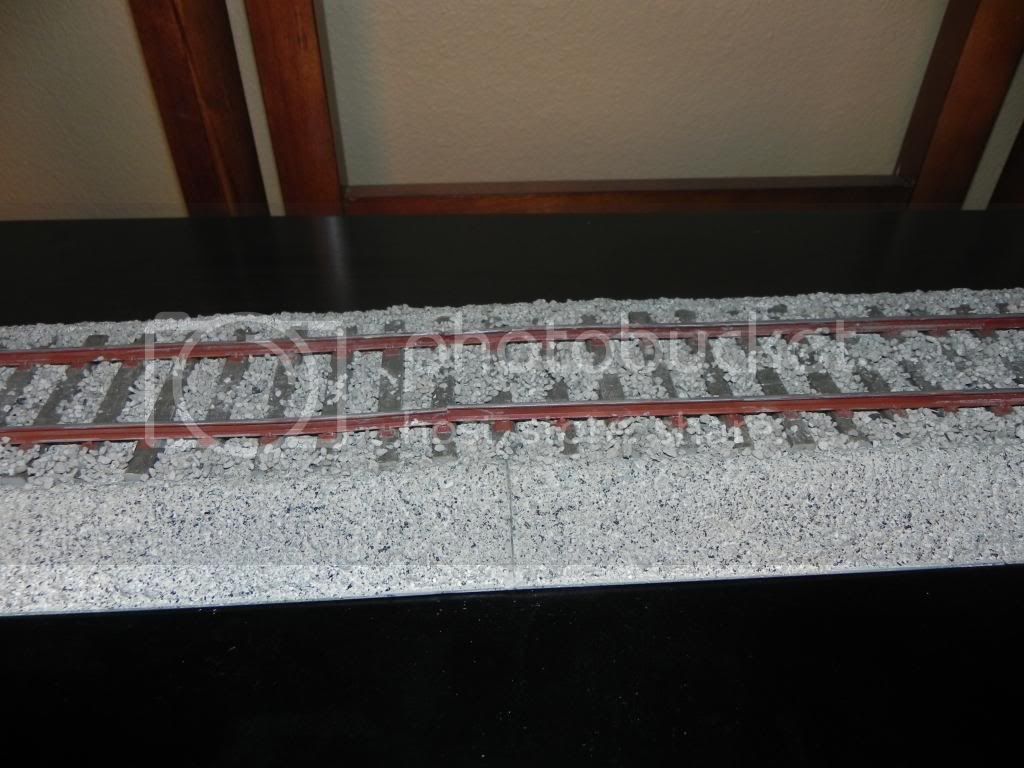
I have glued and painted the base. I used a product from Home Depot(hardware store) to simulate the ballast. Worked great. Painted the ties tracks etc. Will put the rail portion together first.
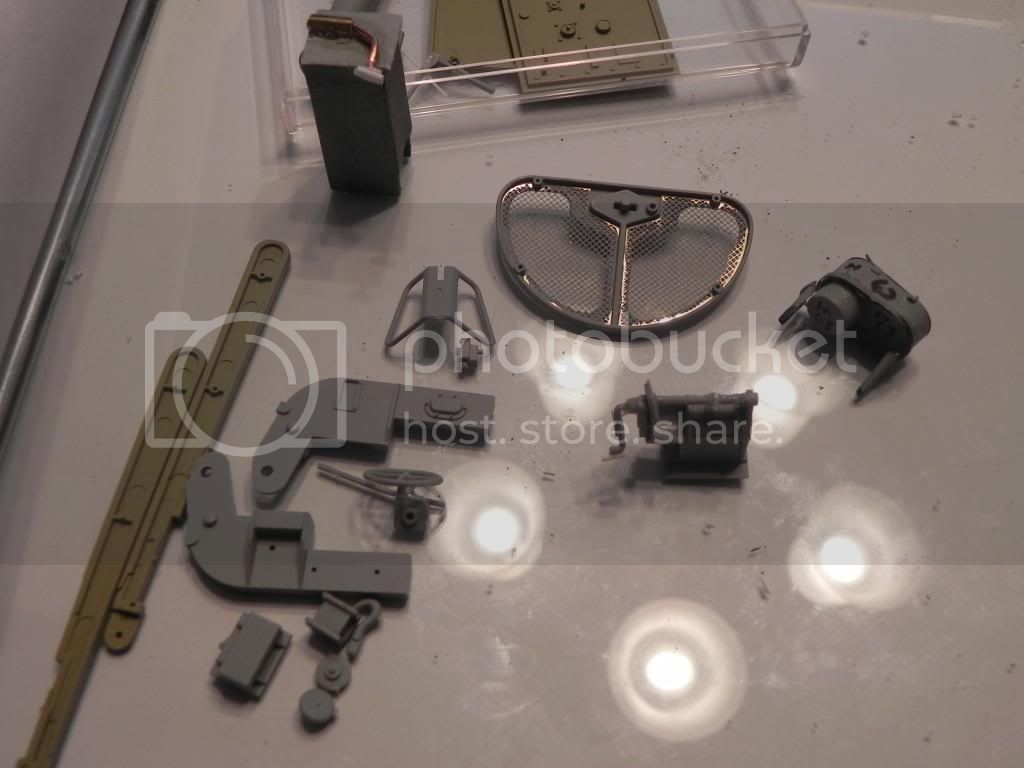
I have primed with Tamiya grey primer.
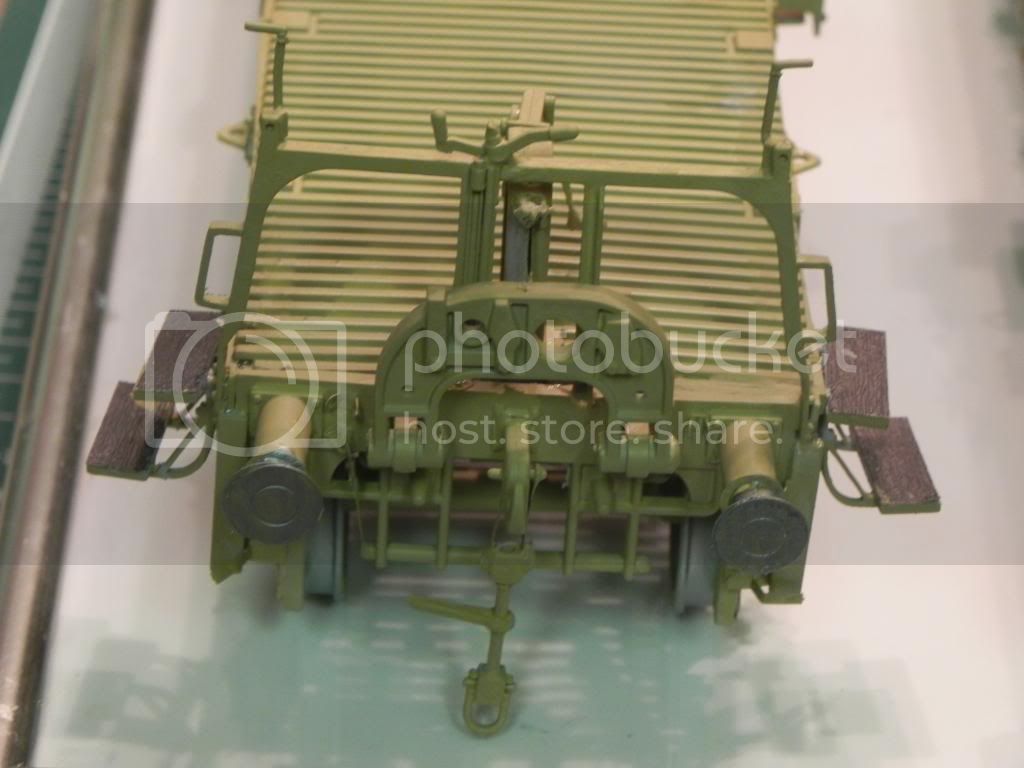
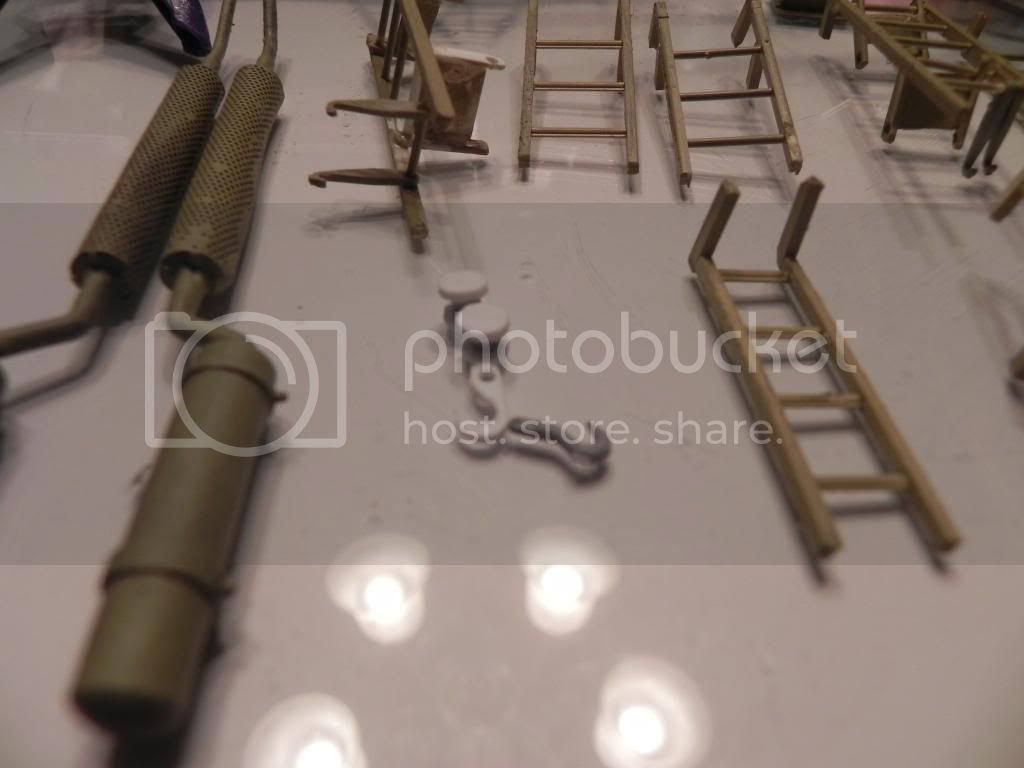
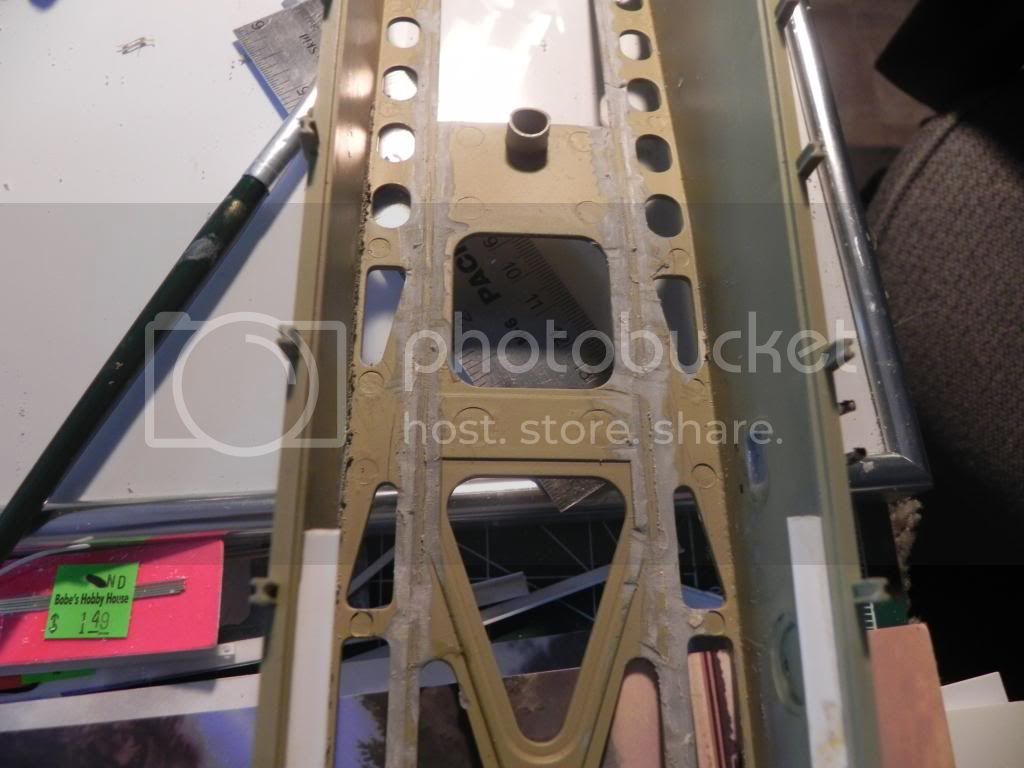
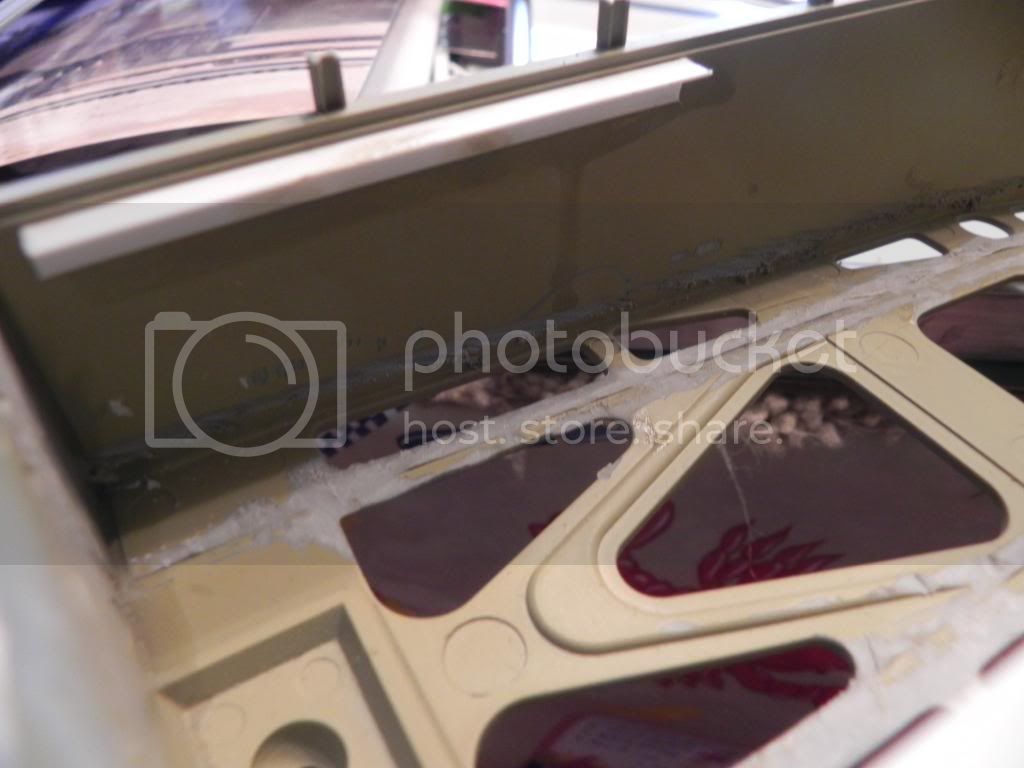
5 Today, I glued the tracks and the rr ties to the base. Guess I didn't do a good enough job masking as I had to use my Dremel tool to make space for the RR ties. Pushing the rails through the tiny slots was a bear!!! Super glue and kicker to the rescue. It looks pretty good,even my wife said it looked big and good!
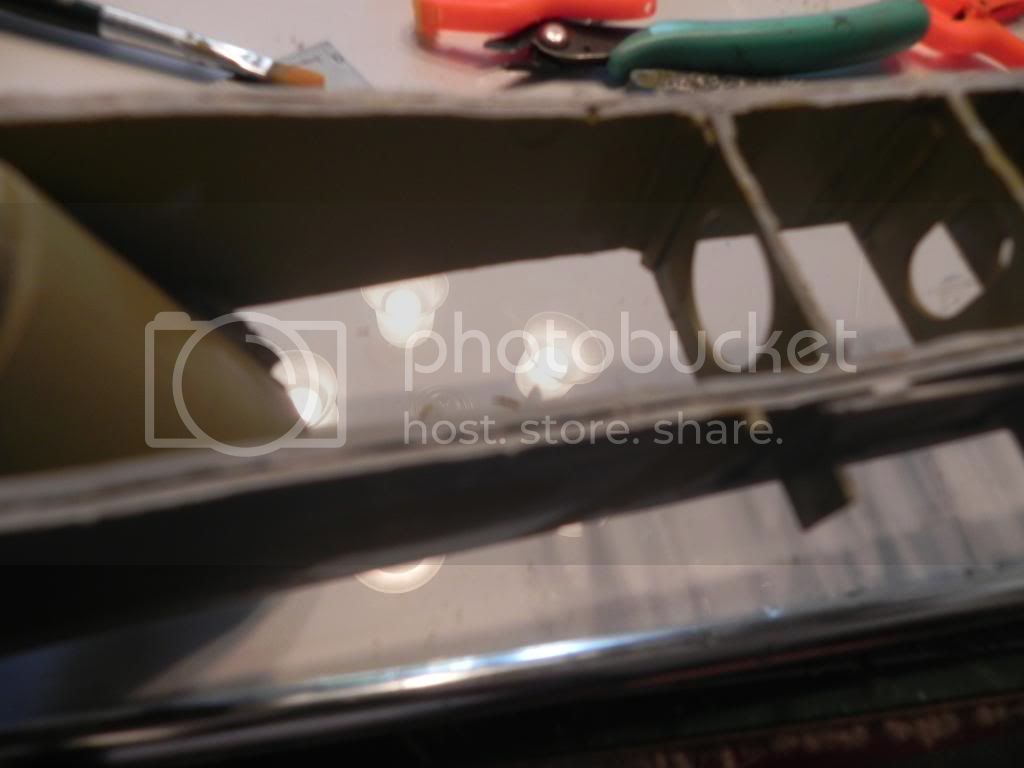
If you are building this model I recommend you glue the base then add strengtheners at each joint as they become unwieldy and tend to break at the glue lines. I used left over sprue as longitudinal stiffeners. Now to touch up some gaps and touch up painted areas.Steel on top of track, rust on side of track and brown on the sleepers(ties).
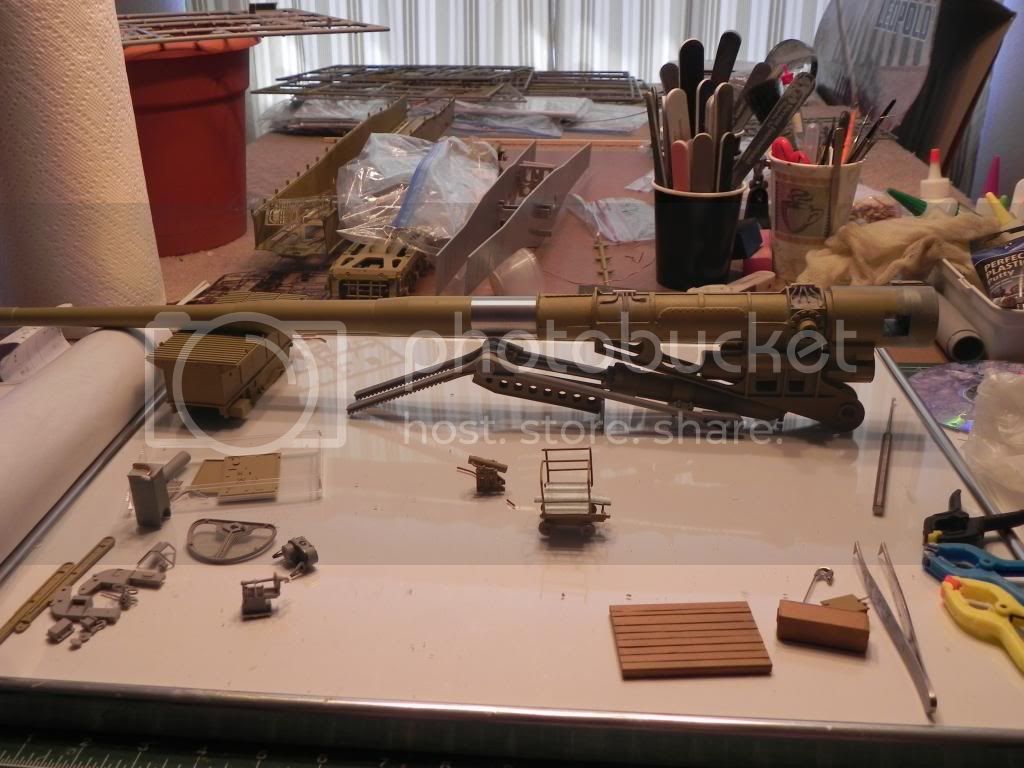
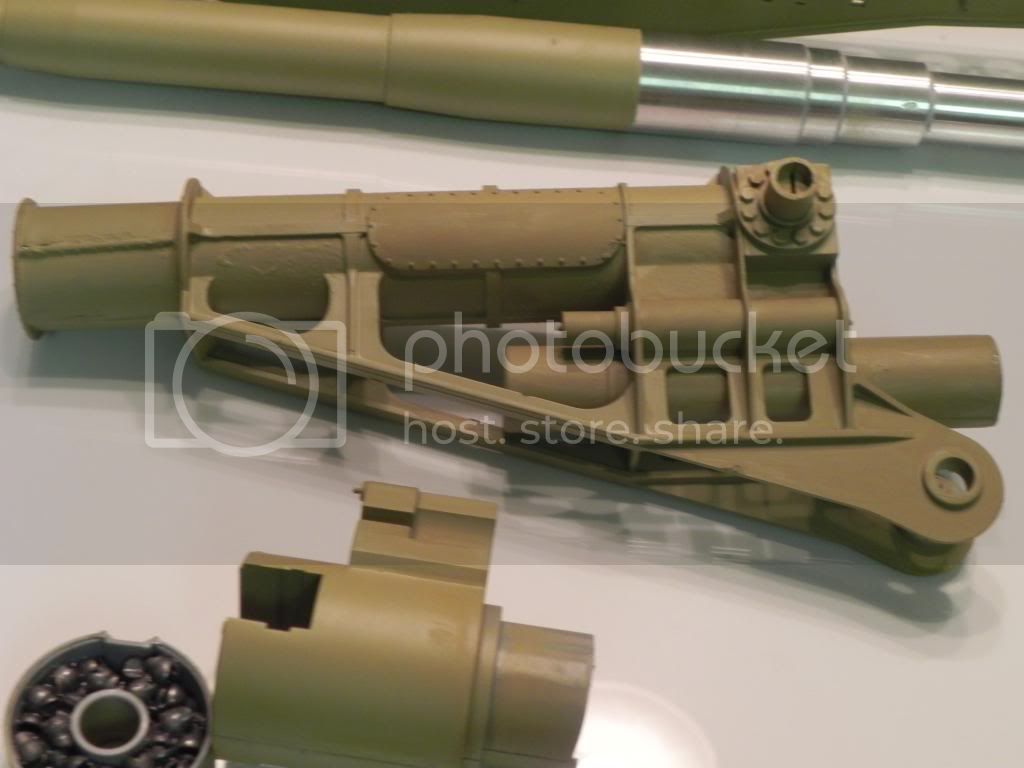
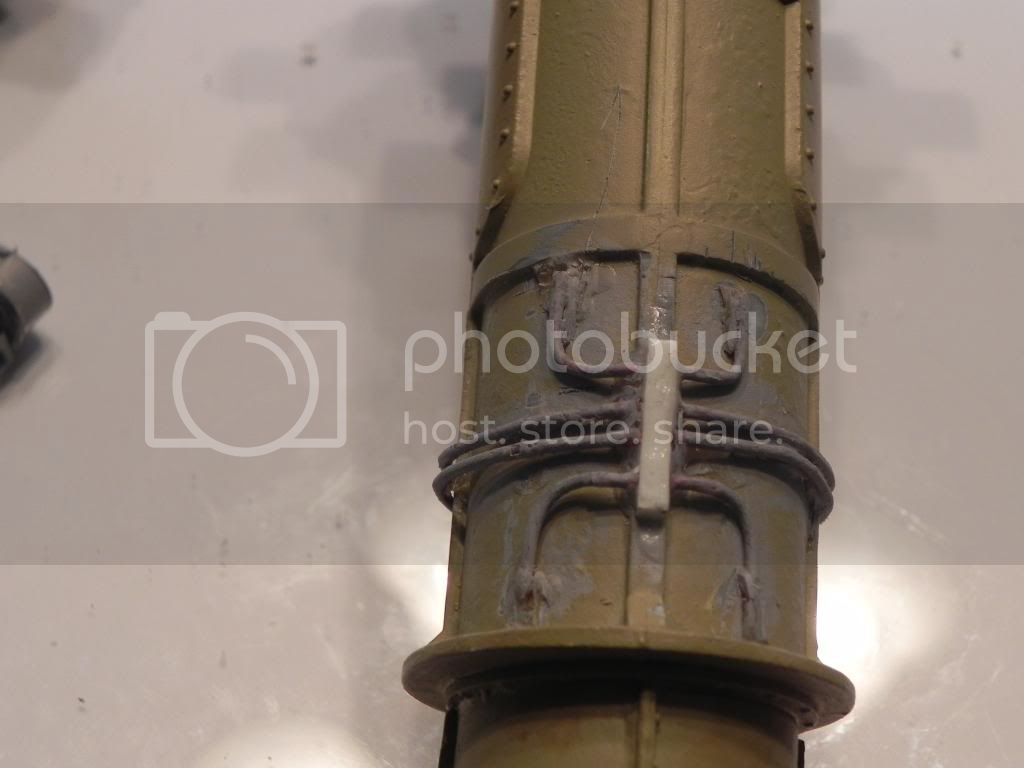
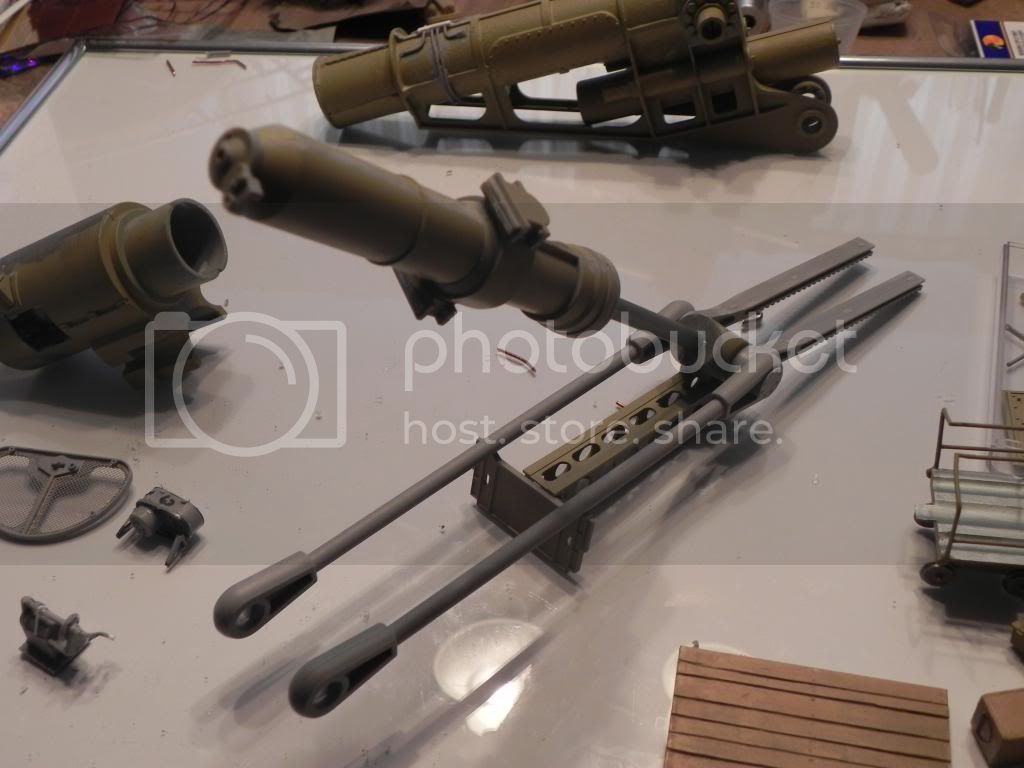
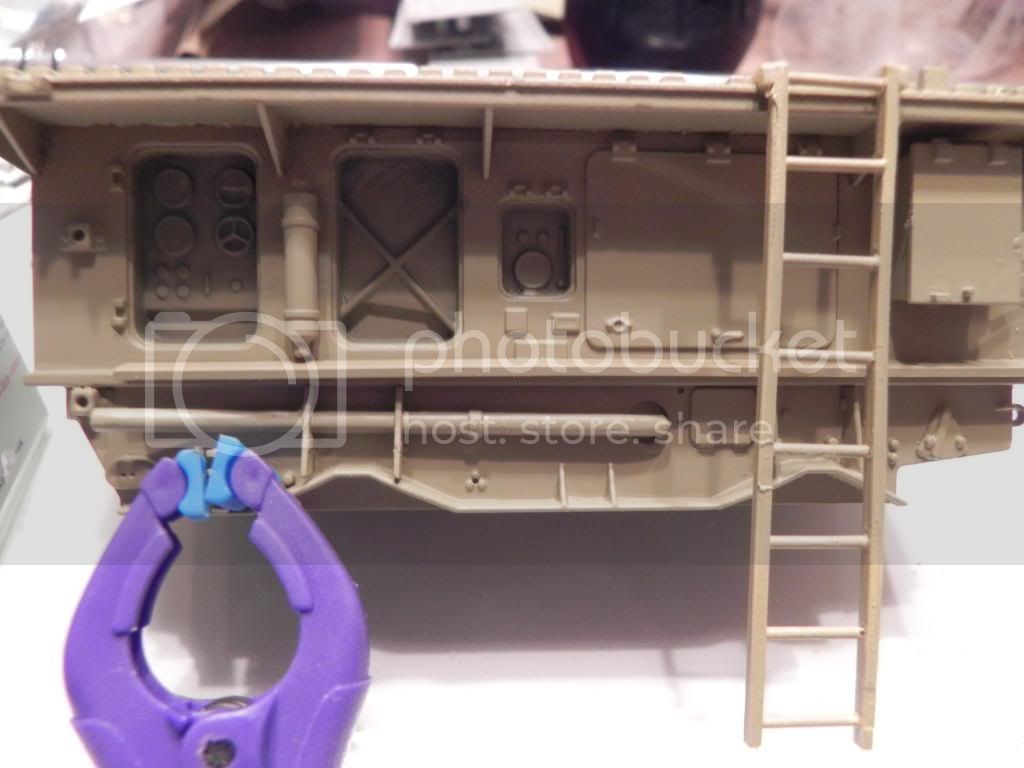
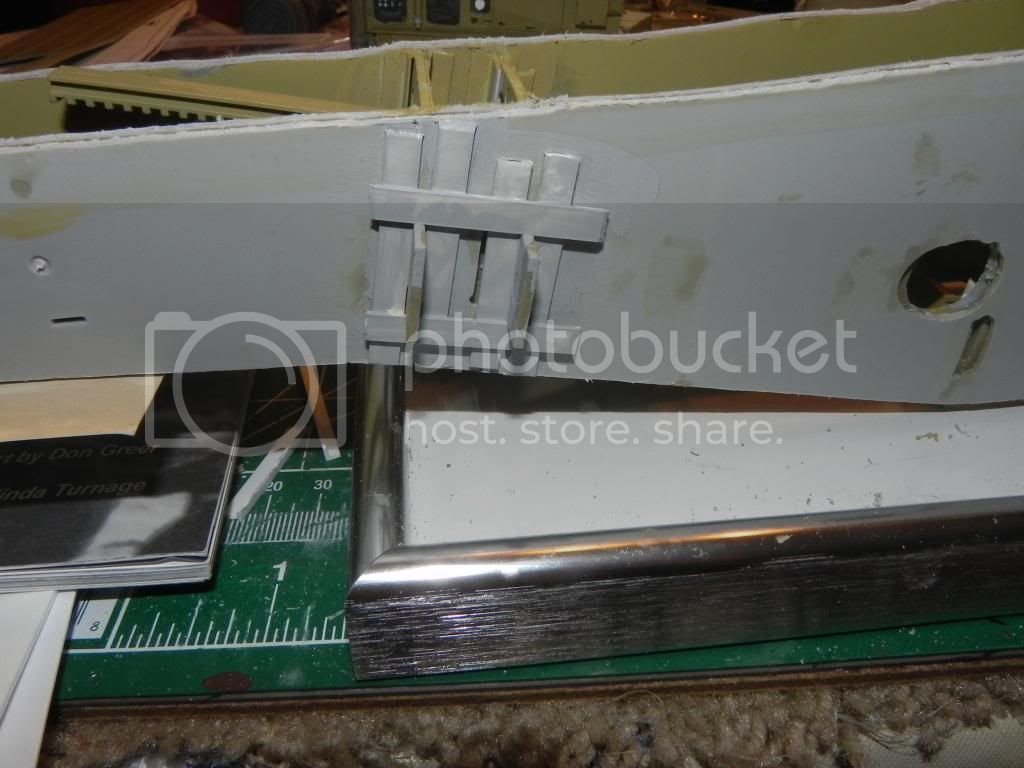
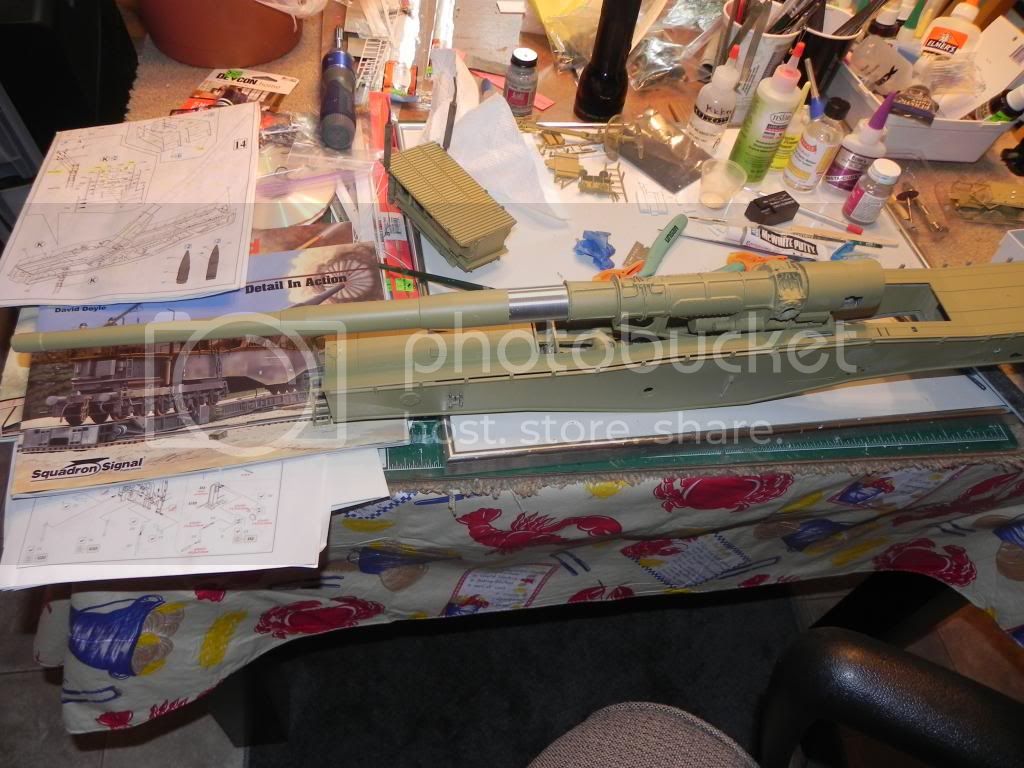
I am still trying to understand how the aluminum barrel fits. It is awfully long but Herr R Schatton says it works so I will try and see.
I really like using Vallejo acrylic pints. They brush on smooth and cover well.
I need more Dunklegelb (Dark yellow) the sheer size eats spray cans of paint. just priming used all my gray primer.
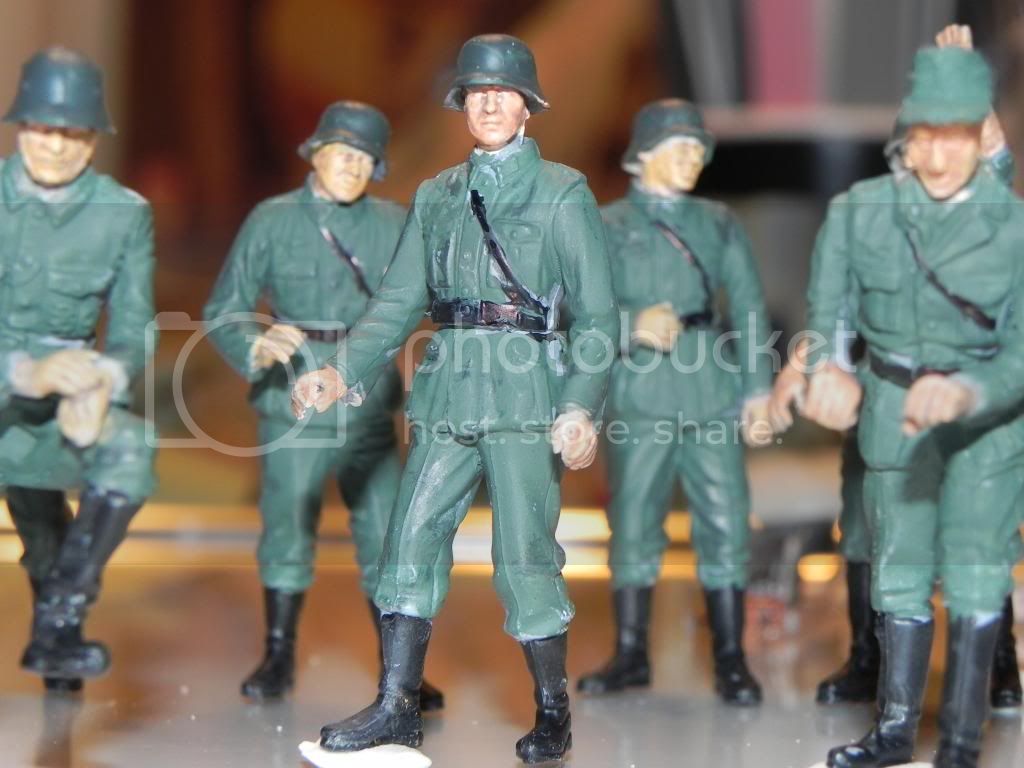
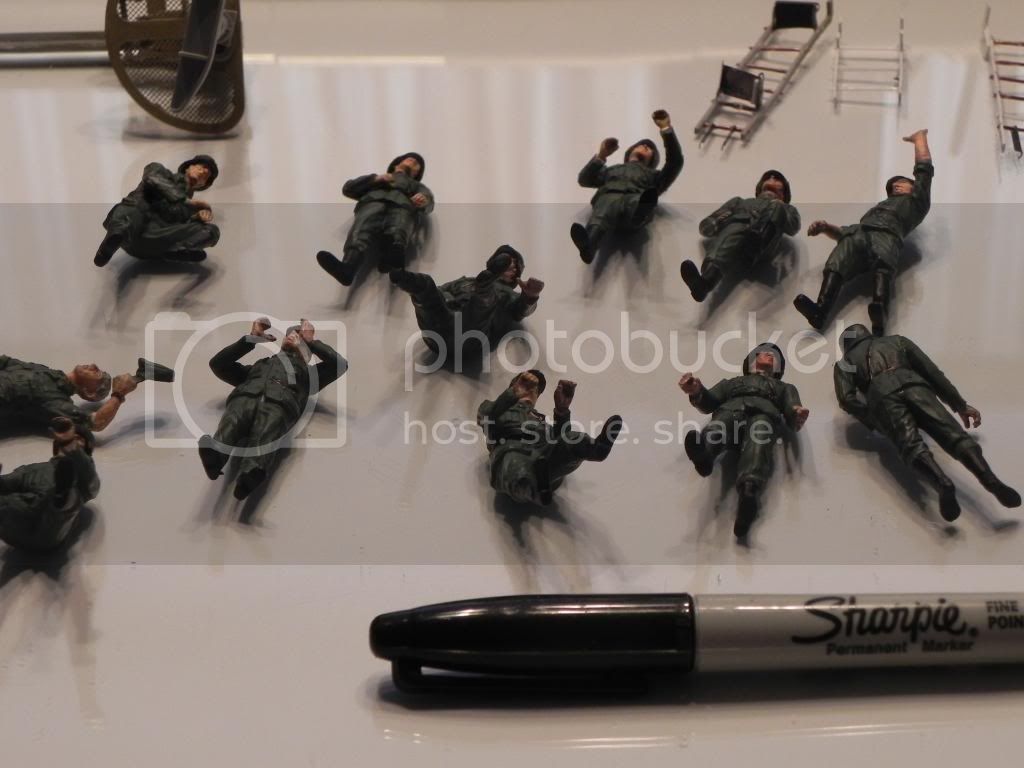
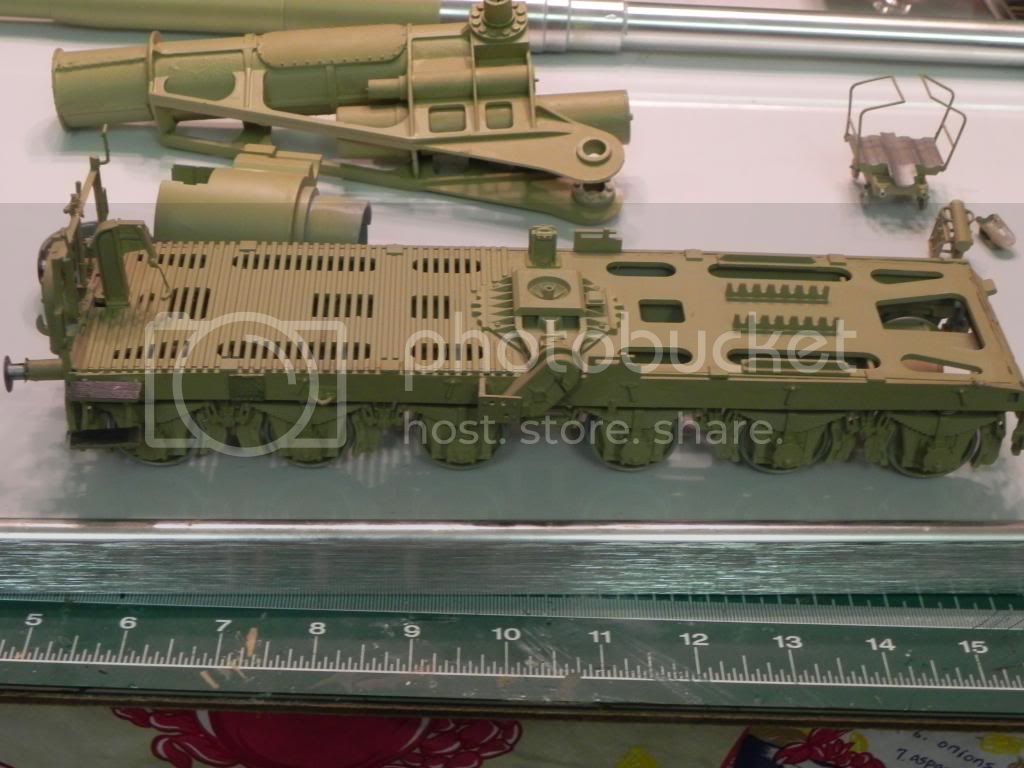
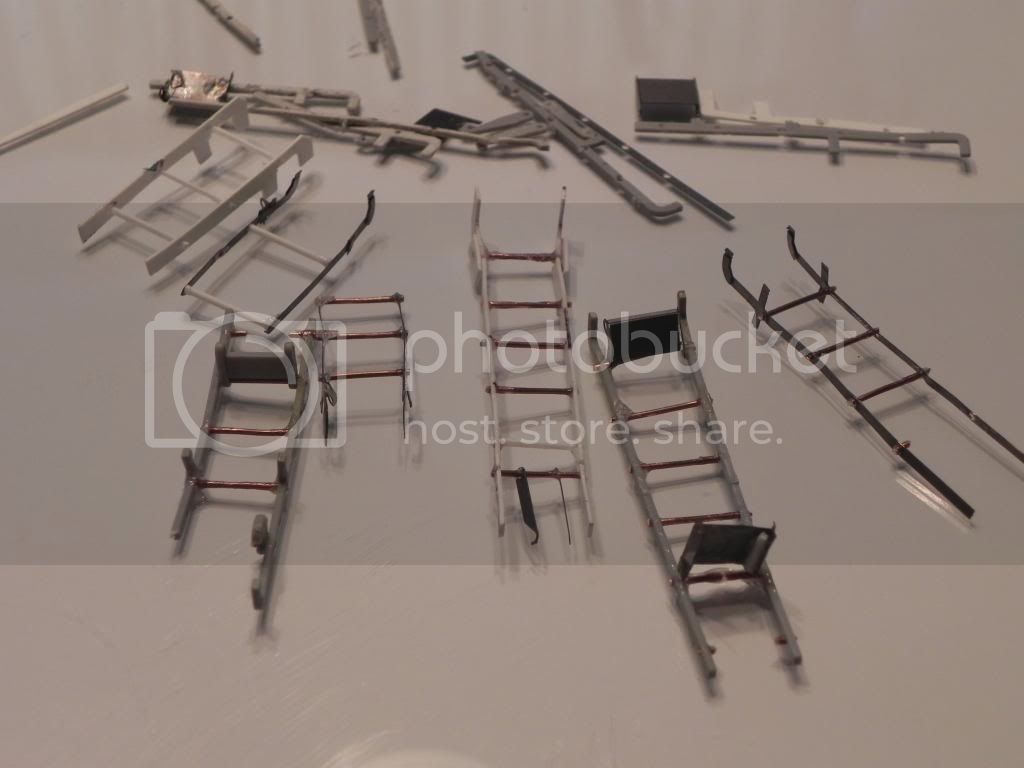
The above photo is of my old work bench and it shows the 2 crew kits I am building. The one that comes with the Dragon kit and the Trumpeter kit.I have glued and assembled the crews.I have discovered Vallejo Acrylic paints. They are great.I used Vallejo German uniform grey,I made the helmets a slight shade darker or contrast. Note I use a brush and Spray cans. I haven't tried air brushing.. I primed the crews with Grey primer. I Also primed the Leopolds kit with grey primer then hit it with Tamiya TS-3 Dark yellow from the spray can.
I have the Archer decals for the uniform collar tabs ,the shoulder boards and helmet markings,haven't done them yet. Got tired of figures and wanted to start the gun.
I will send and print more as I get time.
6

I will bring you up to speed ASAP Thats it for now!