The copy-write on this kit is 1973! The kit doesn't look bad off the sprues for a 40-year old kit, the mold seam lines are a little strong but otherwise no real flash and detail is good. I'm not worried about accuracy as I want to keep the build simple.
The kit goes together pretty easily and i was ready to paint by my second sit-down session. Before painting I soaked the sub-assemblies in a Simple Green/Water mix, I don't know if they really needed it or not but since i wasn't doing any priming I thought it wise.
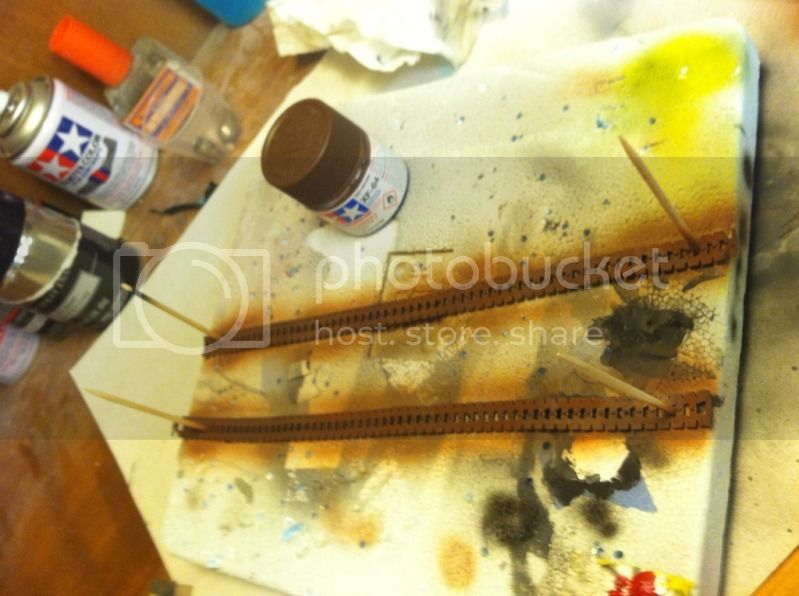
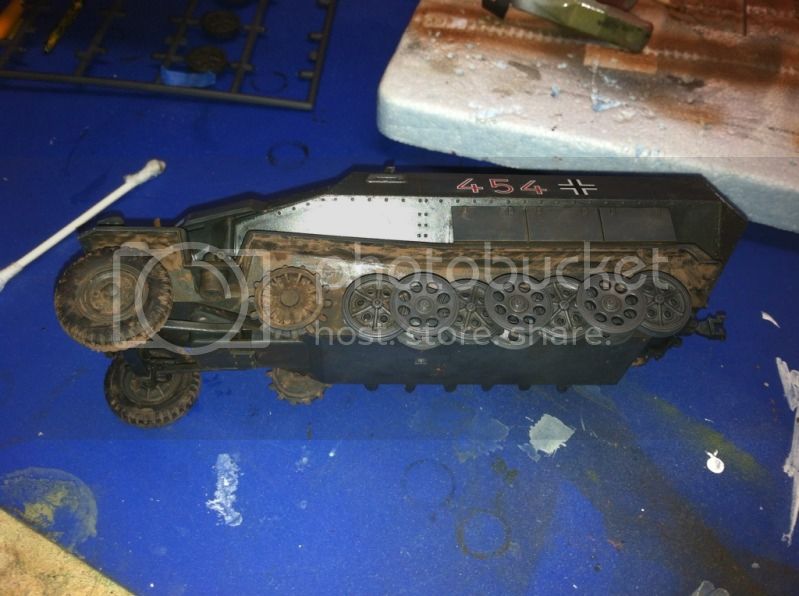
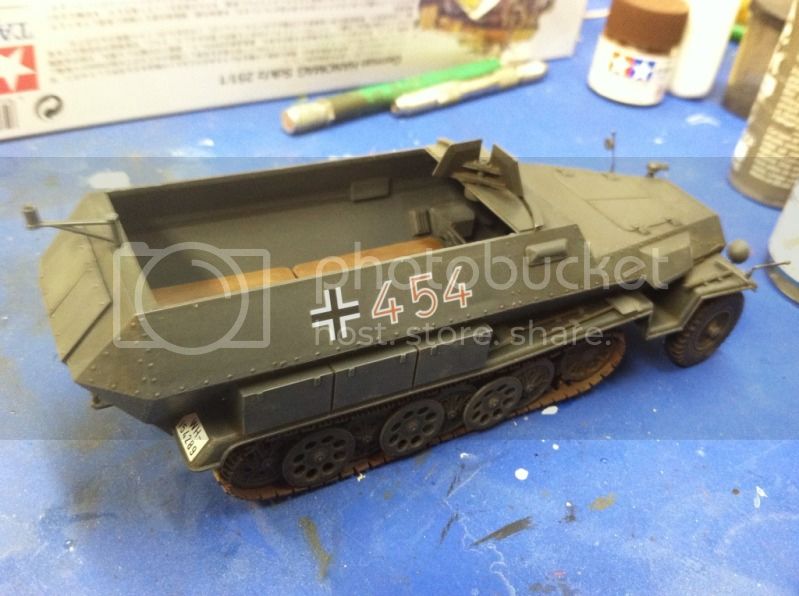
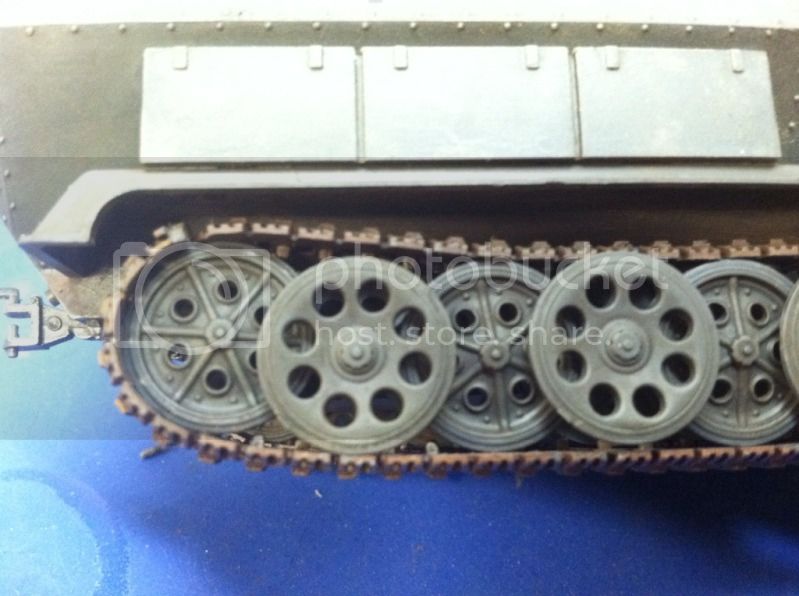
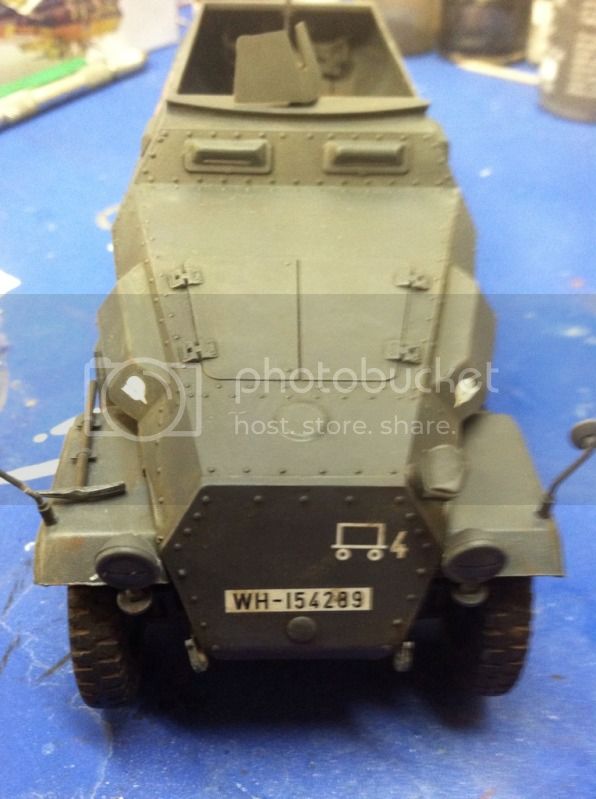
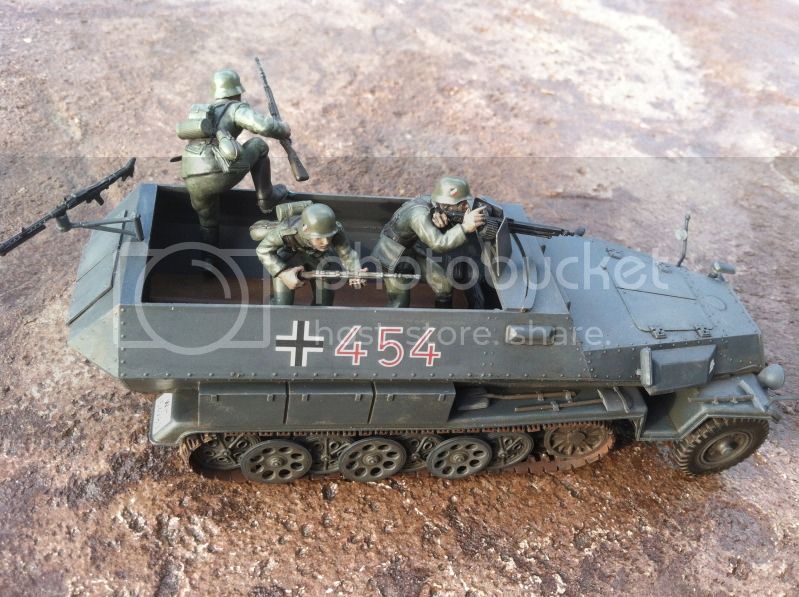
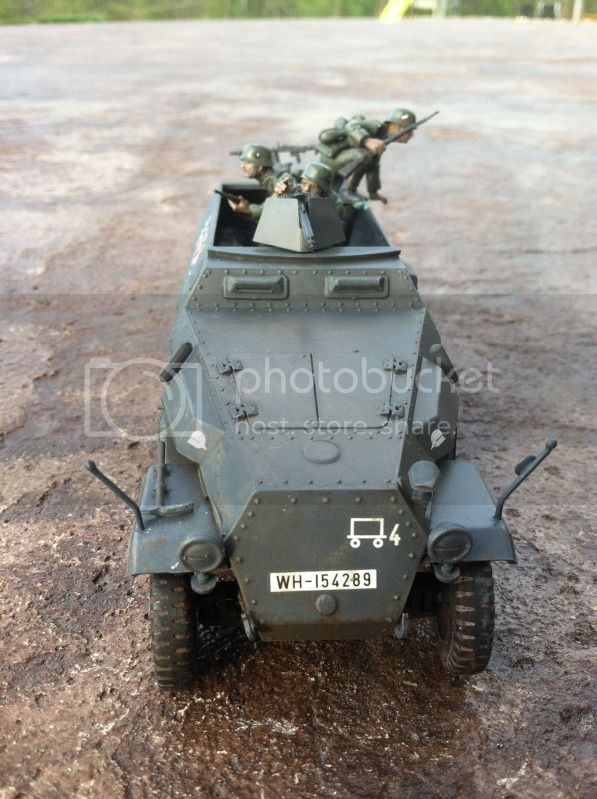
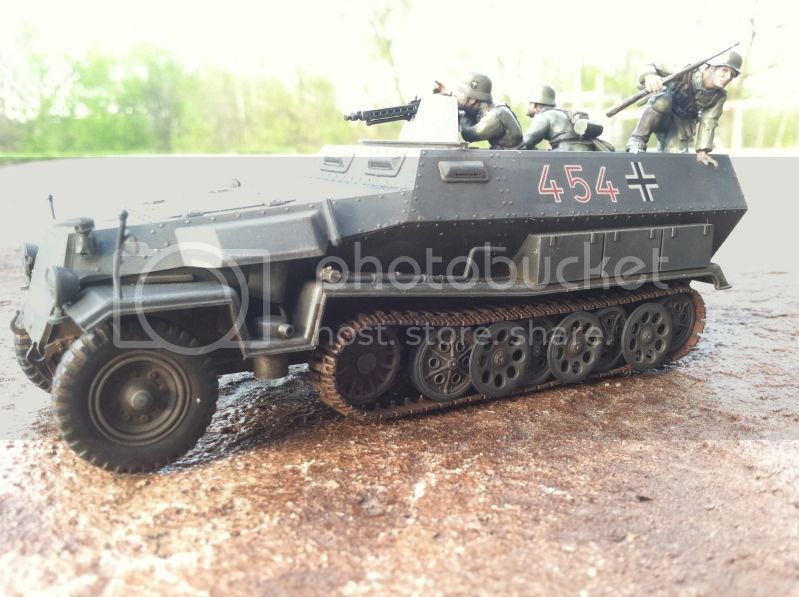
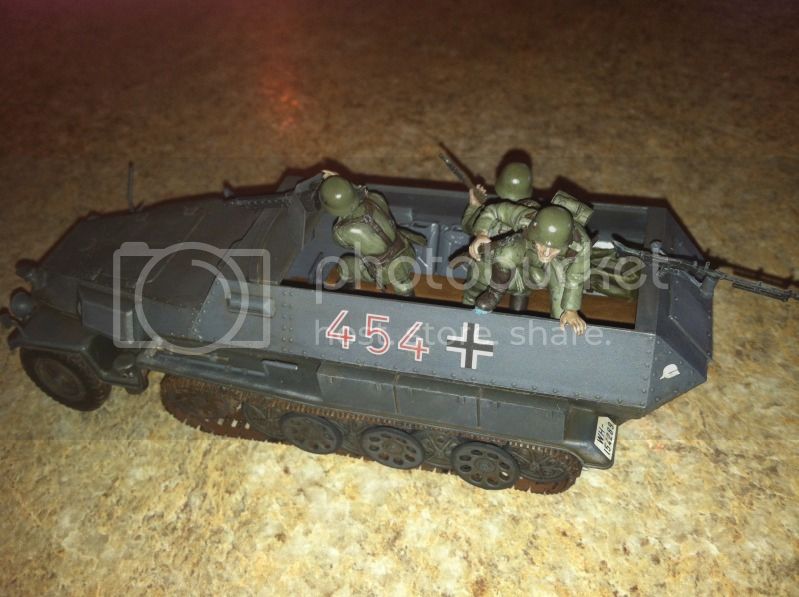
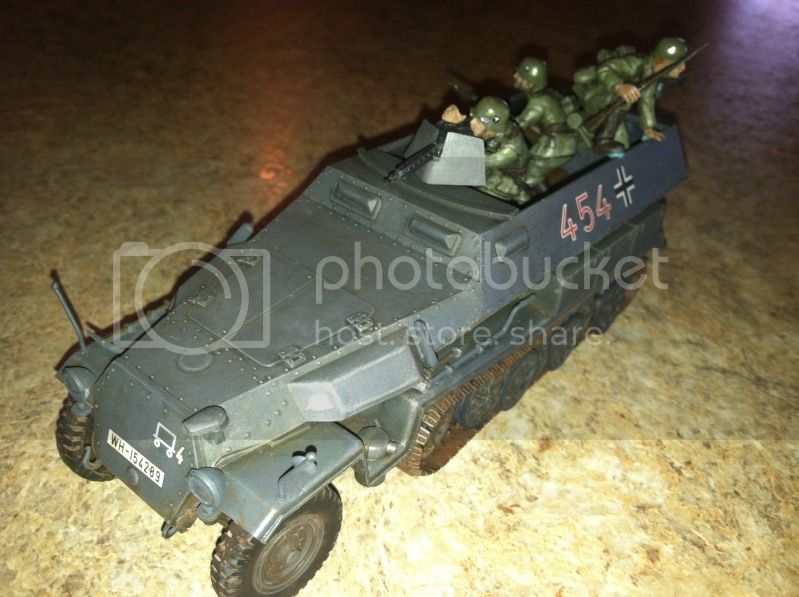
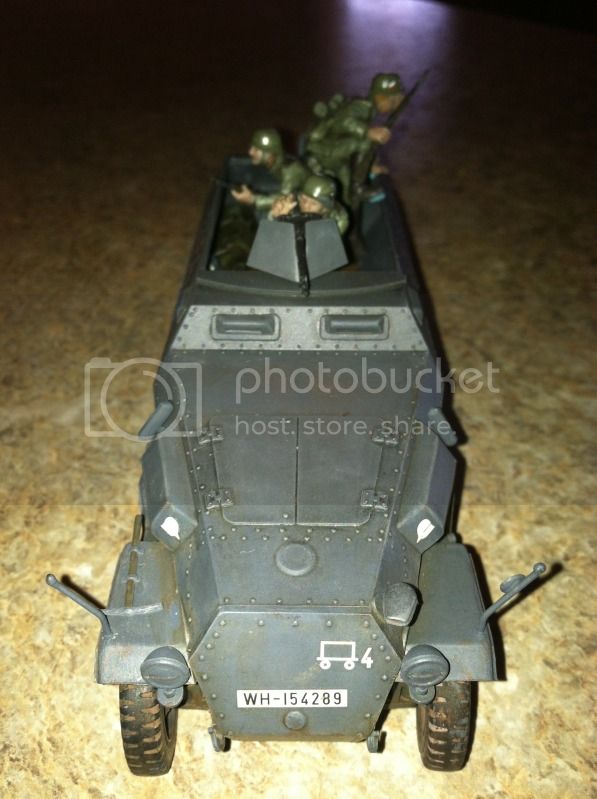
I decided to go with a dark Panzer grey scheme for simplicity and used Tamiya XF-63, which is almost an EXACT match for the plastic. I also used a little XF-24 for some color variation (its a little lighter). I brushed on some Future as a gloss coat and than added a dark pin-wash of black oils later for recesses and than dry-brush of a medium grey to highlight areas. The dry-brushing also did a nice job of de-glossing the Future.

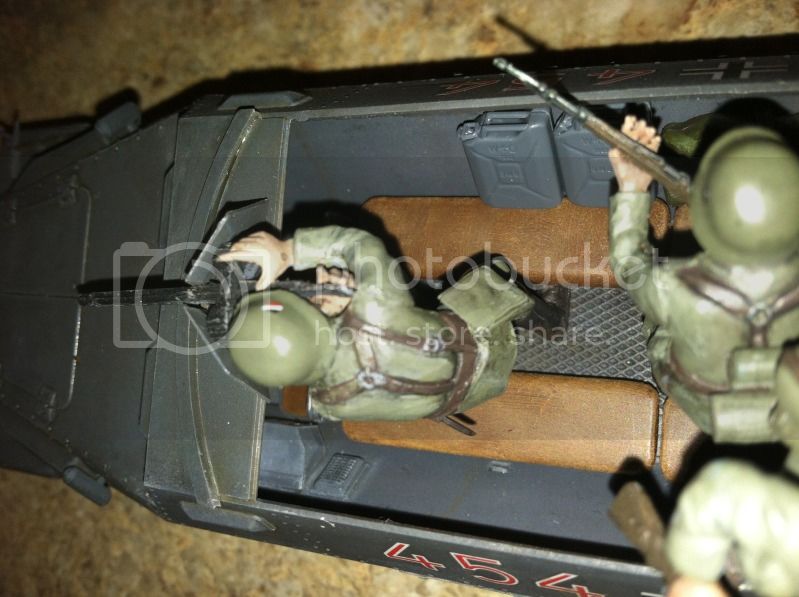
I used some instrument decals and a data plate on the instrument panel.

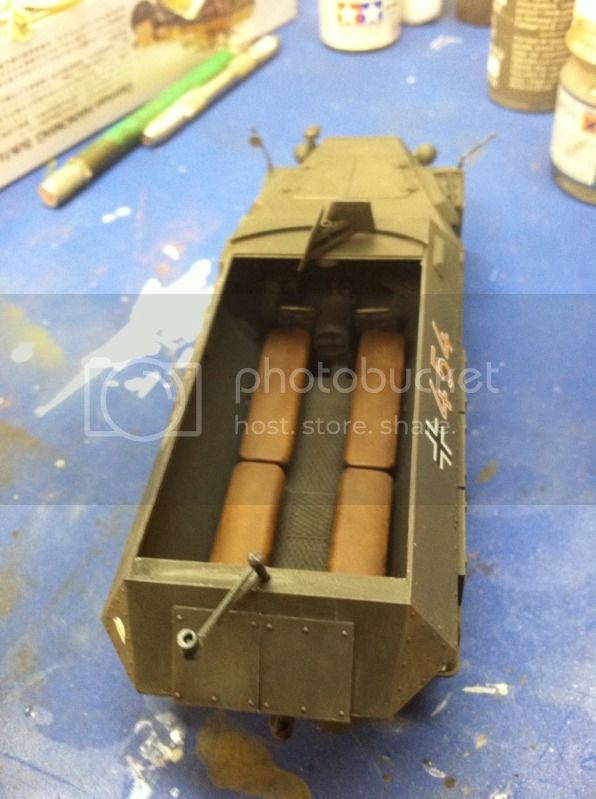
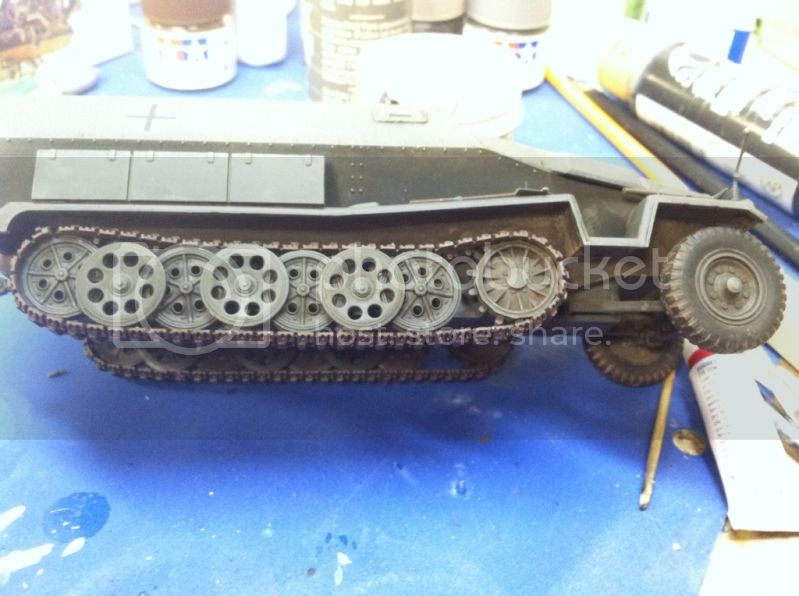
Putting the top to the bottom of the main assemblies was a little difficult. The parts are a bit warped due to age I suppose, so I had to use some aggressive clamping

Time to let is sit overnight