Kuala Lumpur, Malaysia
Joined: September 05, 2010
KitMaker: 160 posts
Armorama: 130 posts
Posted: Saturday, November 09, 2013 - 10:41 PM UTC
I've got my MOJO working......or maybe not
Arkansas, United States
Joined: June 29, 2009
KitMaker: 11,610 posts
Armorama: 7,843 posts
Posted: Sunday, November 10, 2013 - 12:06 AM UTC
Muhammad: Nice job on the interior.
Ideals are peaceful. History is violent.
Illinois, United States
Joined: November 03, 2013
KitMaker: 77 posts
Armorama: 76 posts
Posted: Sunday, November 10, 2013 - 04:12 PM UTC
Interesting that this campaign is in the works. It hasn't started right? I haven't done a campaign before so I am intrigued.
I've had the idea kicking around my head for a few years of a zombie survival vehicle based on the M113 or M548. Which I understand would be acceptable. I'll sketch up a picture eventually. I need to plan now!
Arkansas, United States
Joined: June 29, 2009
KitMaker: 11,610 posts
Armorama: 7,843 posts
Posted: Sunday, November 10, 2013 - 11:39 PM UTC
Quoted Text
Interesting that this campaign is in the works. It hasn't started right? I haven't done a campaign before so I am intrigued.
I've had the idea kicking around my head for a few years of a zombie survival vehicle based on the M113 or M548. Which I understand would be acceptable. I'll sketch up a picture eventually. I need to plan now!
The campaign started October 1st. There should be plenty of time, for you to finish your build.
Ideals are peaceful. History is violent.
Queensland, Australia
Joined: January 17, 2006
KitMaker: 752 posts
Armorama: 569 posts
Posted: Sunday, November 10, 2013 - 11:41 PM UTC
Quoted Text
Interesting that this campaign is in the works. It hasn't started right? I haven't done a campaign before so I am intrigued.
I've had the idea kicking around my head for a few years of a zombie survival vehicle based on the M113 or M548. Which I understand would be acceptable. I'll sketch up a picture eventually. I need to plan now!
sounds like a great idea!
Illinois, United States
Joined: November 03, 2013
KitMaker: 77 posts
Armorama: 76 posts
Posted: Monday, November 11, 2013 - 11:09 AM UTC
Unfortunately, The AFV Club M548 appears to be OOP. And everywhere I check does not have it. I'll have to think of something. I built a Tamiya M113 a long time ago. Wondering if I should get a new one and revisit that monster.
Completely unrelated: For an odd variant...I discovered this on ebay.
http://www.ebay.com/itm/1-72-Israeli-IDF-M113-HVMS-Experimental-Tank-FULL-RESIN-Kit-Goffy-Model-/400604219430?pt=Model_Kit_US&hash=item5d45df4826Kuala Lumpur, Malaysia
Joined: September 05, 2010
KitMaker: 160 posts
Armorama: 130 posts
Posted: Monday, November 18, 2013 - 10:08 PM UTC
@Matt - cheers

@Dan - nice looking experimental tank. I'm sure this will be ok for this campaign
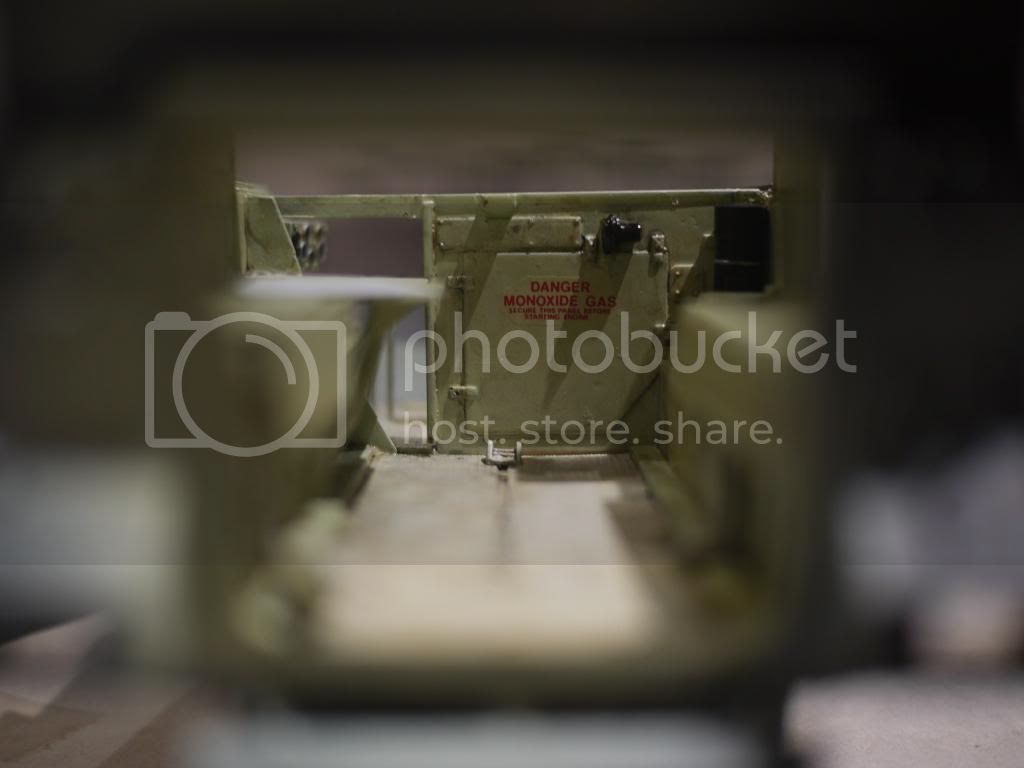
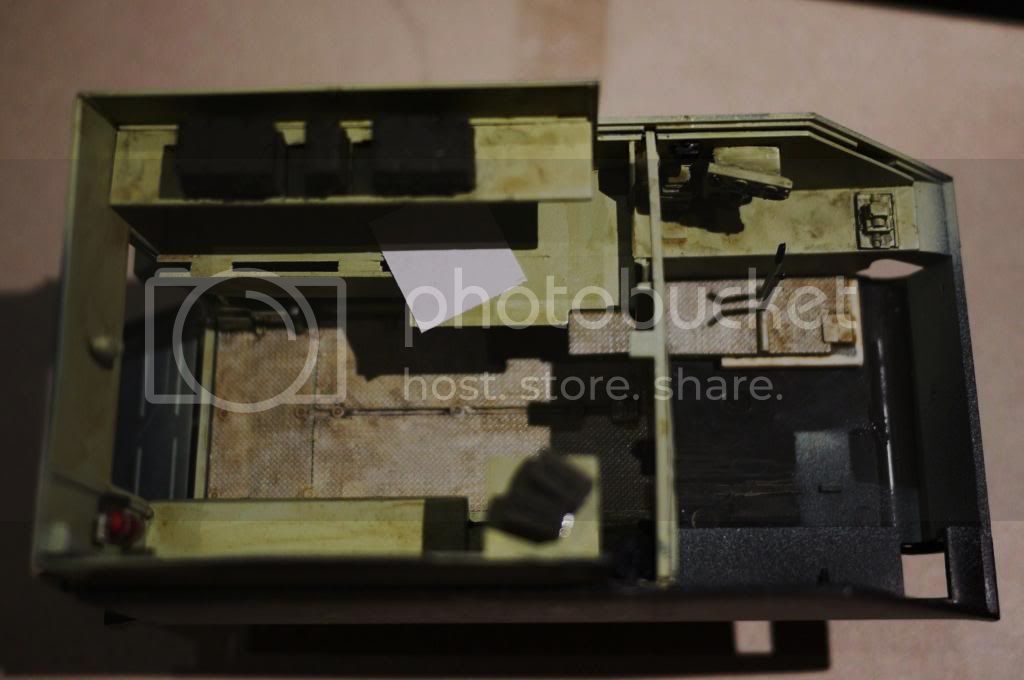
Just a few more updates with the accessories inside the cabin
Driver's compartment


Command center


Ceiling
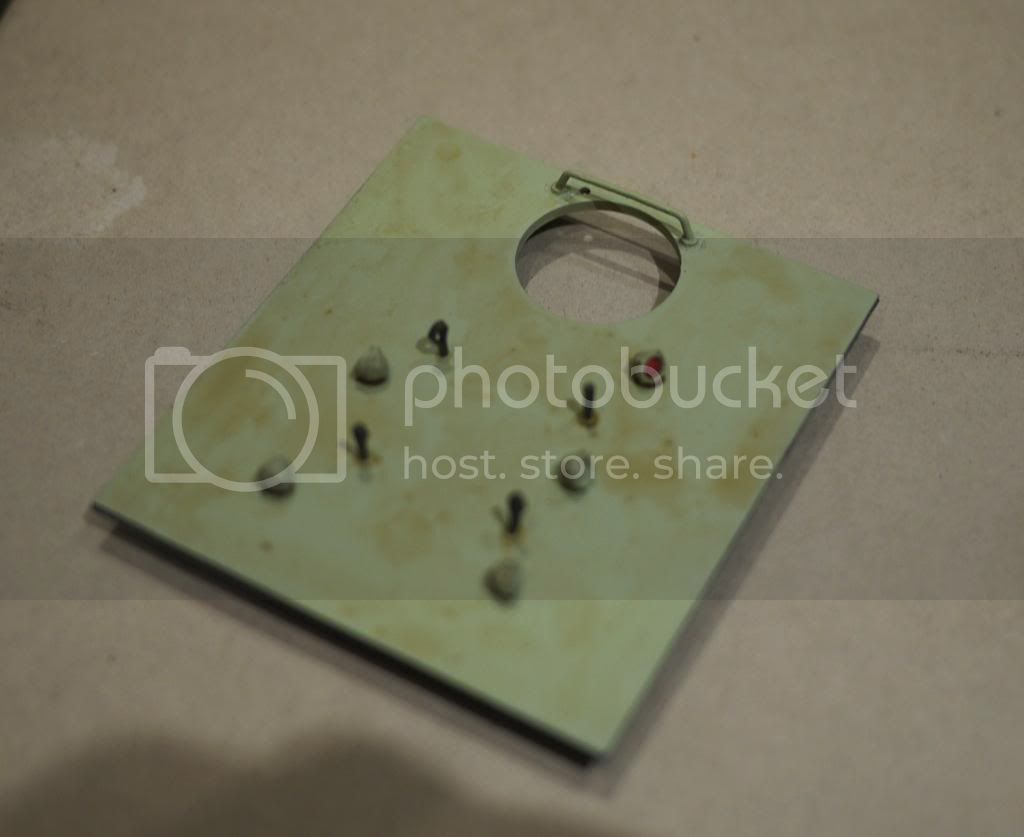
Just a few chippings and weathering to be done...and the interior will be completed. More to follow soon

I've got my MOJO working......or maybe not
Arkansas, United States
Joined: June 29, 2009
KitMaker: 11,610 posts
Armorama: 7,843 posts
Posted: Tuesday, November 19, 2013 - 01:43 AM UTC
Dan: That exp. tank looks awesome! I have a spare M60 turret that would fit perfectly.
Muhammad: Here's to your interior! I have assembled 60% of mine and am using yours' for reference. Hope you don't mind.
Ideals are peaceful. History is violent.
Texas, United States
Joined: June 12, 2007
KitMaker: 1,866 posts
Armorama: 1,696 posts
Posted: Tuesday, November 19, 2013 - 11:01 AM UTC
Lots of neat things going on here. I very recently found an Academy M113 fitter kit for next to nothing, so it'll be my starting point. I still have to decide exactly WHAT I'm doing with it though....
In the meantime, I'll get started on the basic interior and running gear, and see what strikes me. I know I'll need to find a set of Friuls though. Both the kit one piece and link and length tracks are wretched.
Illinois, United States
Joined: November 03, 2013
KitMaker: 77 posts
Armorama: 76 posts
Posted: Tuesday, November 19, 2013 - 04:36 PM UTC
I'm just wondering if the M113 chasis can handle a turret like that firing. I would think it would...but still.....
I'm delayed for now until the end of the year I think. Funding has been delayed due to a trip back to visit the gfs relatives in Ohio. Coupled with a cutback in hours at work due to the usual winter slow down. Happy times! I can't complain. I'll get into a campaign somehow.
Excellent detail work Muhammad. Very impressive.
Ontario, Canada
Joined: August 05, 2003
KitMaker: 1,698 posts
Armorama: 1,563 posts
Posted: Friday, November 22, 2013 - 10:06 AM UTC
Well, the build is pretty much complete. Hopefully it will look better under a coat of paint, cause right now, I am not really enthusiastic about how it turned out.

With M60A2 cupola which I am liking more than the twin 30 cal Cadillac-Gage Dalek-looking one.


Why plan when you can react?
Arkansas, United States
Joined: June 29, 2009
KitMaker: 11,610 posts
Armorama: 7,843 posts
Posted: Friday, November 22, 2013 - 10:41 AM UTC
Graeme: Nice job. I understand liking the M60 turret more. However, the twin 30 cal fits the angular appearance of the M113"x". JMHO
Ideals are peaceful. History is violent.
South Australia, Australia
Joined: August 14, 2007
KitMaker: 5,926 posts
Armorama: 712 posts
Posted: Wednesday, December 04, 2013 - 08:27 AM UTC
Erm, Matt, the link in the Campaign area to this forum is broken.
Cheers
Warren
You may be right, I may be crazy.
Arkansas, United States
Joined: June 29, 2009
KitMaker: 11,610 posts
Armorama: 7,843 posts
Posted: Wednesday, December 04, 2013 - 09:35 AM UTC
Quoted Text
Erm, Matt, the link in the Campaign area to this forum is broken.
Cheers
Warren
John: Can you please fix this?
Ideals are peaceful. History is violent.
Texas, United States
Joined: June 12, 2007
KitMaker: 1,866 posts
Armorama: 1,696 posts
Posted: Wednesday, December 04, 2013 - 12:42 PM UTC
Jeez, I've been lax....
Here's my start pic, and I've got absolutely nothing to report in the way of progress either. I need some bench time, big time.

Al Qahirah, Egypt / لعربية
Joined: July 23, 2004
KitMaker: 6,856 posts
Armorama: 6,363 posts
Posted: Saturday, December 07, 2013 - 11:22 AM UTC
This is something I just started working on. Sorry for the bad quality of the pic, I took it with my cell phone. I hope I can complete this project the way I see it in my mind... that doesn't always work out for me


Hisham
Lisboa, Portugal
Joined: March 04, 2008
KitMaker: 5,386 posts
Armorama: 4,727 posts
Posted: Saturday, December 07, 2013 - 11:51 AM UTC
Quoted Text
Quoted Text
Erm, Matt, the link in the Campaign area to this forum is broken.
Cheers
Warren
John: Can you please fix this?
Ok.Done
The link was set to an image (M113 Banner), now it's set to this thread.

Active Builds: 0
Active Campaigns: 0
Texas, United States
Joined: June 12, 2007
KitMaker: 1,866 posts
Armorama: 1,696 posts
Posted: Monday, December 23, 2013 - 06:49 AM UTC
I pretty much finished the project on the bench so I went ahead and started getting some pieces stuck together. This is a pretty basic kit, and I may try and hunt up an old Tamiya kit for the hull and running gear, seems like it was a little better.....
Anyway, not much done, but something.

Looking back on it, I wasted a fair amount of time sticking the engine together, since I plan on having that hatch closed. Oh well.The driver's hatch will be open, however, so I need to do a little more work there for sure.
Texas, United States
Joined: June 12, 2007
KitMaker: 1,866 posts
Armorama: 1,696 posts
Posted: Thursday, December 26, 2013 - 05:29 AM UTC
I got a full afternoon of modeling for a Christmas gift!
Interior is in, still need some chipping, scuffing and dust, then some more decals inside, but Academy didn't see fit to add much in the, so I may have to fudge a little bit. I can always check the spares box.
I did pull the power pack out since that hatch will be closed and I thought I might be able to use it somewhere else.
Pics:
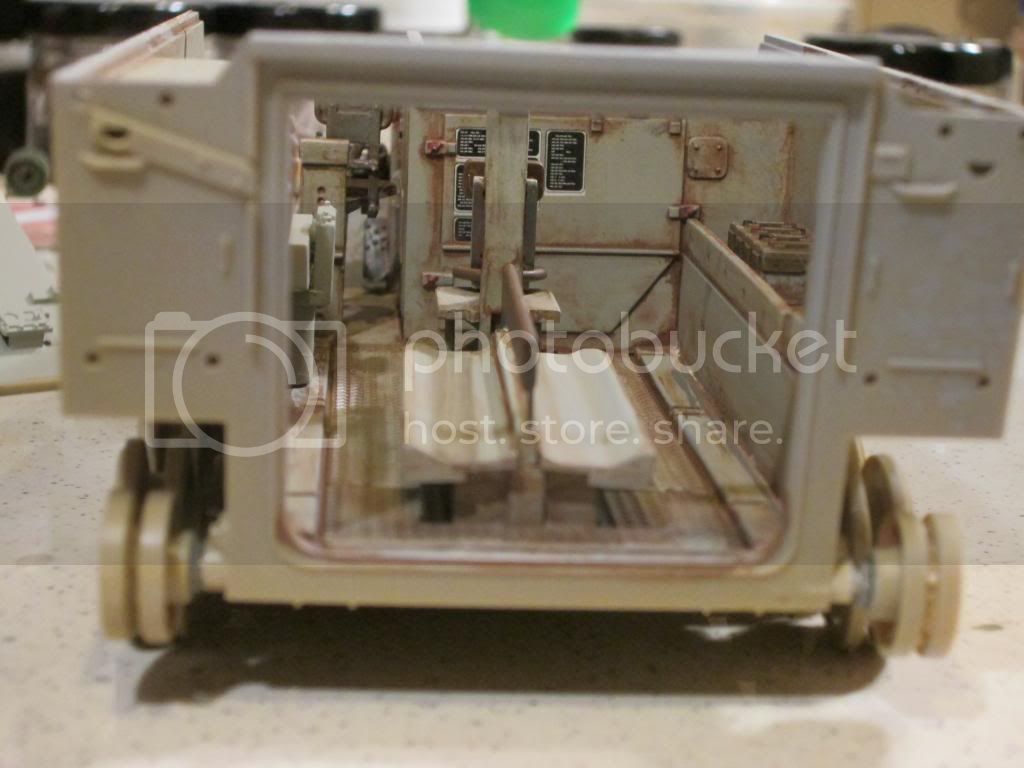
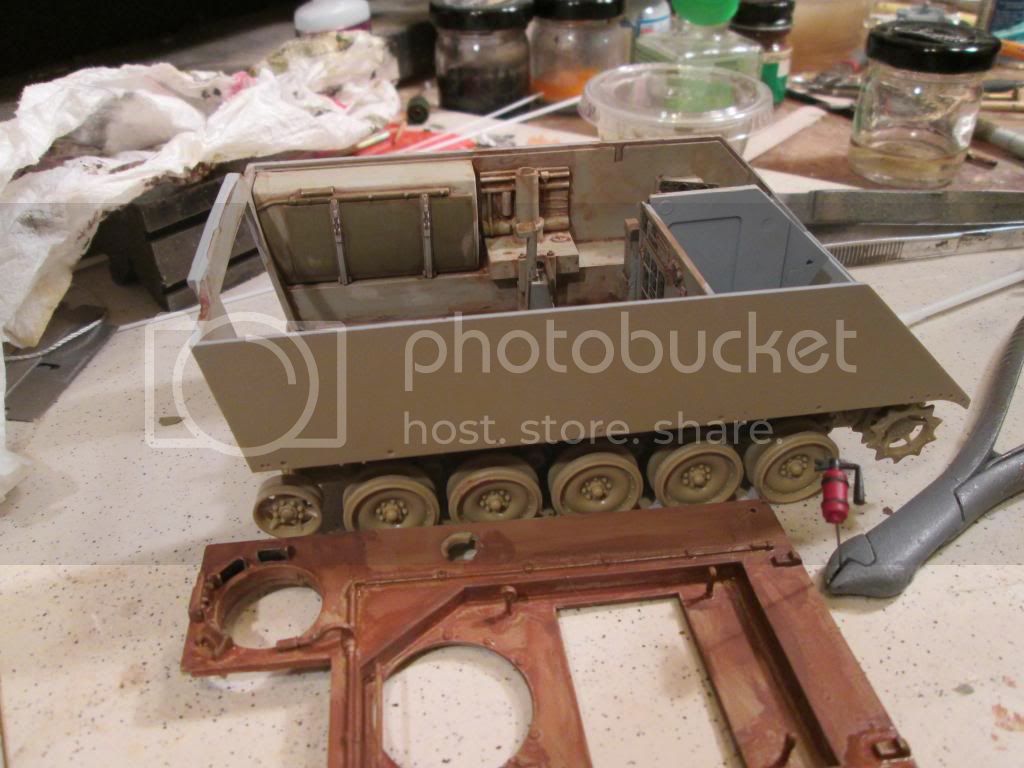
I have zip for interior references here so I'm pretty much winging it. If anyone sees anything grievously wrong, sing out! Please!
Texas, United States
Joined: June 12, 2007
KitMaker: 1,866 posts
Armorama: 1,696 posts
Posted: Friday, December 27, 2013 - 04:44 AM UTC
I was cleaning up the inside of the hull top today and realized why I think the inside of this thing looks so empty: there's not a single radio in the thing. I double checked the parts trees and instructions, and there's zip, nada, ninguno for radios. I'm going to have to find a pic somewhere of a fitter rig and the radios. I have a few good outside pics, nothing inside. It looks like the crane mount is where the radios might have been, other side has batteries and some unknown storage box looking thing. I have some really old Verlinden radios around somewhere, probably US Vietnam era that would look the part, just gotta find them, and figure where to put them.
Removed by original poster on 12/28/13 - 02:42:43 (GMT).
Ontario, Canada
Joined: April 12, 2002
KitMaker: 831 posts
Armorama: 614 posts
Posted: Friday, December 27, 2013 - 02:44 PM UTC
Its been a while since I've done one of these campaigns. I've decided on the M113A2 Delco tested by the Canadian Army in the late 1980s. I see Graeme is also doing the same one so we shall have a private competition. Here are some photos:


Paul Fredenburg
LCol (Ret'd)
Royal Canadian Engineers
President Trackjam Models
http://www.trackjam.com/
Ontario, Canada
Joined: April 12, 2002
KitMaker: 831 posts
Armorama: 614 posts
Posted: Friday, December 27, 2013 - 02:55 PM UTC
So I spent a few hours on the concept today. i am using the Accurate Armour kit C080 Danish wildcat hull roof on an academy Hull. I still have a few sets of HKCW deihl track in my stash and I took a turret from a Trumpeter Lav-25. I'll have to scratch build the turret interior. MTF.

Paul Fredenburg
LCol (Ret'd)
Royal Canadian Engineers
President Trackjam Models
http://www.trackjam.com/
Texas, United States
Joined: June 12, 2007
KitMaker: 1,866 posts
Armorama: 1,696 posts
Posted: Monday, December 30, 2013 - 05:51 AM UTC
Interesting conversion, wonder why it didn't show up somewhere....
On mine, I stuffed a radio from the scrap box in, added some stowage boxes and did the rest of the weathering on the interior. As I was happy with it at that point, I promptly closed it up and started doing the welds on the hull exterior, and closed up the engine bay as well.
Pics:

Above is rear view, and about all that will be visible once this one is on it's base.

Above, welds and the closed up engine bay. Academy puts the join in front of the driver's hatch in an awkward place, so that had to be cleaned up and a weld placed just in front of and below it.
Welds are .020" plastic rod, softened and shaped.
