Morbihan, France
Joined: February 04, 2012
KitMaker: 88 posts
Armorama: 59 posts
Posted: Friday, March 28, 2014 - 06:59 PM UTC
[quote]hello,
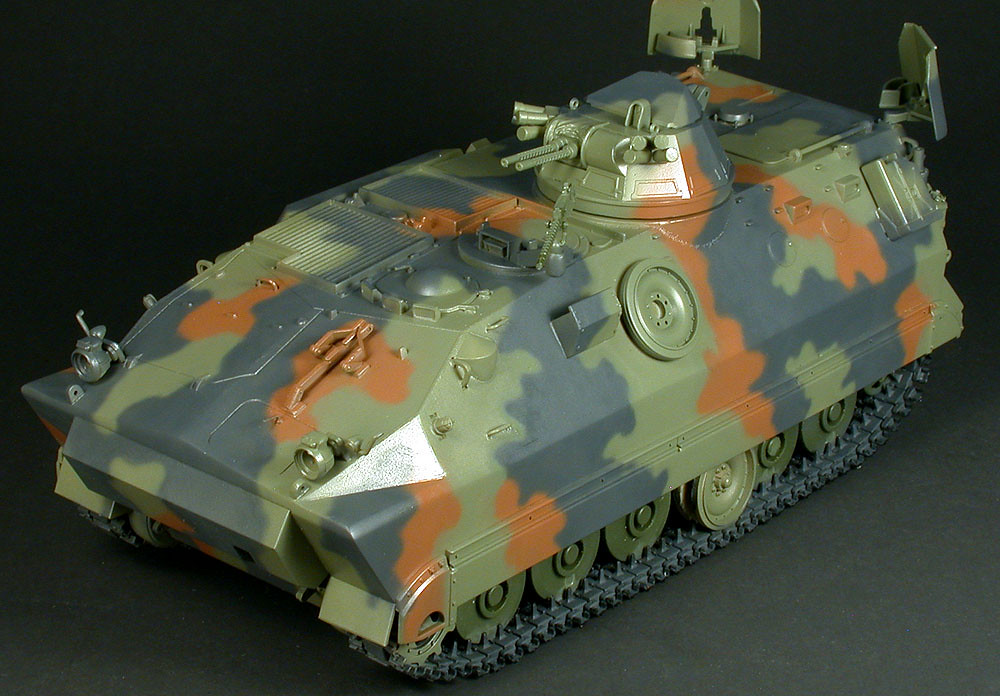
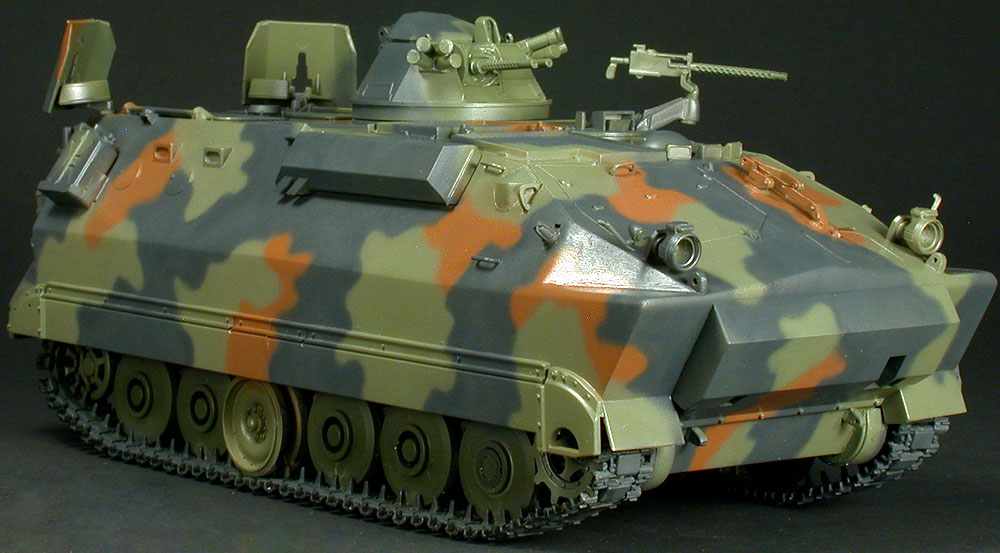
there has very beautiful montage in this campaign. here is my input. My M113 will be the color of SWAT.
steph
[/quote
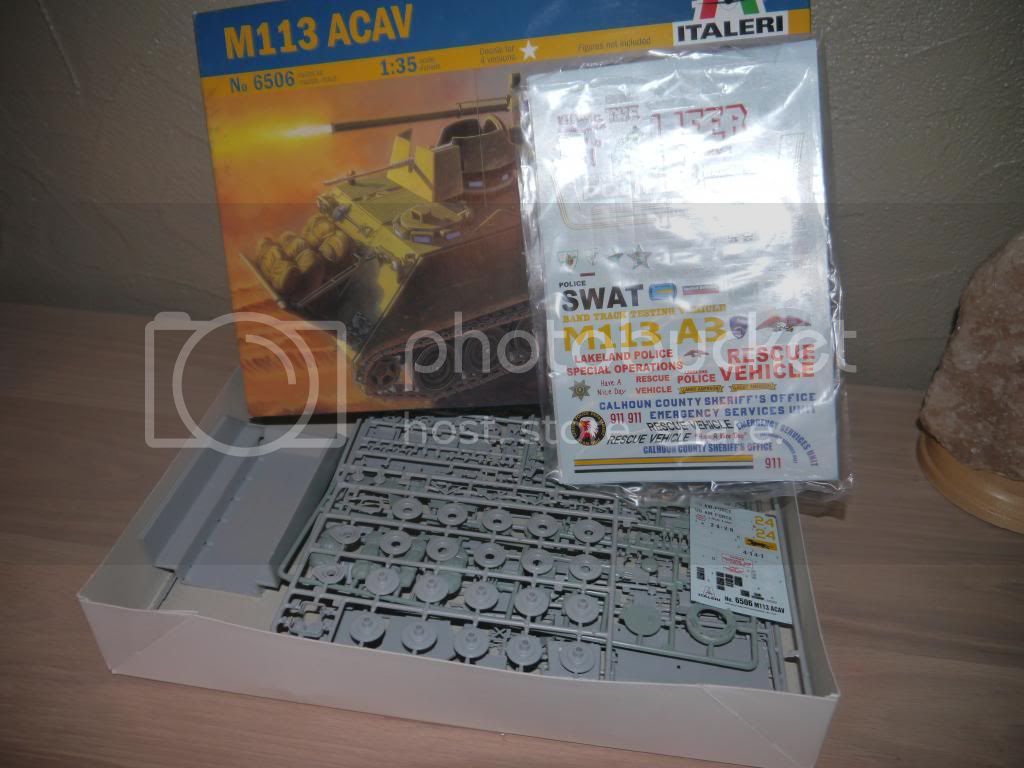
For those interested and who want to get those professionally built at very reasonable prices just bid on there ;
http://cgi.ebay.fr/ws/eBayISAPI.dll?ViewItem&item=271436417264&ssPageName=STRK:MESELX:IT&_trksid=p3984.m1558.l2649You can get a lot of various liveries feasable with those decals at the price of kits !!!
Texas, United States
Joined: June 12, 2007
KitMaker: 1,866 posts
Armorama: 1,696 posts
Posted: Tuesday, April 01, 2014 - 04:07 AM UTC
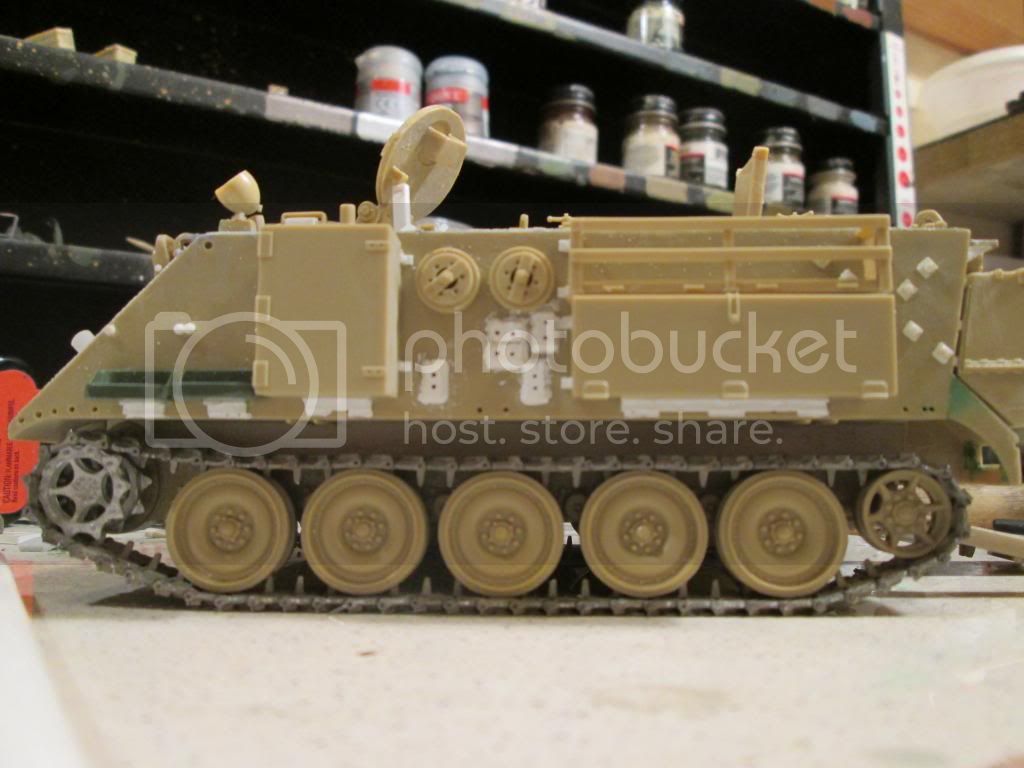
Well, I had a little boo-boo with the tracks. I had them in a mixture of vinegar and old coffee to darken them, and totally forgot about them. After three weeks (!) I opened the lid to their container and saw a bunch of foam on top of the solution. First thought: bad.
As it turns out, all the pins on the one run I had assembled were mostly dissolved, so after dis-assembly and clean-up, I went ahead and did both runs. Now I'm back on track, so to speak.
Next will be correcting the hydraulic lines on the crane and doing the roof-top connections, then primer.
I think I dodged a bullet here.
Edit: my solution also didn't work as well as it had in the past, using Friuls. Maybe some difference in the material Spade Ace uses?
Arkansas, United States
Joined: June 29, 2009
KitMaker: 11,610 posts
Armorama: 7,843 posts
Posted: Tuesday, April 01, 2014 - 04:40 AM UTC
Russel: That sucks. I hope you get it worked out. If you want, I may have some indi links from a Vulcan SPAAG you can have.
Ideals are peaceful. History is violent.
Texas, United States
Joined: June 12, 2007
KitMaker: 1,866 posts
Armorama: 1,696 posts
Posted: Tuesday, April 01, 2014 - 07:46 AM UTC
I appreciate the offer Matt, but everything worked out okay, all I had to do was clean up the links and re-pin them. I still have a dozen or so extras, plenty for spares.
England - South West, United Kingdom
Joined: March 24, 2014
KitMaker: 23 posts
Armorama: 22 posts
Posted: Wednesday, April 02, 2014 - 08:55 AM UTC
Texas, United States
Joined: June 12, 2007
KitMaker: 1,866 posts
Armorama: 1,696 posts
Posted: Wednesday, April 02, 2014 - 11:24 AM UTC
What you have so far looks good, Paul.
That part about not being able to find two Zeldas the same made me chuckle. I had the same issue when looking for pics for mine. Seems like the Fitters' rigs get modified by the fitter's themselves. I found lots of little differences on outside stowage, tools, spare parts, etc.
England - South West, United Kingdom
Joined: March 24, 2014
KitMaker: 23 posts
Armorama: 22 posts
Posted: Wednesday, April 02, 2014 - 10:18 PM UTC
Quoted Text
What you have so far looks good, Paul.
That part about not being able to find two Zeldas the same made me chuckle. I had the same issue when looking for pics for mine. Seems like the Fitters' rigs get modified by the fitter's themselves. I found lots of little differences on outside stowage, tools, spare parts, etc.
Thank you Russel. They don't even seem to have internal fire extinguishers mounted in the same place from one vehicle to the next!
Ontario, Canada
Joined: August 05, 2003
KitMaker: 1,698 posts
Armorama: 1,563 posts
Posted: Thursday, April 03, 2014 - 02:16 AM UTC
Why plan when you can react?
Texas, United States
Joined: June 12, 2007
KitMaker: 1,866 posts
Armorama: 1,696 posts
Posted: Thursday, April 03, 2014 - 03:13 AM UTC
Texas, United States
Joined: June 12, 2007
KitMaker: 1,866 posts
Armorama: 1,696 posts
Posted: Thursday, April 03, 2014 - 03:16 AM UTC
Quoted Text
Quoted Text
What you have so far looks good, Paul.
That part about not being able to find two Zeldas the same made me chuckle. I had the same issue when looking for pics for mine. Seems like the Fitters' rigs get modified by the fitter's themselves. I found lots of little differences on outside stowage, tools, spare parts, etc.
Thank you Russel. They don't even seem to have internal fire extinguishers mounted in the same place from one vehicle to the next!
Yeah, seems like a crew stays with a particular vehicle, and has time to do some "customization". Or maybe the vehicles have been through so many re-fits, details get jumbled. either way, it makes it hard enough to get it "right" that "right" becomes relative.
Texas, United States
Joined: June 12, 2007
KitMaker: 1,866 posts
Armorama: 1,696 posts
Posted: Wednesday, April 09, 2014 - 04:24 AM UTC
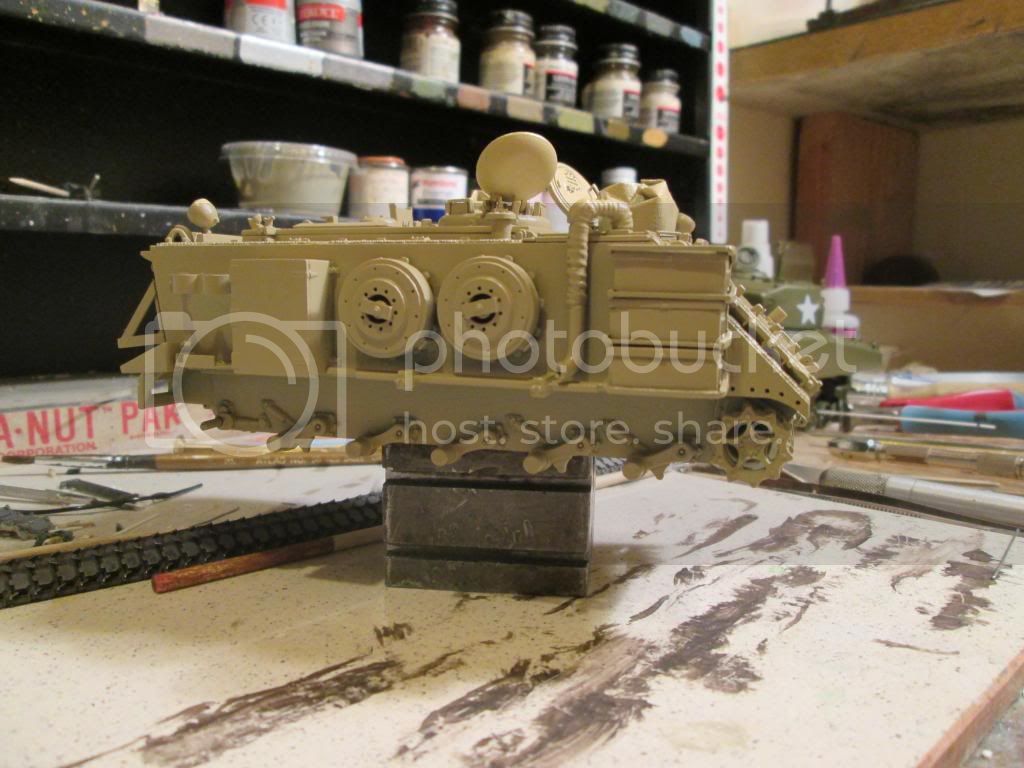
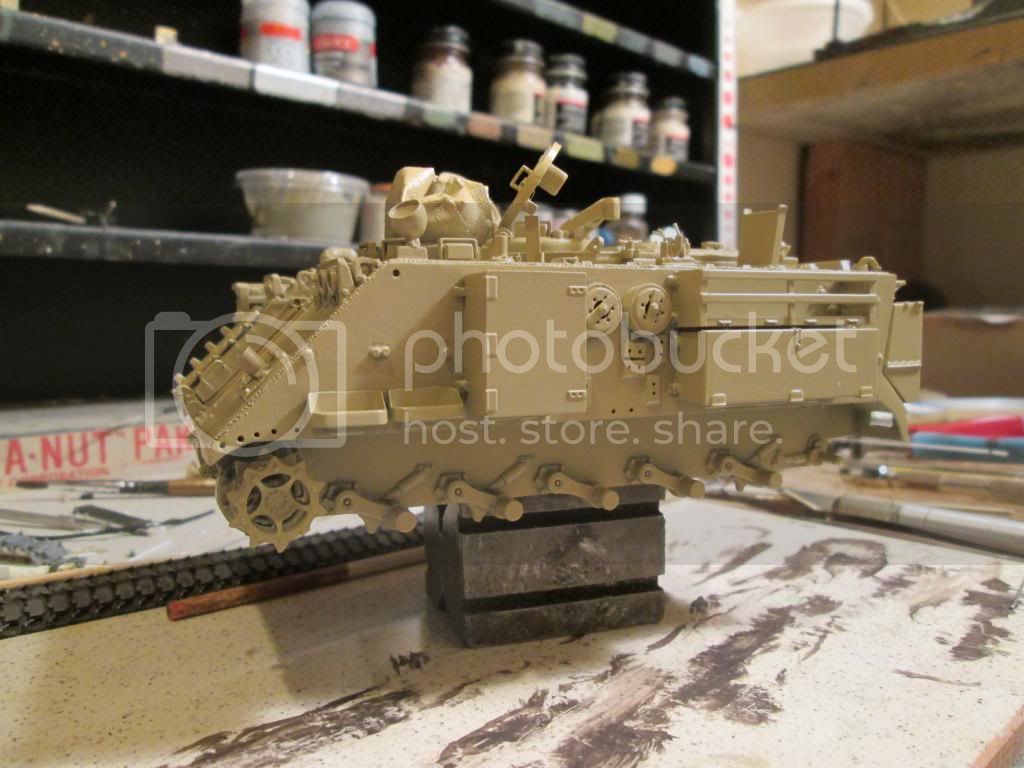
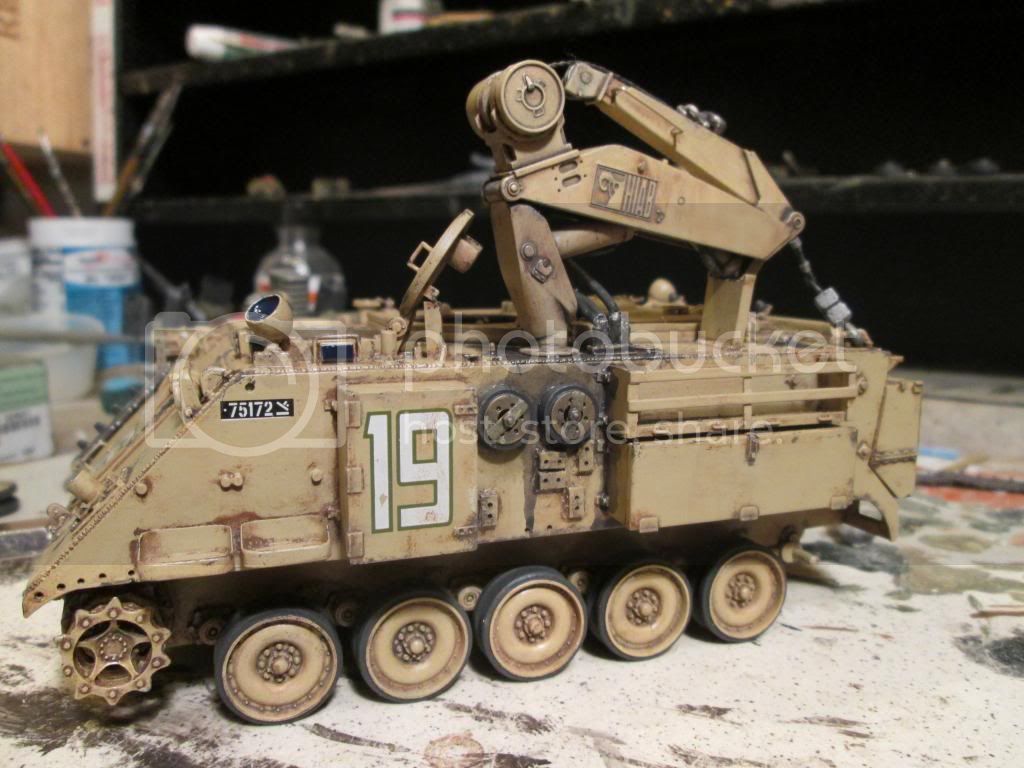
Quickie update: Paint. Color is Tamiya TS 46, light sand. It seems to work pretty good for the IDF sand used up to and during Lebanon, especially on older vehicles. It's got a light gloss coat now, ready for decals.
I also knocked together the folding work table/extra armor on the front that I have a couple of pics of, and stuck a vise on it that came from an old Tamiya modern accessories set. Pics:

I now have a couple decals on, and am getting some stowage junk ready to paint.
Texas, United States
Joined: June 12, 2007
KitMaker: 1,866 posts
Armorama: 1,696 posts
Posted: Friday, April 11, 2014 - 05:23 AM UTC
Still pluggin' away....
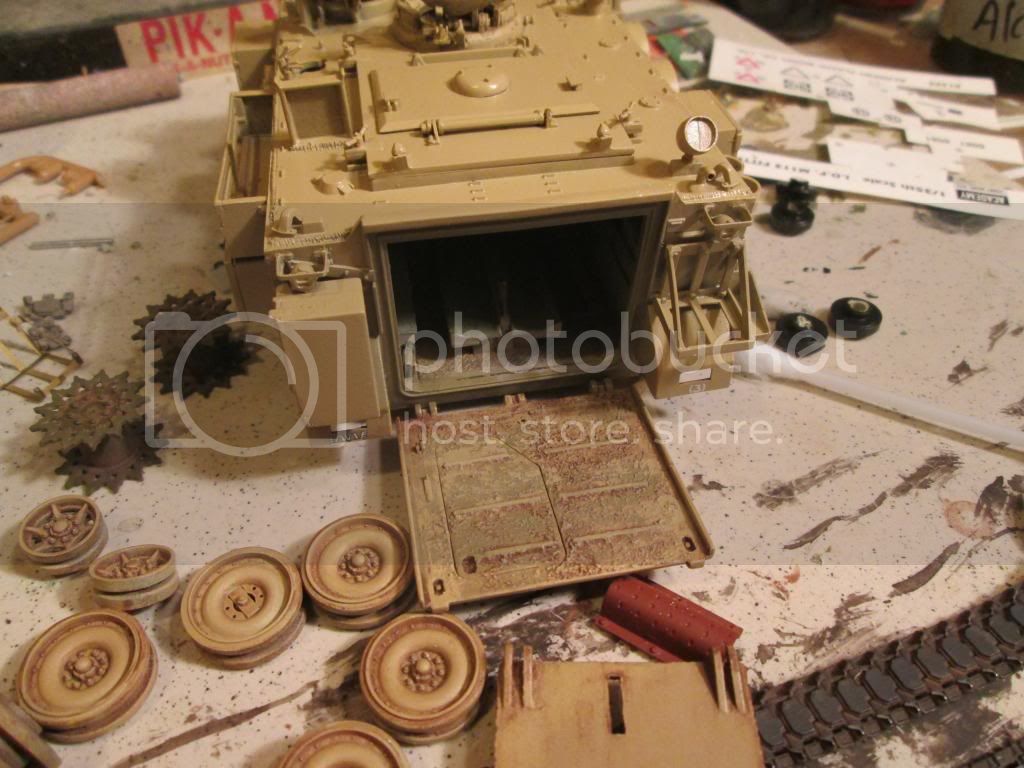
The first of the washes have begun, using a combination of Tamiya red brown for dirt and MM Israeli Sand Grey for shadows and wear-and-tear. I don't want to do a lot of "chipping" but I do want to show hard use, so I'm leaning towards doing visible previous coats of paint, maybe hinting at US green. Not sure, but I'll see how things go as I progress.
I think my anti-slip on the inside of the rear ramp may be a little heavy for this application, but the same stuff should be great for the Magach 6B Gal-Batash and Merk3 in the stash.
Pics:

ACW, as always.
Arkansas, United States
Joined: June 29, 2009
KitMaker: 11,610 posts
Armorama: 7,843 posts
Posted: Friday, April 11, 2014 - 07:21 AM UTC
Russel: Looking good. I don't think that the anti-slip is overdone, for an IDF vehicle. I'm an under the impression that fine sand is near perfect.
Ideals are peaceful. History is violent.
England - South West, United Kingdom
Joined: March 24, 2014
KitMaker: 23 posts
Armorama: 22 posts
Posted: Friday, April 11, 2014 - 08:43 AM UTC
Texas, United States
Joined: June 12, 2007
KitMaker: 1,866 posts
Armorama: 1,696 posts
Posted: Monday, April 14, 2014 - 03:40 AM UTC
Matt, Paul: Thanks.
I'm feeling a little better about the anti-slip. It's pretty easy to use, and I've got Meng's Merk3 in the stash, so this was as much of an experiment to see if the Liquitex would work for it as much as anything else.
I got a little more done last night, but no time for pics, should have something tomorrow.
Texas, United States
Joined: June 12, 2007
KitMaker: 1,866 posts
Armorama: 1,696 posts
Posted: Tuesday, April 15, 2014 - 07:12 AM UTC
Quick update, then back to work.

More washes, some detail painting, some work with a darker color (actually IDF sand gray MM acrylic) to show something more like US OD under the IDF sand.


I've also been doing some work on the crane and stowage bits, pics later.
Thanks for looking, and as always, ACW.
England - South West, United Kingdom
Joined: March 24, 2014
KitMaker: 23 posts
Armorama: 22 posts
Posted: Tuesday, April 15, 2014 - 08:52 AM UTC
Well I finally cracked open some paint and had a go at some of the bits that won't be seen much (thankfully!)
I spent more time on here searching for tips than painting, as I had a few teething problems.
As may be seen from the lumps, the paint was spitting a bit from the airbrush and the decals had to be chopped to fit next to the driver's seat. Also, the big 'Danger' decal went on a bit wonky and then I tore it while trying to straighten it up.
I clearly have some paint touch ups to do before I stick this piece in the hull!


Any tips will be gratefully received!
Cheers, Paul
Texas, United States
Joined: June 12, 2007
KitMaker: 1,866 posts
Armorama: 1,696 posts
Posted: Wednesday, April 16, 2014 - 03:03 AM UTC
I like the detail, looks good. I try not to get excited about paint too bad, weathering makes a lot of things look better than you may think they will.
Pics of the crane:

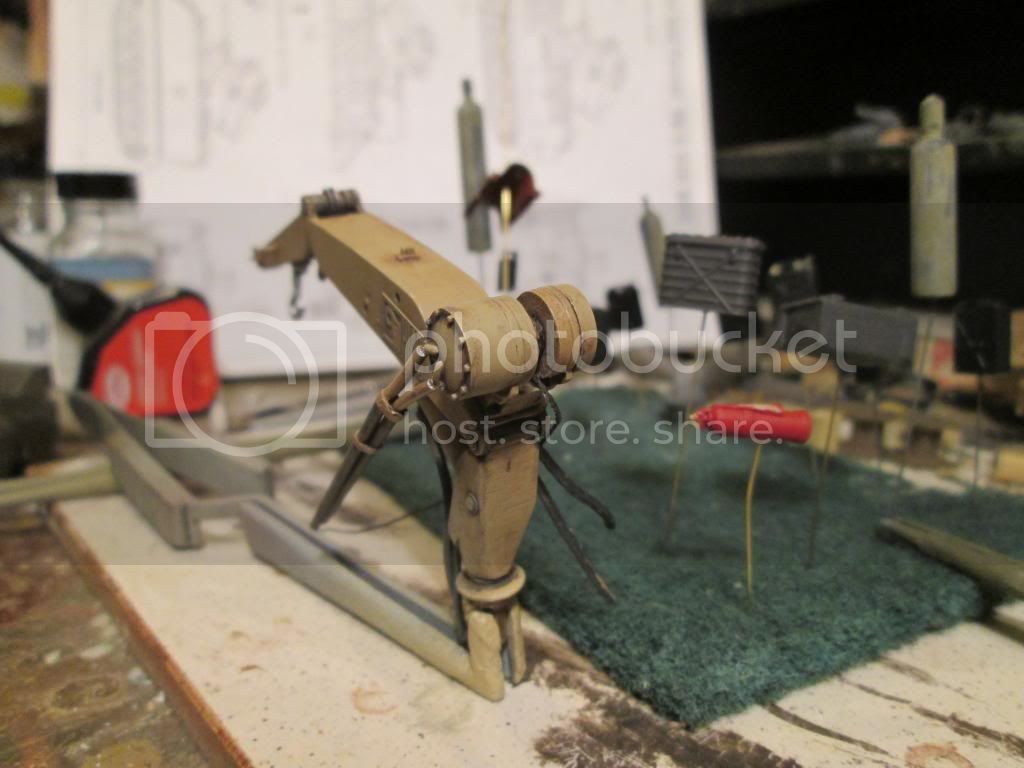
I want a well-used look, happy so far.
Arkansas, United States
Joined: June 29, 2009
KitMaker: 11,610 posts
Armorama: 7,843 posts
Posted: Thursday, April 17, 2014 - 05:47 AM UTC
Paul: Nice detail, on the interior.
Russel: Excellent work, all around.
Ideals are peaceful. History is violent.
Texas, United States
Joined: June 12, 2007
KitMaker: 1,866 posts
Armorama: 1,696 posts
Posted: Monday, April 21, 2014 - 09:48 AM UTC
Thanks Matt.
I'd like to get this one wrapped up, lots of projects to do!
Texas, United States
Joined: June 12, 2007
KitMaker: 1,866 posts
Armorama: 1,696 posts
Posted: Tuesday, April 22, 2014 - 05:25 AM UTC
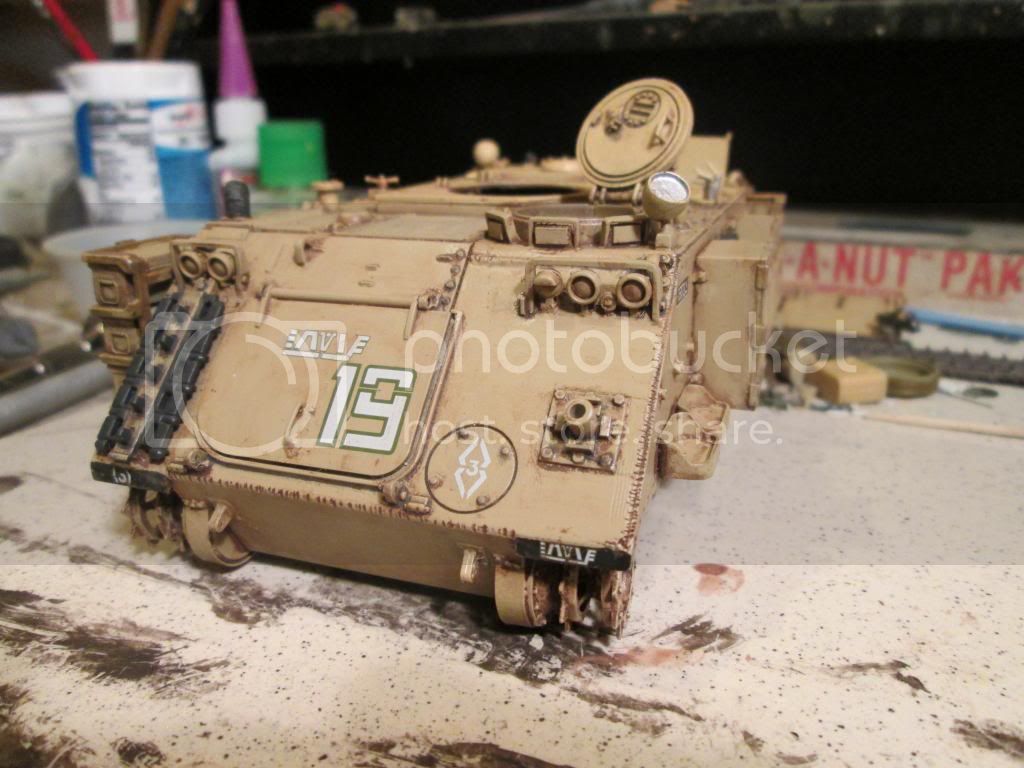
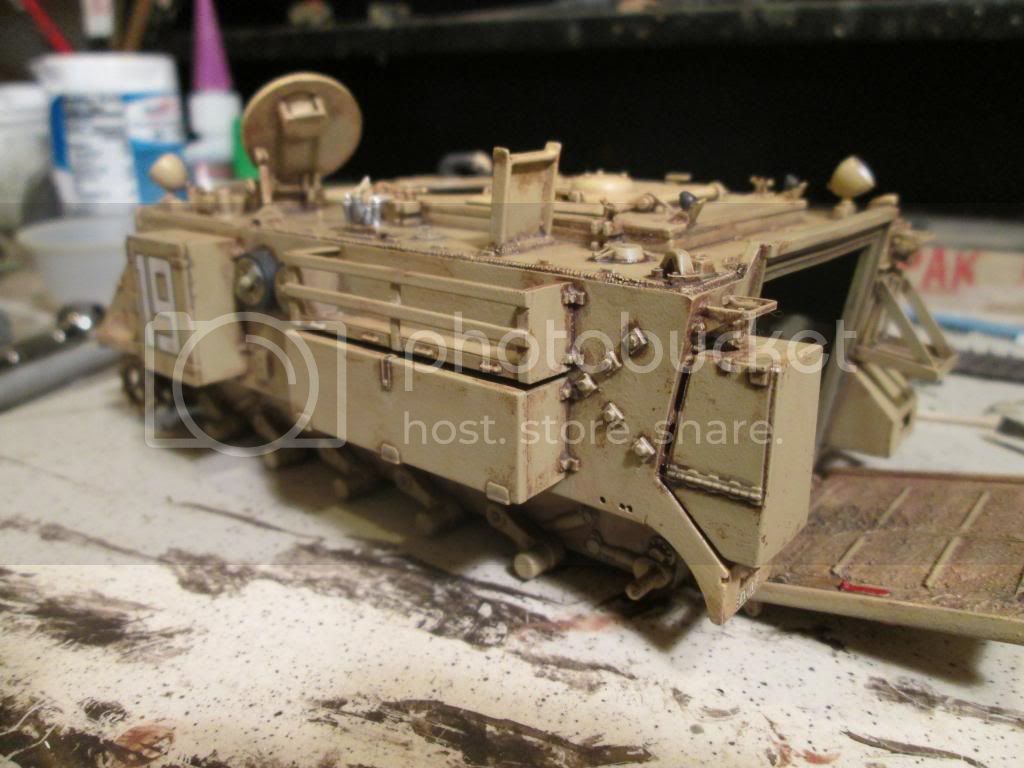
Some assembly and painting last night, woo hoo!


If all the weathering appears over-done at the moment, it intentionally is, knowing that my final dusting will tone everything down.
I probably will go back with a reddish-tinted wash where the crane hydraulic lines attach, as I want to depict abnormal leakage here.
Texas, United States
Joined: June 12, 2007
KitMaker: 1,866 posts
Armorama: 1,696 posts
Posted: Monday, April 28, 2014 - 03:40 AM UTC
Arkansas, United States
Joined: June 29, 2009
KitMaker: 11,610 posts
Armorama: 7,843 posts
Posted: Monday, April 28, 2014 - 04:04 AM UTC
Russel: Superb! I need to get back to mine.
Ideals are peaceful. History is violent.
Texas, United States
Joined: June 12, 2007
KitMaker: 1,866 posts
Armorama: 1,696 posts
Posted: Monday, April 28, 2014 - 10:18 AM UTC
Thanks, Matt.
I would like to see more of yours as well, it's a good concept.

#298
Hong Kong S.A.R. / 繁體
Joined: August 08, 2002
KitMaker: 1,182 posts
Armorama: 665 posts
Posted: Sunday, May 04, 2014 - 02:45 PM UTC
Started to build my entry, AFV Club 1/35 M730A1 Chaparral.


 [/quote