_GOTOBOTTOM
Armor/AFV: Allied - WWII
Armor and ground forces of the Allied forces during World War II.
Hosted by Darren Baker
M3 Stuart
Dannyd
Visit this Community
England - North West, United Kingdom
Joined: March 27, 2007
KitMaker: 803 posts
Armorama: 793 posts
Posted: Monday, July 22, 2013 - 07:33 AM UTC
Hi All,

My next build which will make a change from the cold war era
soviet armour I've been building lately. Not the new range of kits that are currently out there but I build this as a kid a few years back and have found memories of building it.
I know nothing about the real deal so If you see something that's not quite right then let me know.

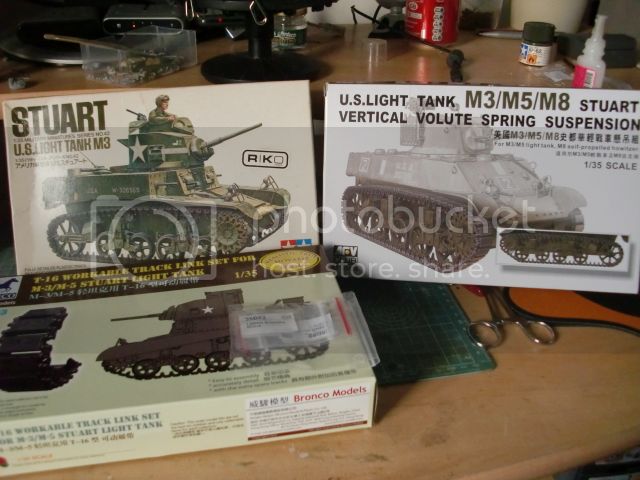
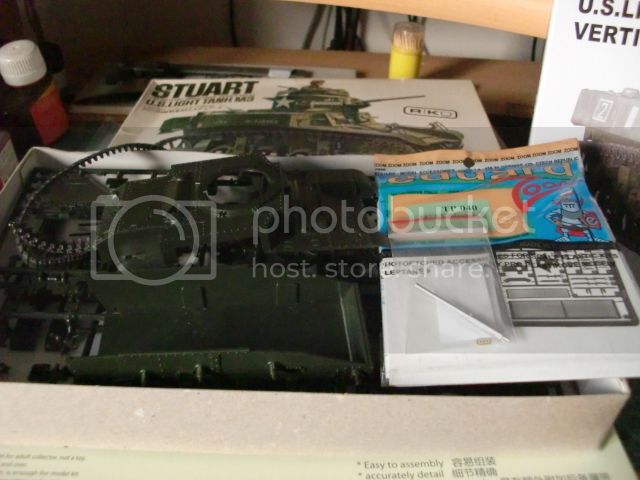
I saw this kit in a second hand kit dealer and bought it for a few pounds and decided to give a bit of a lift. Anyway the pictures of what I have managed to acquire.

The PE set is for the Academy kit but I reckon most will fit with a bit of gentle bashing. I've got a turned barrel for the maingun and some .30's for the rest. I thought it would need a bit of updating so I bought the indi links and the AFV club suspension set.


Hopefully I'll do a better job this time around.

Cheers

Dan
Longshanks8
Visit this Community
England - South West, United Kingdom
Joined: July 04, 2013
KitMaker: 430 posts
Armorama: 13 posts
Posted: Monday, July 22, 2013 - 10:08 AM UTC
A few years back??

I too have fond memories of this kit and an air rifle

Looking forward to seeing this one happen

Kev
tankmodeler
#417
Visit this Community
Ontario, Canada
Joined: March 01, 2004
KitMaker: 3,123 posts
Armorama: 2,539 posts
Posted: Monday, July 22, 2013 - 04:21 PM UTC

Quoted Text

I know nothing about the real deal so If you see something that's not quite right then let me know.


I'm not sure how to break this to you, but the Tamiya kit is more than a bit of a horror show from an accuracy point of view.

There are several big issues and a lot of smaller ones. Big issues:

- The turret and turret ring are about 1/8" too small in diameter which doesn't sound like much, but it looks massively too small.

- The vehicle in the kit depicts a diesel engined variant and there were very few made in this configuration, on the order of 200-300 vehicles total with the horseshoe turret. The differens is in where the air pipes from the cleaners enter the hull.

- The kit road wheels are too narrow and the track is rubbish, but you are fixing both of those.

- The AFV Club suspension isn't quite a drop in to the Tamiya hull and one thing to watch is that the return roller mounts on the Tamiya kit are incorrect. They need to be more of a "U" shape so that the track end connectors clear the roller mounts. They don't on the Tamiya kit.

The good news is that the AFV accessory comes with some new parts that are better than the old Tamiya parts. This includes the differential cover and the rear engine doors. If you were building a Brit version, you swould also have great smoke mortars and antenna mounts plus the hard bits of a great grouser rack.

Use all the AFV parts you possibly can.

HTH

Paul
PzDave
Visit this Community
United States
Joined: November 28, 2012
KitMaker: 319 posts
Armorama: 285 posts
Posted: Monday, July 22, 2013 - 07:20 PM UTC
Modeling aside...would you want to be a crew member of this vehicle and go up against a German Mk IV or anything heavier? Scary thought.
Dannyd
Visit this Community
England - North West, United Kingdom
Joined: March 27, 2007
KitMaker: 803 posts
Armorama: 793 posts
Posted: Monday, July 22, 2013 - 08:03 PM UTC
Thank you guys, This is really a nostalgic build and something a little light hearted after my Skif 2S1 build which I did on the Russian Forum.

Paul, thanks for the pointers on the Tamiya kit, I knew that it was a bit of a pig in terms of accuracy but I didn't know the turret was off. Hey Ho, we will sort something

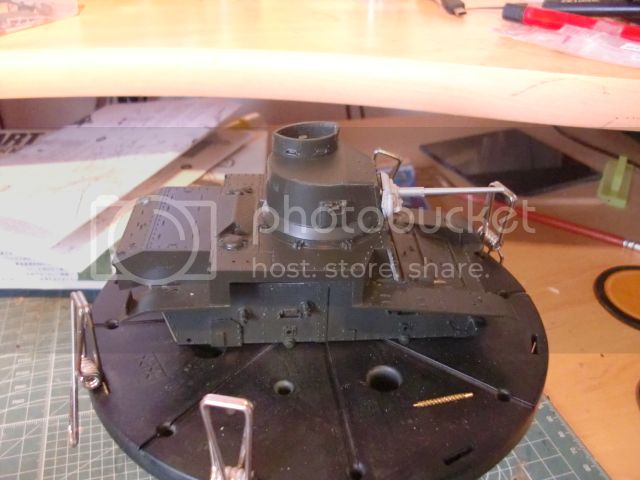
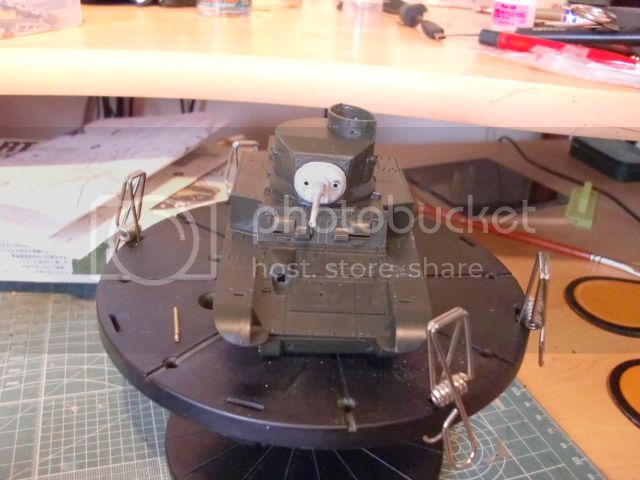
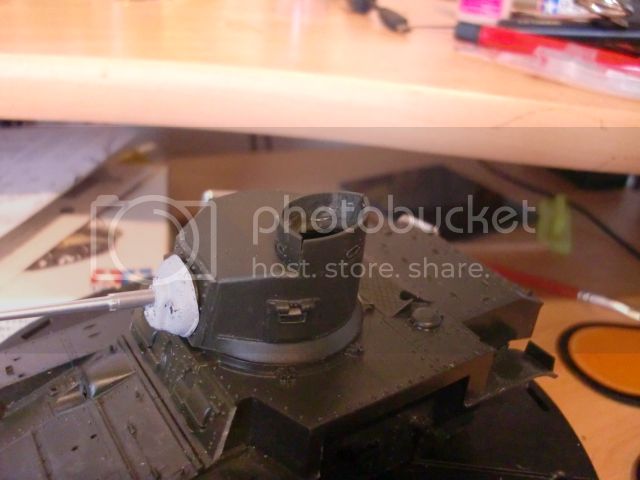
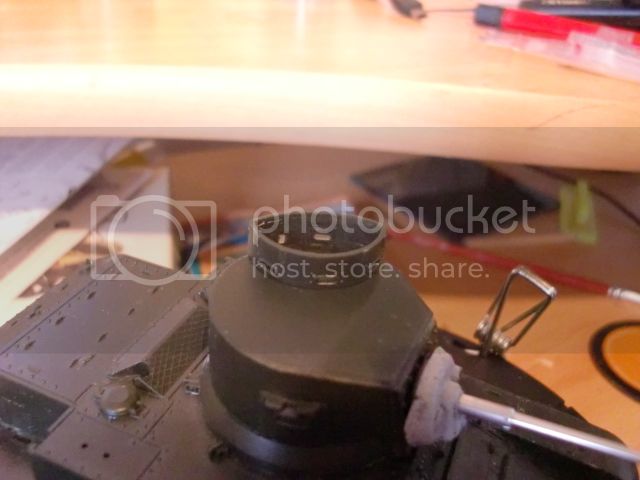
So this is last nights work, not spent long on the build and I've added the rear engine doors as Paul has mentioned in his post, almost a drop fit which was good. I've added some Mr Surface to the gun mantlet as I believe these were cast so it adds to the effect. The commander cupola has had the moulding blobs removed ready for some detail to be added for the vision ports.


Cheers


Dan
Dannyd
Visit this Community
England - North West, United Kingdom
Joined: March 27, 2007
KitMaker: 803 posts
Armorama: 793 posts
Posted: Monday, July 22, 2013 - 11:05 PM UTC
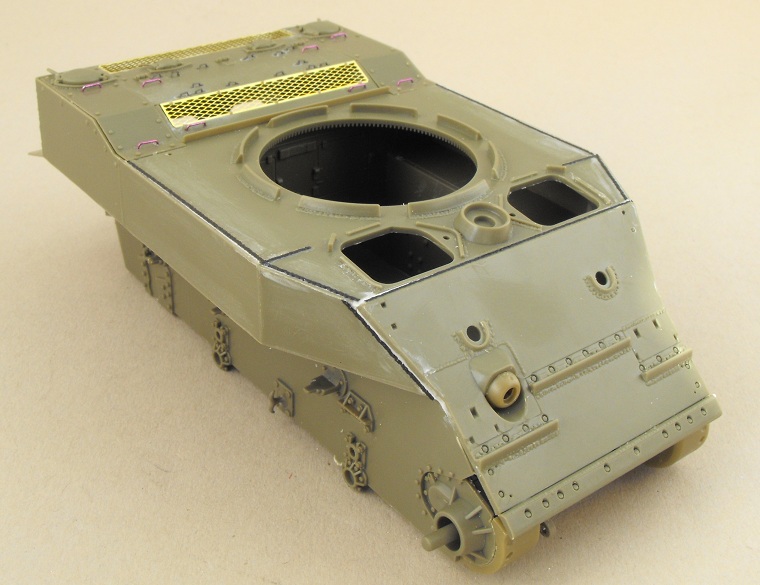
Just grafted the new front end on, from the AFV Club set again. Not a big job and the slight gaps filled with Vallejo filler which is ideal for these types of jobs.


Regards

Dan
Drichc
Visit this Community
England - South West, United Kingdom
Joined: April 13, 2013
KitMaker: 78 posts
Armorama: 76 posts
Posted: Tuesday, July 23, 2013 - 12:56 AM UTC
OOB pleasure build huh Dan? I see another Skif bashing type build.


Keep the updates coming, although I'm now sure you're certifiable .

Best of luck mate.

Rich
Dannyd
Visit this Community
England - North West, United Kingdom
Joined: March 27, 2007
KitMaker: 803 posts
Armorama: 793 posts
Posted: Tuesday, July 23, 2013 - 03:04 AM UTC
Cheers Rich... It was going to be OOB honest mate.

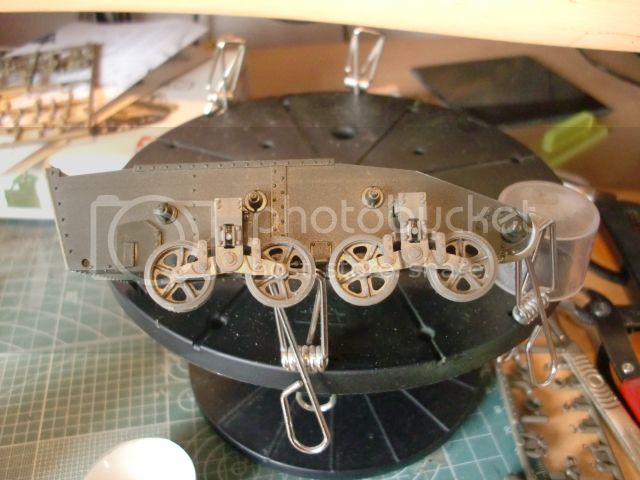
Anyway, I've modified the lower hull to take the AFV Club units.
not much to worry about, a couple of holes drilled and the units will require a small shim to pack them out.

Before


After


And with the units installed. (not glued yet)


Cheers

Dan
M4A1Sherman
Visit this Community
New York, United States
Joined: May 02, 2013
KitMaker: 4,403 posts
Armorama: 4,078 posts
Posted: Tuesday, July 23, 2013 - 04:55 AM UTC
Hi, All! I solved my M3/M3A1 problems by buying TIGER MODELS' aftermarket resin Top and Bottom Hulls, and Turrets. I bought 3 extra AFV CLUB M5A1s which I used as donor kits. I highly recommend AFV CLUB's Suspension Set, which includes Wheels, Bogies, Rear Idler Assemblies and Front Sprockets, comes in very handy for those of you who don't want to go the whole hog by buying donor kits as I did... I didn't bother with the ACADEMY M3-series kits at all- too many issues... Too late- I had already bought 2 of the US M3A1 kits, and 1 British "Honey"...

For my conversions, I used the AFV CLUB M5A1 kit-supplied vinyl tracks, because I didn't want to spend the next 87 years cleaning up all those ejector-pin marks on the inside of each track pad that you get when you buy AFV CLUB's "Workable" T16 and T36 Track Sets. Besides, even today, most US armor uses "live tracks", which are to be adjusted as tightly as possible without binding up the suspension...

I bought EDUARD "BIGED" PE sets for all 3 of my M3A1/"Honey" kits, which include exterior, interior and wheel masks...

I built the "Honey" as a "Desert Rats" machine, with a VERLINDEN resin "Segmented Turret" and TMD Riveted Hull. Full, extended Sand-Shields, a la British "Valentine" Mk.II were scratch-built, and this model is decorated in the British "Caunter" camouflage scheme...

I built the next converted US M3A1 Light as a USMC M3A1, Guadalcanal, late 1942. This tank, I built sans front fenders, after having seen a photo in one of my books. The crew probably removed the front fenders so that they wouldn't have to stop to clean out the thick, jungle vegetation build-up every few minutes. In this same photo is another M3A1 in the background, with it's Front Fenders removed as well. I grafted on the "TAMIYA-style" Commander's Cupola to the aftermarket Turret Top, because I wanted to portray an "early-mid-production" M3A1. Once again, TIGER MODELS came to the rescue with a Riveted Hull.

My second M3A1 I built as a machine serving with the 1st US Armored Division, "TORCH", November, 1942. I used a TIGER MODELS Welded Hull for this build and a "late" flat-topped "Horse shoe" Turret. I don't know what I'd do without all that GREAT resin and PE aftermarket stuff out there...
M4A1Sherman
Visit this Community
New York, United States
Joined: May 02, 2013
KitMaker: 4,403 posts
Armorama: 4,078 posts
Posted: Tuesday, July 23, 2013 - 06:28 AM UTC
PS- I replaced all 37mm Main Gun Barrels and .30cal. 1919A3 Air-Cooled MG Barrels with RB Models' offerings. BTW- Does anyone know how good the BRONCO M16 and M36 Track Sets are? Any improvement over the AFV CLUB Track Sets?
Removed by original poster on 07/23/13 - 18:39:59 (GMT).
chumpo
Visit this Community
United States
Joined: August 30, 2010
KitMaker: 749 posts
Armorama: 521 posts
Posted: Tuesday, July 23, 2013 - 06:37 AM UTC

Quoted Text


Quoted Text

OOB pleasure build huh Dan? I see another Skif bashing type build.


Keep the updates coming, although I'm now sure you're certifiable .

Best of luck mate.

Rich


Yes sir, it's an OOB build just out of different boxes. this is going to be good .
Biggles2
Visit this Community
Quebec, Canada
Joined: January 01, 2004
KitMaker: 7,600 posts
Armorama: 6,110 posts
Posted: Wednesday, July 24, 2013 - 02:29 AM UTC

Quoted Text

Modeling aside...would you want to be a crew member of this vehicle and go up against a German Mk IV or anything heavier? Scary thought.


In the comic book series "The Haunted Tank", the M3 was constantly taking out any and all German tanks! (All German tanks were drawn pretty much the same - sort of Pz lV/Tiger l-ish)
tankmodeler
#417
Visit this Community
Ontario, Canada
Joined: March 01, 2004
KitMaker: 3,123 posts
Armorama: 2,539 posts
Posted: Wednesday, July 24, 2013 - 05:27 AM UTC

Quoted Text


And with the units installed. (not glued yet)


Don't forget to change the shape of teh top of the six return roller mounts so that the track clear properly.

Also, be sure to use the AFV CLub diler and mounts as they are better than teh Tamiya parts.

On the side of the hull there is a small square plate between the bogeys. There should be a "T" shaped shipping tiedown hook on each side sticking perpendicularly out of those plates. There are photos on the net to show what it looks like.

Don't forget to change the air intake pipes to reflect the gasoline version and fill the slot in the inlet cowling behind the screen.

Paul
Dannyd
Visit this Community
England - North West, United Kingdom
Joined: March 27, 2007
KitMaker: 803 posts
Armorama: 793 posts
Posted: Thursday, July 25, 2013 - 08:22 AM UTC

Quoted Text


Quoted Text


And with the units installed. (not glued yet)


Don't forget to change the shape of teh top of the six return roller mounts so that the track clear properly.

Also, be sure to use the AFV CLub diler and mounts as they are better than teh Tamiya parts.

On the side of the hull there is a small square plate between the bogeys. There should be a "T" shaped shipping tiedown hook on each side sticking perpendicularly out of those plates. There are photos on the net to show what it looks like.

Don't forget to change the air intake pipes to reflect the gasoline version and fill the slot in the inlet cowling behind the screen.

Paul


Hi Paul,

Thanks for the pointers, they are really useful, one question, what do i need to modify with the return roller mounts? I've had a good dig about and can't really see what needs to be done.

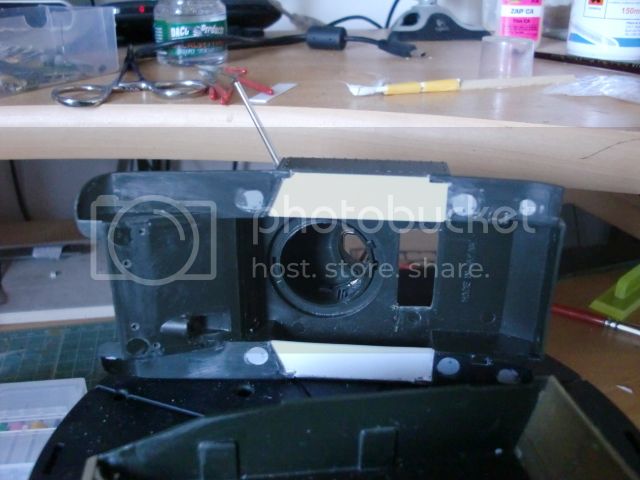
I've done some more work, filled the sponson undersides with plastic card and added some more of the AFV club parts, rear idlers are together, i'll post some pictures in the next day or two so you can all see the progress.

Thanks for all your comments and advice, keep em coming


Dan
M4A1Sherman
Visit this Community
New York, United States
Joined: May 02, 2013
KitMaker: 4,403 posts
Armorama: 4,078 posts
Posted: Friday, July 26, 2013 - 04:39 AM UTC

Quoted Text


Quoted Text

Modeling aside...would you want to be a crew member of this vehicle and go up against a German Mk IV or anything heavier? Scary thought.


In the comic book series "The Haunted Tank", the M3 was constantly taking out any and all German tanks! (All German tanks were drawn pretty much the same - sort of Pz lV/Tiger l-ish)


Yeah, that was pretty ridiculous- I stopped buying those comics when I was just a kid because of that very reason!!!
tankmodeler
#417
Visit this Community
Ontario, Canada
Joined: March 01, 2004
KitMaker: 3,123 posts
Armorama: 2,539 posts
Posted: Friday, July 26, 2013 - 06:09 AM UTC

Quoted Text

one question, what do i need to modify with the return roller mounts?


These show the flat on the top of the roller mounts that allow the track end connectors to pass properly. The shot of two hulls compares the Taimya and AFV M5A1 Stuart hulls, but the Tamiya roller mount on the M5A1 is similar to that on the M3 kit, so make the M3 rolle rmounts look like the AFV-Club M5A1 mounts.

Also, take a look at this photo:


It shows how the air inlet pipe enters the engine deck for the gasoline versions. Also note that the Horseshoe turret tanks do not seem to have the armoured fuel filler caps as are provided with the kit. You need to scratchbuild the unarmoured versions for your model.

HTH

Paul
Dannyd
Visit this Community
England - North West, United Kingdom
Joined: March 27, 2007
KitMaker: 803 posts
Armorama: 793 posts
Posted: Friday, July 26, 2013 - 06:37 AM UTC
Paul, thank you ever so much for that fella, explained very well.
AFV Club has the unarmoured fuel caps on the suspension set which is a bonus.

I'll post up some pictures over the weekend when i've done a bit more

Regards

Dan
Dannyd
Visit this Community
England - North West, United Kingdom
Joined: March 27, 2007
KitMaker: 803 posts
Armorama: 793 posts
Posted: Monday, July 29, 2013 - 04:49 AM UTC
Right chaps, it's that time again.

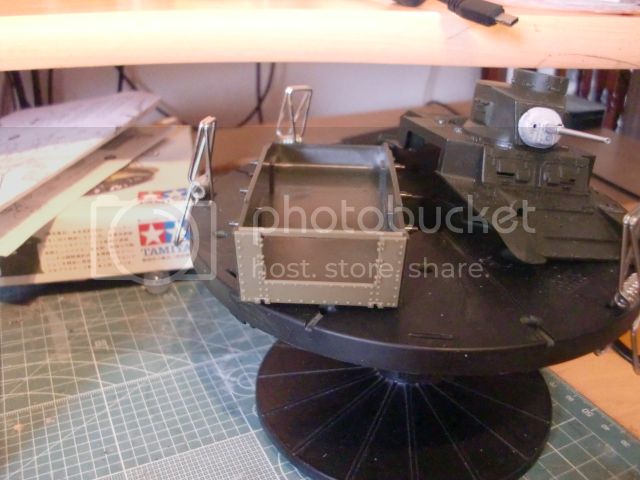
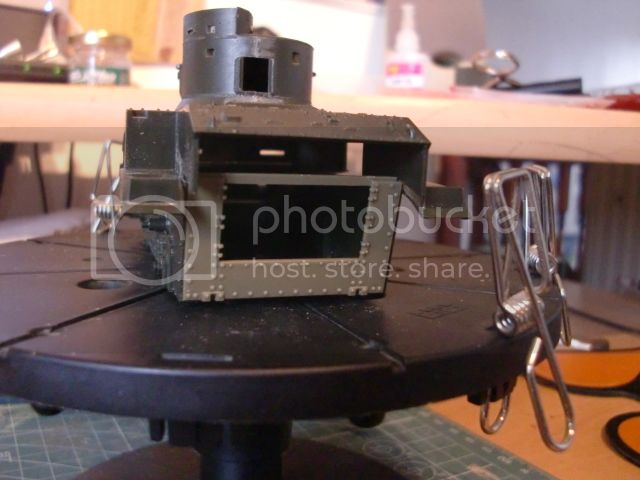
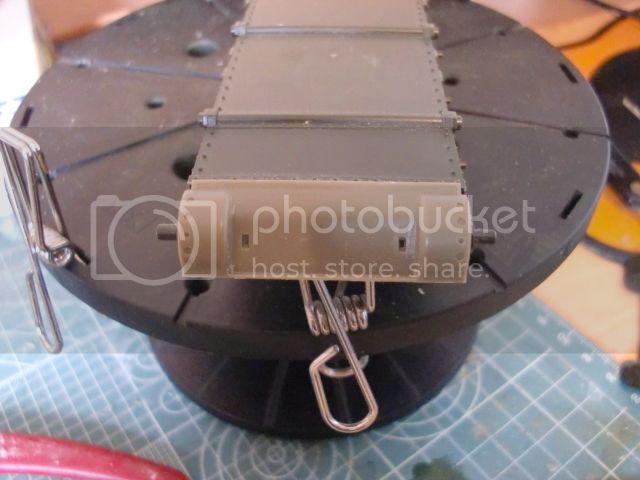
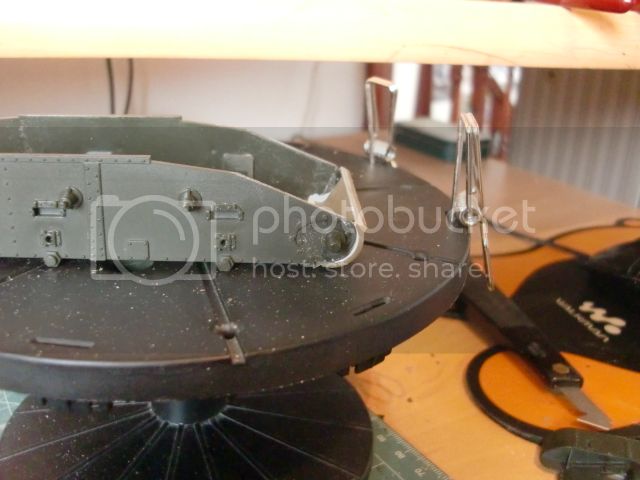
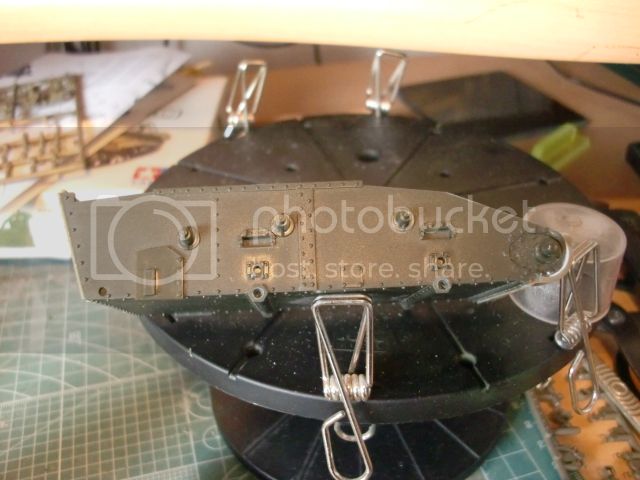
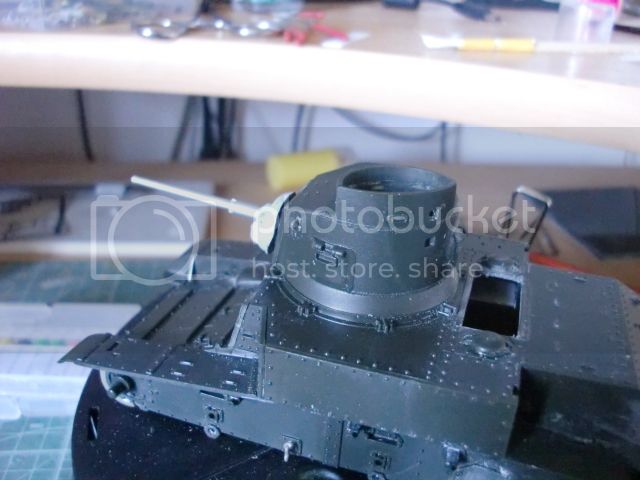
I've managed to get some work done, mainly prep work for PE and scratch building. filled the sponson holes with thin plastic card.


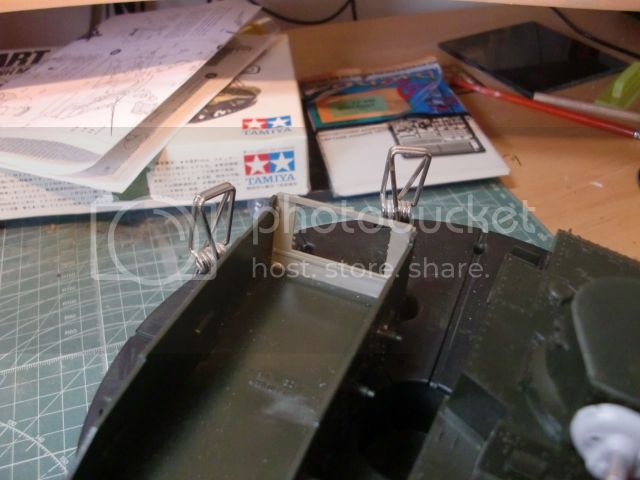
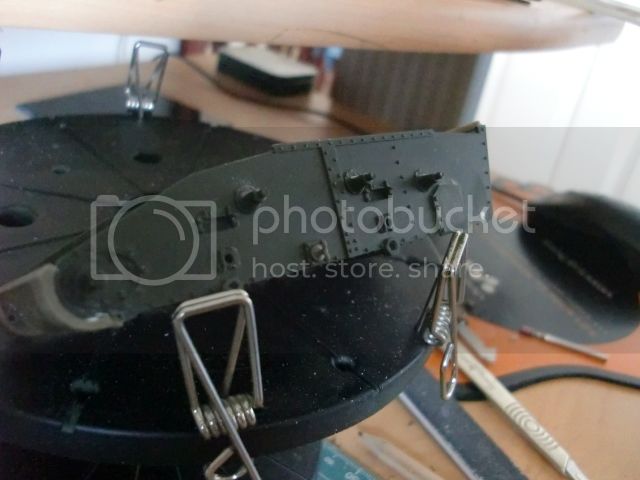
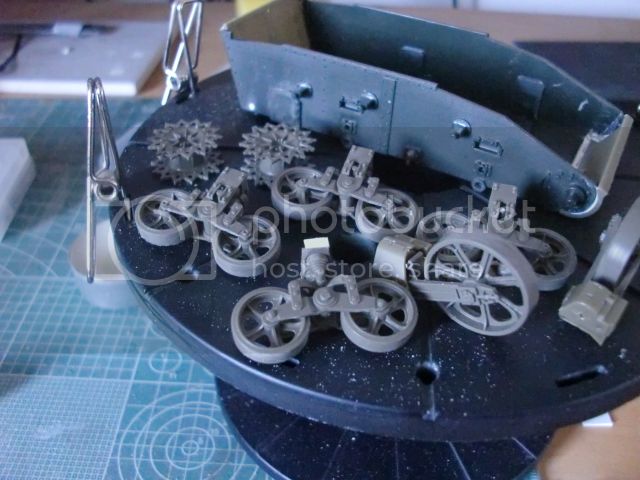
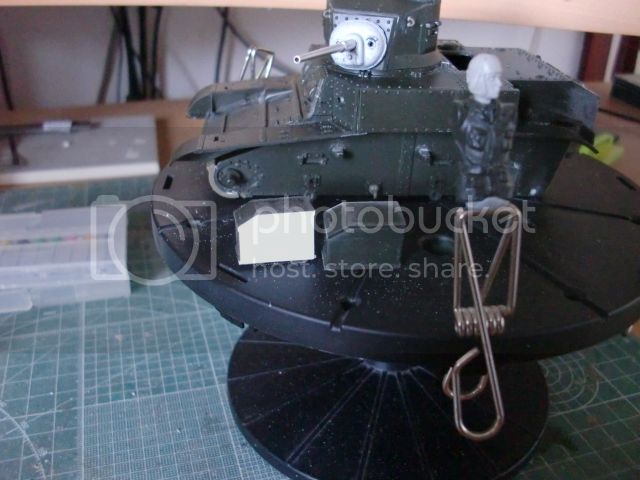
Added a few missing detail from the base kit but camw with the AFV Club suspension set to the lower hull, added the boat gaff like tie downs to the hull and shaped up the return roller mounts just as Paul recommended.


Finished the basic build of all the running gear, the AFV Club stuff is rather good. Shimmed the bogies with plastic card to give the correct angle whilst mounted on the hull.


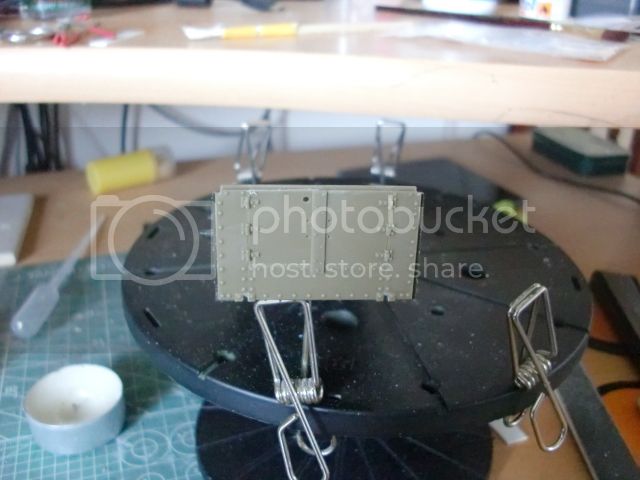
Cut out the air intake/radiator housing, this will be scratched with plastic card to represent the gasoline engine version. Backed the rear stowage bins with thin plastic card.


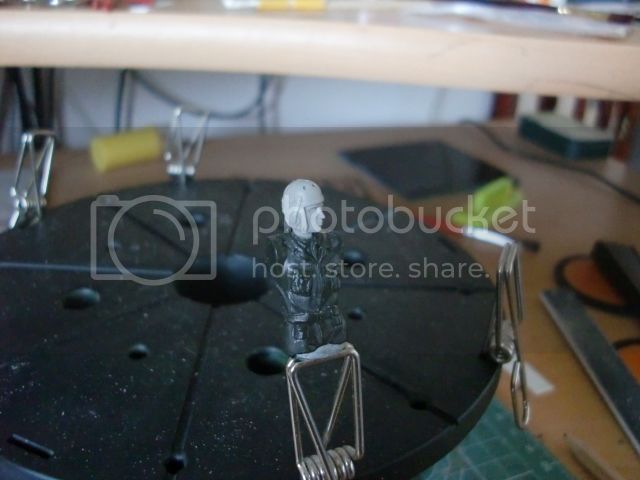
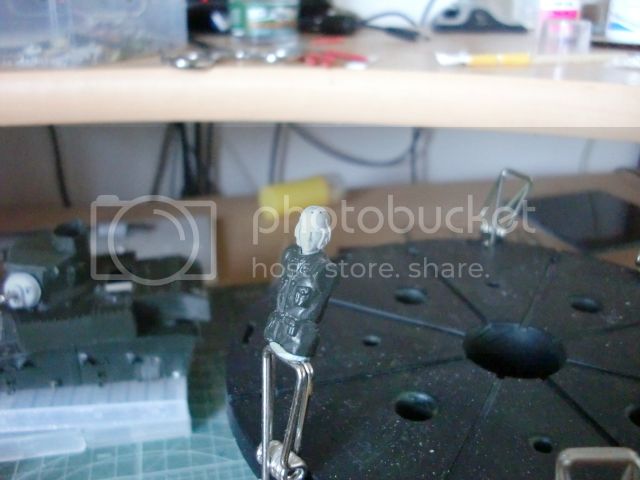
Roughed out the commander figure, removed his head and selected a resin head.


That's it so far, so keep the comments and tips coming.


Dan
Drichc
Visit this Community
England - South West, United Kingdom
Joined: April 13, 2013
KitMaker: 78 posts
Armorama: 76 posts
Posted: Monday, July 29, 2013 - 10:54 PM UTC
Cracking on there Dan with some nice scratch building going on, again!

I knew you were incapable of doing an OOB build , but it looks like it's going to be worth it.

I cannot imagine what the crews felt like coming up against German armour!
rich
Dannyd
Visit this Community
England - North West, United Kingdom
Joined: March 27, 2007
KitMaker: 803 posts
Armorama: 793 posts
Posted: Friday, August 02, 2013 - 04:59 AM UTC
Latest update,

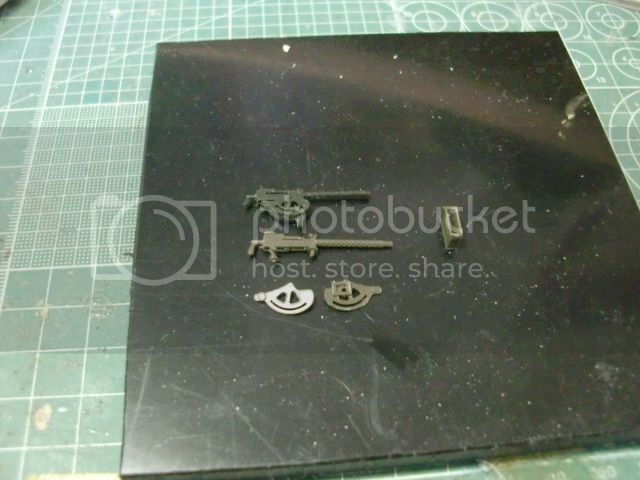
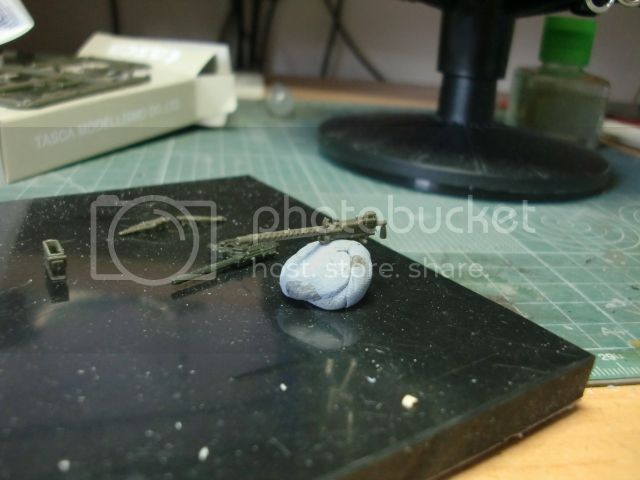
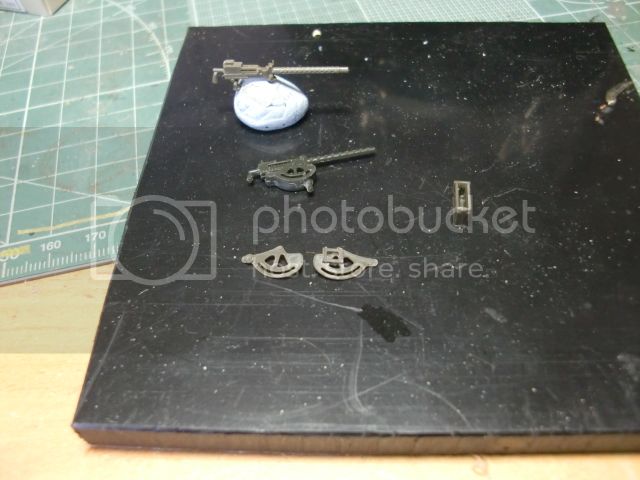
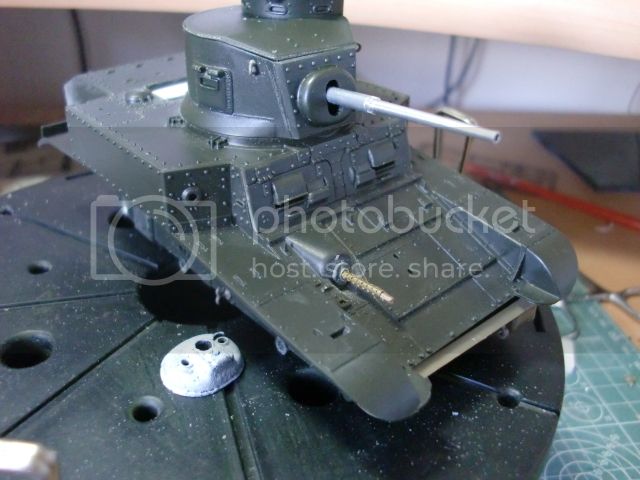
Swapped the .30 cal for the very nice Tasca version.


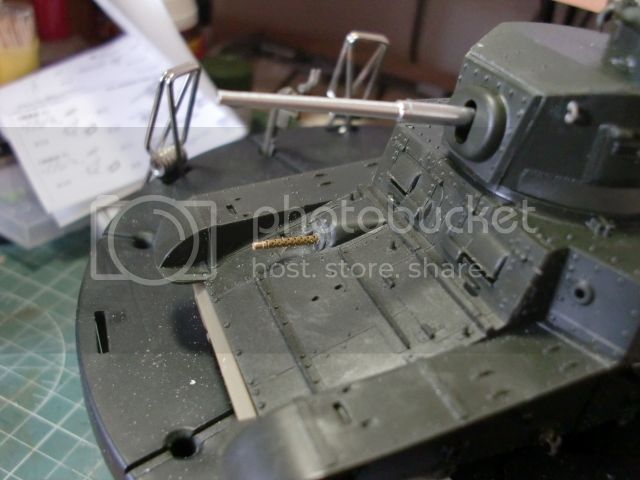
Using the RBM .30 cal brass barrels for the bow mounted MG


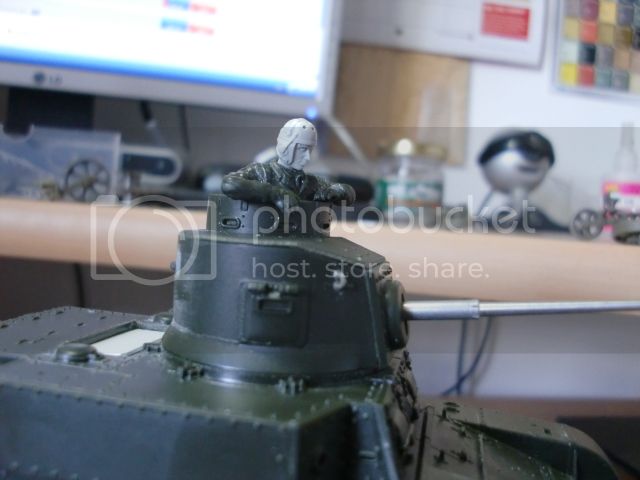
Figure is now roughed out.


more progress later

Dan
Longshanks8
Visit this Community
England - South West, United Kingdom
Joined: July 04, 2013
KitMaker: 430 posts
Armorama: 13 posts
Posted: Monday, August 05, 2013 - 09:08 AM UTC
Coming on steady

What's the colour scheme going to be?

Dannyd
Visit this Community
England - North West, United Kingdom
Joined: March 27, 2007
KitMaker: 803 posts
Armorama: 793 posts
Posted: Monday, August 05, 2013 - 09:38 AM UTC
Thanks Kev

Looking at a OD scheme at the moment, i've been working on commander figure tonight, he's now primed and ready for the first base coat of paint.

Should have some new photo's tomorrow night

Regards

Dan
Dannyd
Visit this Community
England - North West, United Kingdom
Joined: March 27, 2007
KitMaker: 803 posts
Armorama: 793 posts
Posted: Monday, August 12, 2013 - 06:59 AM UTC
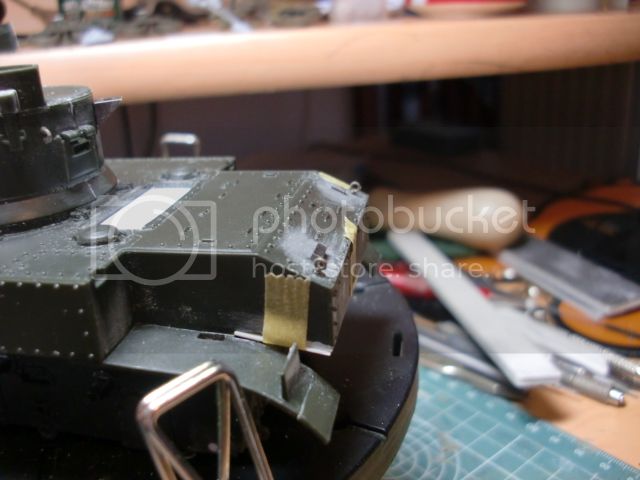
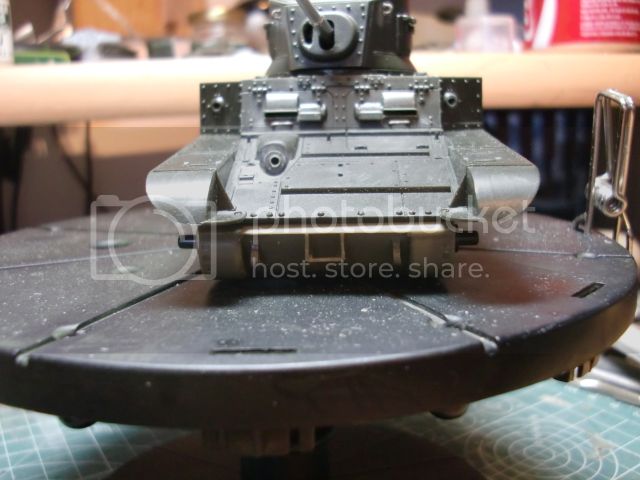
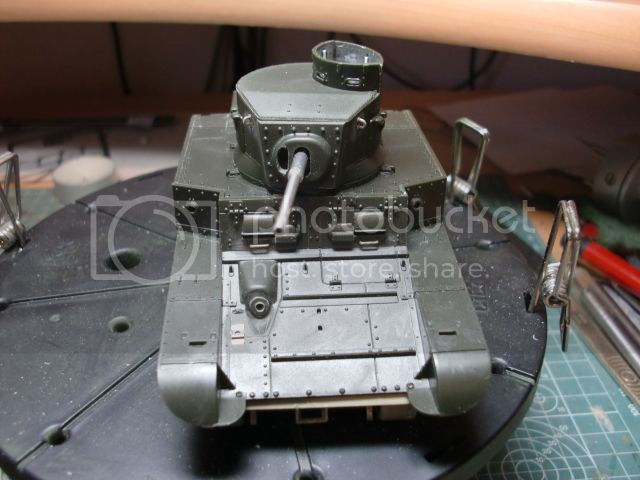
I'm a bit late with the photo's but here is the latest progress,

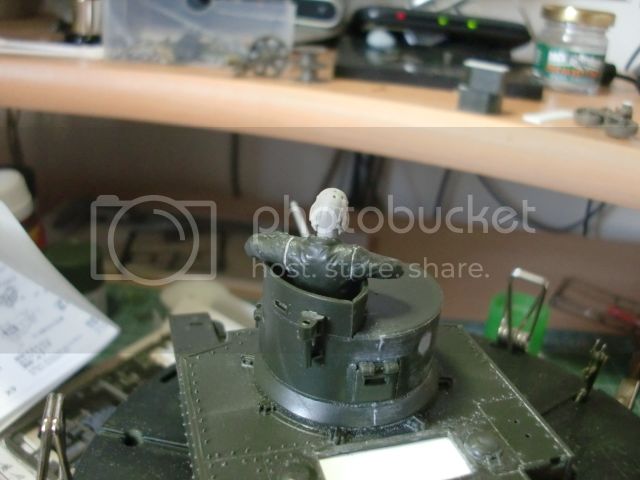
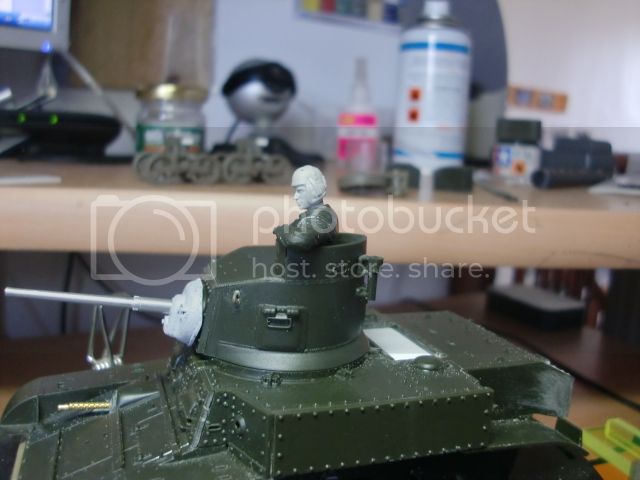
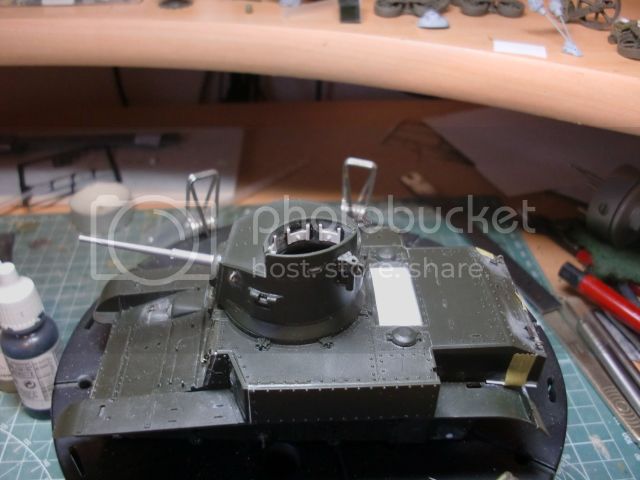
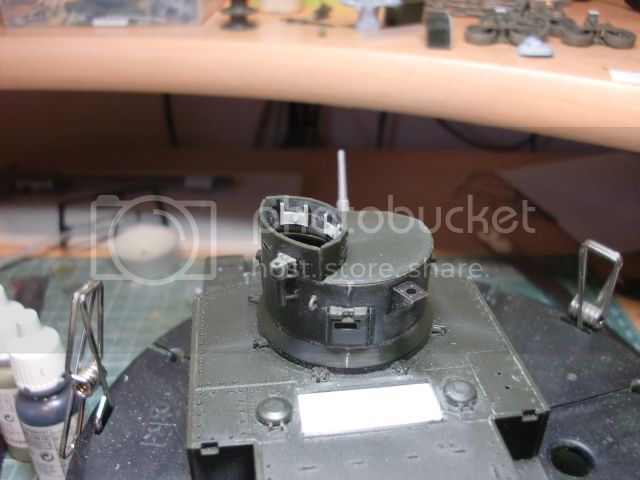
I couldn't find any ref pictures of the commanders hatch so I figured that the vision ports would have some kind of blackout / covers. Probably not right but they make the inside look a bit better?


Added the lifting eyebolts to the rear deck and started with a bit of PE work.


Added the front step, not sure on how I'm going to fix the front, the Tamiya front armour sits too far back, I think it should overhang the transmission housing, looks like a big job of cutting and shunting?


The masking tape is holding a piece of plastic card in place to protect the engine exhaust grill.


Any comments are very welcome.


Regards

Dan
Drichc
Visit this Community
England - South West, United Kingdom
Joined: April 13, 2013
KitMaker: 78 posts
Armorama: 76 posts
Posted: Tuesday, August 13, 2013 - 11:51 PM UTC
Nice work as always, but this is turning into as much of a fight as the 2S1!

Don't forget I can help you out with the air filter conversion.

Rich
 _GOTOTOP