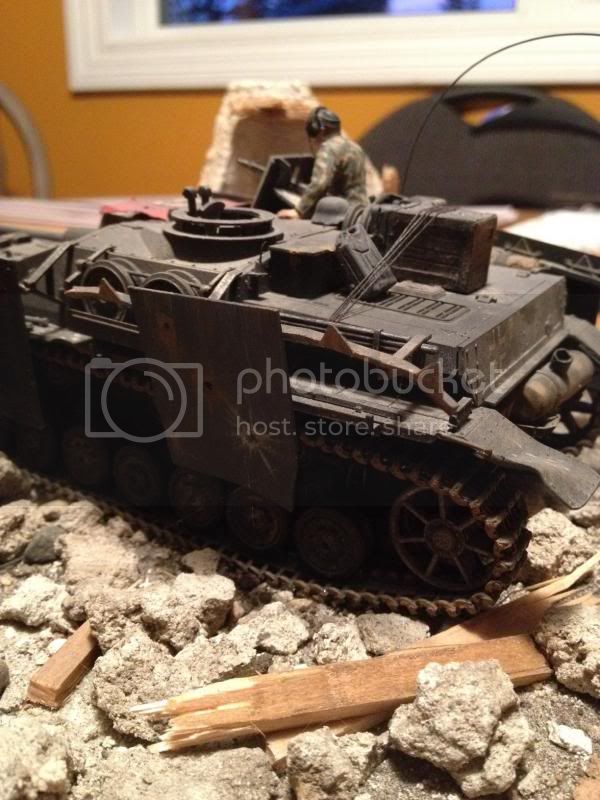
Opening the kit I was struck by how well detailed it is compared to the old Tamiya kits from the 80's I always used to build! I figured I would build it OOB, but while researching I saw lots of neat accessories, plus it already had an a/m turned barrel and Canadian stowage boxes from Ultracast. So naturally I ordered the Ultracast decals and the Eduard photoetch kit. While I wait for those, On with some assembly!
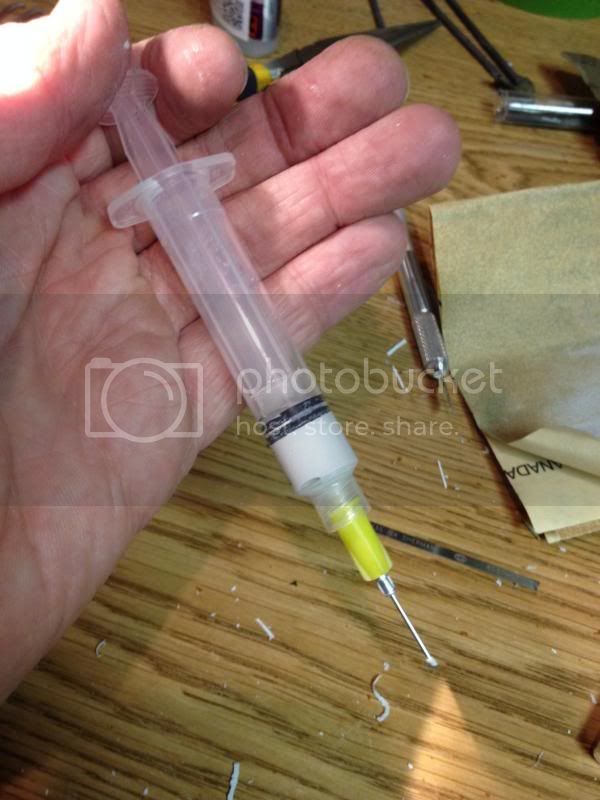
Started off with the suspension, and then decided to tackle some of the kits shortcomings. One of the biggies is the sunken weld seams. After researching and practicing with multiple how to make weld seams, I figured I would try using a syringe to lay a bead of squadron white putty and viola it worked!

I then use a piece of the photoetch fret with a notch cut in it to press in the bead details:

Turned out not too bad...

Little bit of clean up and should be good! More to follow as she progresses. Comments welcome, I have a lot to learn!