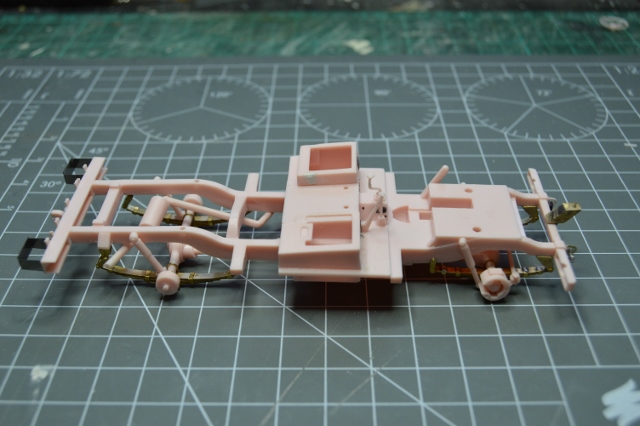
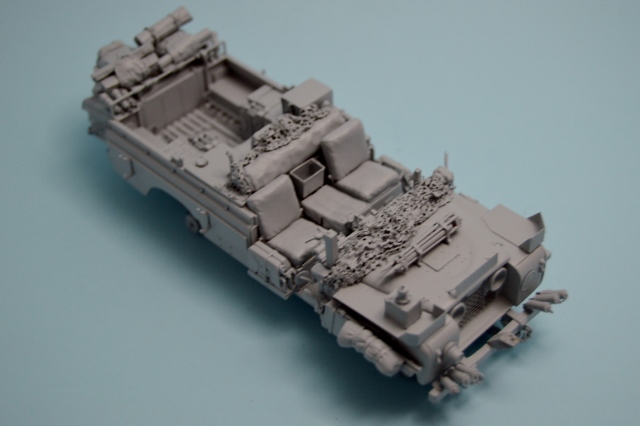
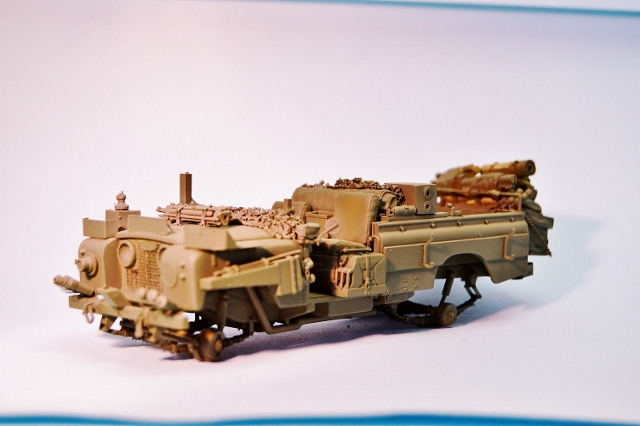
Okay, so major update. I went ahead & completed the build.
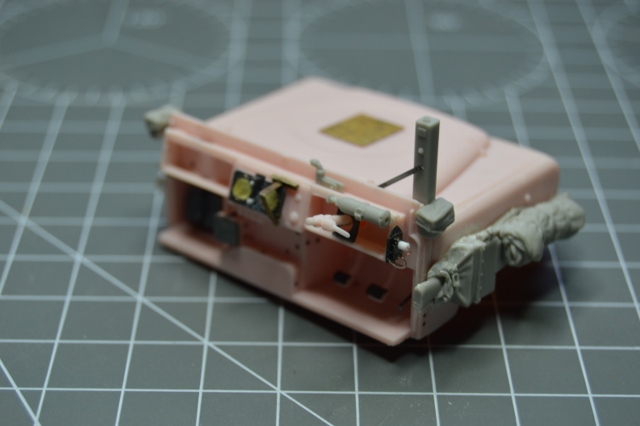
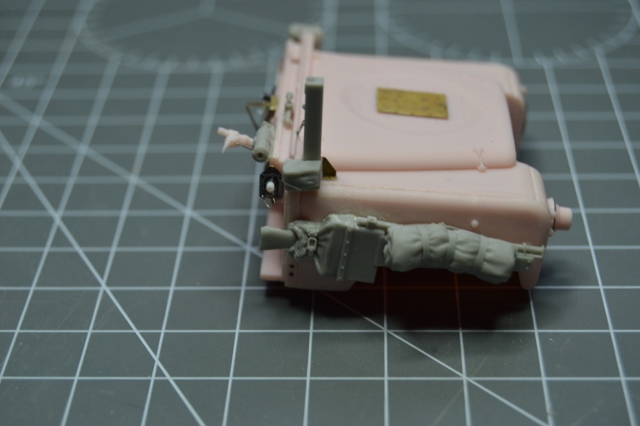
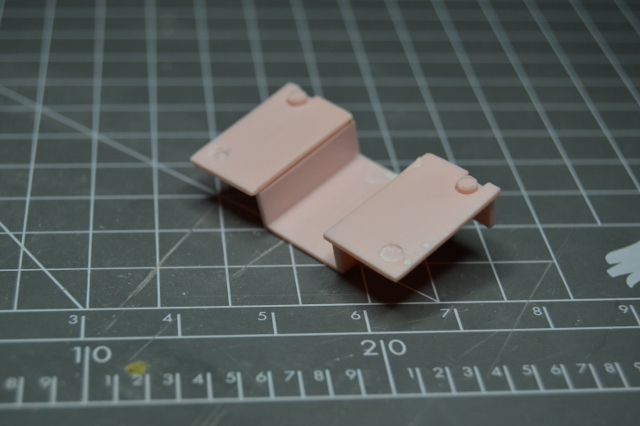
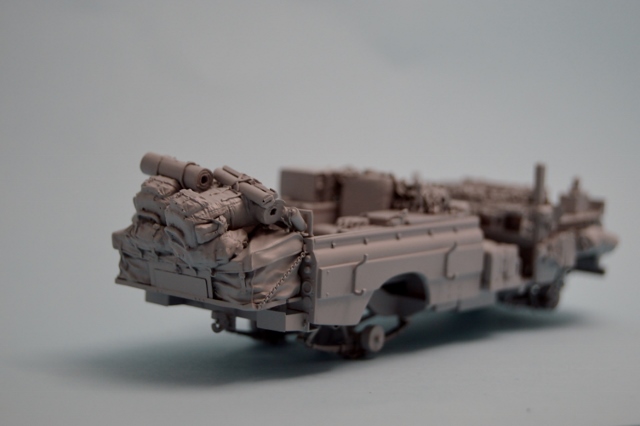
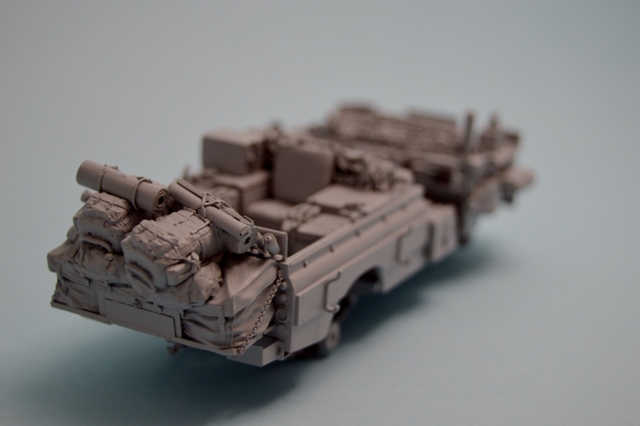
After fixing the rear section I added the shelf with large canvas equipment stowage bag at the very back.
You will need to remove some of the raised detail on the plastic tailgate piece of the kit to obtain a snug fit for the resin equipment shelf.
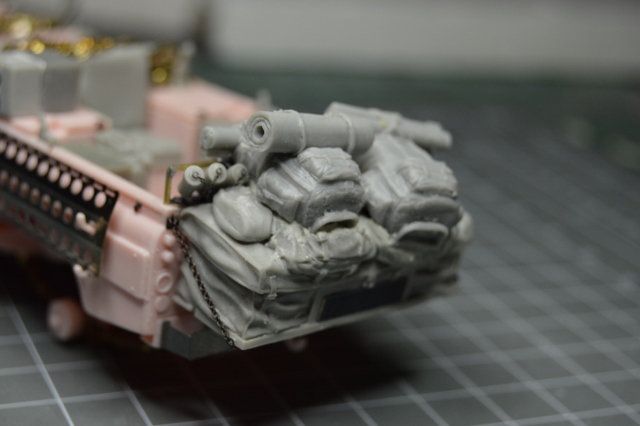
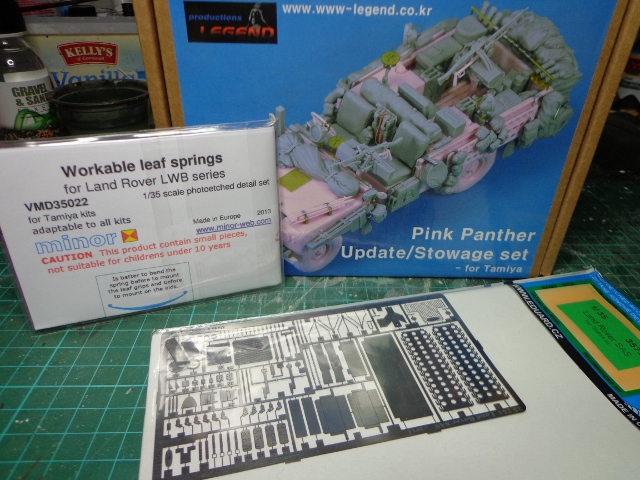
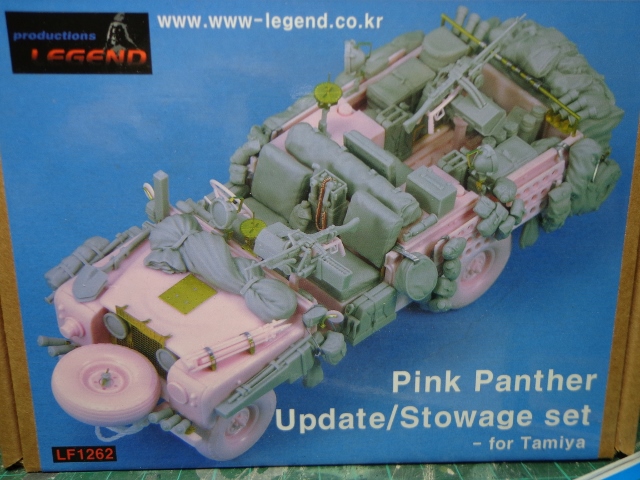
The equipment shelf shown above is from the Legend set but I didn't want to model it the same as the Pink Panther I previously built so I cut off the top bergan which comes moulded onto the piece & added a couple of bergans from the new Black Dog Falklands war figure sets. Then I filled in any gaps using a two part putty.
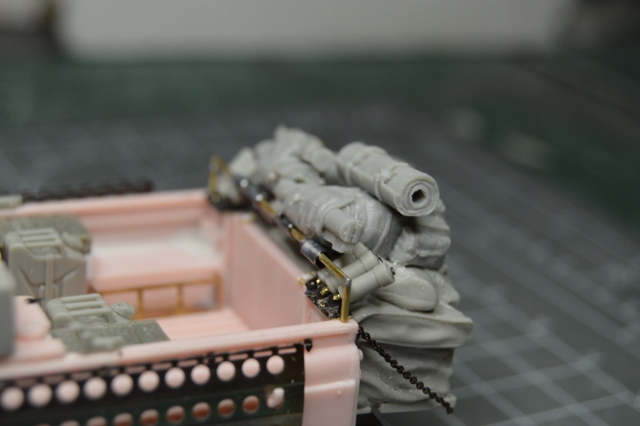
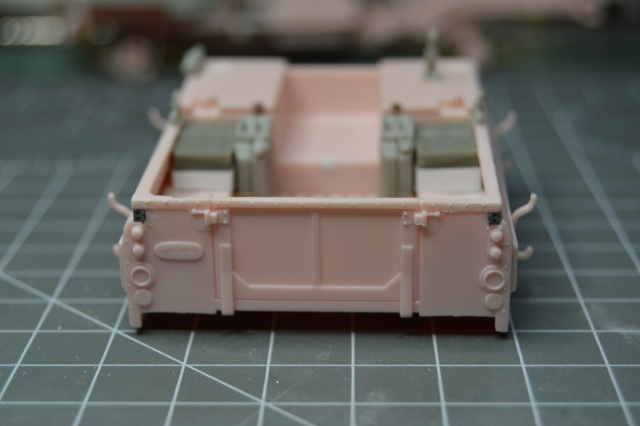
The chain used here is finer than the one supplied with the Legend set.
"Shoulder straps" were added to the bergans cut from thin lead sheet & 'tied' onto the rail once the brass rail was fixed into place.
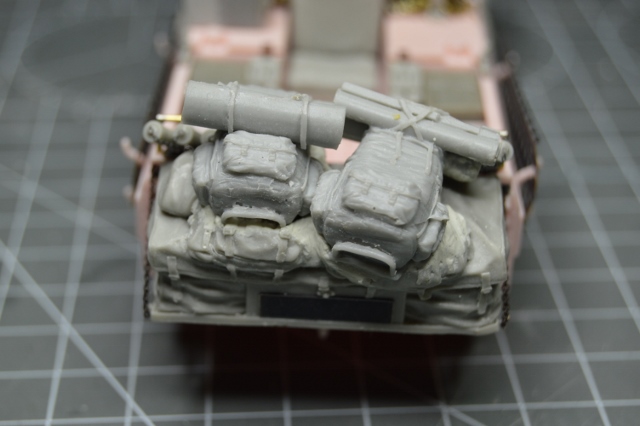
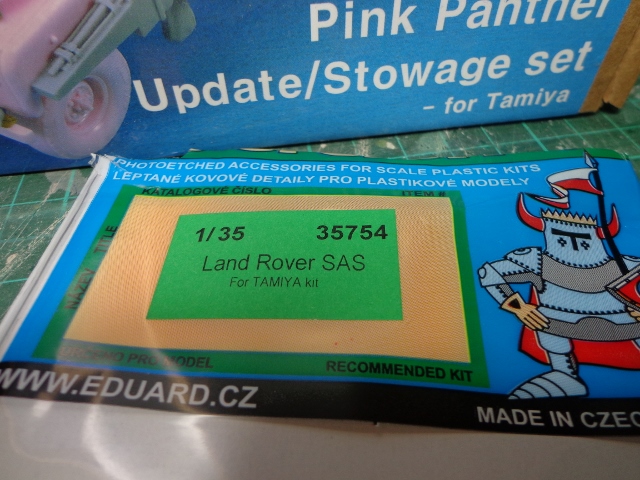
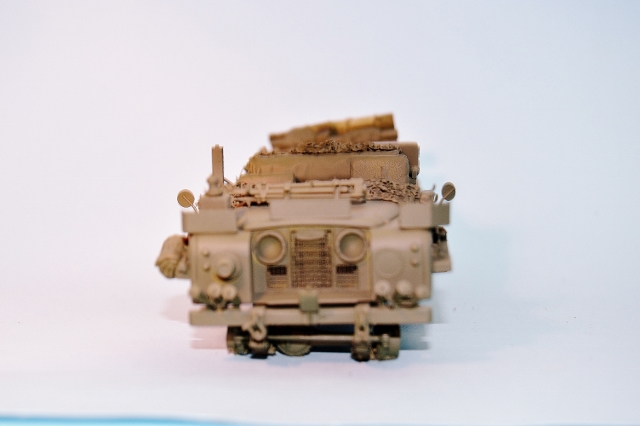
The number plate used here is from the Eduard PE.
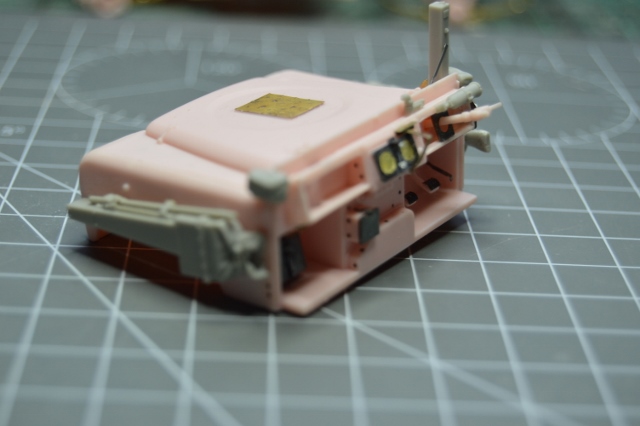
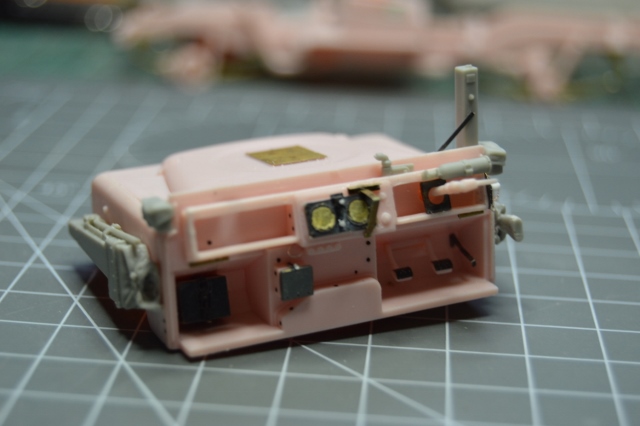
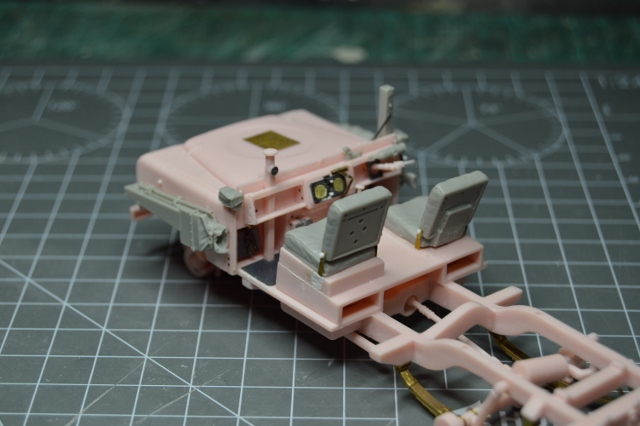
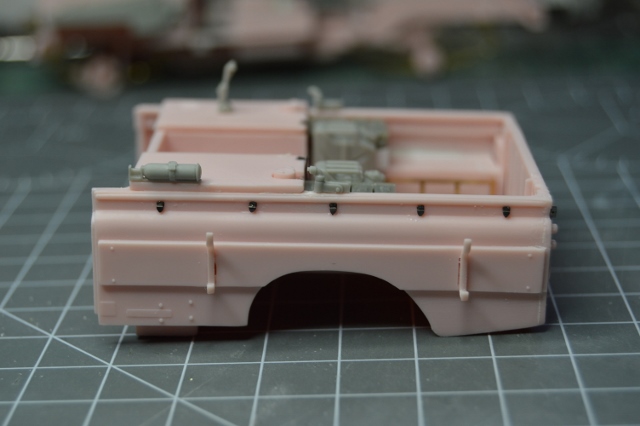
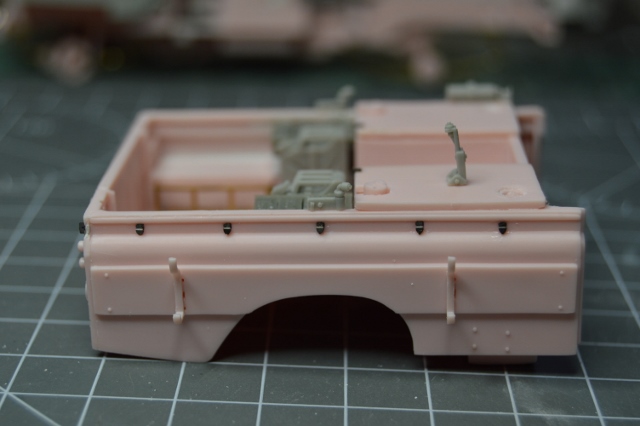
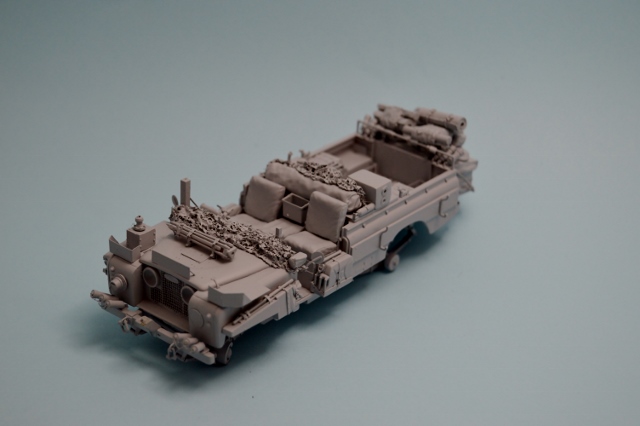
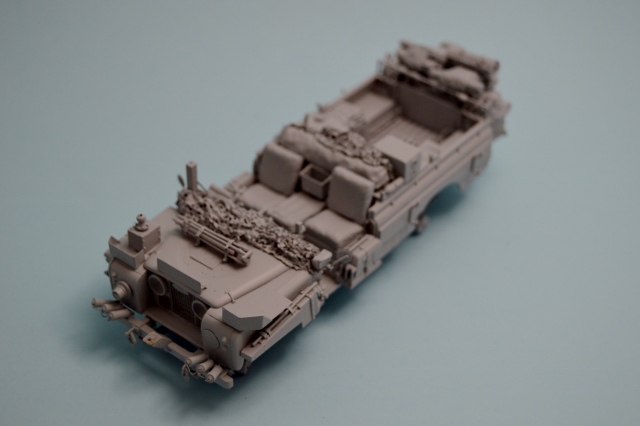
The radio placed near the rear seat is an Accurate Armour Clansman 353 I had made for me. My thanks to Derek of Accurate Armour for supplying this piece.
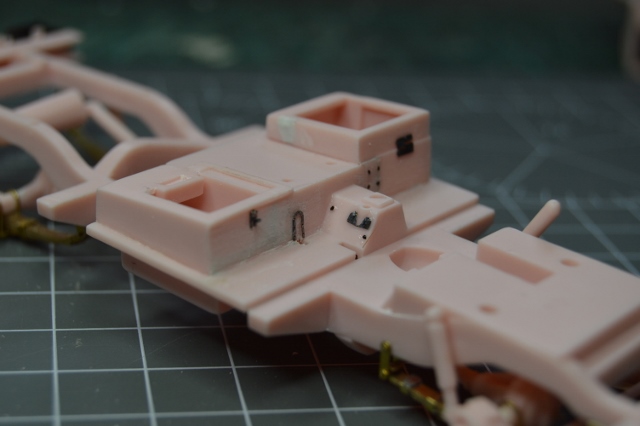
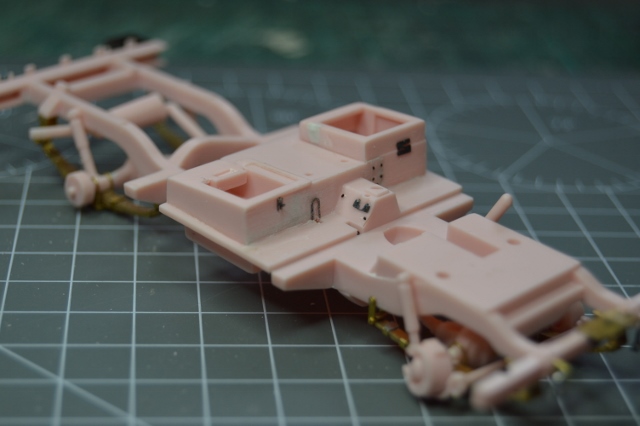
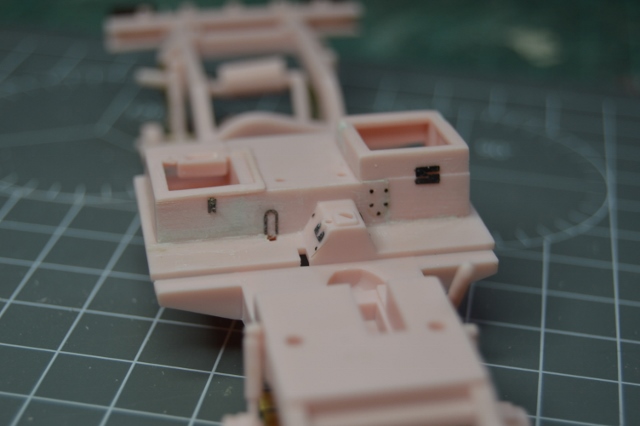
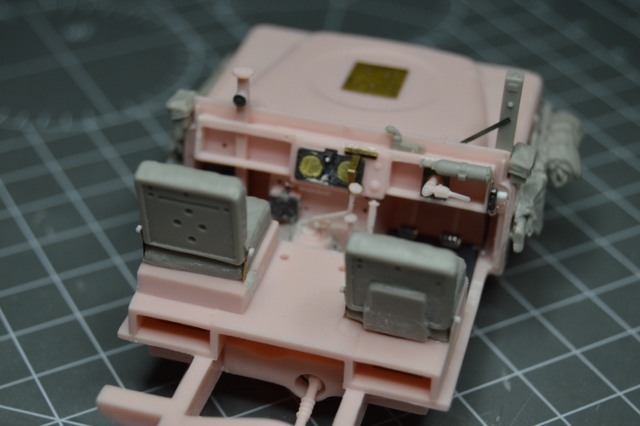
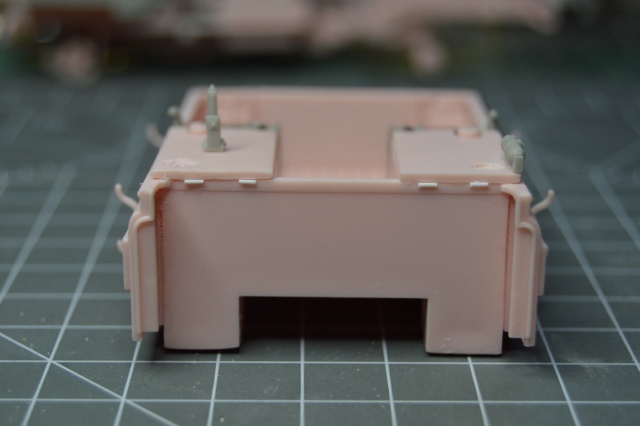
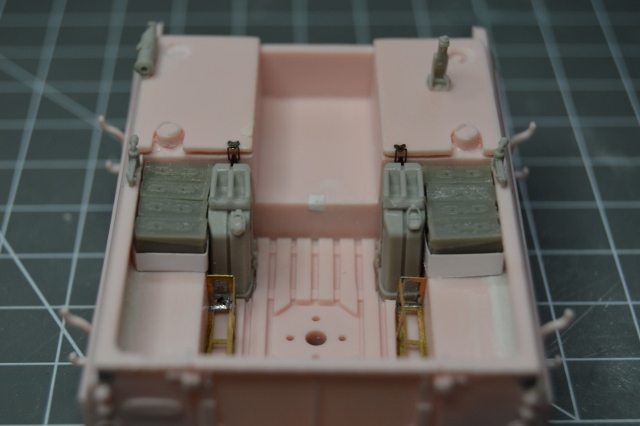
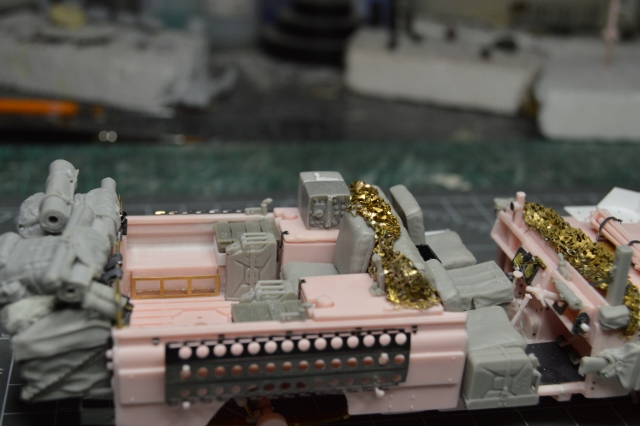
Trays were fashioned with 0.13mm plasticard for the 7.62mm belt ammo cans in the back.
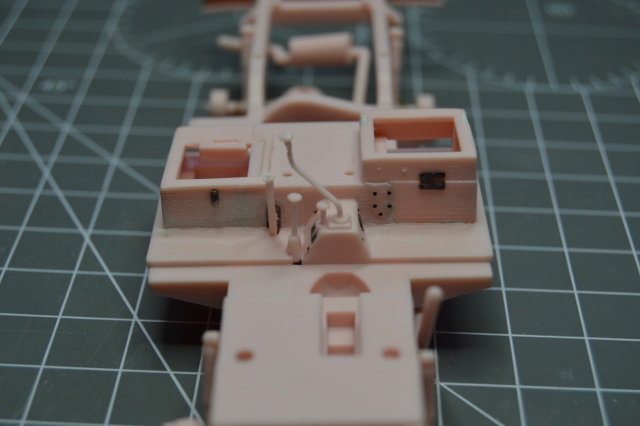
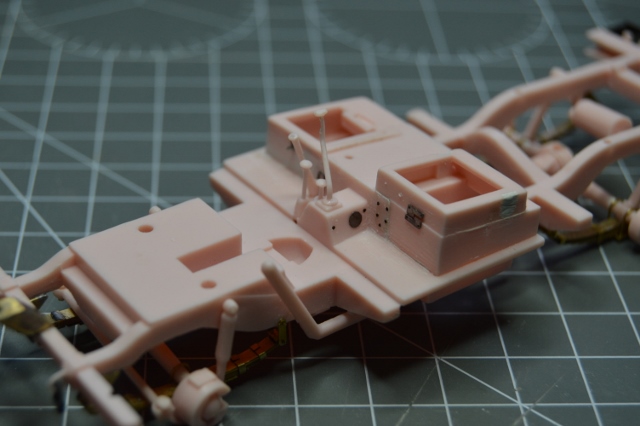
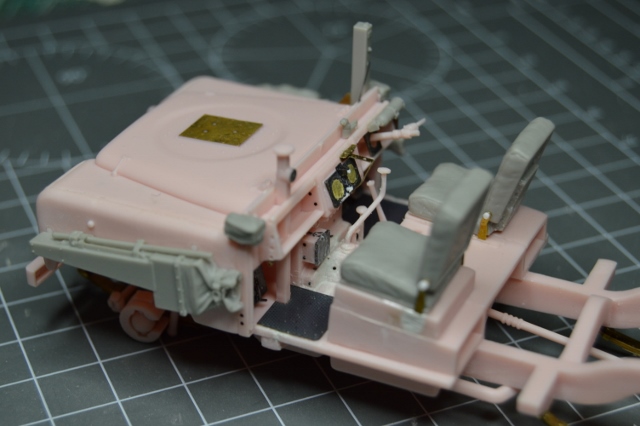
The trays for the front mounted radio equipment were fashioned from 0.13mm plasticard & some Archer rivets. The TUAAM box is from Accurate Armour.
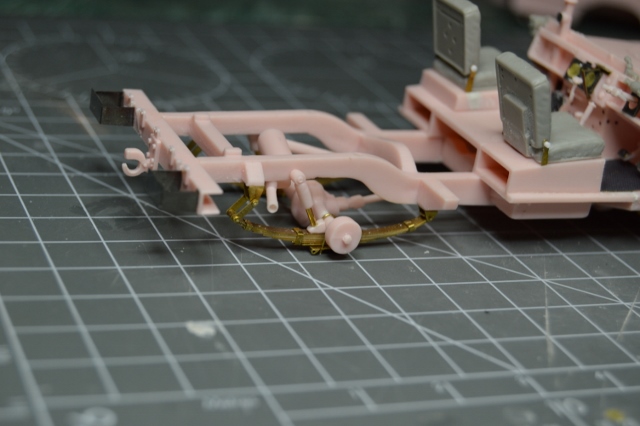
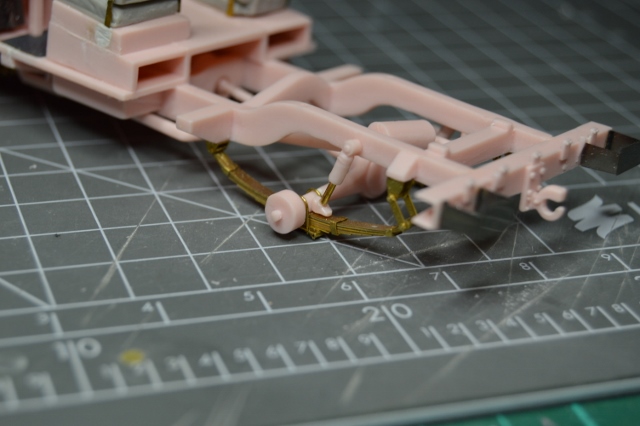
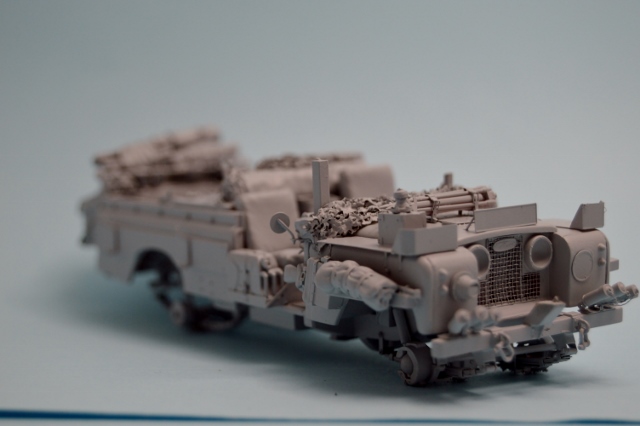
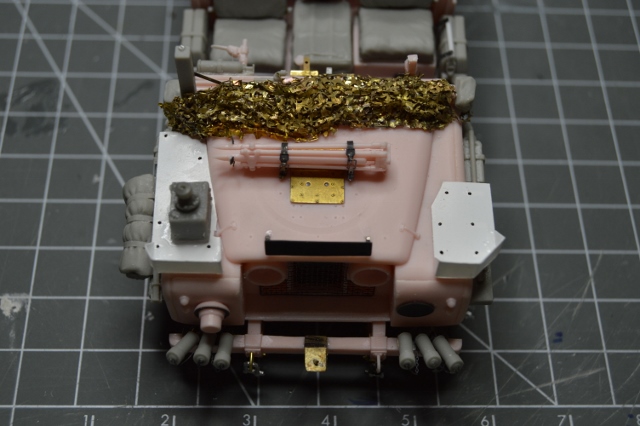
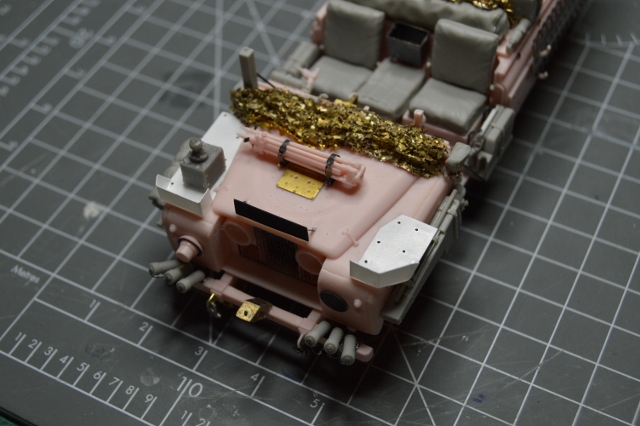
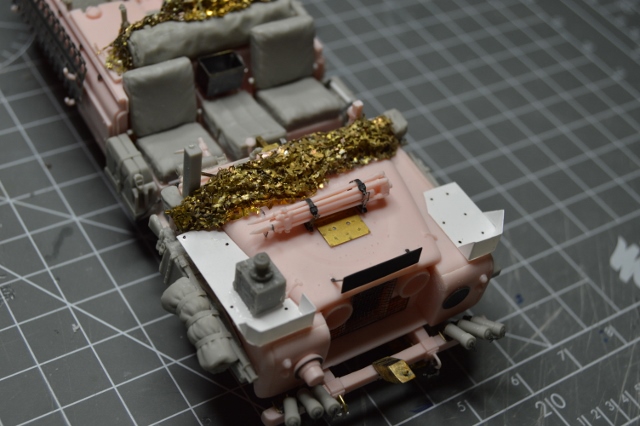
The Theodolite was made up & repositioned onto the bonnet as per the photos from my reference material.
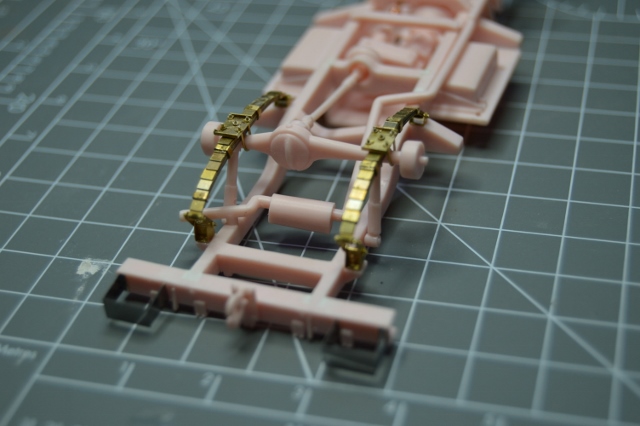
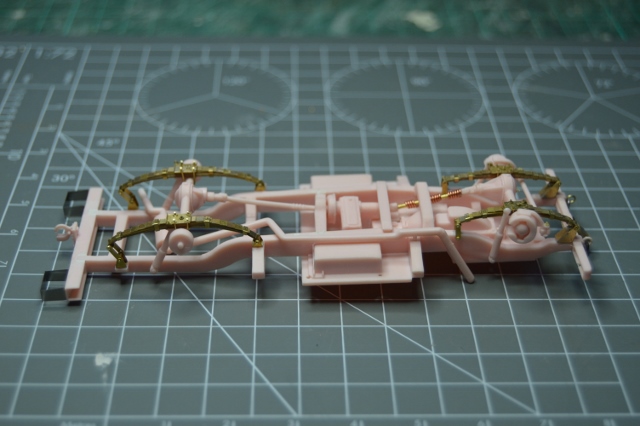
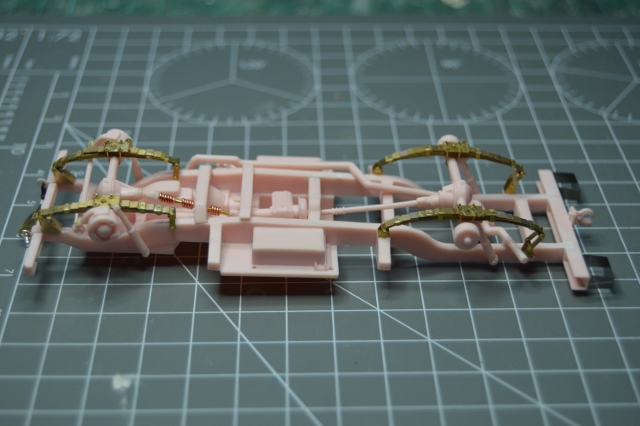
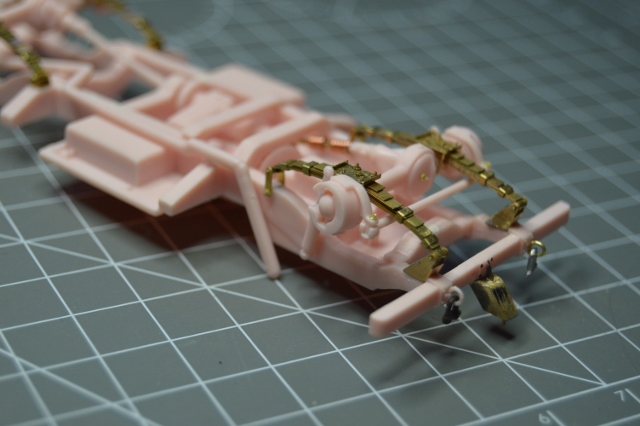
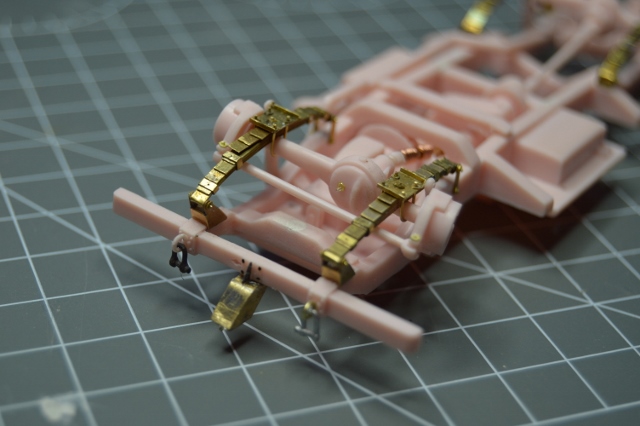
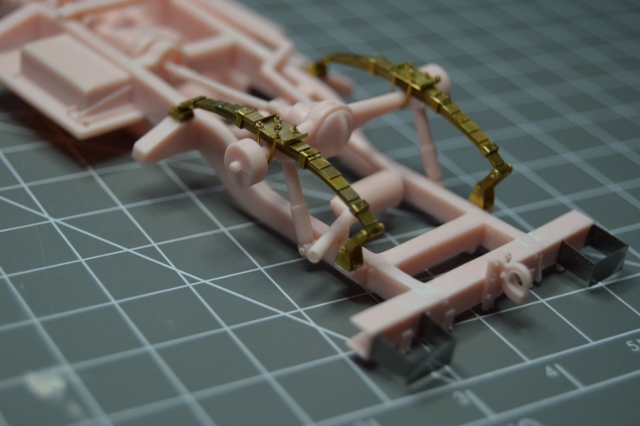
The PE scrim nets used on the model are from Accurate Armour. They were annealed using a low powered blow torch to soften them & bent into the desired shape.
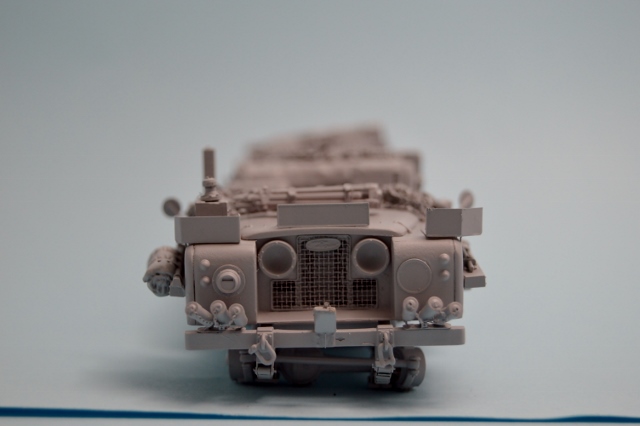
The smoke grenade dischargers at the front & rear corners of the vehicle are a mixture of both Legend & Eduard parts.
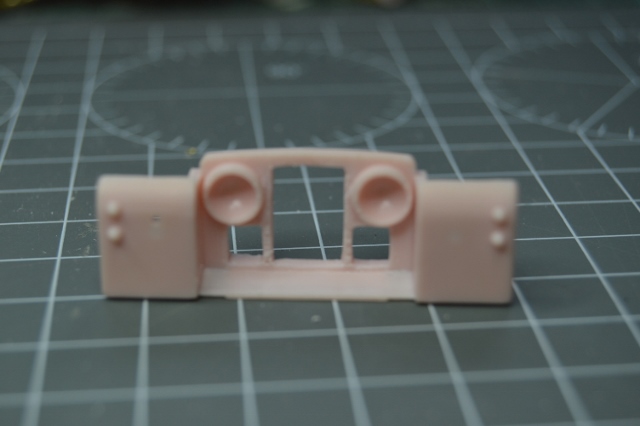
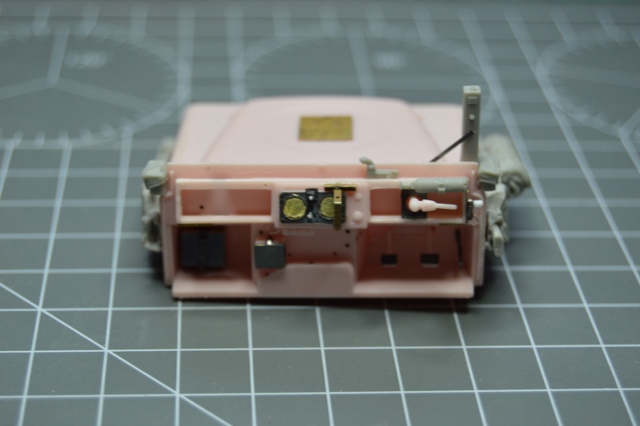
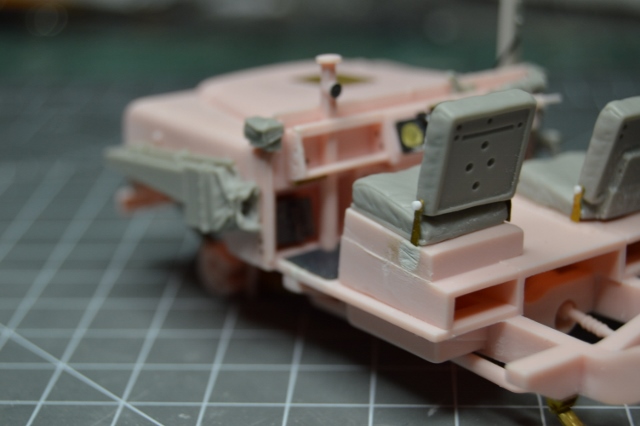
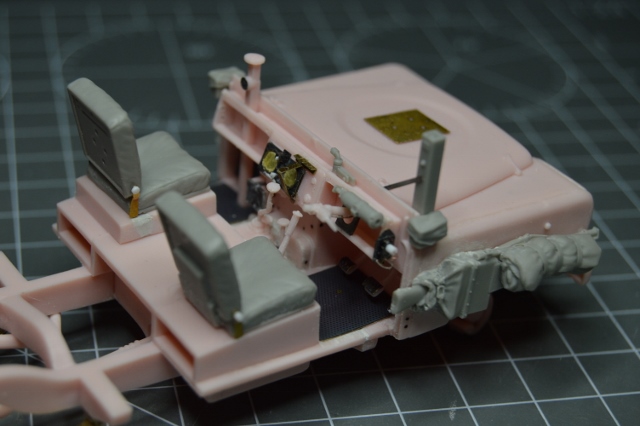
This shot shows the empty bracket where the Larkspur radio should be located between the front seats. As I understand it the Larkspurs were replaced with the later Clansman radio sets which are located adjacent to the rear seat. The empty radio bracket between the front seats is from the Eduard PE.
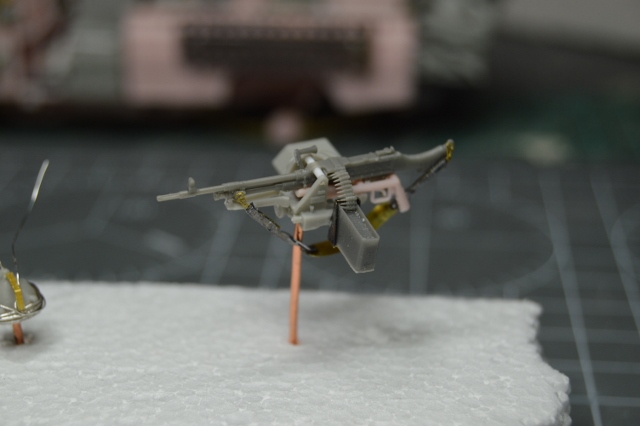
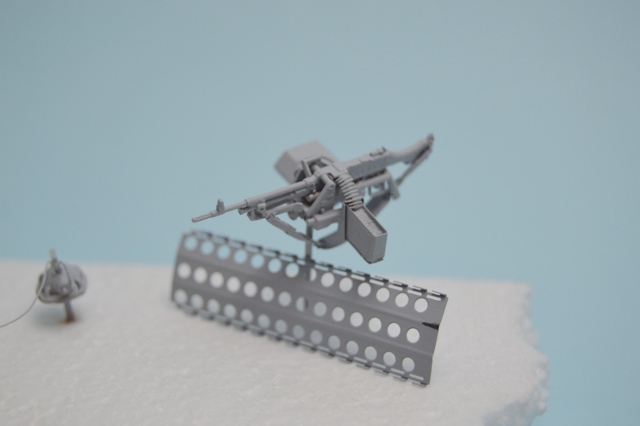
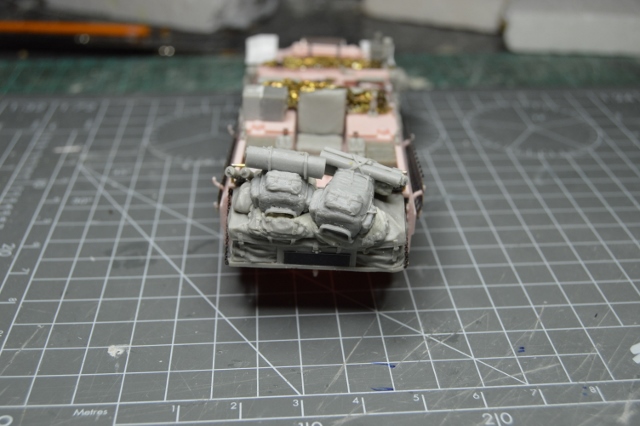
Front mounted GPMG. I've used the Live Resin weapon here with Accurate Armour ammo can, Legend bipod & other parts. The sling was taken from a Royal Model US Infantry weapons set & extended with some strips made out of lead sheet.
I used some 0.8mm plastic rod to attach the gun onto its mounting bracket as, for some strange reason, they are missing from the otherwise excellent Legend part.
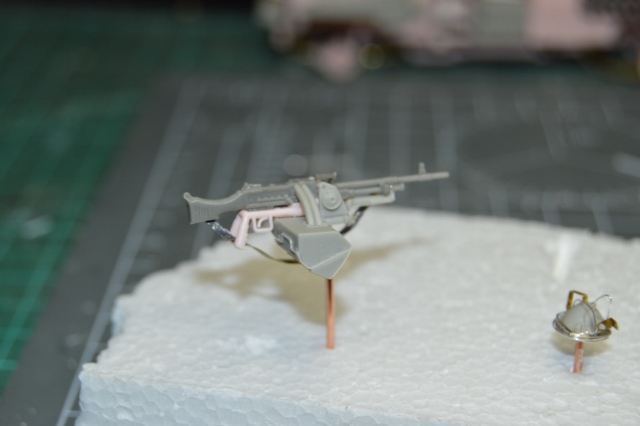
Opposite view.
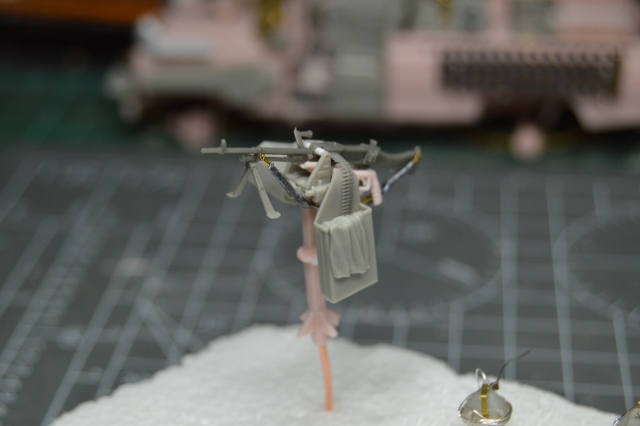
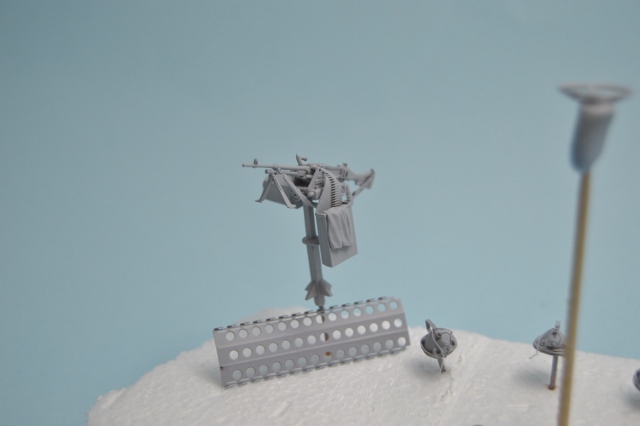
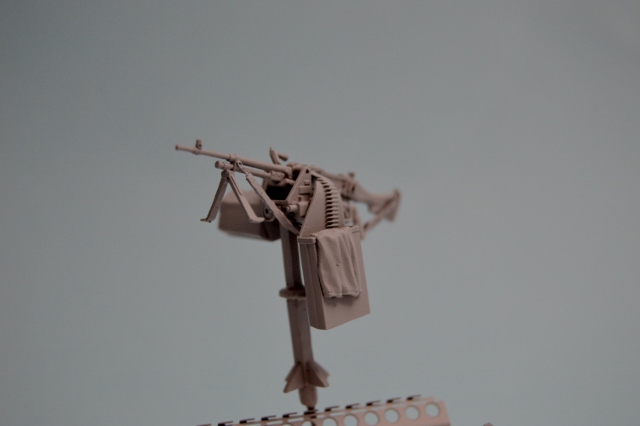
Rear mounted GPMG from Accurate Armour with Live Resin bipod.
The stanchion from the Tamiya kit has to be shortened when using the Legend ammo holder which is okay as it is too tall, anyway.
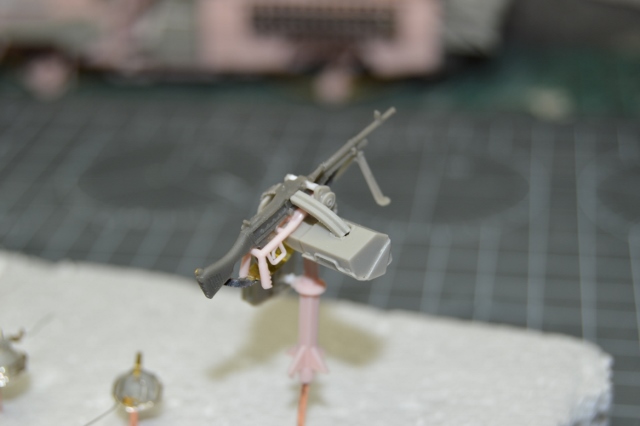
Opposite view.
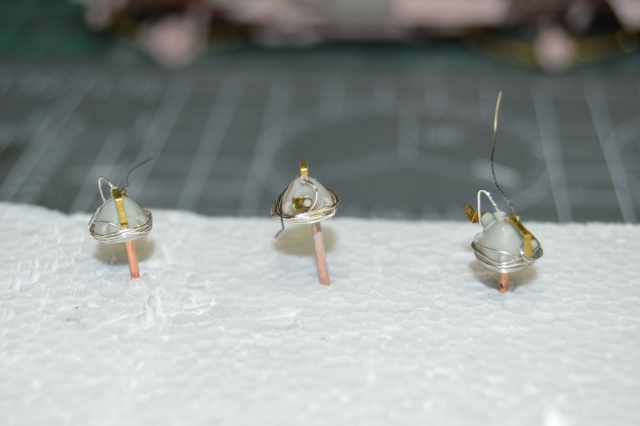
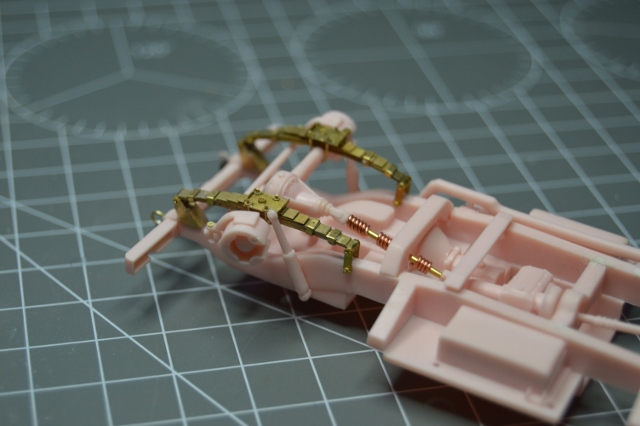
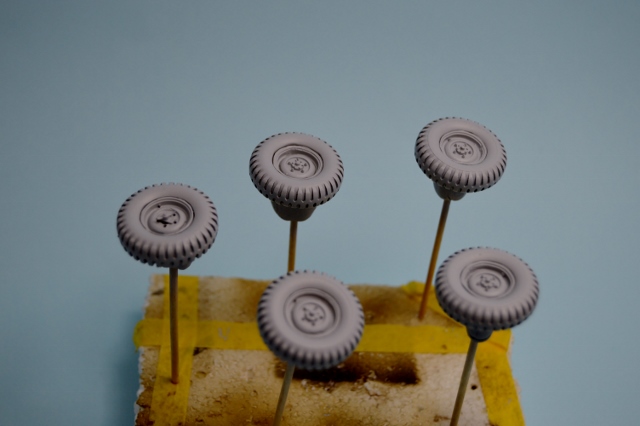
All searchlights are taken from the Legend set. I first drilled out the face so I can fit an AK 5mm white light lens after painting.
0.2mm copper wire was used to wrap around the circumference of each light. This is used to model the electric cable as seen in the reference material.
I then mounted each light onto some copper wire for ease of handling whilst painting.
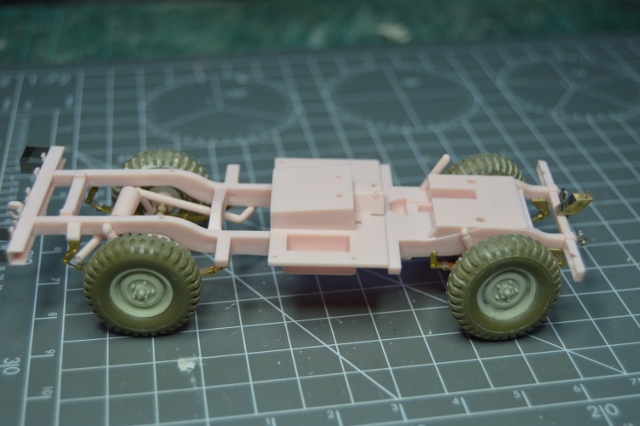
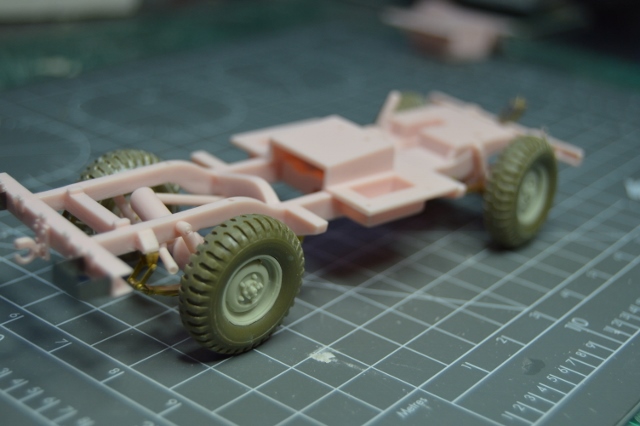
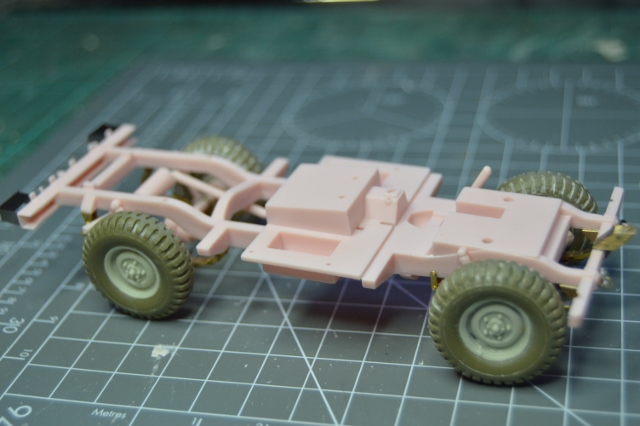
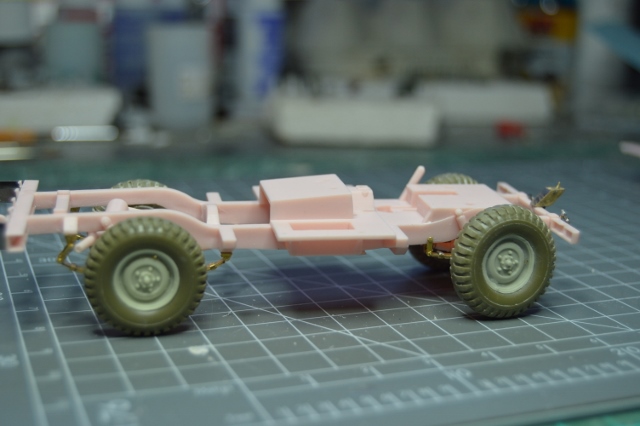
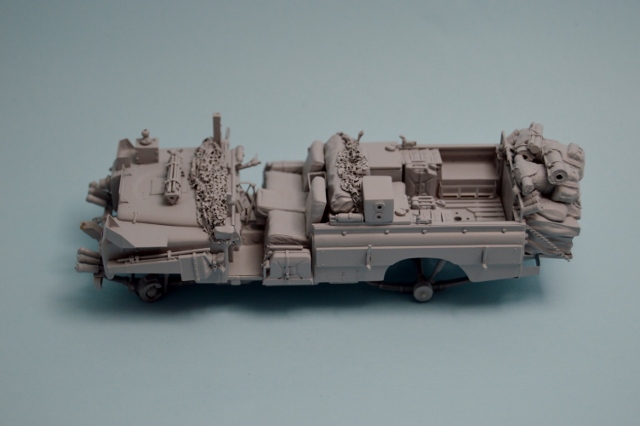
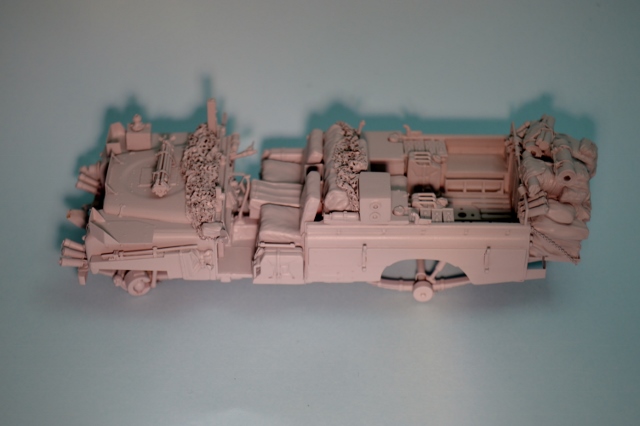
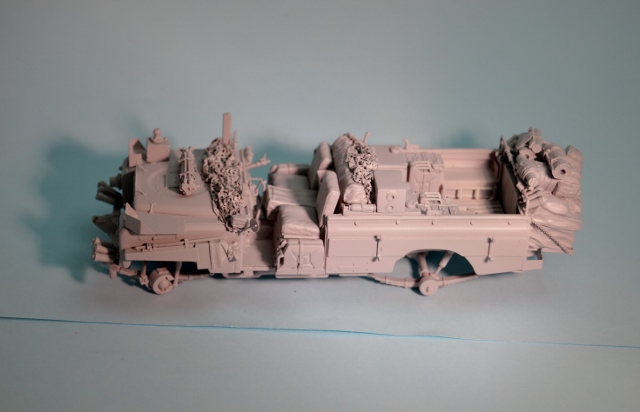
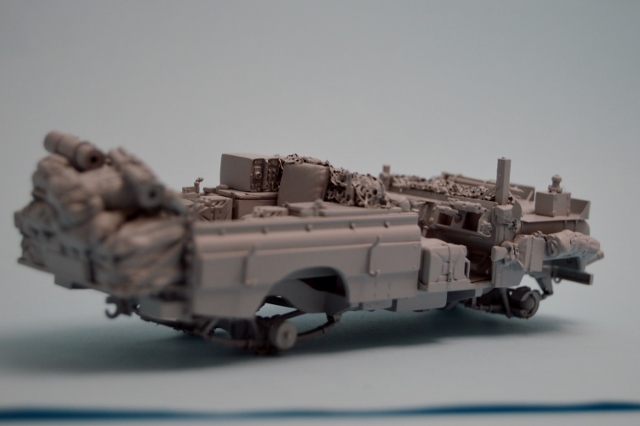
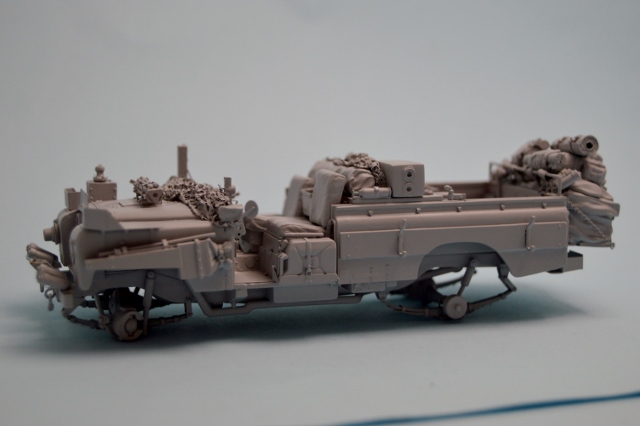
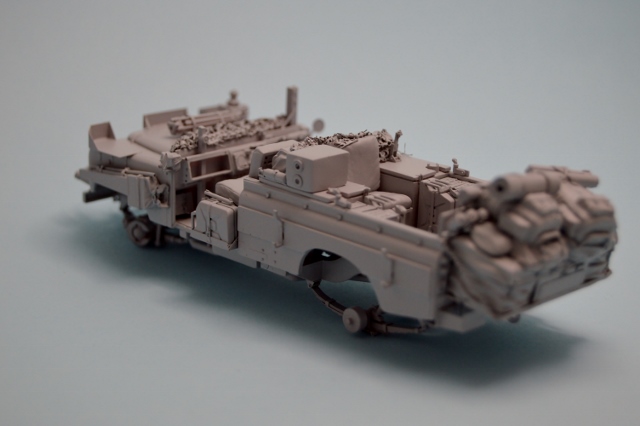
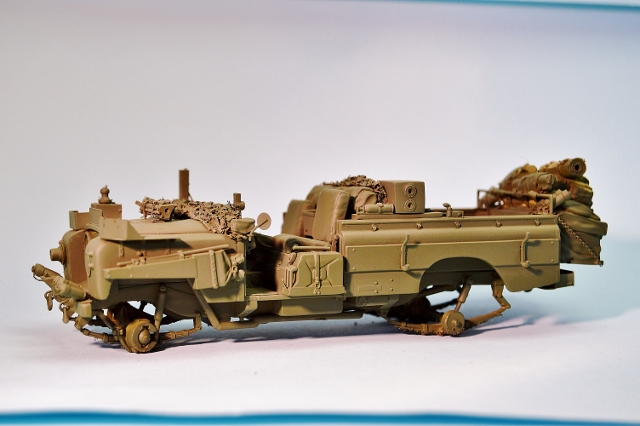
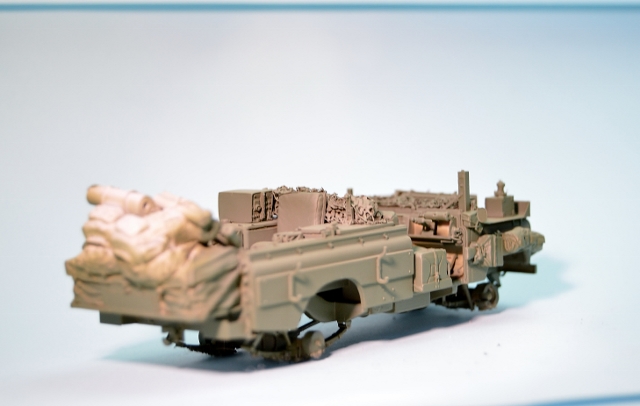
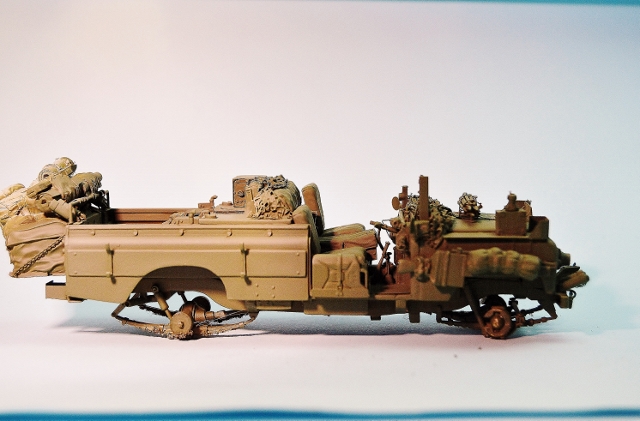
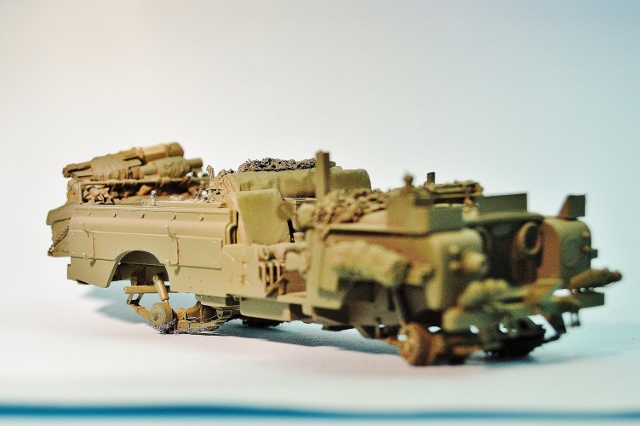
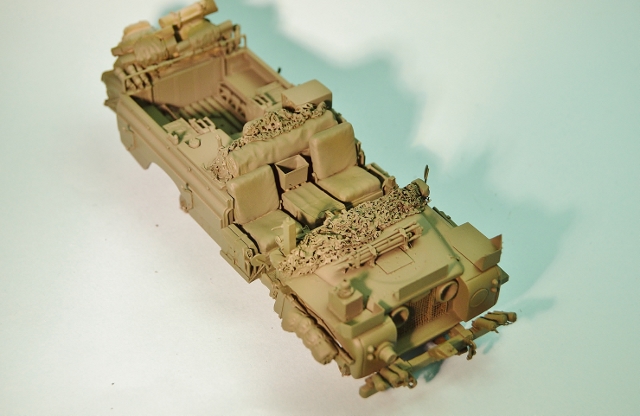
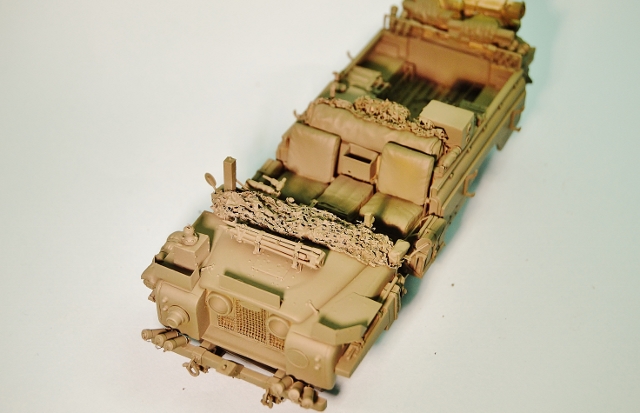
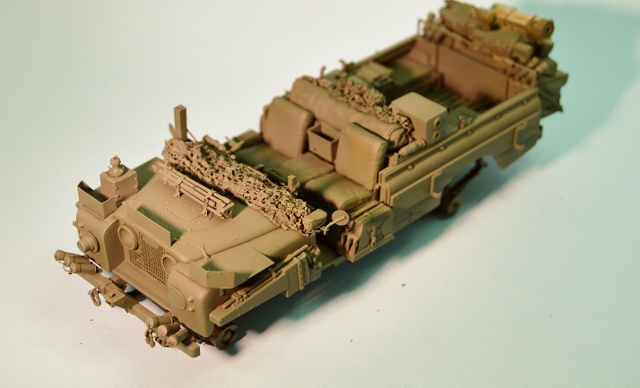
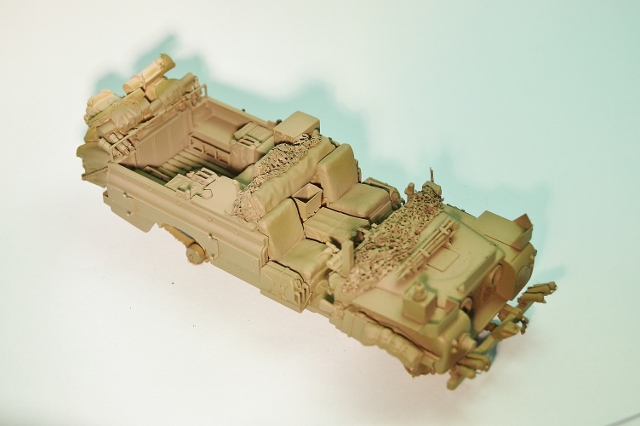
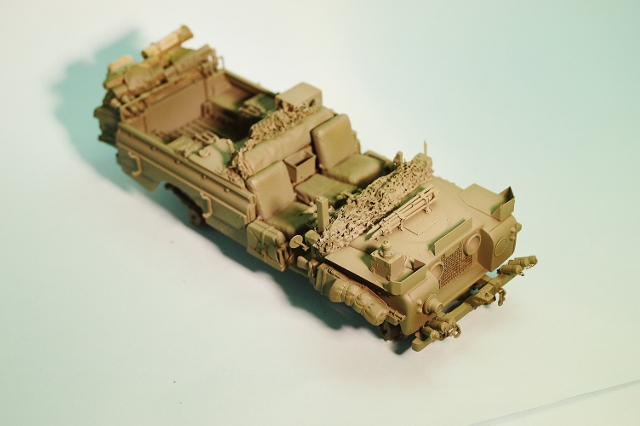
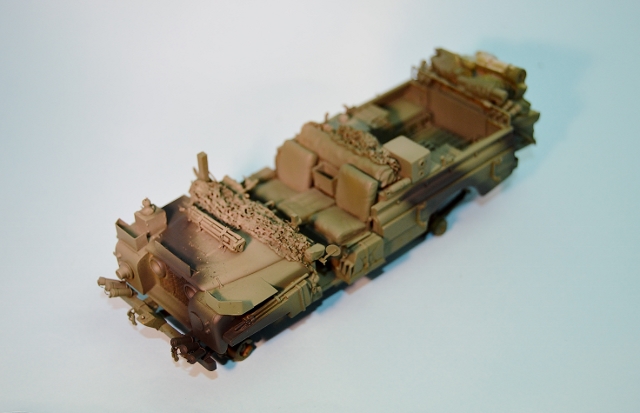
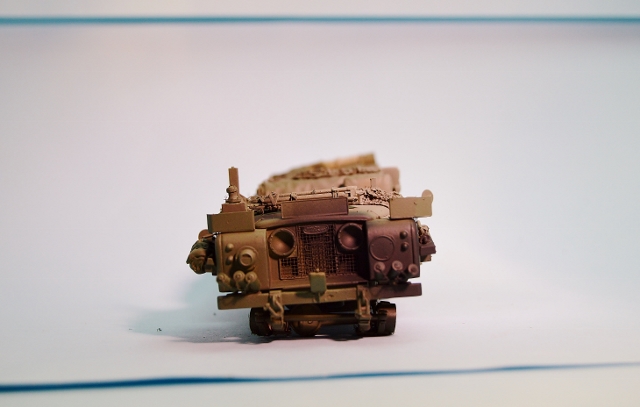
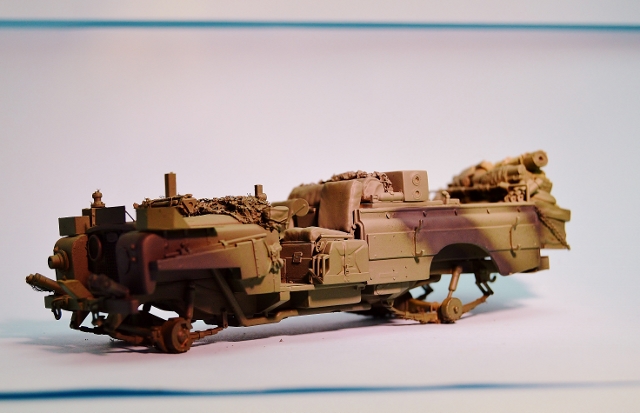
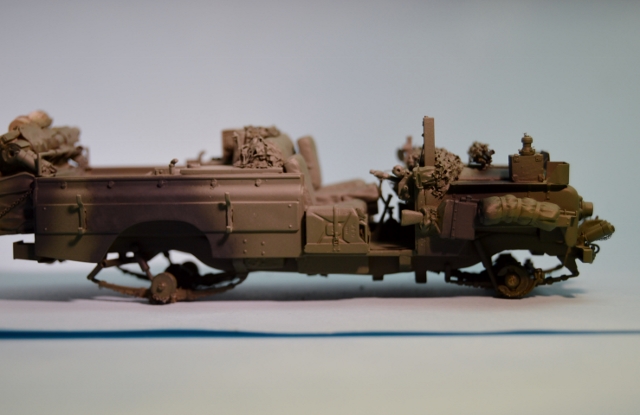
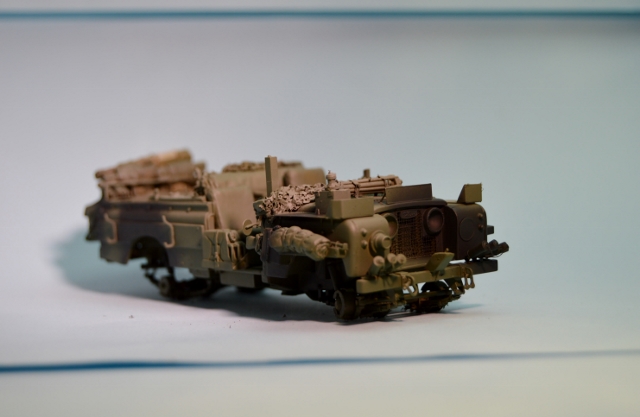
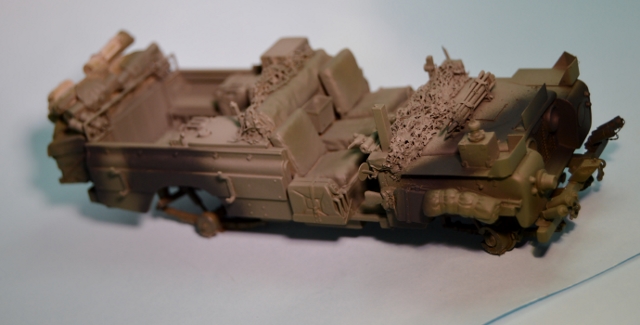
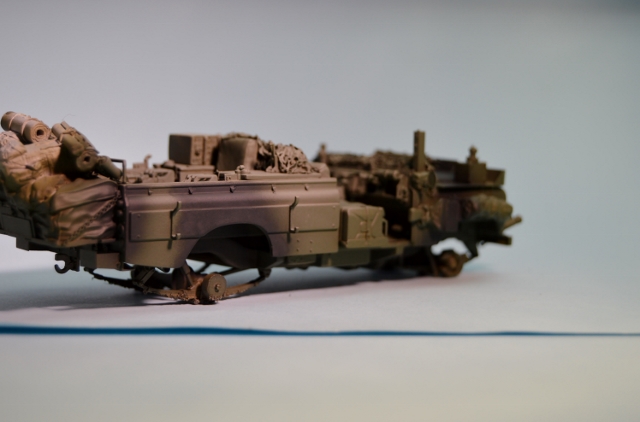
Now a few photos of the overall finished model:

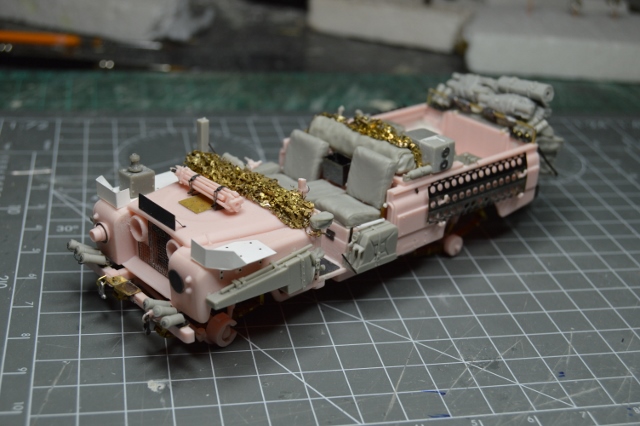
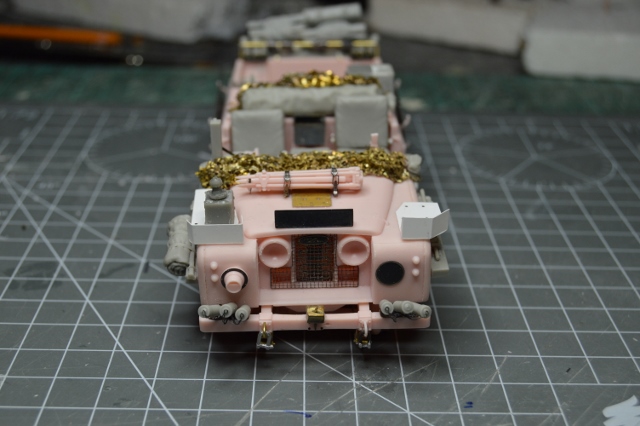
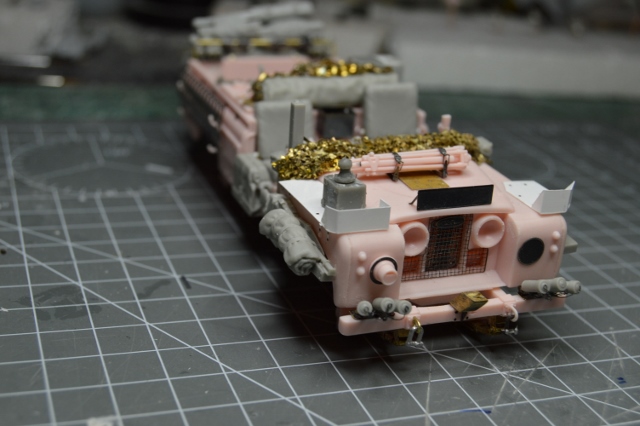

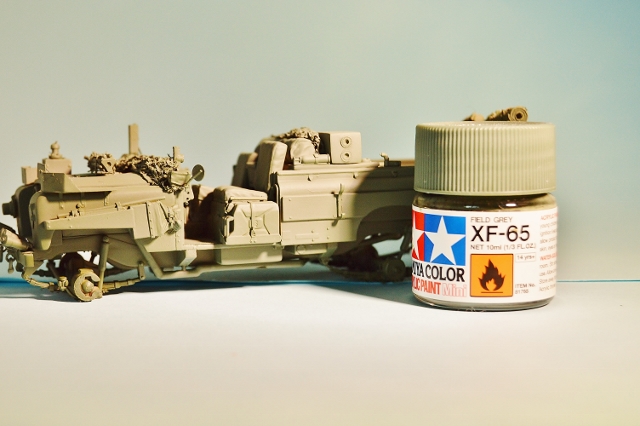
The model has been washed thoroughly by first spraying it with my 'secret' formula of blue screen wash mixed with household ammonia at a ratio of 4:1 & then showered off using tepid water & will now be left to dry overnight ready for a primer coat in the morning.
I hope you like the build so far.
Any comments or suggestions would be most welcome.