_GOTOBOTTOM
Armor/AFV: Modern - USA
Modern Armor, AFVs, and Support vehicles.
Hosted by Darren Baker
1/35 Tamiya USMC M1025 Armament Carrier
sgtsauer
#065
Visit this Community
Missouri, United States
Joined: March 30, 2002
KitMaker: 2,605 posts
Armorama: 1,814 posts
Posted: Sunday, July 06, 2014 - 04:41 PM UTC
I have started a few detailed model building projects in the last couple of years and have not finished them for various reasons.

I've been away from model building for a few months due to duty requirements and decided a quick Out-Of-Box build is in order to get back in touch with the basic model building skills.

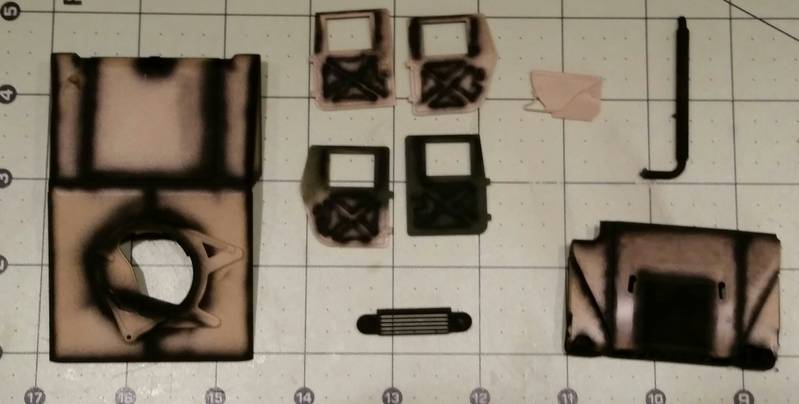
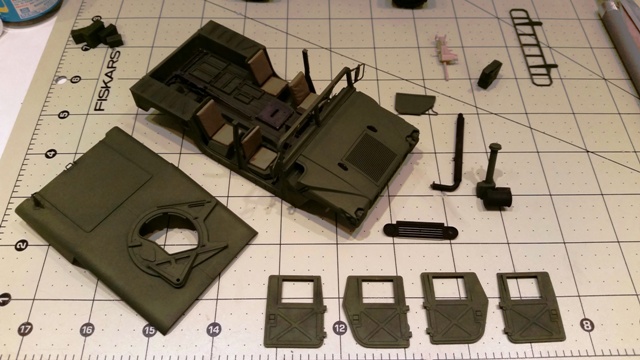
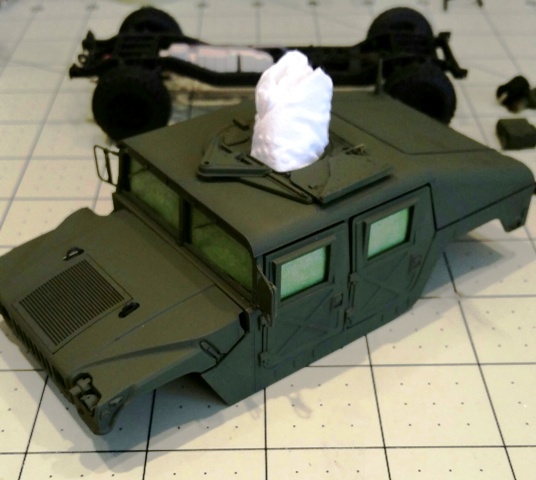
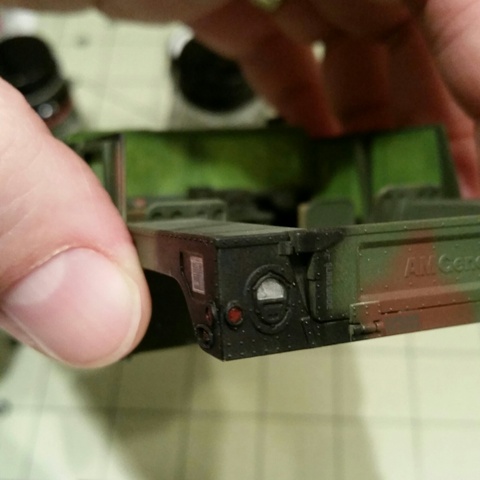
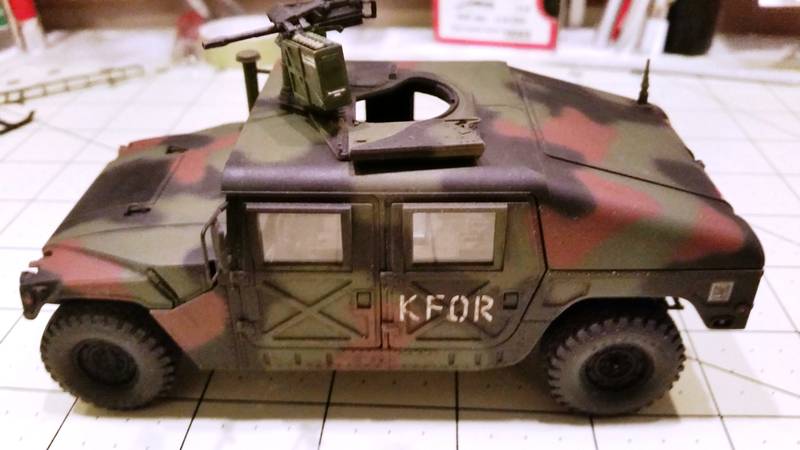
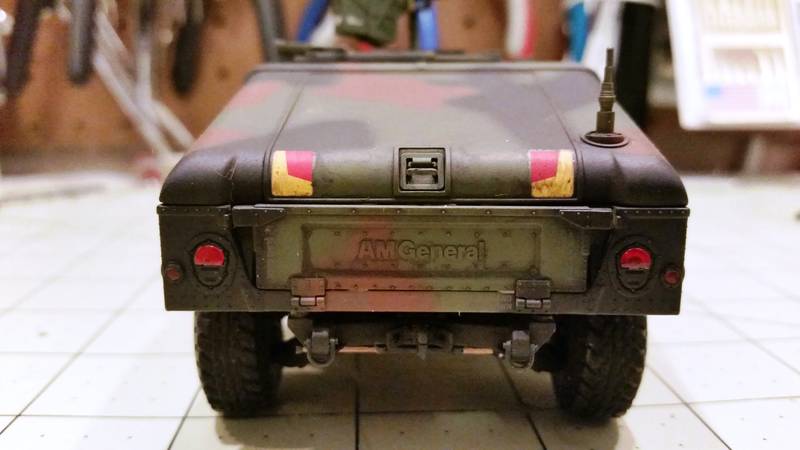
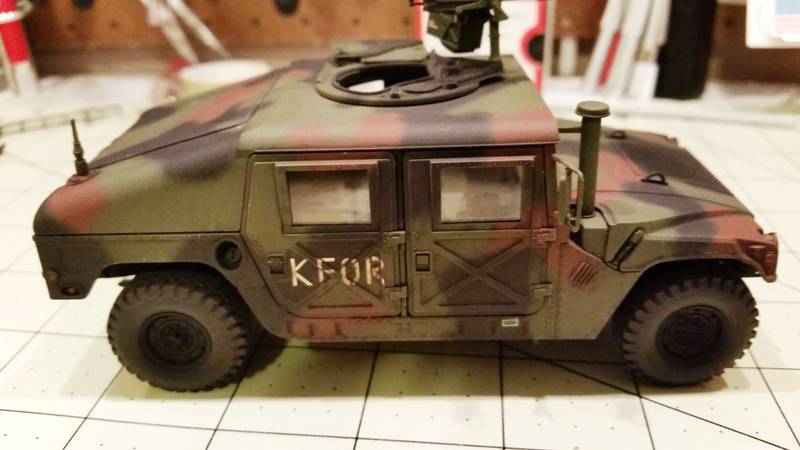
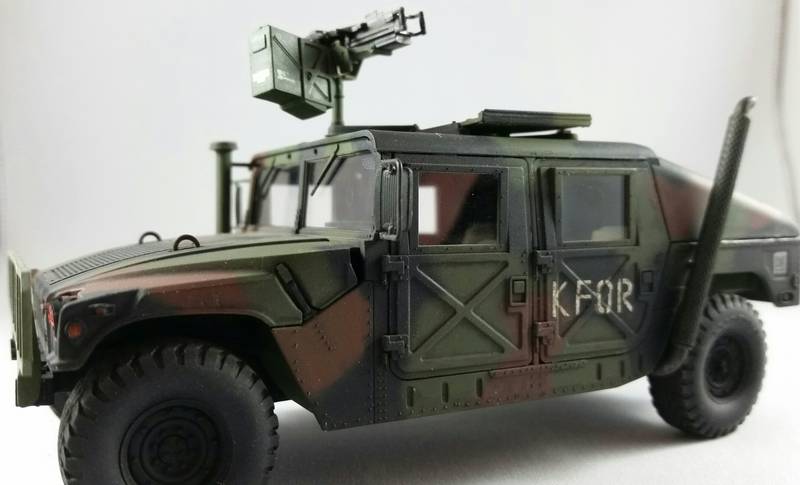
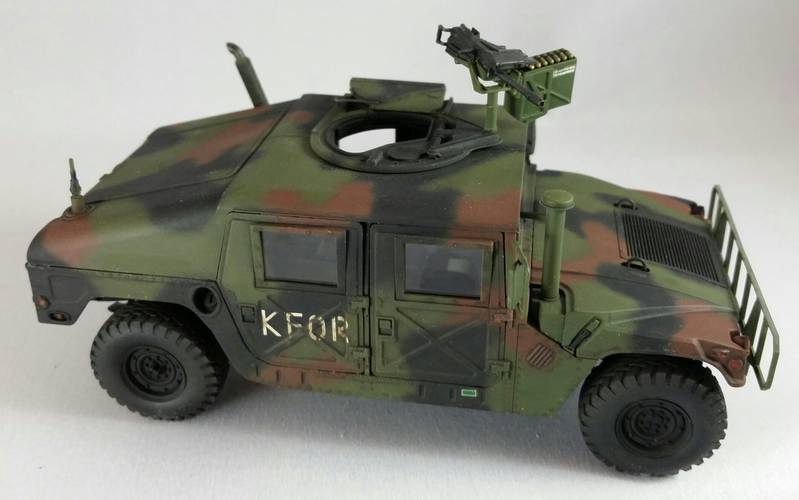
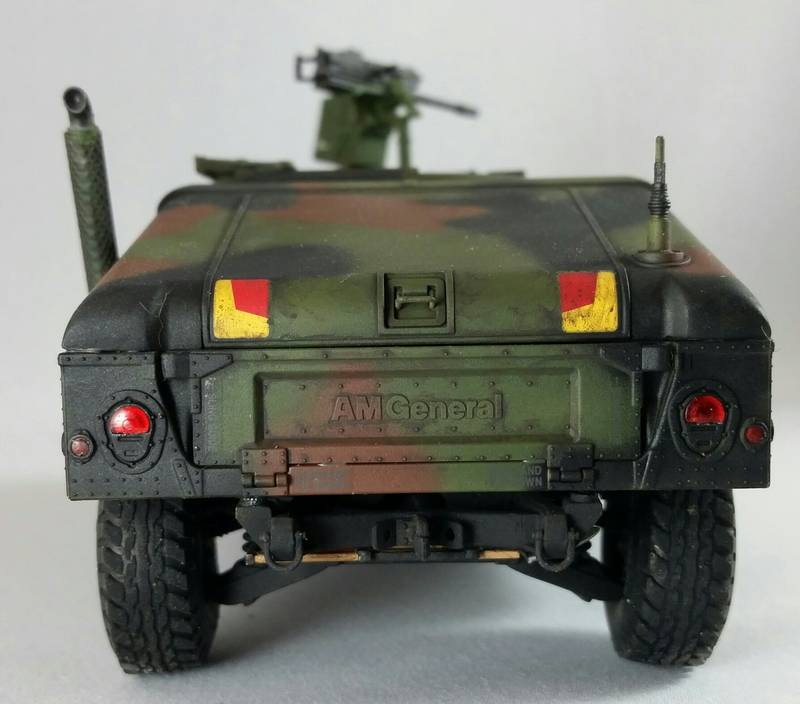
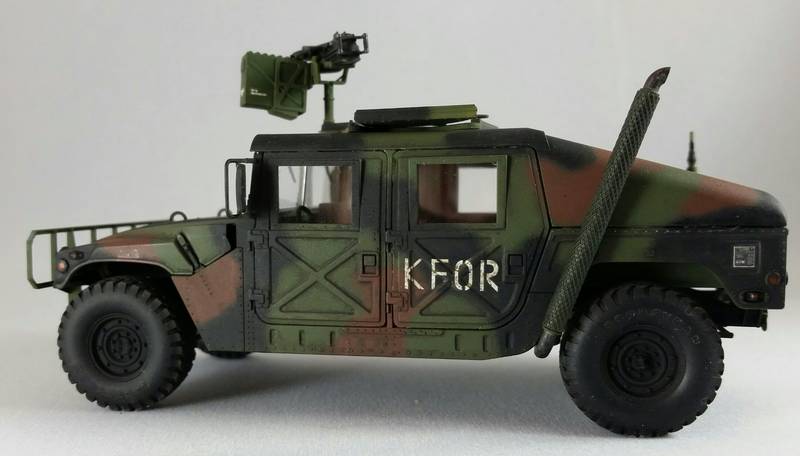
I decided to build a 1/35th scale Tamiya M1025 Armament Carrier in the Out-Of-Box configuration using spare parts and an extra copy of instructions and decals. I am building the 'Option D' USMC M1025 Armament Carrier from Kosovo 1999.

THis isn't going to be a fancy blog with pretty pictures...I'm just doing it quickly with a few comments and images thrown up periodically as things advance.

The goal here is to actually finish something, refamiliarize myself with techniques and finishes and to FINISH A MODEL KIT.

After I get this quick project completed, I will be going back to this HMMWV that I started many, many months ago...

HMMWV w/M242 Bushmaster

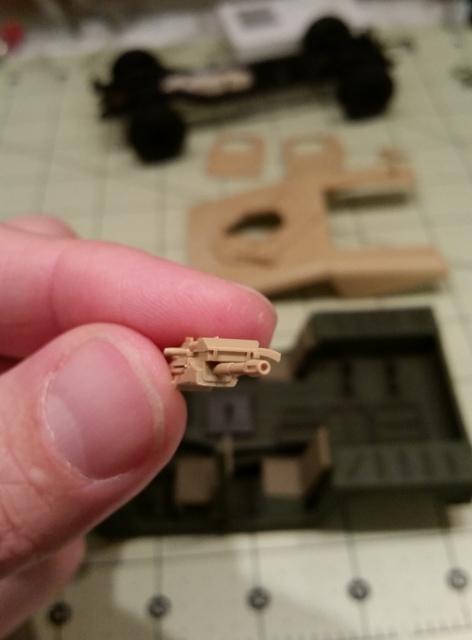
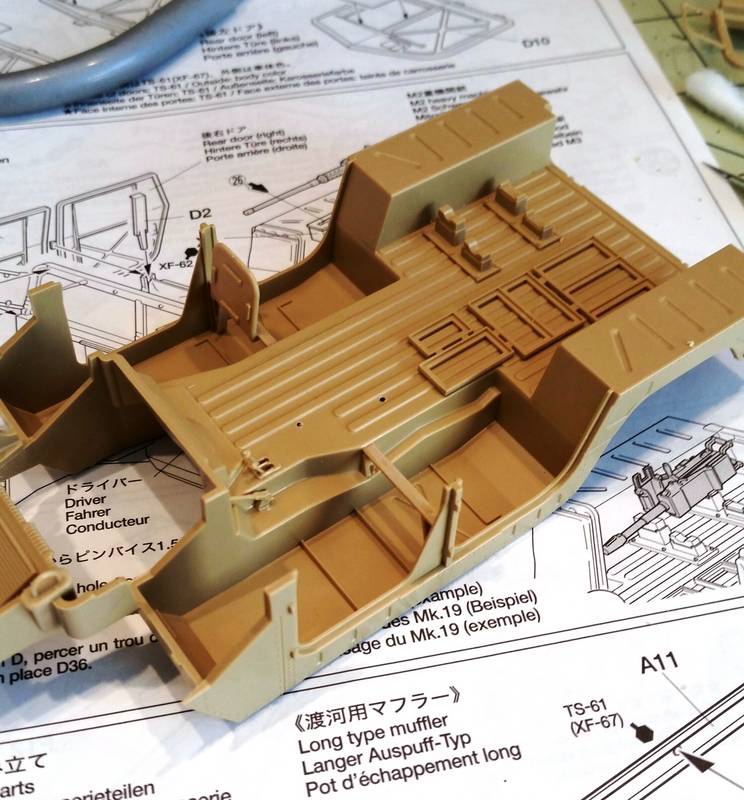
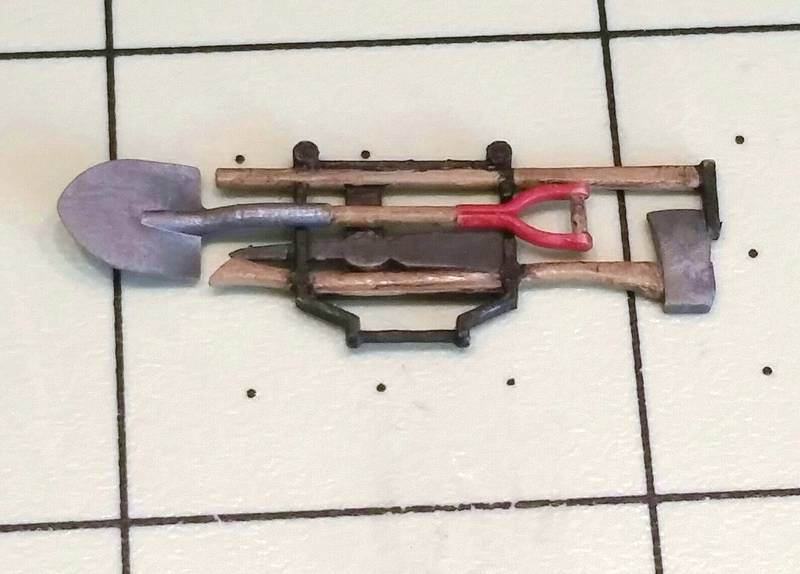
I'm not adding any extra detail at all. I am painting the details per the kit instructions and only using the decals that come in the kit.


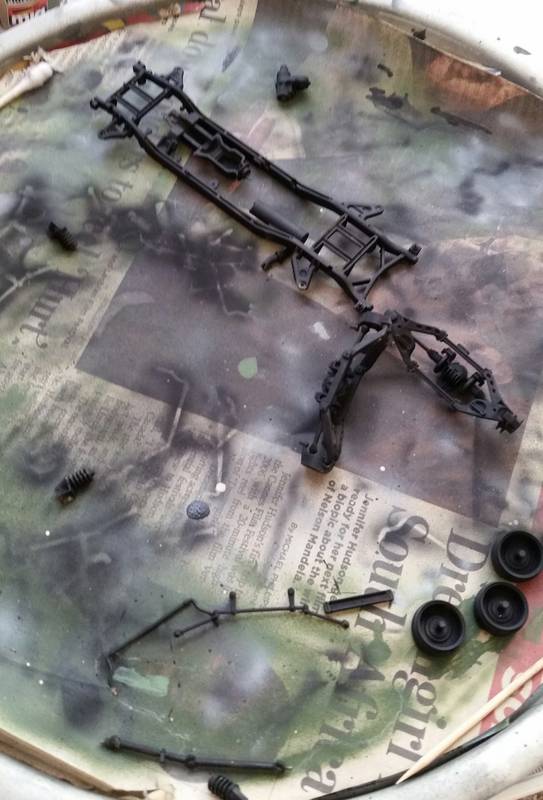
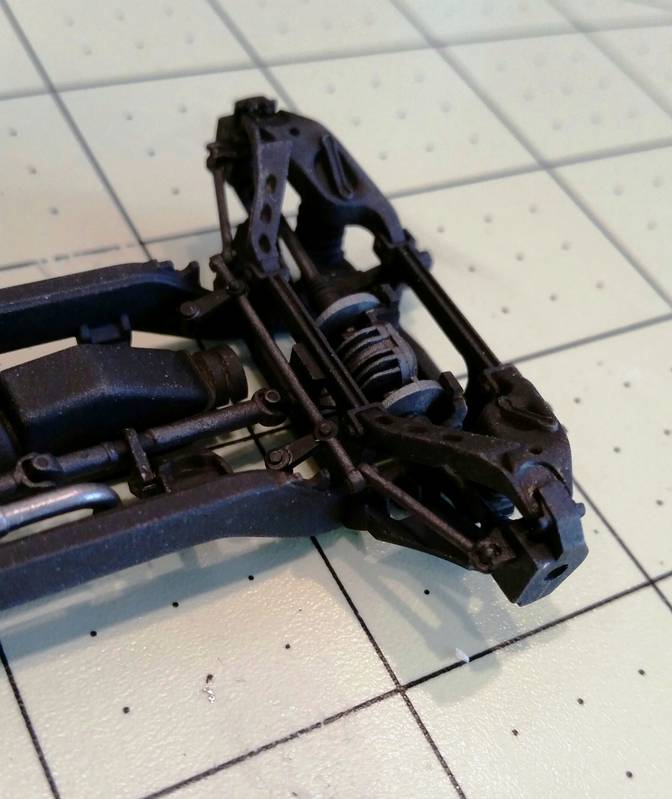
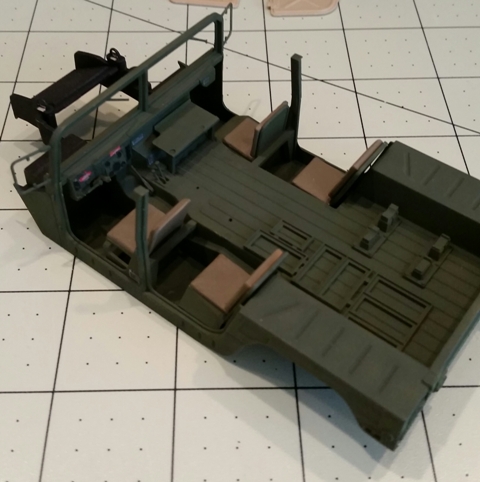
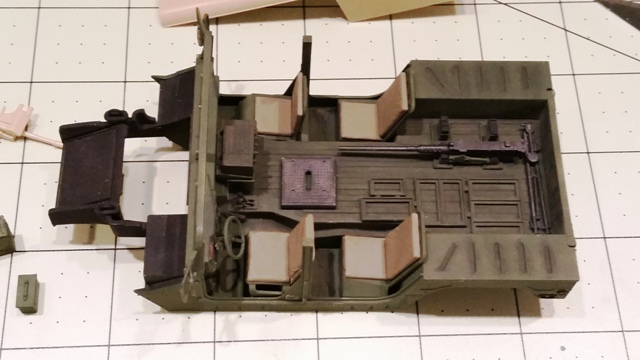
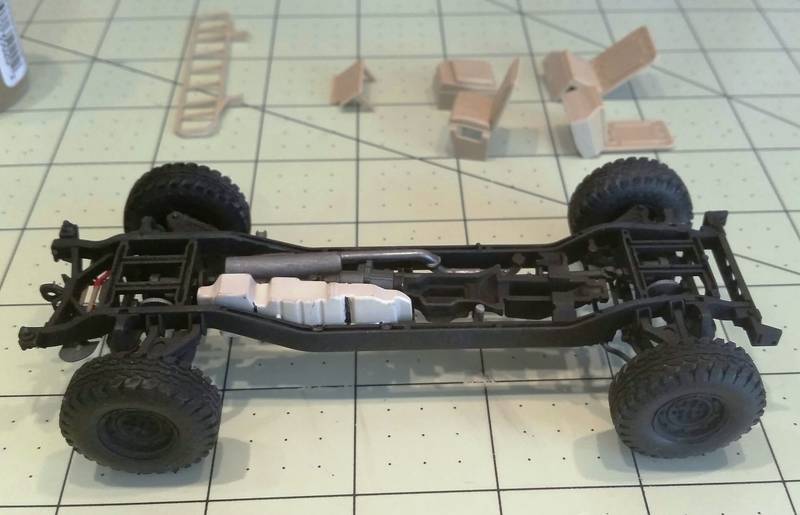
This is the top of the completed chassis.


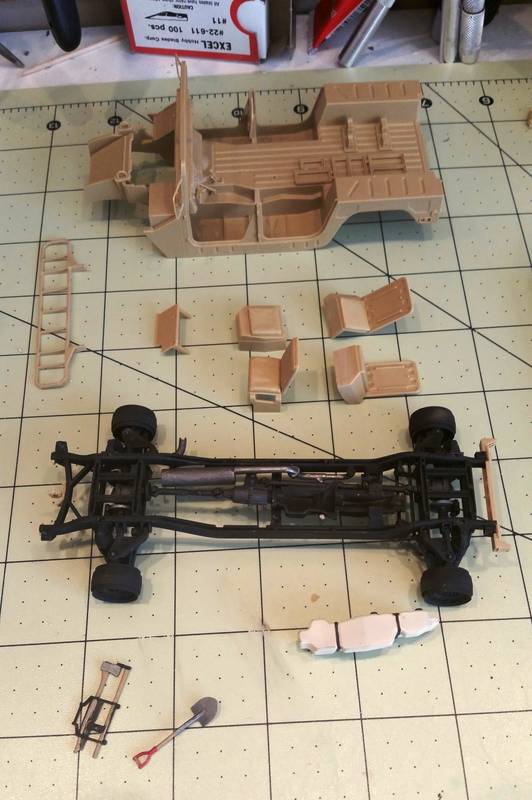
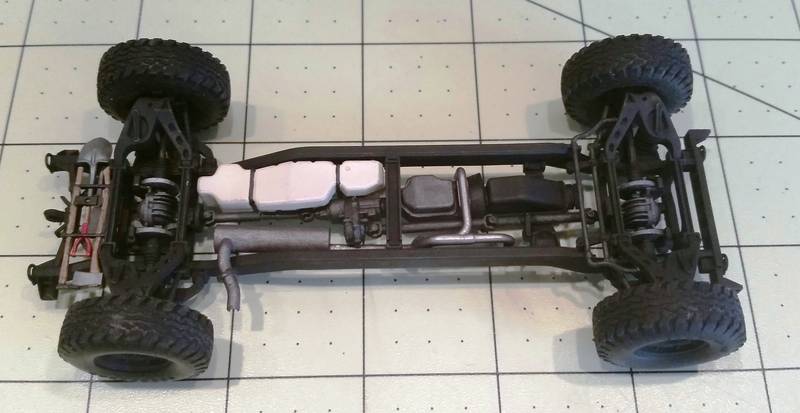
This is the bottom of the completed chassis.


More to follow tomorrow.
choko-panda
Visit this Community
Moscow, Russia
Joined: January 24, 2012
KitMaker: 177 posts
Armorama: 177 posts
Posted: Sunday, July 06, 2014 - 06:31 PM UTC
It will be very interesting to look at your blog, Brent
Tell, please, what color at a fuel tank? White or another?
djohannsen
Visit this Community
Virginia, United States
Joined: June 24, 2005
KitMaker: 364 posts
Armorama: 355 posts
Posted: Sunday, July 06, 2014 - 09:13 PM UTC
I've got this kit in a pile out in the garage, so might need to dust it off after I watch you throw it together. I didn't start this kit when I bought it, as I wanted to order the sprue from Tamiya's TOW HMMWV that has the supplemental armor for the doors (I, too, wanted to do a USMC HMG vehicle, and all Marine 1025 had the armored doors). It will be great to watch this one go together - good luck.


Dave
Maki
Staff MemberSenior Editor
ARMORAMA
Visit this Community
Croatia Hrvatska
Joined: February 13, 2002
KitMaker: 5,579 posts
Armorama: 2,988 posts
Posted: Sunday, July 06, 2014 - 09:31 PM UTC
I know what you mean about actually finishing the model after a few super detailed projects which were never completed. It is a good way of returning to modeling.

Have fun with it,
Mario
sgtsauer
#065
Visit this Community
Missouri, United States
Joined: March 30, 2002
KitMaker: 2,605 posts
Armorama: 1,814 posts
Posted: Sunday, September 07, 2014 - 04:19 PM UTC

Quoted Text

It will be very interesting to look at your blog, Brent
Tell, please, what color at a fuel tank? White or another?


Dmitry, I apologize for not answering your question sooner. The color that I use for the fuel tank is Model Master Flat White. I sometimes will use 'Buff' if I have it around.

The fuel tank on Humvees are a hard plastic and the plastic can look anywhere from a shade of flat white to an almost yellowish color hence my use of 'Buff' sometimes.
sgtsauer
#065
Visit this Community
Missouri, United States
Joined: March 30, 2002
KitMaker: 2,605 posts
Armorama: 1,814 posts
Posted: Sunday, September 07, 2014 - 04:47 PM UTC
A quick update of this project I've been poking along on...

Here I have taped off the seat fabric for airbrushing.


Some basic finishing of the interior. I painted the seats exactly as outlined in the directions since this is an OOB build. I disagree with Tamiyas color choice.


Drilled out the MK.19 Grenade Machine Gun barrel.
sgtsauer
#065
Visit this Community
Missouri, United States
Joined: March 30, 2002
KitMaker: 2,605 posts
Armorama: 1,814 posts
Posted: Monday, September 08, 2014 - 03:11 PM UTC
I made a little more progress on the humvee tonight. I got the M3 tripod added and the M2 .50 cal put in its respective brackets.


Although my main concept with this build is to build the kit out-of-box with the finish being done in the instruction color call outs, I might cave in and add 3 MK. 19 GMG 40mm ammo cans from the Tamiya modern military equipment set to the cargo area ammo can brackets. That is just too much empty space that I refuse to leave empty.

However for that effort to be worth it, I would need to use rear cargo hatch air struts from the Tamiya M1046 TOW Missile Carrier kit to have the cargo hatch open. So, I end up straying real far from my original intent. :-/
Herchealer
Visit this Community
Indiana, United States
Joined: July 31, 2003
KitMaker: 1,523 posts
Armorama: 710 posts
Posted: Wednesday, September 10, 2014 - 02:50 AM UTC
Looking good Brent, who cares if you add a couple of simple things to enhance the model... OOTB or not, If the Ammo cases and Struts are what you want to add, then do it! Then goal overall is to finish and be happy with your build...!! I say add them!!

If you need motivation, then I'll give you some... You remember the one I have with the bike on the back... I have yet to start the Humvee itself. I will start a blog in this one and we will push each other.... .. Up to you though as this is YOUR thread and build...
zorrolobo
Visit this Community
Distrito Federal, Mexico
Joined: May 31, 2013
KitMaker: 1,457 posts
Armorama: 1,440 posts
Posted: Wednesday, September 10, 2014 - 04:07 AM UTC
Very nice so far!
sgtsauer
#065
Visit this Community
Missouri, United States
Joined: March 30, 2002
KitMaker: 2,605 posts
Armorama: 1,814 posts
Posted: Saturday, September 13, 2014 - 05:11 PM UTC
I worked on this project a little bit more tonight. I assembled the engine hood, wading exhaust and the air intake/air cleaner/wiper fluid tank assembly in preperation for paint.


I'm not sure how well the molded heat guard on the wading exhaust will look after it is painted. It is very difficult to not use a photo-etch replacement.
sgtsauer
#065
Visit this Community
Missouri, United States
Joined: March 30, 2002
KitMaker: 2,605 posts
Armorama: 1,814 posts
Posted: Sunday, September 21, 2014 - 05:52 PM UTC
I haven't spent much time at the bench lately. I sat down tonight and shot a quick preshade on some of the upper body parts. I hope to get the base color on in the next couple of nights.

sgtsauer
#065
Visit this Community
Missouri, United States
Joined: March 30, 2002
KitMaker: 2,605 posts
Armorama: 1,814 posts
Posted: Thursday, October 30, 2014 - 03:29 PM UTC
Was able to sit down and airbrush a bit tonight. I got the basecoat of NATO Green on.

sgtsauer
#065
Visit this Community
Missouri, United States
Joined: March 30, 2002
KitMaker: 2,605 posts
Armorama: 1,814 posts
Posted: Friday, October 31, 2014 - 09:59 AM UTC
Spent a little more time at the bench this afternoon. I masked off the windshield and window openings and temporarily attached the basic armor doors and top. Next will come the NATO Brown camouflage color.


During final assembly I will adjust the gap between the 'B' pillar and the doors.
sgtsauer
#065
Visit this Community
Missouri, United States
Joined: March 30, 2002
KitMaker: 2,605 posts
Armorama: 1,814 posts
Posted: Saturday, November 01, 2014 - 08:01 AM UTC
Shot the NATO Black today. I'm free-handing the camouflage. I am going to have to go back and revise some spots where I messed up the pattern to clean up some overspray.

I'm not overly happy with the way it is turning out but the key is to drive on and complete it. I'm still a novice with the airbrush and the only way to improve is to keep going and learn along the way.

sgtsauer
#065
Visit this Community
Missouri, United States
Joined: March 30, 2002
KitMaker: 2,605 posts
Armorama: 1,814 posts
Posted: Saturday, November 01, 2014 - 03:54 PM UTC
I had seen many people talk about using Silly Putty for a masking medium when doing camouflage jobs. I thought I would give it a try with this project.

I delineated a few areas for the NATO brown that I had to apply.


In this photo, I have just sprayed the NATO brown...


This photo shows the silly putty removed. You can see the brown doesn't line up correctly with the black...I found this method difficult to use because of how hard it is to properly align the silly putty so that the color demarcation was correct. Additionally, the silly putty leaves a 'hard edge' camouflage which is incorrect for my vehicle.


After spraying the three areas, I decided to spray the rest of the NATO brown areas by freehand. I resprayed the three areas that were done with silly putty to soften the camouflage demarcation. This photo shows the preliminary 3-tone camouflage. I need to revise a couple of the black areas and do some touch up work on the green areas.
AnnaTC
Visit this Community
Colorado, United States
Joined: October 28, 2014
KitMaker: 10 posts
Armorama: 10 posts
Posted: Saturday, November 01, 2014 - 04:38 PM UTC
Hi, looks like you're doing well, and improvising. I mask sometimes with Blue-tak, or Stik Tak Poster Putty. It's similar to Silly Putty, and takes shapes well.

I sprayed several Walkers from DUST Tactics with Tamiya sprays,sort of a 3-color "ambush" scheme, and the Blue Tak gave me a semi-soft demarcation line, somewhat like a really good paint gun would do in full size.

It might be worth a try.
sgtsauer
#065
Visit this Community
Missouri, United States
Joined: March 30, 2002
KitMaker: 2,605 posts
Armorama: 1,814 posts
Posted: Tuesday, December 23, 2014 - 07:18 AM UTC
Back with a little more progress on this project.

Masked cradle for MK.19 ammo can.


Painted reflectors and marker lights.


Painted taillights and front drive lights using Tamiya clear colors.


I have decals on and have completed initial wash and filter. The doors and top are temporarily tacked on.

Cookiescool2
Visit this Community
Georgia, United States
Joined: May 09, 2014
KitMaker: 273 posts
Armorama: 270 posts
Posted: Tuesday, December 23, 2014 - 08:11 AM UTC
It's looking good! Looking forward to the next update, Happy Holidays!
grimmo
Visit this Community
Queensland, Australia
Joined: January 17, 2006
KitMaker: 752 posts
Armorama: 569 posts
Posted: Tuesday, December 23, 2014 - 08:58 AM UTC
great work so far! when I use blue tac to do my camouflage, I overlap the blue tac over the previous colour, rather than try and get it right on the line.

MERRY CHRISTMAS!
sgtsauer
#065
Visit this Community
Missouri, United States
Joined: March 30, 2002
KitMaker: 2,605 posts
Armorama: 1,814 posts
Posted: Wednesday, December 31, 2014 - 09:47 PM UTC
Here is the current status of the project. I have completed a wash and filter application and installed the headlights/tail lights. I still need to install the brushguard, wading exhaust and do some more detail painting.


Maki
Staff MemberSenior Editor
ARMORAMA
Visit this Community
Croatia Hrvatska
Joined: February 13, 2002
KitMaker: 5,579 posts
Armorama: 2,988 posts
Posted: Thursday, January 01, 2015 - 01:11 AM UTC
Nice and clean. Since this is KFOR vehicle, have you planned some heavy weathering?

Mario
sgtsauer
#065
Visit this Community
Missouri, United States
Joined: March 30, 2002
KitMaker: 2,605 posts
Armorama: 1,814 posts
Posted: Thursday, January 01, 2015 - 01:25 AM UTC
Thanks Maki....I will not be weathering it heavily.
sgtsauer
#065
Visit this Community
Missouri, United States
Joined: March 30, 2002
KitMaker: 2,605 posts
Armorama: 1,814 posts
Posted: Thursday, January 01, 2015 - 10:40 AM UTC
Well, I think I'm calling it done. I may go back and tweak something later but probably not. Its not a museum piece but its a small victory for me.....The first completed kit since February 2010.


Foxtrot1
Visit this Community
Gauteng, South Africa
Joined: March 03, 2011
KitMaker: 234 posts
Armorama: 200 posts
Posted: Wednesday, February 18, 2015 - 12:53 PM UTC
She looks great Brent. I really like the look of the rear lights, and the 40mm ammo belt.

Now, when are you going to get back to that intense M996 build....?
The_musings_of_NBNoG
Visit this Community
Oregon, United States
Joined: January 08, 2012
KitMaker: 520 posts
Armorama: 516 posts
Posted: Wednesday, February 18, 2015 - 02:30 PM UTC
Congratz...first in 5 years?...
your down and dirty looks like Cinderella to me
 _GOTOTOP