M21 Battle of the Bulge Anniversary
Slovakia
Joined: October 15, 2010
KitMaker: 825 posts
Armorama: 246 posts
Posted: Saturday, December 13, 2014 - 06:31 PM UTC
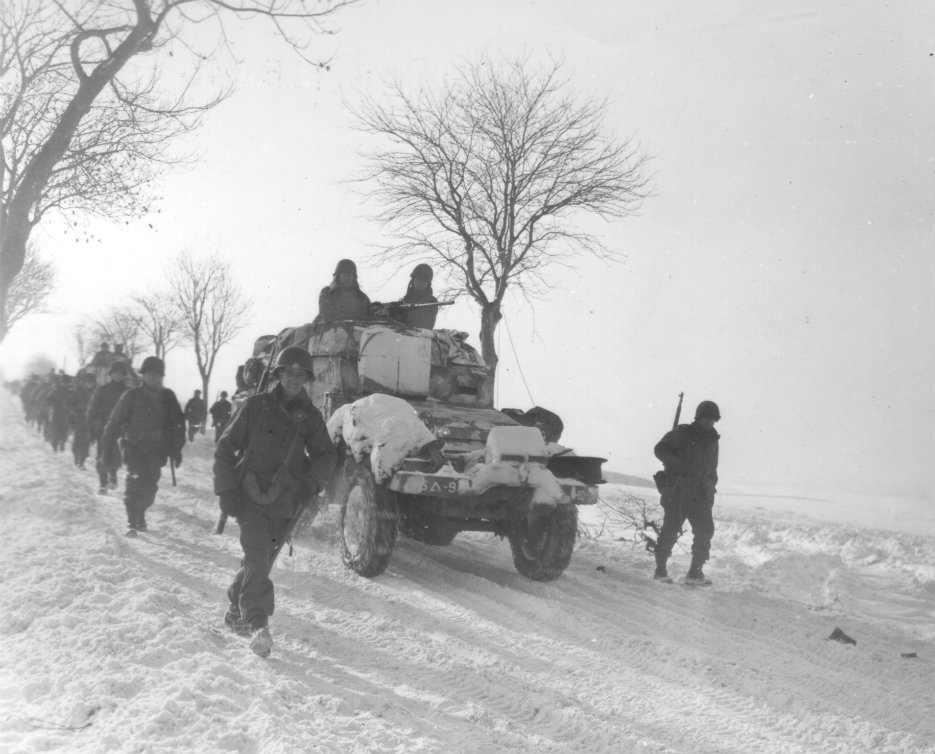
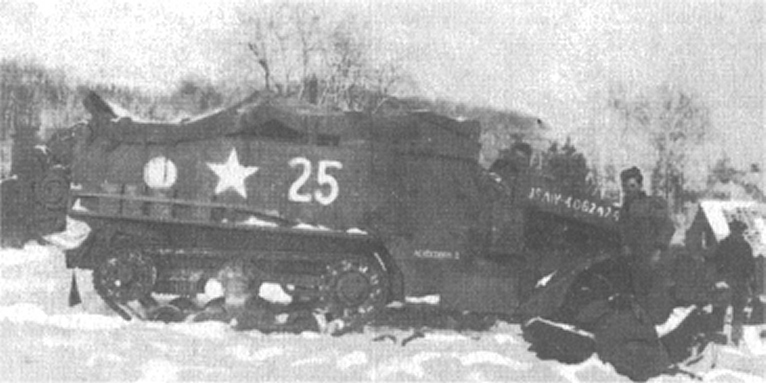
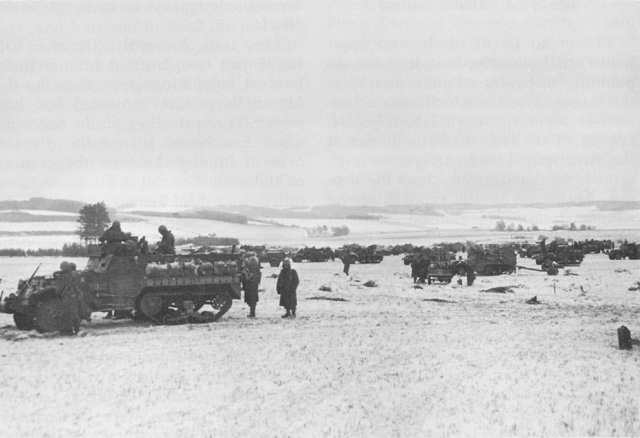
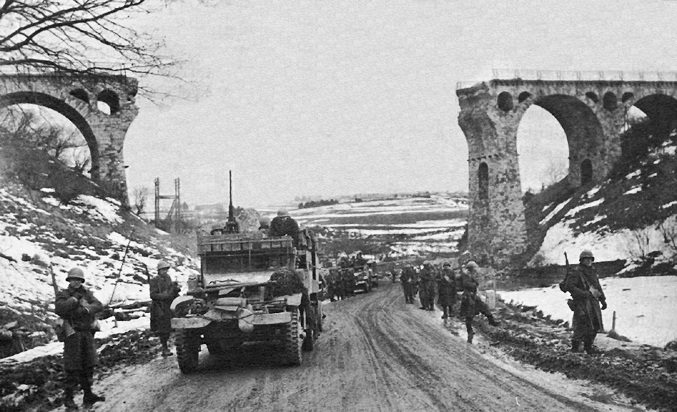
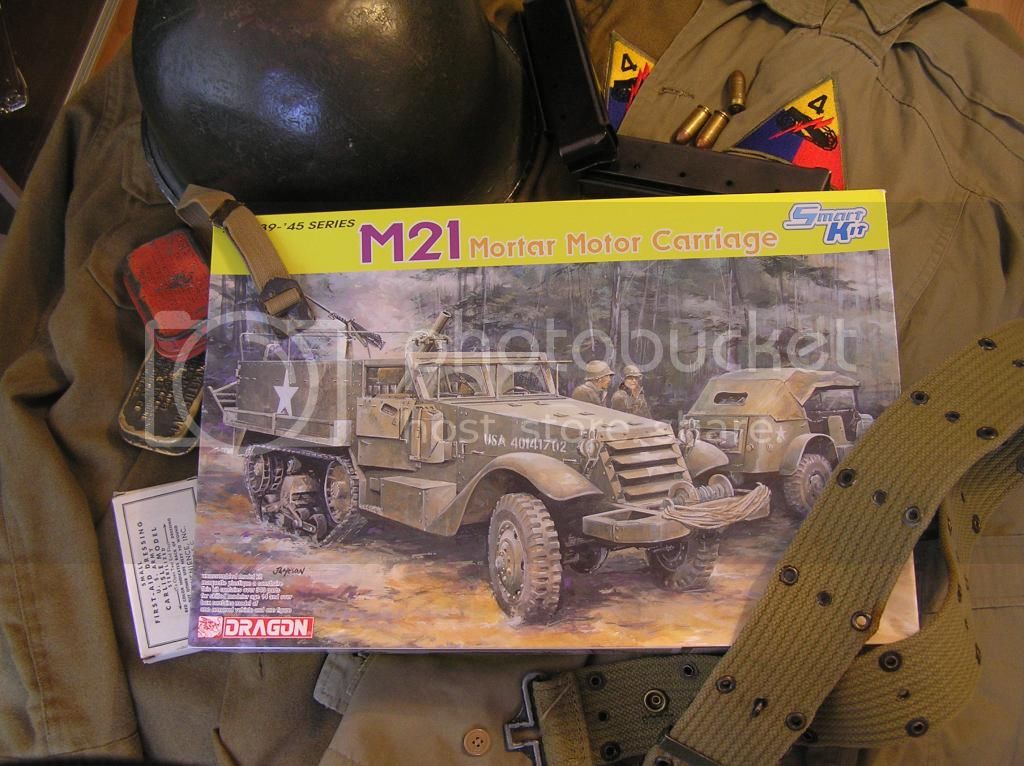
70 Years ago began the Battle of the Bulge, or as we Europeans know it, the Battle of Ardennes. For Years, this battle fascinated me more than any other. I have visited the battlefields and I have collected books and artefacts linking to this major battle. Now with the anniversary in two days, I decided to do another thematic build. The chosen subject will be something less common - a M21 Mortar carrier in 1/35. I will use the Dragon kit with som additional equipment, but its possible that there will be more AM stuff added then what You see right now. There will be no diorama, but I will add some figurines to it. This one will take a while since I plan to do this a bit more special.

Michigan, United States
Joined: October 28, 2002
KitMaker: 4,021 posts
Armorama: 3,947 posts
Posted: Saturday, December 13, 2014 - 07:43 PM UTC
Great! I'm a great fan of the DML Half track kits and have built up four already (I'm currently working on the M4 Mortar carrier). Depending on how detailed/accurate you want to get, contact me and I can get you a list of fixes generic to all DML half tracks.
roy(dot)chow(at)aya(dot)yale(dot)edu
Roy Chow
Join AMPS!
www.amps-armor.org
Indiana, United States
Joined: June 10, 2005
KitMaker: 6,188 posts
Armorama: 5,960 posts
Posted: Saturday, December 13, 2014 - 09:00 PM UTC
Nice! Great idea!
I need to scare up something to build too.

Jeff
Slovakia
Joined: October 15, 2010
KitMaker: 825 posts
Armorama: 246 posts
Posted: Tuesday, December 16, 2014 - 02:10 AM UTC
Thanks Guys for the comments.
@Roy Im not an expert on the Halfracks, what Im interesting in is if there are any major issues which need to be fixed.
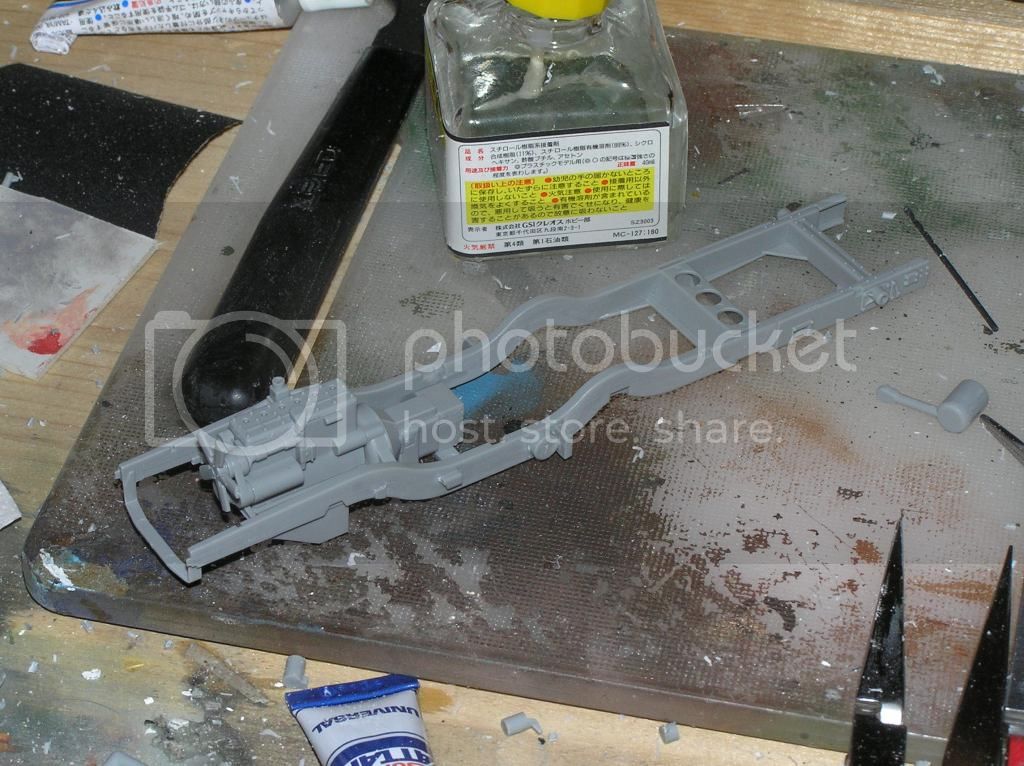
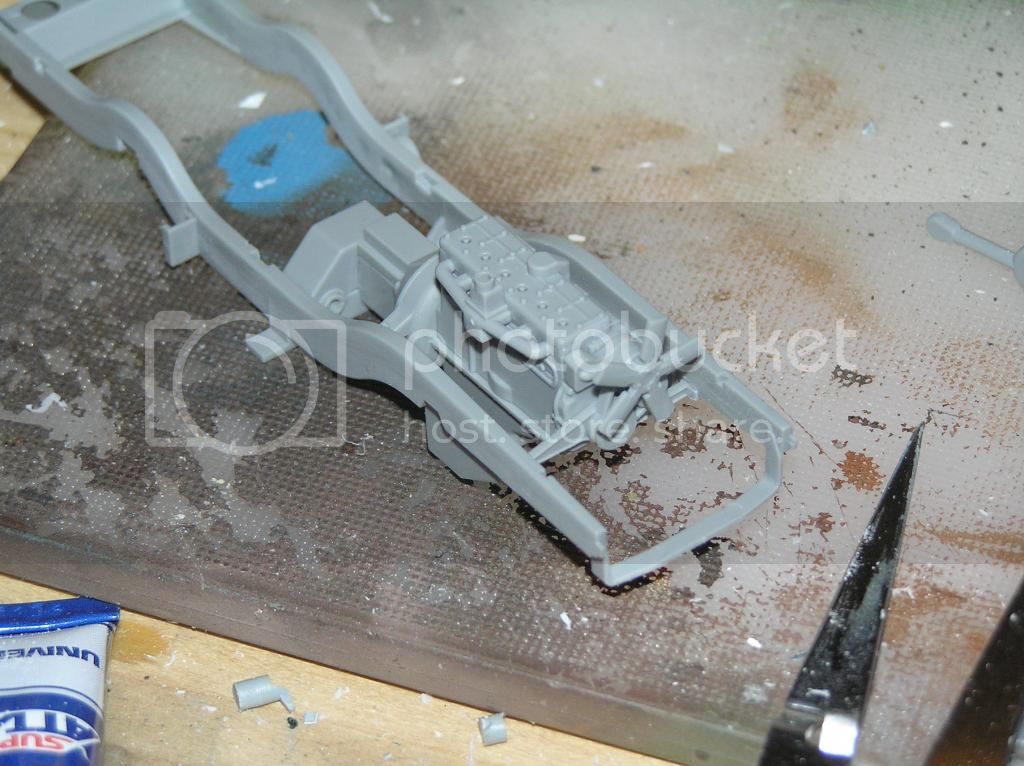
So today I started to cut and glue. Contrary to the instructions, I istarted with cleaning the vehicle frame and addint pieces to it. Part went nicely together and no major cleanup was needed.
Queensland, Australia
Joined: October 02, 2008
KitMaker: 658 posts
Armorama: 629 posts
Posted: Tuesday, December 16, 2014 - 02:26 AM UTC
Quoted Text
Great! I'm a great fan of the DML Half track kits and have built up four already (I'm currently working on the M4 Mortar carrier).
Roy
I've nearly finished that kit, modified so that the mortar fires forward. You show me yours and I'll show you mine . . .

Regards
Rob
Michigan, United States
Joined: October 28, 2002
KitMaker: 4,021 posts
Armorama: 3,947 posts
Posted: Tuesday, December 16, 2014 - 03:32 AM UTC
Hi Naseby: Some hints for the DML Halftracks
Basic fixes:
1) on front frame, attach front frame parts C20 and C22 (which attach to the winch bumper) to the main frame A42 before the front leaf springs (A33 and A32). It'll align better.
2) replace the too-short connecting rods on parts D22 with a 7-mm length of 1-mm diameter rod
3) scratch build an exhaust pipe bracket to the right bogie
4) maybe carve out the lumps that DML would have you add the jerry cans? In reality it was a bracket.
5) armored windscreen B3 is missing two rivets on the right hinge
6) add a power take off handle for the winch control
If you want the full monty as far as rivet replacement and other tweaks, I can provide them too!
@wedgetail53 check your PM. I'm doing the same thing, the 2AD modified M4A1 MMC.
Roy Chow
Join AMPS!
www.amps-armor.org

#023
Zurich, Switzerland
Joined: March 13, 2009
KitMaker: 2,058 posts
Armorama: 1,656 posts
Posted: Tuesday, December 16, 2014 - 05:26 PM UTC
Hi Naseby
Nice to see another Halftrack coming along. Will be checking in often!
Cheers!
Stefan
Too many models - too little time...
Dalarnas, Sweden
Joined: March 24, 2006
KitMaker: 2,093 posts
Armorama: 1,359 posts
Posted: Tuesday, December 16, 2014 - 08:15 PM UTC
Cool!
I'll be watching this one as well!
Working on:
Reworking Italeri/Zvezda T 34/76
http://scalemodelling-by-ron.blogspot.se/
Slovakia
Joined: October 15, 2010
KitMaker: 825 posts
Armorama: 246 posts
Posted: Thursday, December 18, 2014 - 02:10 AM UTC
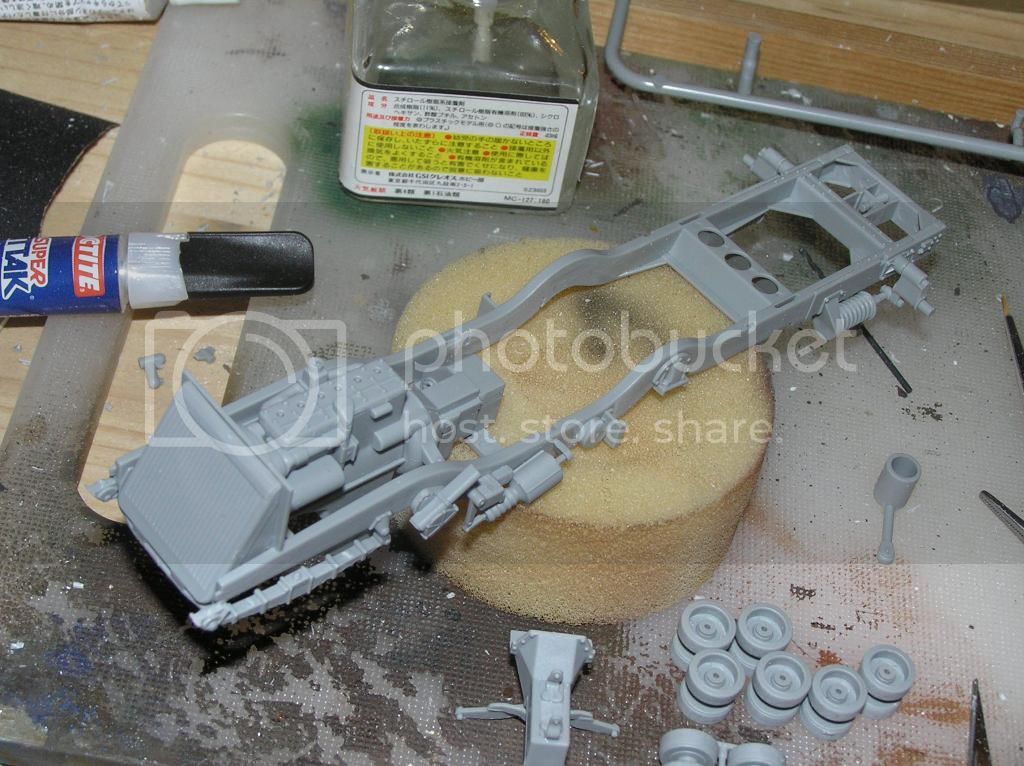
Thanks Guys for the comments, Roy thanks for the details, I will look into that. Unfortunatelly the front leafs were already glued in place when I read Your comment, but I will have to deal with the D22 parts, thats for sure. I will be using the tracks from the kit, so maybe I will glue the wheels in place since they will not move anyway. There is also another issue - the part D34 in instructions is turned the other way around. Fortunatelly I had some walkaround pictures and noticed this in time.
So here we ar so far :
Slovakia
Joined: October 15, 2010
KitMaker: 825 posts
Armorama: 246 posts
Posted: Saturday, December 20, 2014 - 08:20 PM UTC
Michigan, United States
Joined: October 28, 2002
KitMaker: 4,021 posts
Armorama: 3,947 posts
Posted: Saturday, December 20, 2014 - 08:45 PM UTC
Here's an additional hint for you: see the air filter (A37) that's part of the engine? Cut it and insert it between winch rope roller parts C28 and 19. I do this to add bulk to the winch rope. I then wind a single layer of metallic embroidery thread over A37. I also use other aftermarket chain and glue hook C32 to it. I find the DML supplied rope and chain to be too thick and out of scale.
I got my thread from Michaels or a sewing place. The metalized embroidery thread has no fuzzies and mimics the winch rope very well in this scale.
At this stage, don't worry about gluing either the drive sprocket assemblies or the idlers to either their axles or to the tracks. I leave them all separate to aid in painting.
Also check on inserting part B2. You may have difficulty b/c you already glued the frame to B9
Roy Chow
Join AMPS!
www.amps-armor.org
Slovakia
Joined: October 15, 2010
KitMaker: 825 posts
Armorama: 246 posts
Posted: Wednesday, December 24, 2014 - 12:01 AM UTC
Slovakia
Joined: October 15, 2010
KitMaker: 825 posts
Armorama: 246 posts
Posted: Wednesday, December 24, 2014 - 11:37 PM UTC
Slovakia
Joined: October 15, 2010
KitMaker: 825 posts
Armorama: 246 posts
Posted: Friday, December 26, 2014 - 05:12 AM UTC
Slovakia
Joined: October 15, 2010
KitMaker: 825 posts
Armorama: 246 posts
Posted: Thursday, January 01, 2015 - 02:01 AM UTC
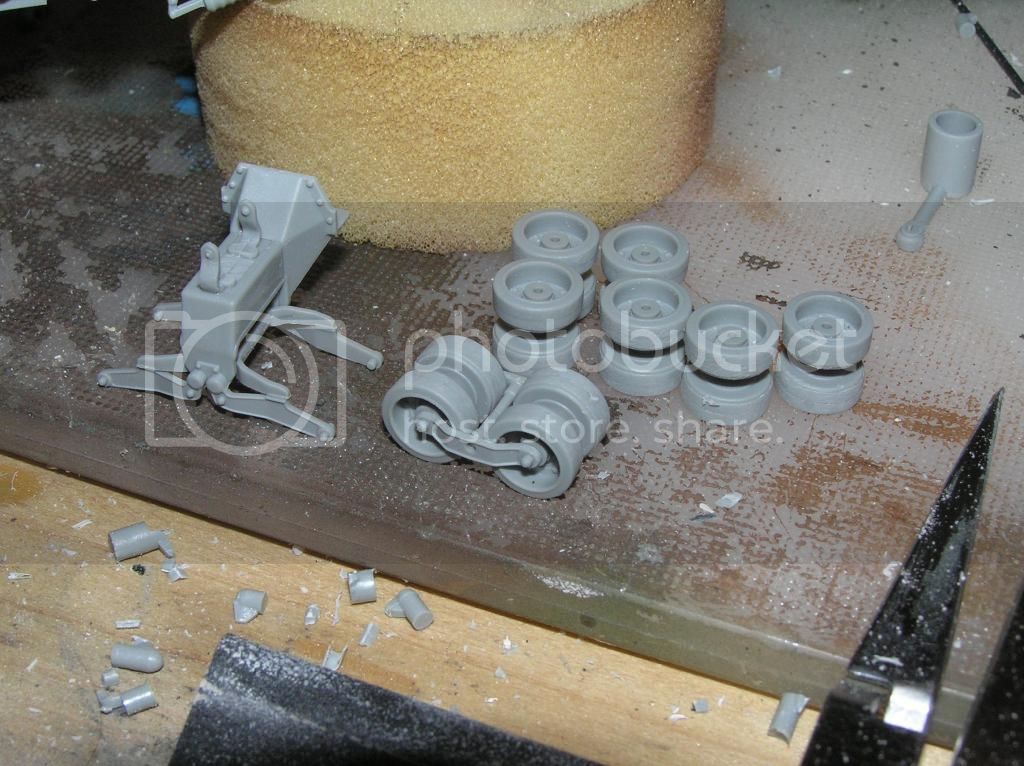
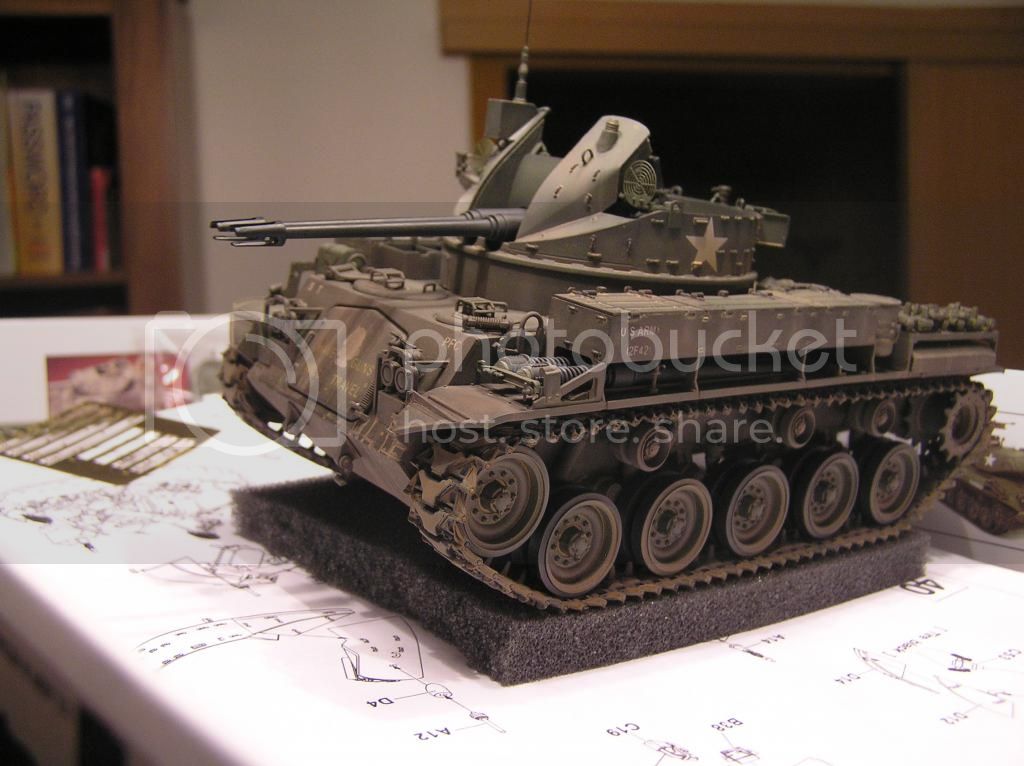
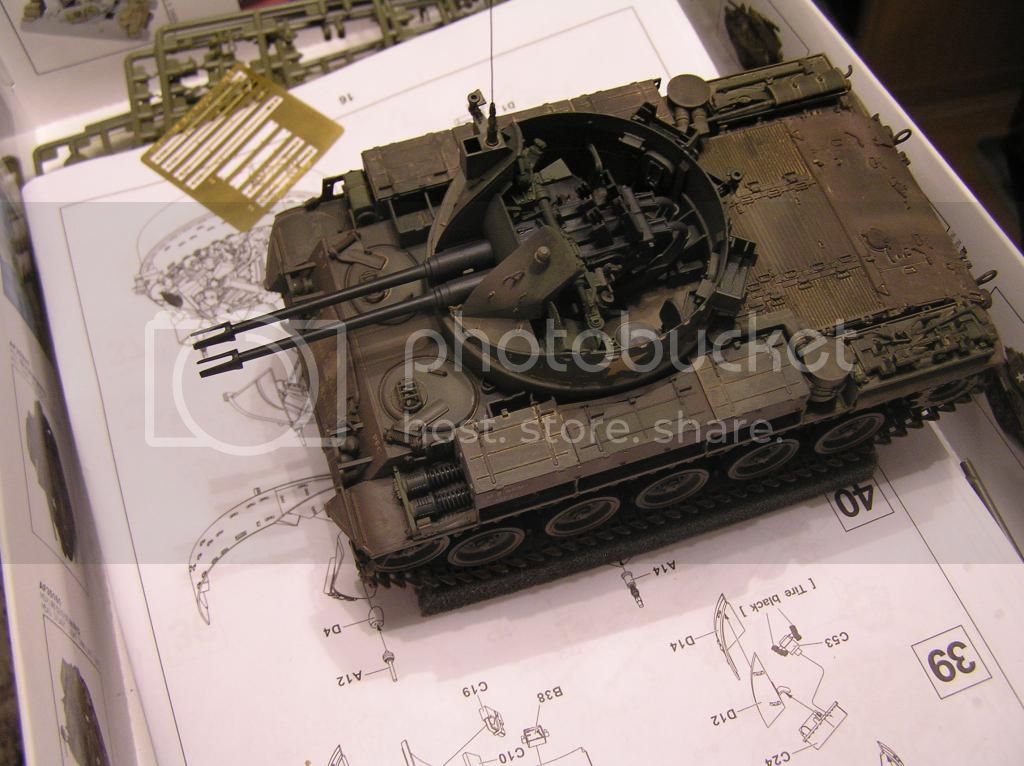
Just a quick update. I had to put the work on the M21 on hold for a few days, because I decided to finish another project before the Years end. I had the AFV Club M42 DUSTER nearly finished for a couple of months waiting just for the tracks and a few more details to add, so this took precedence. As You can see from the pictures the DUSTER is nearly done, so the work on the M21 will continue in the next few days.
#023
Zurich, Switzerland
Joined: March 13, 2009
KitMaker: 2,058 posts
Armorama: 1,656 posts
Posted: Thursday, January 01, 2015 - 02:29 AM UTC
Nice progress on the M21. Miniart tend to have a bit of flash, bu usually clean up nicely. Can't say I like the change witht eh heads though.. At least they're not two part as DML did fr a while...
Really like the duster! Don't forget to post some pics of the final build!
Cheers!
Stefan
Too many models - too little time...
Slovakia
Joined: October 15, 2010
KitMaker: 825 posts
Armorama: 246 posts
Posted: Saturday, January 10, 2015 - 10:02 PM UTC
Michigan, United States
Joined: October 28, 2002
KitMaker: 4,021 posts
Armorama: 3,947 posts
Posted: Saturday, January 10, 2015 - 10:30 PM UTC
Nice work on the door handles!
I think you glued in your PE door window ports inside out. The outer surface should be smooth and the inside face had the two nubs (for a footmans loop)
Roy Chow
Join AMPS!
www.amps-armor.org
Slovakia
Joined: October 15, 2010
KitMaker: 825 posts
Armorama: 246 posts
Posted: Monday, January 12, 2015 - 12:35 AM UTC
You are right Roy, I messed up the window ports. I will have to remove them and reattach them or file them down to a smooth surface. Thanks for the hint.
Michigan, United States
Joined: October 28, 2002
KitMaker: 4,021 posts
Armorama: 3,947 posts
Posted: Monday, January 12, 2015 - 06:01 AM UTC
What did you do to hollow out the door handles? Did you drill a hole and then carefully carve? I like your results A TON! Now I don't like mine, whatsoever!
Roy Chow
Join AMPS!
www.amps-armor.org
Slovakia
Joined: October 15, 2010
KitMaker: 825 posts
Armorama: 246 posts
Posted: Tuesday, January 13, 2015 - 01:16 AM UTC
Quoted Text
What did you do to hollow out the door handles? Did you drill a hole and then carefully carve? I like your results A TON! Now I don't like mine, whatsoever!
Thanks Roy, Yes I drilled the handles and carefully carved them with a scalpel blade.
Slovakia
Joined: October 15, 2010
KitMaker: 825 posts
Armorama: 246 posts
Posted: Tuesday, February 24, 2015 - 02:13 AM UTC
Slovakia
Joined: October 15, 2010
KitMaker: 825 posts
Armorama: 246 posts
Posted: Saturday, February 28, 2015 - 09:22 PM UTC
Slovakia
Joined: October 15, 2010
KitMaker: 825 posts
Armorama: 246 posts
Posted: Friday, March 06, 2015 - 07:55 PM UTC
Virginia, United States
Joined: December 06, 2014
KitMaker: 96 posts
Armorama: 96 posts
Posted: Friday, March 06, 2015 - 08:23 PM UTC
Nice work! Looking forward to seeing the completed paint/weathering.