I had the chance a while back to gather together what I thought would be the ultimate King Tiger accessories as well as Tamiya's King Tiger but I was already shoulder deep in a group build on Large Scale Planes where I moderate so when I got everything together for this project, I promptly went back into my large scale aircraft building phase and forgot about it for a while.
The projects in the Group Build on LSP are a lot of fun and a TON of work. I needed a break before I hit absolute burn out. When I need a break I break out a tank, and so, here we are.
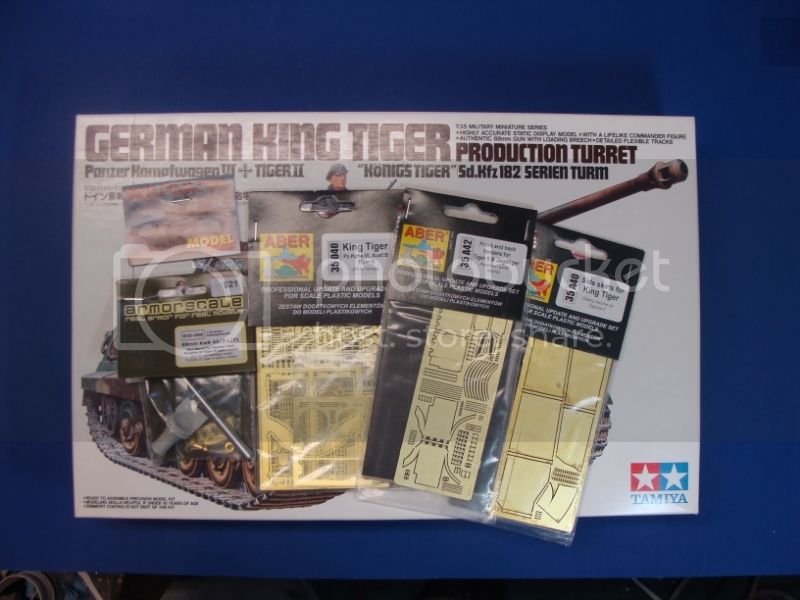
Here is a picture of what I started with and the beginning stages of construction.
Tamiya King Tiger
Aber Photo Etch for fenders front and rear as well as side and basic set that has all of the various detail parts for the main hull and turret.
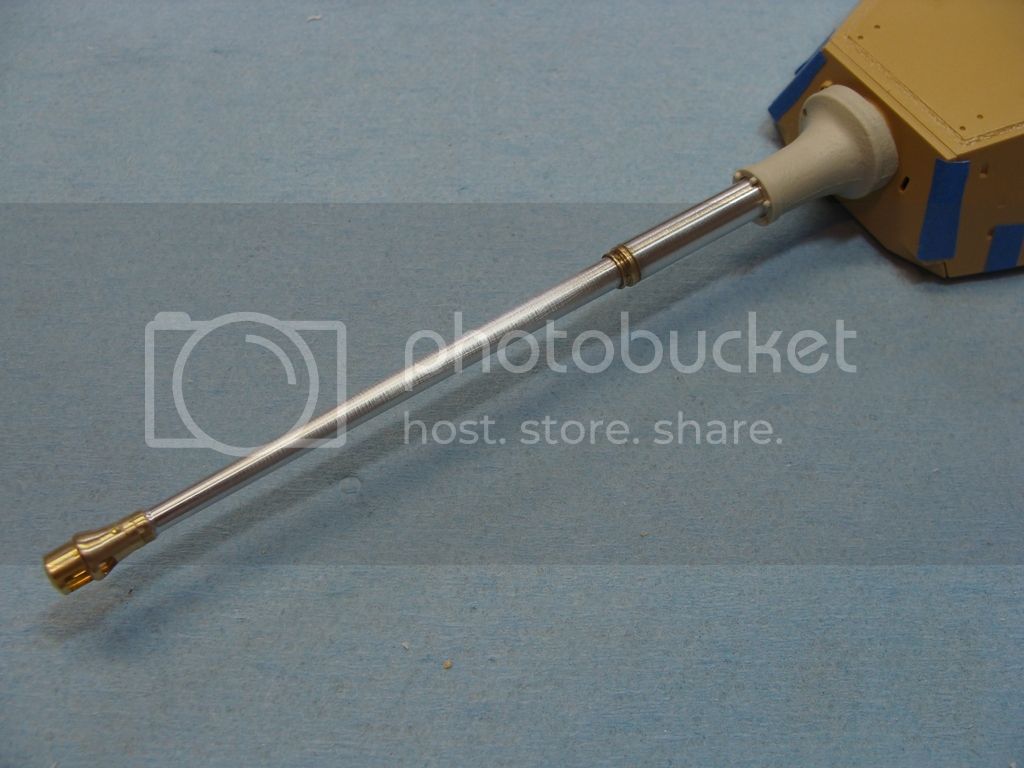
Armorscale Turned barrel and break as well as their replacement mantlet.
Model point provided new turned barrels for the bow machine gun.
Fruil Tracks

The vehicle I am modeling is a late production KT, and at this stage a lot of the smaller Aber details are not installed so they don't get inadvertently removed while I'm working on paint.
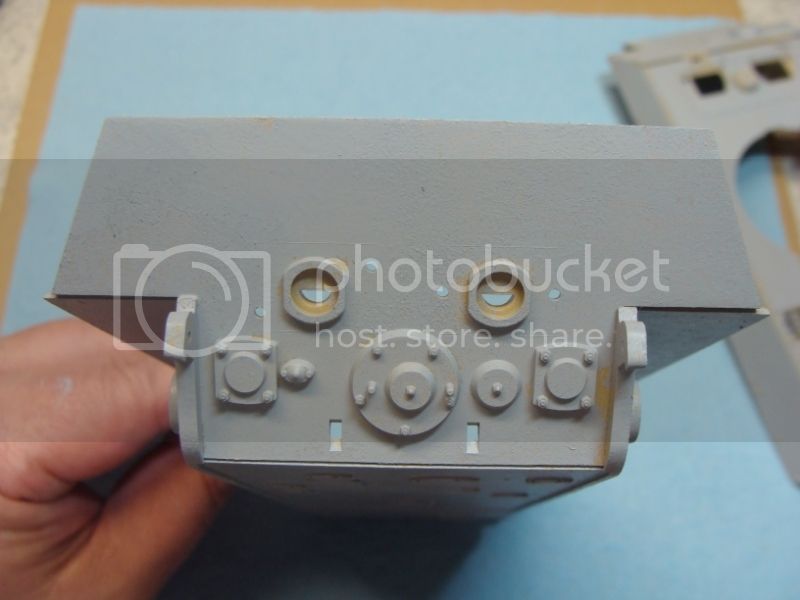
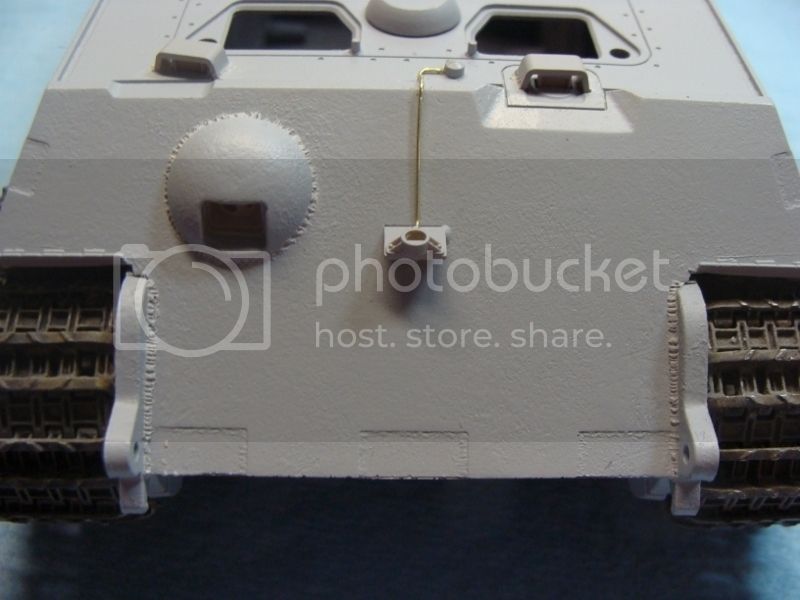
the first thing I do prior to to much construction is to texture the entire tank to add that extra bit of realism. For this, I use Mr. Surfacer 500 tapped on with an old brush until it builds up random texture. Any high spots get knocked down with some fine sand paper and then you have a really nice textured base coat to work from.
Here are a couple of pics highlighting the texturing in progress.
I also added all the various welds with Milliput fine white putty.


Once that was all done, I started on the incredibly detailed barrel and brake.

OK so, fast forward to a couple of days after that, and here are some parts that are a combination of Aber, Tamiya, my punch and die set and some NBW castings.


Thanks for looking in, More soon!
Paul


